Follow Me On Pinterest!
Quick 30-Minute Vegetarian Chili

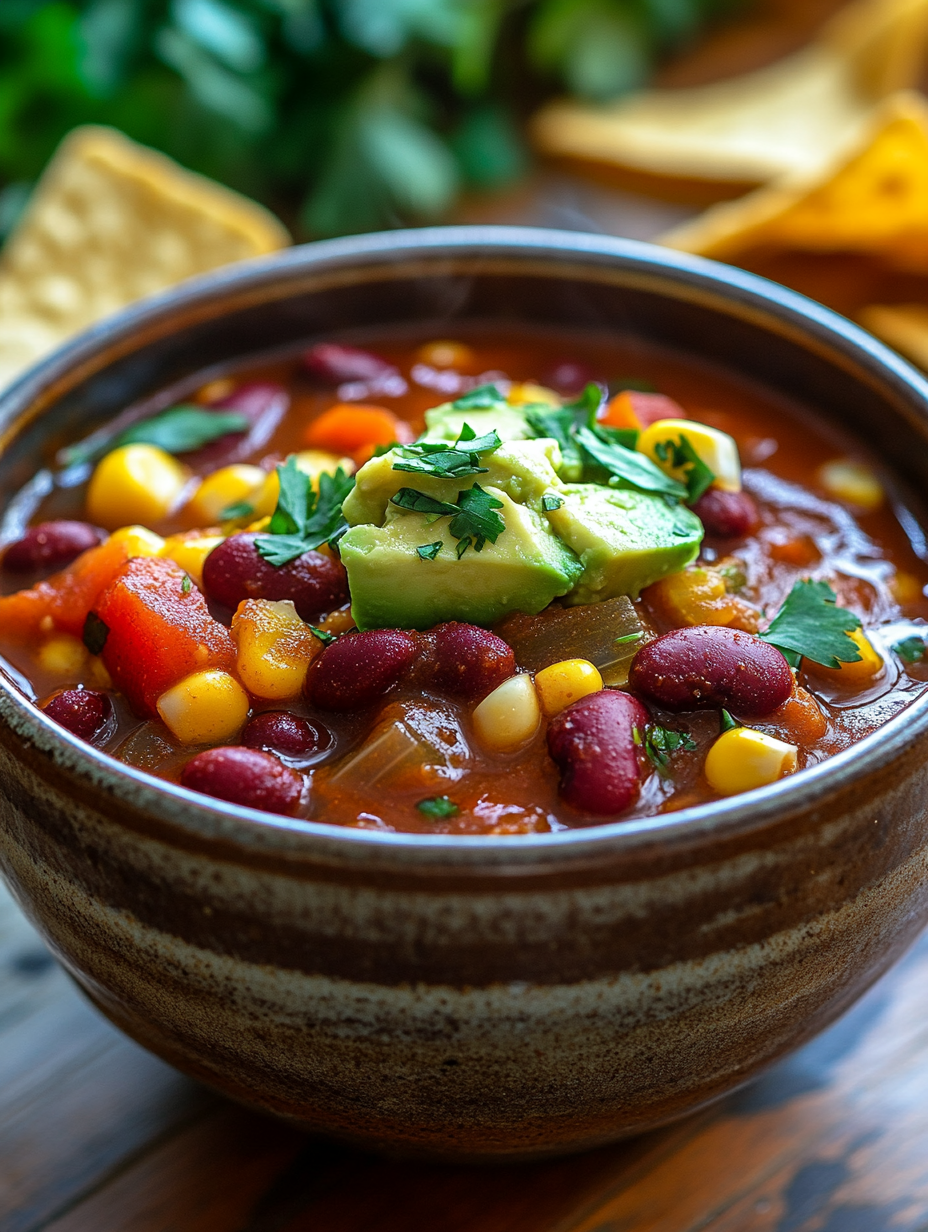
Quick 30-Minute Vegetarian Chili: A Warm Bowl of Comfort in a Hurry
Introduction
There’s something magical about a steaming bowl of chili on a cool evening. I remember the first time I made vegetarian chili—it was a rainy Sunday afternoon, and I was searching for comfort amidst the gray skies. The aroma of sautéing onions and garlic filled my kitchen, weaving its way through the air and giving me a sense of warmth before the chili even hit the stovetop. With each ingredient I added, I felt the comforting embrace of nostalgia.
Chili has always been a family favorite, and I was determined to create a version that celebrated vibrant flavors without meat. I vividly recall the excitement when friends gathered around my kitchen table, laughter mixing with the aroma of spices as we dug into bowls of my creation. The bright colors of the bell pepper and corn danced among the rich reds of the tomatoes, while the creamy avocado on top provided the perfect fresh finishing touch.
What I love most about this Quick 30-Minute Vegetarian Chili is its versatility; you can easily adjust the spice level or toss in any surplus veggies from your fridge. Whether you’re hosting a cozy dinner party or enjoying a solo night in, this chili warms not just your belly, but your soul. It’s the perfect reminder that even on the busiest of weeknights, a hearty meal is just around the corner.
Why This Recipe Works
Creating a chili that’s both hearty and quick can feel daunting, but the beauty of this recipe lies in its simplicity and the harmony of its ingredients. By using canned beans and tomatoes, the cooking time is dramatically reduced, allowing you to enjoy a homemade meal without hours of prep.
The foundation of flavor starts with sautéing onion, garlic, and bell pepper. This aromatic trio forms the base of many delicious dishes, and in this recipe, it adds a depth that rivals any long-simmered chili. When you cook these vegetables, they release their natural sugars, creating a subtle sweetness that balances the spices.
The blend of spices—chili powder and cumin—is where the chili truly shines. Chili powder adds that classic flavor profile you expect, while cumin brings a warm, earthy note. Together, they create a comforting background that melds beautifully with the richness of the beans and the acidity of the tomatoes.
Finally, the addition of vegetable broth allows for a well-rounded consistency that complements the beans and vegetables without overwhelming them. The quick simmer at the end melds all these flavors together, ensuring each spoonful is a delightful experience. This recipe is not just reliable; it’s a quick ticket to flavor town!
What Makes It Special
What sets this vegetarian chili apart from store-bought or restaurant versions is its freshness and customizability. Many canned chilis can be high in sodium and preservatives, but with this recipe, you control the quality of each ingredient. You can choose organic, locally sourced vegetables, and the spices can be adjusted to suit your taste.
Here are a few unique qualities that make this chili truly special:
– Speedy Preparation: Ready in just 30 minutes, it’s perfect for those hectic weeknights when time is of the essence.
– Nutrient-Dense Ingredients: Packed with beans, vegetables, and healthy fats from the avocado, it’s a meal you can feel good about serving your family.
– Adaptable Flavor Profile: Whether you prefer a mild chili or something with a kick, you can easily tweak the spice level to your liking.
– Vibrant Presentation: The beautiful blend of colors from the bell pepper, corn, and toppings creates an inviting dish that looks as good as it tastes.
This chili isn’t just a meal; it’s a canvas for your creativity, making it a staple in any vegetarian kitchen.
Ingredient Breakdown
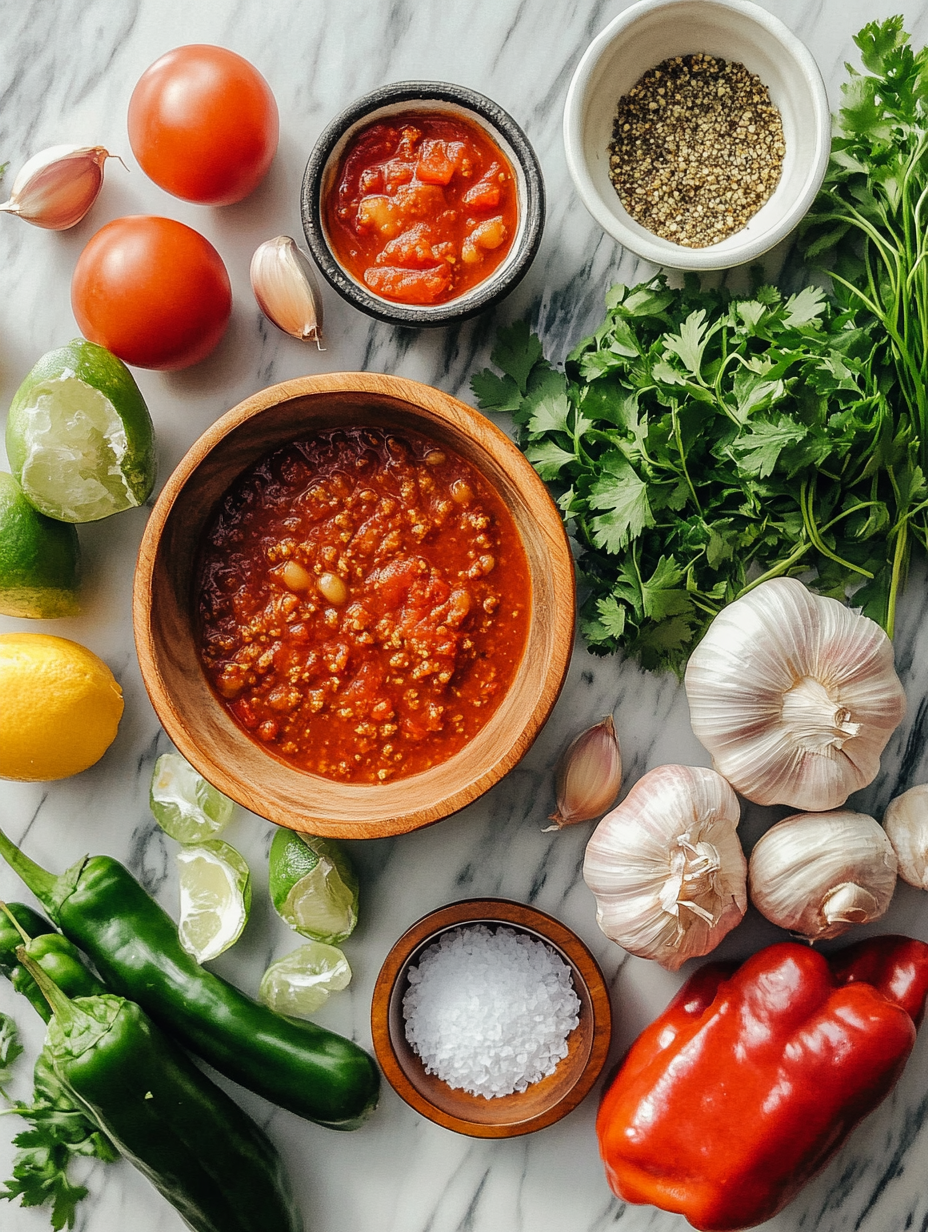
Understanding the role of each ingredient will help you appreciate this chili even more. Here’s a detailed breakdown of what goes into your quick and tasty vegetarian chili:
1. Olive Oil: This is your base for sautéing. It not only helps cook the vegetables but also adds healthy fats that enhance the overall flavor. If you’re looking for alternatives, avocado oil or even coconut oil can work wonders.
2. Onion: A must-have for any chili, onions provide sweetness and a savory depth. Yellow or white onions are ideal, but red onions can add a bit more color and a slight bite.
3. Garlic: Fresh garlic adds a robust flavor and aroma that elevates the chili. If you’re short on time, garlic powder can be used in a pinch, though the fresh version is always more flavorful.
4. Bell Pepper: This adds a crunchy texture and sweetness. Feel free to use any color you prefer—red, yellow, or green. Each brings a slightly different flavor profile.
5. Black Beans: Rich in protein and fiber, black beans are a hearty addition. You can substitute with pinto beans or chickpeas if desired.
6. Kidney Beans: Another great source of protein, kidney beans have a slightly firmer texture. If you want to reduce carbs, you can skip one of the bean varieties or replace them with lentils.
7. Diced Tomatoes: Canned tomatoes are a time-saver, providing acidity and moisture. If you have fresh tomatoes, feel free to chop them up; just make sure to add some extra broth to maintain consistency.
8. Chili Powder: This blend of ground peppers and spices adds heat and depth. If you enjoy experimenting, try adding smoked chili powder for a unique twist.
9. Cumin: A key player in chili, cumin adds warmth. If you’re out, coriander can be a suitable substitute, although the flavor will be different.
10. Salt and Black Pepper: Essential for enhancing the flavors of the dish. Adjust to your taste preferences.
11. Vegetable Broth: It’s the liquid that brings everything together. You can use homemade broth or store-bought. If you’re looking to cut down on sodium, opt for low-sodium vegetable broth.
12. Corn: Adds a touch of sweetness and a pop of color. You can also use frozen corn, which is an excellent time-saver.
13. Avocado: Sliced on top, it adds creaminess and balances the spice. If you’re not a fan, a dollop of sour cream or a sprinkle of cheese can provide a similar creamy element.
14. Cilantro: Fresh cilantro adds brightness and a fresh note to the chili. If you’re not a cilantro fan, parsley can be used instead, although it will change the flavor slightly.
With this breakdown, you can see how each ingredient plays a vital role in creating a delicious vegetarian chili that’s not just quick to prepare but bursting with flavor.
Step-by-Step Instructions
1. Heat the Olive Oil
WHAT: Start by heating 1 tablespoon of olive oil in a large pot.
HOW: Place the pot over medium heat and allow the oil to warm up.
LOOK/SMELL/HEAR: You’ll know the oil is ready when it shimmers slightly and you can smell its earthy aroma. Listen for a gentle sizzle when you add the onions—which brings you to the next step.
2. Sauté the Onion and Bell Pepper
WHAT: Add your diced onion and bell pepper to the pot.
HOW: Stir them well to coat in the oil, and sauté for about 5 minutes.
LOOK/SMELL/HEAR: The vegetables should start to soften and become translucent. You’ll also notice a sweet, savory scent filling the kitchen, which means you’re on the right track!
3. Add the Garlic
WHAT: Toss in 2 minced garlic cloves.
HOW: Stir them into the mixture and cook for an additional minute.
LOOK/SMELL/HEAR: The garlic will turn fragrant almost immediately. Pay attention; it should not brown too much or it will turn bitter.
4. Incorporate the Beans and Tomatoes
WHAT: Now it’s time to add the black beans, kidney beans, and diced tomatoes.
HOW: Pour in the cans (drain and rinse the beans first if you prefer a less starchy texture).
LOOK/SMELL/HEAR: Mix everything together well. The colors will brighten and the aroma will deepen as the beans and tomatoes mingle with the sautéed vegetables.
5. Combine Spices and Broth
WHAT: Add your corn, chili powder, cumin, salt, and black pepper to the pot.
HOW: Pour in 1 cup of vegetable broth and stir to combine all the ingredients thoroughly.
LOOK/SMELL/HEAR: You should see a vibrant mixture bubbling as it comes together. The spices will create a warming, inviting scent.
6. Simmer the Chili
WHAT: Bring your chili to a boil.
HOW: Once boiling, reduce the heat to low, covering the pot to allow it to simmer for 10-15 minutes.
LOOK/SMELL/HEAR: Keep an eye on the pot; the chili will thicken slightly and the flavors will meld beautifully. You should hear a soft bubbling sound indicating it’s simmering just right.
7. Serve and Garnish
WHAT: Once done simmering, it’s time to serve!
HOW: Ladle the chili into bowls and top with sliced avocado and chopped cilantro.
LOOK/SMELL/HEAR: The bright green toppings will contrast beautifully with the red and brown tones of the chili. The freshness of the toppings will smell delightful!
Chef’s Note: Adjust the amount of chili powder and cumin according to your desired spice level. If you like it spicy, consider adding a dash of cayenne or some chopped jalapeños!
Pro Tips for the Best Results
1. Use Fresh Produce: Fresh ingredients deliver better flavor and texture. Opt for organic vegetables if possible; they often taste sweeter.
2. Rinse Your Beans: If you use canned beans, rinse them under cold water. This removes excess sodium and helps prevent a mushy texture.
3. Experiment with Spices: Feel free to add spices like paprika, oregano, or even a pinch of cinnamon for an unexpected depth of flavor.
4. Texture Matters: If you prefer a chunkier chili, consider mashing some of the beans with a fork before mixing them in. This will give your chili a heartier consistency.
5. Don’t Rush the Sauté: Sautéing your onions and peppers properly is crucial. Don’t skip this step; it builds the flavor foundation of your chili.
6. Simmer Longer for Depth: If time allows, let your chili simmer longer than 15 minutes. This allows the flavors to develop even more, creating a richer taste.
7. Garnish for Freshness: Always garnish your chili with fresh ingredients immediately before serving. This will add a pop of color and a refreshing taste.
8. Store and Reheat: This chili stores beautifully. Make a big batch and enjoy leftovers; the flavors deepen as it sits. Reheat gently on the stove for the best results.
Common Mistakes to Avoid
1. Skipping the Sauté Step: Many home cooks might be tempted to skip sautéing the vegetables, but this crucial step builds the base flavor. Always sauté until softened for the richest flavors.
2. Not Rinsing Beans: Using unwashed canned beans can lead to a gritty, overly salty dish. Always rinse them under cold water to achieve better texture and taste.
3. Adding Too Much Liquid: If you add more liquid than the recipe calls for, your chili can become soupy rather than hearty. Stick to the recommended vegetable broth and adjust only if necessary.
4. Overlooking Seasoning: If you don’t taste as you go along, your chili may end up bland. Always adjust seasoning based on your palate—salt can elevate flavors significantly.
5. Skipping the Simmer: Rushing through the cooking process by skipping the simmer step can result in a dish that lacks depth. Give your chili the time it needs to meld flavors.
6. Ignoring Garnishes: Serving without garnishes can lead to a less appealing presentation and flavor. Fresh herbs and toppings elevate the dish, so don’t skip this finishing touch.
7. Not Storing Properly: Improper storage can lead to undesirable textures or flavors in leftovers. Store in airtight containers and consume within three days for best results.
Creative Variations
1. Seasonal Chili: Embrace seasonal vegetables for a fresh twist! In summer, try adding zucchini and squash; in winter, consider carrots and parsnips. Each season brings unique flavors that can make your chili delightful.
2. Dietary-Friendly: For a gluten-free version, ensure your beans and broth are certified gluten-free. You can also substitute the corn with quinoa or rice for extra protein and heartiness.
3. Gourmet Elevated: Elevate your chili with gourmet ingredients. Add a splash of red wine for depth, or incorporate smoked paprika for a hint of smokiness. Top with crumbled feta or goat cheese for a creamy finish.
4. Quick 15-Minute Chili: For a faster version, use frozen veggies or pre-chopped vegetables. Simply sauté and then add canned beans and tomatoes, skipping the simmer time. This will get dinner on the table in a flash!
5. Kid-Friendly Chili: Make the chili more appealing to kids by using mild spices and adding diced sweet potatoes for a natural sweetness. Serve with tortilla chips or over macaroni for a fun twist.
6. International Twist: Give your chili a global flair by adding curry powder for an Indian-inspired dish or miso paste for a Japanese twist. Both options introduce unique flavors that can transform your chili into something new and exciting.
7. Chili Nachos: Transform your chili into a fun appetizer by layering it over tortilla chips, topping with cheese, and baking until bubbly. Garnish with sour cream and jalapeños for an irresistible snack.
With these detailed steps, pro tips, common pitfalls, and creative variations, you are well on your way to mastering the art of a quick and delicious vegetarian chili! Enjoy the process, and don’t forget to share your creations with others!
Serving Ideas
When it comes to serving your quick vegetarian chili, the presentation can elevate your meal from ordinary to extraordinary. Here are several plating ideas to inspire you:
1. Bowl Presentation: Serve the chili in deep bowls, showcasing the vibrant colors of the beans, corn, and diced tomatoes. Top each bowl with a generous dollop of sliced avocado and a sprinkle of fresh cilantro for a pop of freshness.
2. Chili Bar: Set up a chili bar for a fun family meal! Place the chili in a large serving pot, then offer toppings like shredded cheese, diced jalapeños, sour cream, and tortilla chips on the side. This allows everyone to customize their bowls.
3. Accompanied by Bread: For a rustic touch, serve the chili in bowls alongside slices of crusty bread or cornbread. The bread is perfect for soaking up the delicious broth.
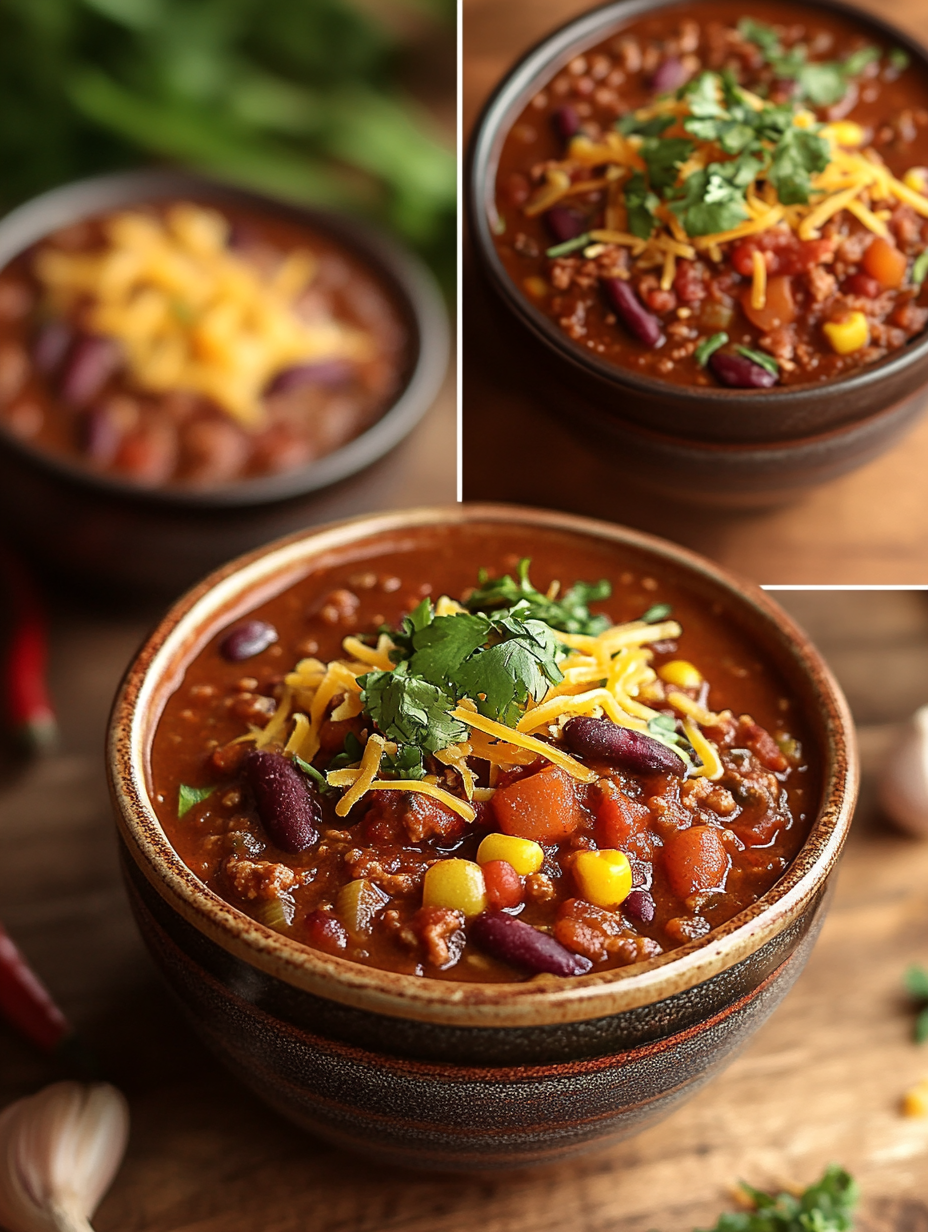
4. Topped with Cheese: For those who enjoy a melty addition, sprinkle shredded cheese (like cheddar or Monterey Jack) on top of the hot chili right before serving. The cheese will melt slightly, adding creaminess to each spoonful.
5. In a Taco: For a twist, consider serving the chili in soft tortillas or hard taco shells. Garnish with avocado and cilantro for a delightful handheld meal.
No matter how you choose to serve it, your chili will be a comforting and satisfying dish that warms the heart.
What to Serve With
Pairing your quick vegetarian chili with complementary sides can enhance the meal experience significantly. Here are some fantastic options:
1. Cornbread: This classic pairing is ideal for chili. The sweet, crumbly texture of cornbread balances the spiciness and heartiness of the chili, making each bite harmonious.
2. Rice: A side of fluffy white or brown rice provides a neutral base that absorbs the flavors of the chili. This is especially helpful if you’re serving a crowd or want to stretch the meal further.
3. Tortilla Chips: Serve the chili with crispy tortilla chips for added crunch and texture. You can even create a chili nachos platter by layering chips with chili and toppings.
4. Salad: A fresh green salad with a light vinaigrette can offer a refreshing contrast to the rich flavors of the chili. Choose ingredients like mixed greens, tomatoes, cucumber, and avocado for a vibrant dish.
5. Guacamole: Homemade or store-bought guacamole adds creaminess and a zesty flair that brightens the meal. The creamy texture complements the chili beautifully.
6. Pickled Jalapeños: For those who enjoy a bit of heat, pickled jalapeños served on the side can add an extra kick and vibrant color to your meal.
By thoughtfully selecting your pairings, you’ll create a delightful dining experience that satisfies both the palate and the soul.
Storage Guide
Proper storage of your leftover vegetarian chili is essential to maintain its flavor and freshness. Here’s how to do it effectively:
– Container Type: Use airtight containers for storing your chili. Glass containers or BPA-free plastic containers with lids work well to prevent any leaks or spills.
– Temperature: Ensure that the chili is cooled to room temperature before sealing it in containers. This helps prevent condensation, which can lead to soggy chili.
– Days It Keeps: Your vegetarian chili can be stored in the refrigerator for up to 4-5 days. After that, its quality may decline.
– Signs Gone Bad: If you notice any off smells, unusual colors, or mold growth, it’s best to discard the chili. Trust your senses—if it doesn’t look or smell right, throw it out.
– How to Refresh: When you’re ready to enjoy the leftovers, simply reheat the chili in a pot over medium heat on the stovetop. You may need to add a splash of vegetable broth or water for consistency if it thickens while stored.
Following these storage guidelines will ensure that your chili remains delicious and ready for your next meal.
Freezing Tips
If you have leftovers or want to prep in advance, freezing your vegetarian chili is a fantastic option. Here’s how to do it effectively:
– Does it Freeze Well?: Yes! Vegetarian chili freezes exceptionally well, maintaining its flavor and texture.
– Portioning: Consider freezing the chili in individual portions. This makes it easy to thaw just what you need for a quick meal later. Use freezer-safe bags or containers, leaving some space for expansion.
– How Long?: Properly stored, your chili can be frozen for up to 3 months. Mark the containers with the date to keep track of freshness.
– Thawing Method: When you’re ready to enjoy the frozen chili, transfer it from the freezer to the refrigerator the night before to thaw. For a quicker option, you can run hot water over the sealed container or microwave it in short intervals until thawed.
By following these simple freezing tips, you can always have a warm, hearty meal ready to go.
Reheating Guide
Reheating your vegetarian chili can be done easily using a few different methods. Here’s how to ensure it retains its deliciousness:
– Microwave: Pour the desired amount of chili into a microwave-safe bowl. Cover it with a microwave-safe lid or plate to prevent splatter. Heat on high for 1-2 minutes, stirring halfway through until it’s heated through.
– Oven: Preheat your oven to 350°F (175°C). Place the chili in an oven-safe dish and cover it with foil to prevent it from drying out. Heat for 20-30 minutes or until warmed through.
– Stovetop: Pour the chili into a saucepan over medium heat. Stir occasionally to ensure even heating. It will take about 5-10 minutes to warm up, depending on the quantity.
Each method will have your chili back to its comforting, warming state in no time. Choose the one that best fits your schedule and enjoy!
Nutrition Overview
This quick vegetarian chili is not just delicious but also packed with nutrients. Here’s a closer look at its nutritional profile:
– Calories: Approximately 250-300 calories per serving, depending on the toppings used.
– Macros: Each serving generally contains:
– Protein: 15-20 grams
– Carbohydrates: 40-50 grams
– Fat: 5-10 grams
– Health Benefits:
– Beans: Rich in fiber and plant-based protein, beans aid in digestion and help keep you fuller for longer.
– Tomatoes: High in antioxidants, particularly lycopene, which is beneficial for heart health.
– Cilantro: Known for its detoxifying properties, cilantro can help remove heavy metals from the body.
This nourishing chili not only satisfies your taste buds but also contributes to your overall health.
Frequently Asked Questions
Q: Can I make this chili spicy?
A: Absolutely! To add some heat, include diced jalapeños or cayenne pepper in the recipe. Start with a small amount and adjust to taste.
Q: Is this chili gluten-free?
A: Yes, this vegetarian chili is naturally gluten-free. Just ensure that any packaged ingredients you use, like vegetable broth, are labeled gluten-free.
Q: Can I add more vegetables?
A: Definitely! Feel free to incorporate additional vegetables such as zucchini, carrots, or spinach. Just chop them small and add them in with the onions for even cooking.
Q: How can I thicken the chili?
A: If you prefer a thicker chili, let it simmer longer or mash some of the beans against the side of the pot to create a creamier consistency. You can also add a tablespoon of cornmeal.
Q: Can I use fresh beans instead of canned?
A: Yes, but you’ll need to soak and cook dried beans beforehand, which may add to the preparation time. Canned beans are convenient and reduce cooking time!
Q: What can I substitute for vegetable broth?
A: Chicken broth works as an alternative if you’re not strictly vegetarian. Water with a splash of soy sauce can also serve as a substitute, adding depth to the flavor.
Q: How do I make it more filling?
A: Serve the chili with toppings such as avocado, cheese, or Greek yogurt, or pair it with a side of rice or cornbread to make it more filling.
Q: How do I store unused chili?
A: Store the chili in airtight containers in the refrigerator for 4-5 days or freeze it for up to 3 months. Be sure to cool it to room temperature before sealing.
Final Thoughts
You’ve just discovered a quick and delicious vegetarian chili that’s perfect for a busy weeknight meal. Here’s a tip: don’t hesitate to experiment with your favorite spices and toppings to make this dish your own! The versatility of this recipe allows you to customize it based on what you have on hand, so feel free to get creative.
Remember, cooking is all about joy and exploration, so enjoy every moment in the kitchen. Make this chili your go-to recipe for those chilly evenings or anytime you crave a hearty, nutritious meal.