Follow Me On Pinterest!
Sourdough For Beginners How To Know When Starter Is Ready
Starting your sourdough journey feels like a science experiment mixed with a little bit of magic. You have been feeding your flour and water mixture for days, watching for bubbles and hoping for signs of life. However, the biggest hurdle for every beginner is knowing exactly when that bubbly concoction is strong enough to actually lift a loaf of bread. Using a starter too early results in a dense, gummy brick, while waiting too long means your yeast has run out of fuel. This guide simplifies the process, teaching you the foolproof signs that your starter is officially ready for baking day.
Recipe Information
- Prep Time: 5 minutes
- Cook Time: 0 minutes (Fermentation: 4-8 hours)
- Total Time: 8 hours
- Servings: 1 active starter culture
- Difficulty: Easy
Nutrition values
- Calories: 180 kcal (per 100g portion)
- Protein: 5g
- Carbs: 38g
Why Make This Sourdough For Beginners How To Know When Starter Is Ready
Understanding when your starter is ready is the single most important skill in sourdough baking. If you master this “readiness” phase, you eliminate 90% of the reasons why beginner bread fails. Learning these signs helps you avoid wasting expensive flour on loaves that won’t rise. It builds your intuition as a baker, allowing you to work with the rhythm of your kitchen’s unique environment rather than just following a clock. This knowledge gives you the confidence to start your bulk fermentation at exactly the right moment for a perfect crumb and airy texture.
Ingredients
- 50g Mature Sourdough Starter (at least 7-10 days old)
- 50g Unbleached Bread Flour or All-Purpose Flour
- 50g Filtered Water (room temperature, approximately 70°F)
Directions
Step 1: Feeding the Culture
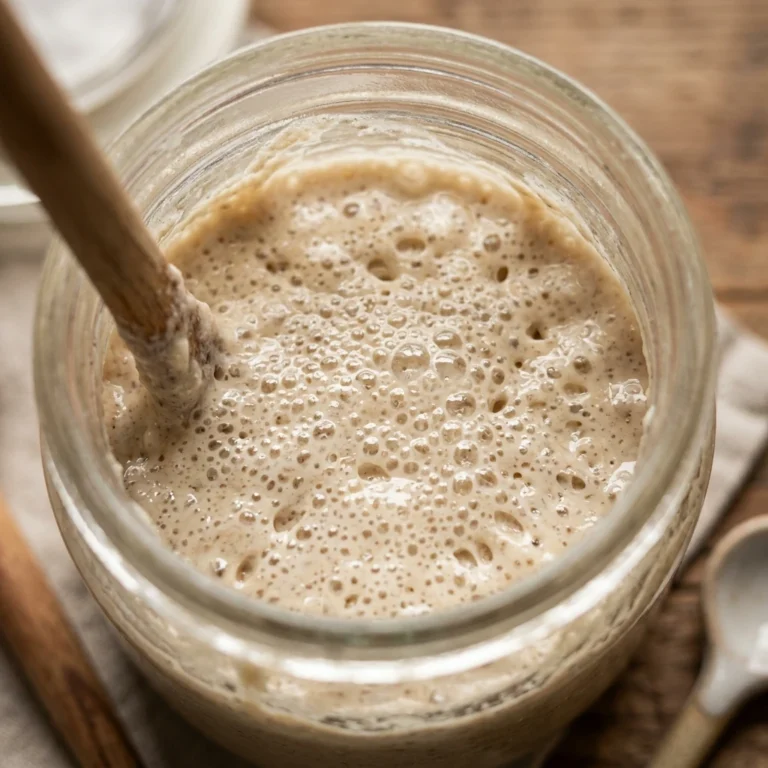
Place your clean glass jar on a kitchen scale and tare it. Add 50 grams of your existing sourdough starter, 50 grams of flour, and 50 grams of filtered water. Stir the mixture vigorously with a silicone spatula or a wooden spoon until you see no dry streaks of flour. The consistency should be thick, similar to a very heavy pancake batter or a stiff paste. Ensure the sides of the jar are scraped down so you can clearly see the rise.
Step 2: Marking and Monitoring
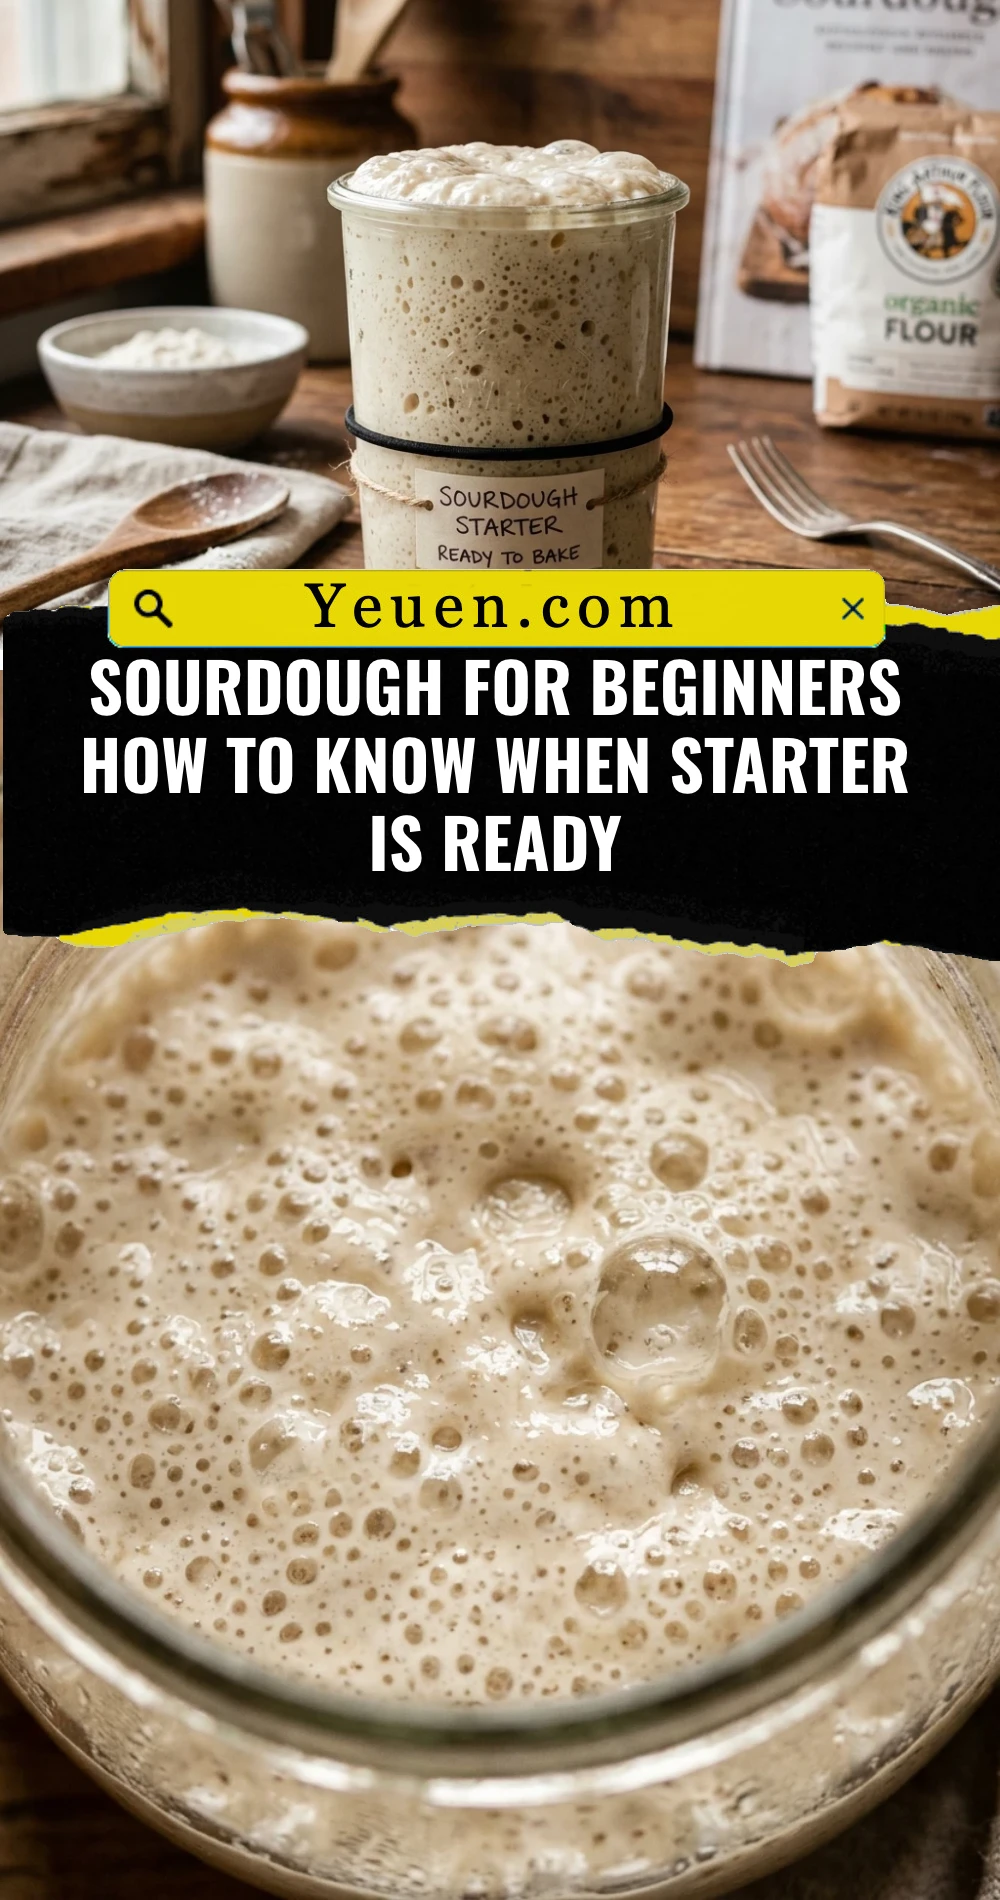
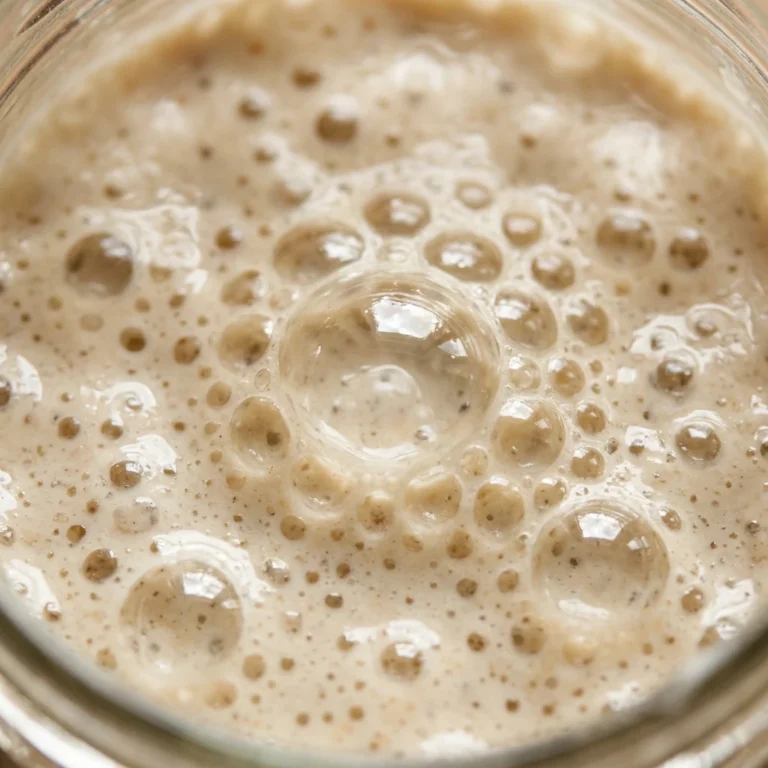
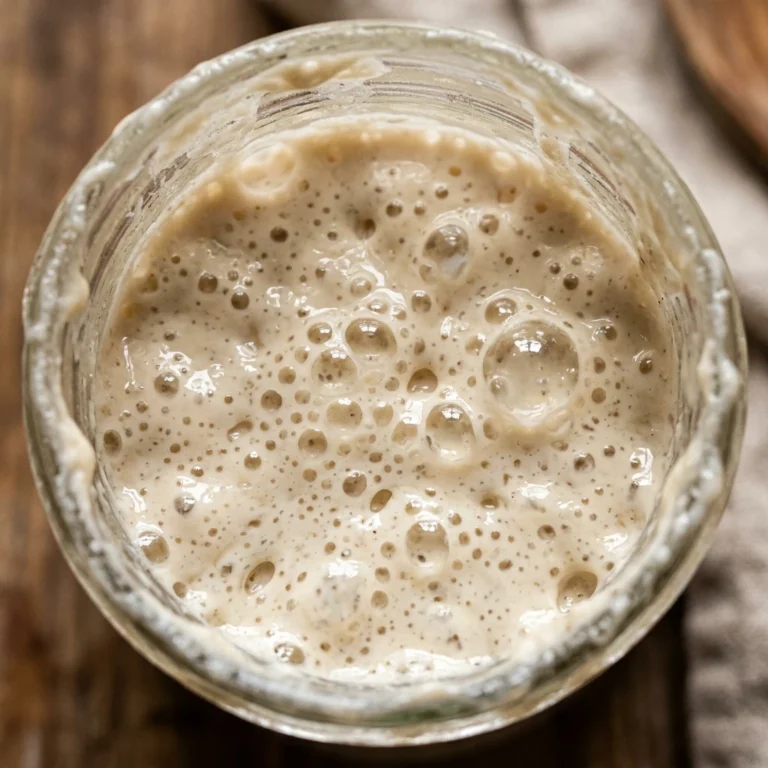
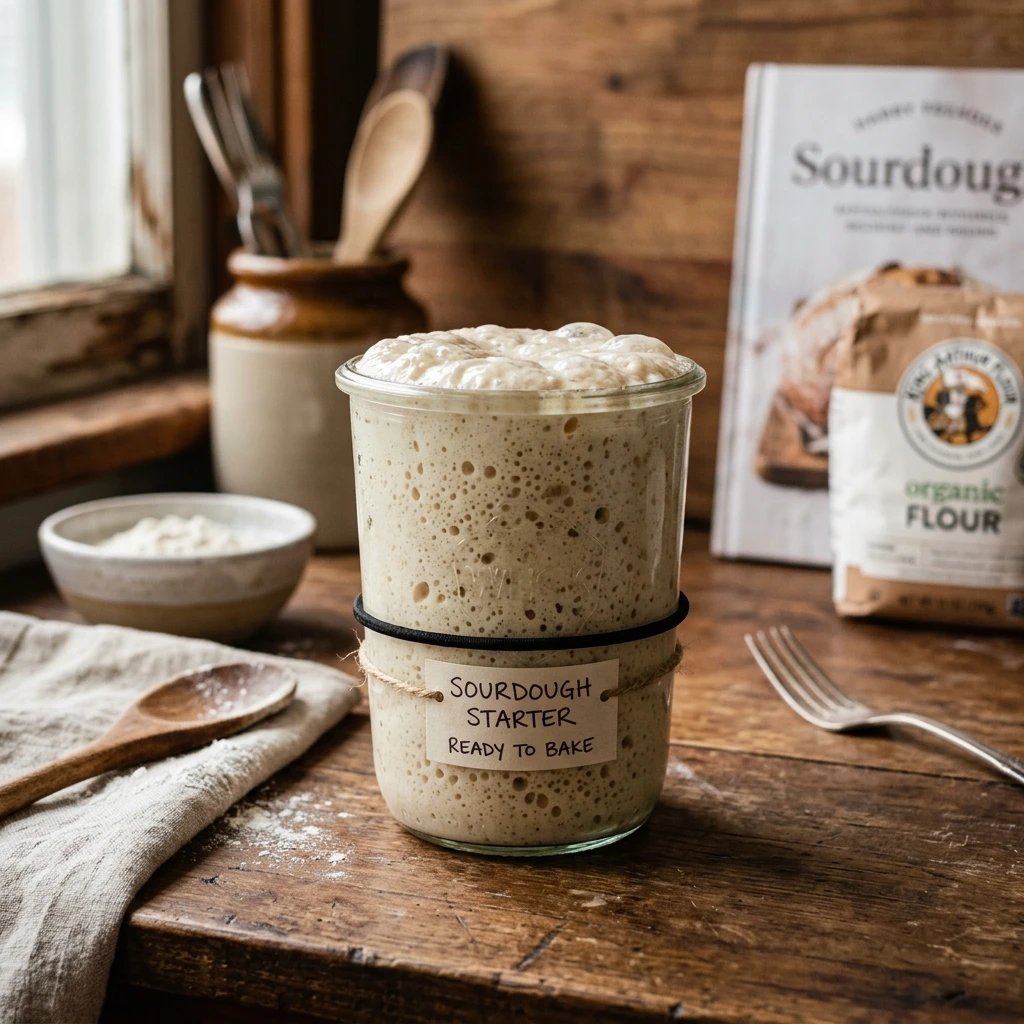
Place a rubber band around the outside of the jar, aligning it exactly with the top level of the freshly fed starter. This acts as your “baseline” so you can visually measure the growth. Place the jar in a warm, draft-free spot in your kitchen. Over the next 4 to 8 hours, check the jar periodically. You are looking for the starter to double, or ideally triple, in volume. You should see plenty of small and large bubbles throughout the sides of the jar and a slightly domed surface at the top.
Step 3: Performing the Float Test
Once the starter has reached its peak height and looks airy and mousseline-like, perform the float test. Fill a small glass with room-temperature water. Gently scoop a small teaspoon of the starter from the jar, being careful not to deflate the bubbles. Carefully drop the spoonful into the water. If the starter floats on the surface, it is full of carbon dioxide and ready to leaven bread. If it sinks, it either needs more time to grow or has already passed its peak and begun to collapse.
Expert Tips for Perfect Sourdough For Beginners How To Know When Starter Is Ready
Temperature is your best friend or your worst enemy. If your kitchen is cold, your starter might take 12 hours to peak; if it is hot, it might peak in 3 hours. Try to keep your starter in a spot that stays around 75°F for consistent results. Always use filtered water, as chlorine in tap water can stunt the growth of the wild yeast. Additionally, look for the “scalloped” look on the surface; when the top starts to flatten out or slightly dip in the middle, your starter is at its absolute maximum strength and should be used immediately.
Delicious Variations
While a standard white flour starter is common, you can experiment with different grains to change the activity level. A Rye Starter often becomes active much faster and produces a more vigorous rise due to higher nutrient content. You can also maintain a “Stiff Starter” by reducing the water ratio, which slows down fermentation and creates a more mellow flavor profile. For a more rustic, nutty aroma, try feeding your starter with a 50/50 blend of whole wheat flour and bread flour.
Frequently Asked Questions
How many days does it take for a brand-new starter to be ready?
Most new starters take between 7 and 14 days of daily feedings before they are strong enough to bake bread. Do not be discouraged if it takes longer; your local yeast colonies need time to stabilize.
What if my starter bubbles but does not float?
This usually happens if the starter is too thin or if you accidentally deflated the air bubbles when scooping it. If it has doubled in size but fails the float test, try feeding it with slightly less water next time to create a thicker structure that traps gas better.
My starter has a clear liquid on top, is it ruined?
No, that liquid is called “hooch.” It is simply a byproduct of fermentation and a sign that your starter is very hungry. Pour it off or stir it in, then feed your starter immediately.
Why does my starter smell like nail polish remover?
An acidic, chemical smell usually indicates that the starter has gone too long between feedings or is kept in an environment that is too warm. Increase your feeding frequency or use a higher ratio of flour and water to “dilute” the acidity.
Can I use my starter straight from the fridge?
It is best not to use cold starter for baking. For the best rise, take it out of the fridge, feed it, and wait for it to reach its peak at room temperature before adding it to your dough mixture.
Conclusion
Mastering the timing of your sourdough starter is the gateway to professional-quality bread at home. By paying attention to visual cues like the rubber band height and using the float test as a final check, you remove the anxiety of the unknown. Remember that your starter is a living organism that responds to your specific kitchen environment. Be patient, observe the bubbles, and soon you will be pulling golden, airy loaves out of your oven with ease. Happy baking!