Follow Me On Pinterest!
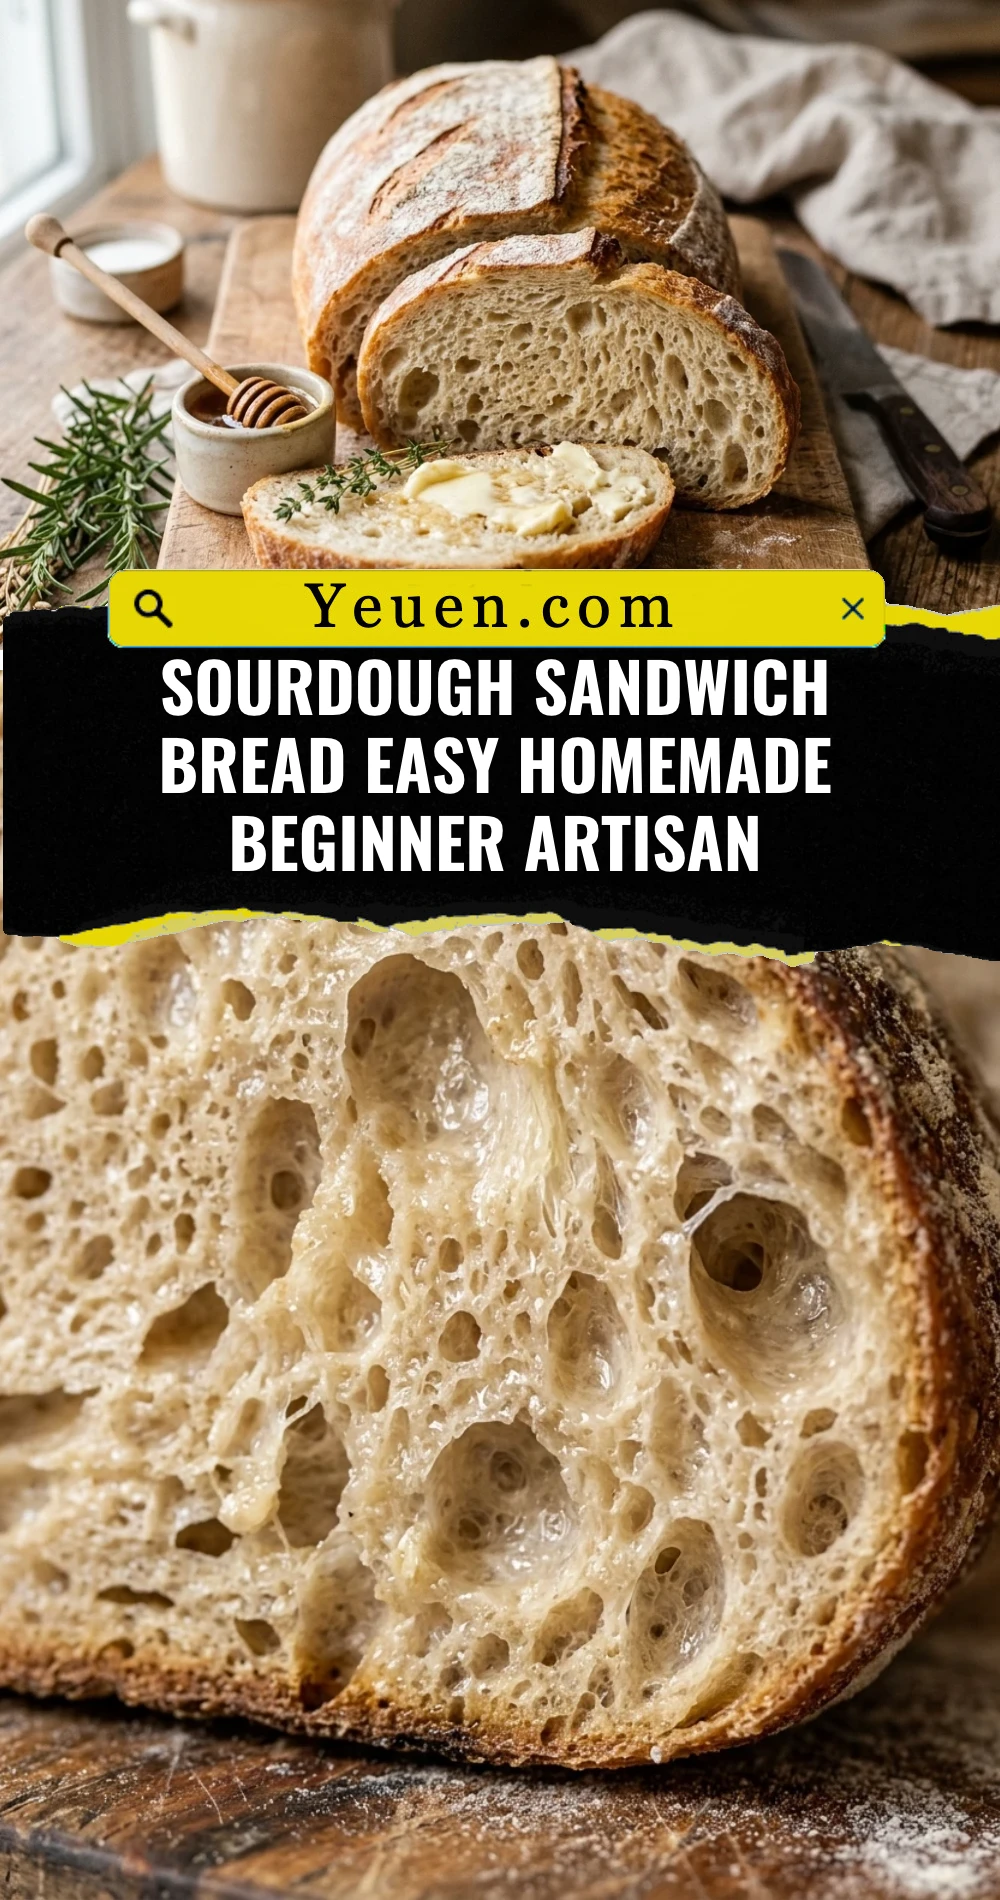
Sourdough Sandwich Bread Easy Homemade Beginner Artisan
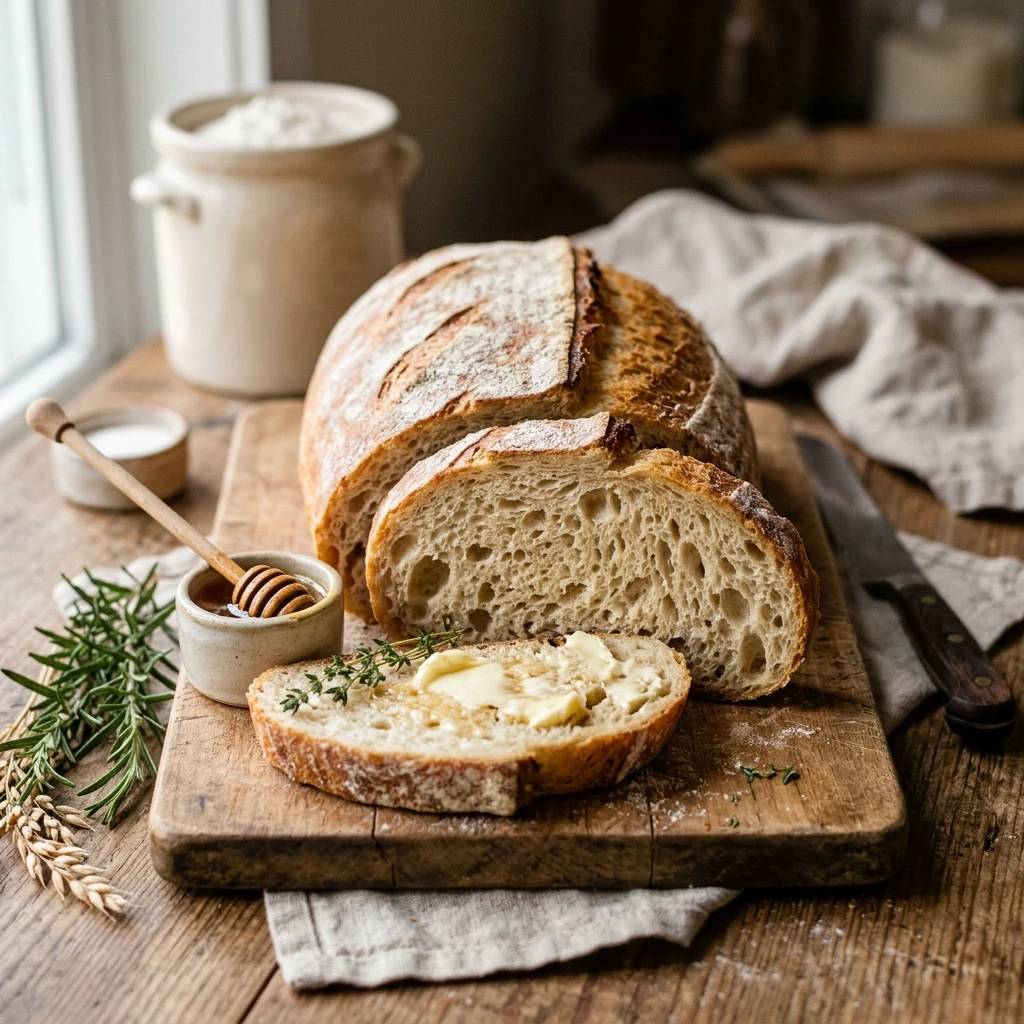
There is nothing quite like the smell of a fresh loaf of sourdough cooling on your kitchen counter. If you have been intimidated by the complex world of artisan bread, this Sourdough Sandwich Bread Easy Homemade Beginner Artisan recipe is your perfect starting point. It combines that signature sourdough tang with the soft, sliceable texture of a classic sandwich loaf. You do not need a Dutch oven or fancy scoring tools—just a simple loaf pan and a bit of patience. Let’s get baking and transform your morning toast forever.
Recipe Information
- Prep Time: 12 hours (includes fermentation)
- Cook Time: 40 minutes
- Total Time: 12 hours 40 minutes
- Servings: 12 slices
- Difficulty: Easy
Nutrition values
- Calories: 165 kcal
- Protein: 5g
- Carbs: 32g
Why Make This Sourdough Sandwich Bread Easy Homemade Beginner Artisan
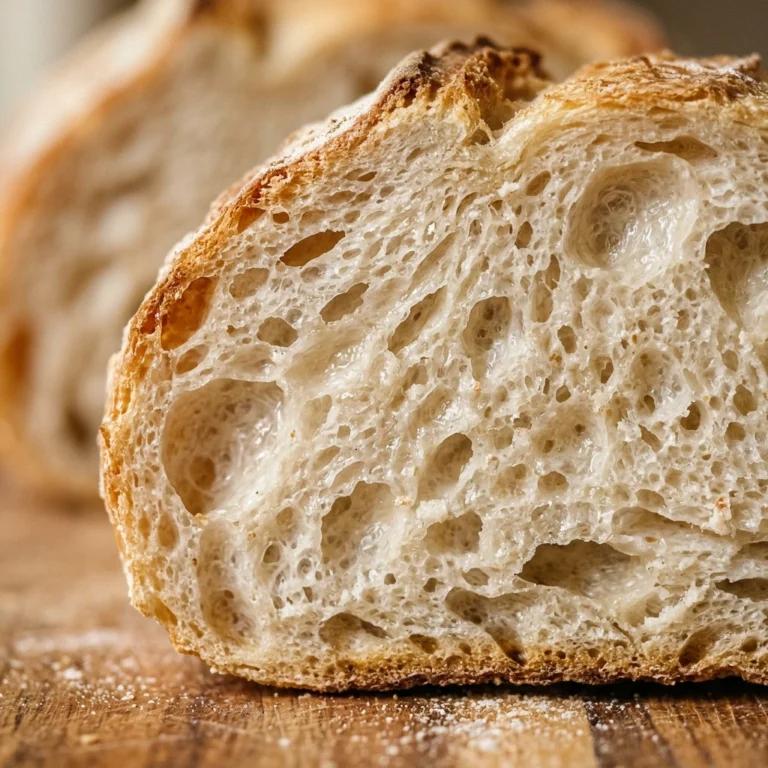
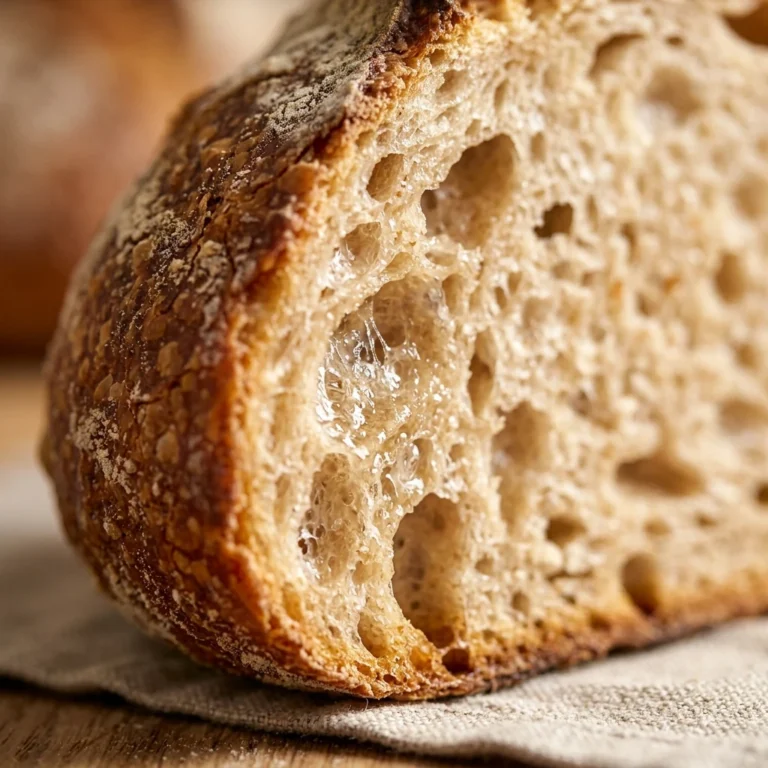
This recipe is designed specifically for those who want the health benefits of sourdough without the stress of high-hydration artisan techniques. Unlike crusty boules that can be hard on the roof of your mouth, this sandwich loaf is soft, tender, and stays fresh for days. It uses simple ingredients and a straightforward method that fits into a busy schedule. You get the probiotic benefits of natural fermentation and a flavor that store-bought bread simply cannot match. It is the ultimate “gateway” bread for any aspiring home baker.
Ingredients
- 100g active sourdough starter (fed and bubbly)
- 350g warm water
- 500g bread flour (or high-quality all-purpose flour)
- 10g fine sea salt
- 20g honey or maple syrup (optional, for softness)
- 30g unsalted butter, melted and cooled (optional, for a richer crumb)
Directions
Step 1: Mixing the Dough
In a large mixing bowl, whisk together your active sourdough starter, warm water, and honey until the starter is mostly dissolved. Add the flour and salt. Use a sturdy spatula or your hands to mix until a shaggy dough forms and no dry flour remains. If you are using butter, incorporate it now. Cover the bowl with a damp cloth or plastic wrap and let it rest for 30 minutes to allow the flour to hydrate.
Step 2: Bulk Fermentation and Stretching
Over the next two hours, perform three sets of “stretch and folds.” Reach under one side of the dough, pull it up, and fold it over itself. Rotate the bowl and repeat four times. This builds strength in the dough. After the folds, cover the bowl and let the dough sit in a warm spot until it has grown in size by about 50-75%. This usually takes 6 to 10 hours depending on the temperature of your kitchen.
Step 3: Shaping the Loaf
Gently turn the dough out onto a lightly floured surface. Do not deflate it aggressively. Flatten it into a rough rectangle. Fold the short sides toward the middle, then roll the dough up from the bottom into a tight log. Pinch the seam shut. This tension is what helps the bread rise upward rather than outward.
Step 4: The Final Proof
Grease a standard 9×5 inch loaf pan with butter or oil. Place the shaped dough into the pan with the seam side down. Cover it again and let it rise until the dough reaches about one inch above the rim of the pan. This second rise usually takes 2 to 4 hours. You can also place the pan in the refrigerator overnight to bake the next morning for extra flavor.
Step 5: Baking the Bread
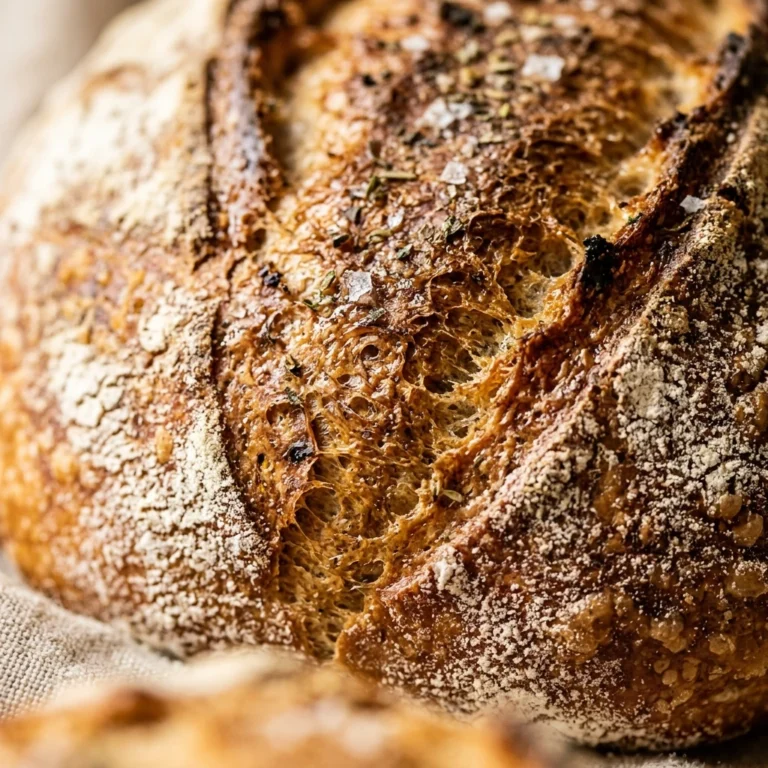
Preheat your oven to 375°F (190°C). If you like a shiny crust, brush the top of the dough with a little milk or egg wash. Place the pan on the middle rack and bake for 35 to 40 minutes. The top should be golden brown, and the internal temperature should reach 190-200°F. Remove the bread from the oven and let it cool in the pan for 10 minutes before transferring it to a wire rack. Wait at least one hour before slicing!
Expert Tips for Perfect Sourdough Sandwich Bread Easy Homemade Beginner Artisan
Always use an active, bubbly starter that has doubled in size. If your starter is sluggish, your bread will be dense. For a softer crust, rub a little butter over the top of the loaf immediately after taking it out of the oven. Watch the dough, not the clock; fermentation times vary wildly based on your home’s humidity and temperature. If your kitchen is cold, you can place the dough in the oven with the light turned on to create a warm environment.
Delicious Variations
For a Whole Wheat version, swap 150g of the bread flour for whole wheat flour and add an extra tablespoon of water. To make Cinnamon Raisin sourdough, fold in a tablespoon of cinnamon and a half cup of raisins during the final shaping step. You can also top the loaf with oats or sesame seeds before baking to add texture and a professional look. For a savory twist, mix in 50g of shredded sharp cheddar cheese and a teaspoon of dried rosemary.
Frequently Asked Questions
How do I know when my sourdough starter is ready?
Your starter is ready when it has doubled or tripled in size after feeding and looks full of bubbles. You can also try the “float test” by dropping a small spoonful of starter into a glass of water; if it floats, it is ready to bake.
Can I use all-purpose flour instead of bread flour?
Yes, you can use all-purpose flour. However, bread flour has a higher protein content, which creates more gluten and results in a better rise and a more “chewy” texture typical of artisan bread.
Why did my bread not rise in the loaf pan?
The most common reasons are an inactive starter or a room that is too cold. Ensure your starter is healthy and give the dough more time. Sourdough moves much slower than commercial yeast bread.
How should I store this sandwich bread?
Store the bread in a paper bag or a bread box at room temperature for up to 3 days. Avoid the refrigerator, as it dries out the bread quickly. For longer storage, slice the bread and freeze it in a sealed bag.
Do I need to score the top of the loaf?
For a sandwich loaf, scoring is optional. Because the dough is supported by the sides of the pan, it will usually expand evenly. However, a single long slash down the middle can help control the expansion and looks beautiful.
Conclusion
Mastering the Sourdough Sandwich Bread Easy Homemade Beginner Artisan recipe is a rewarding journey that fills your home with incredible aromas and your belly with wholesome nutrition. It removes the complexity of traditional sourdough while keeping all the flavor. Once you taste a sandwich made with your own handmade bread, you will never want to go back to the grocery store aisle. Happy baking!