Follow Me On Pinterest!
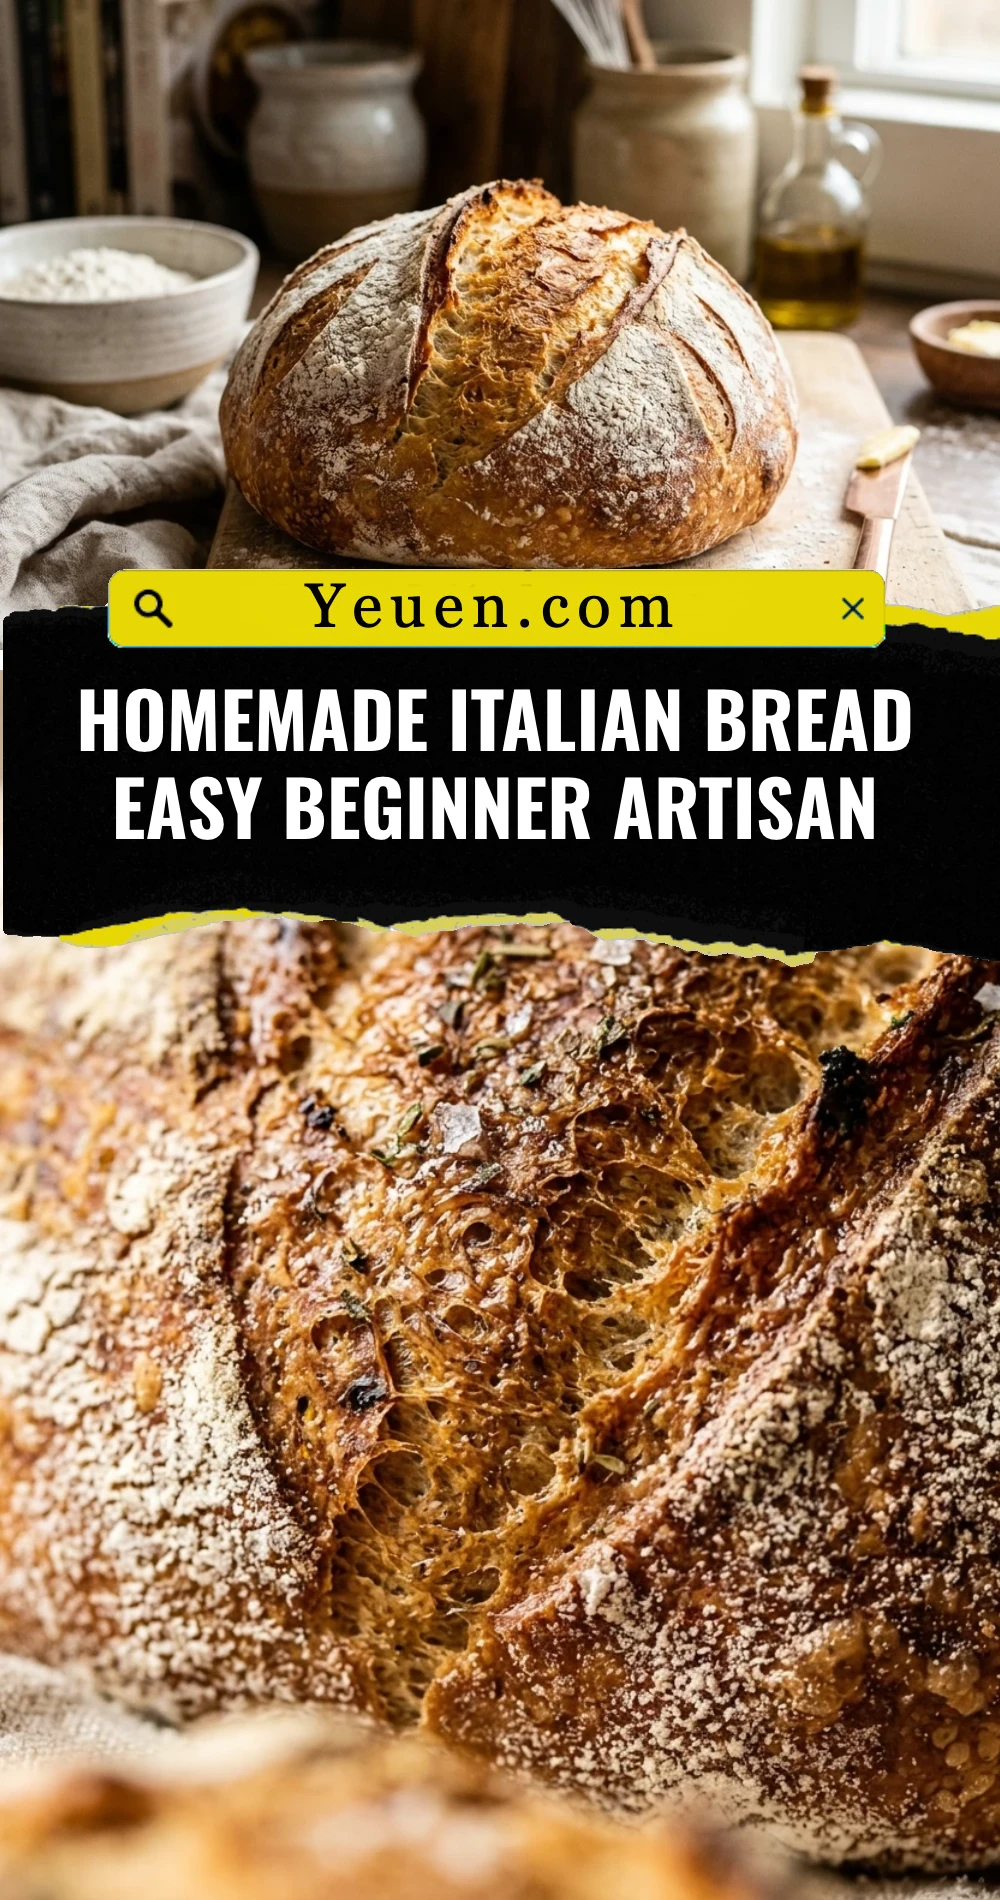
Homemade Italian Bread Easy Beginner Artisan
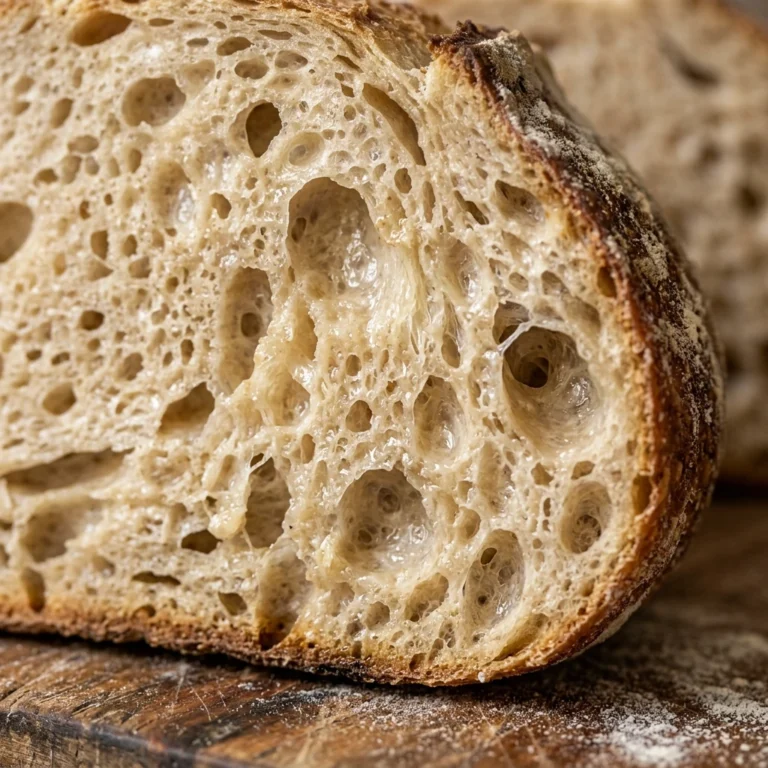
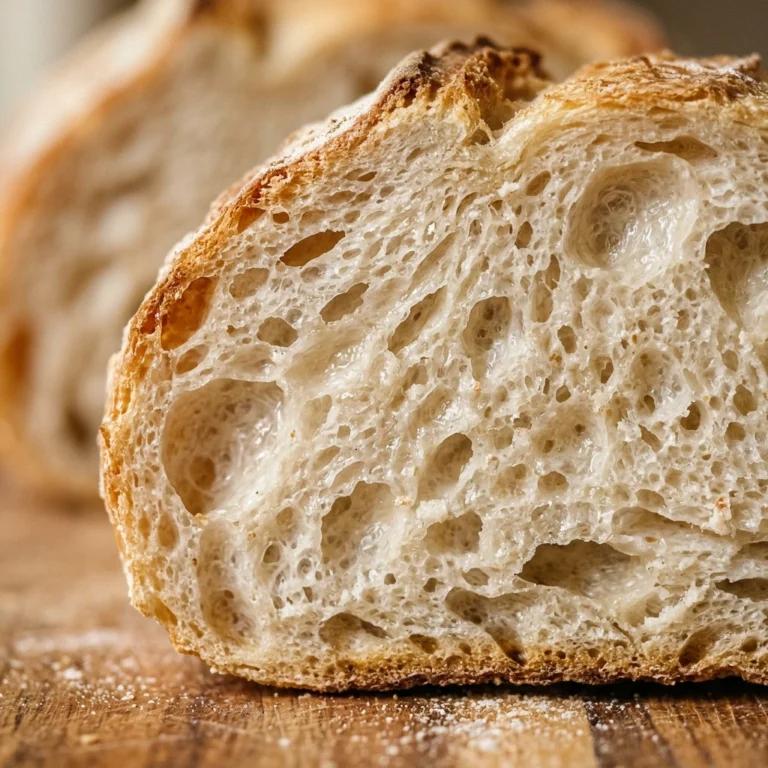
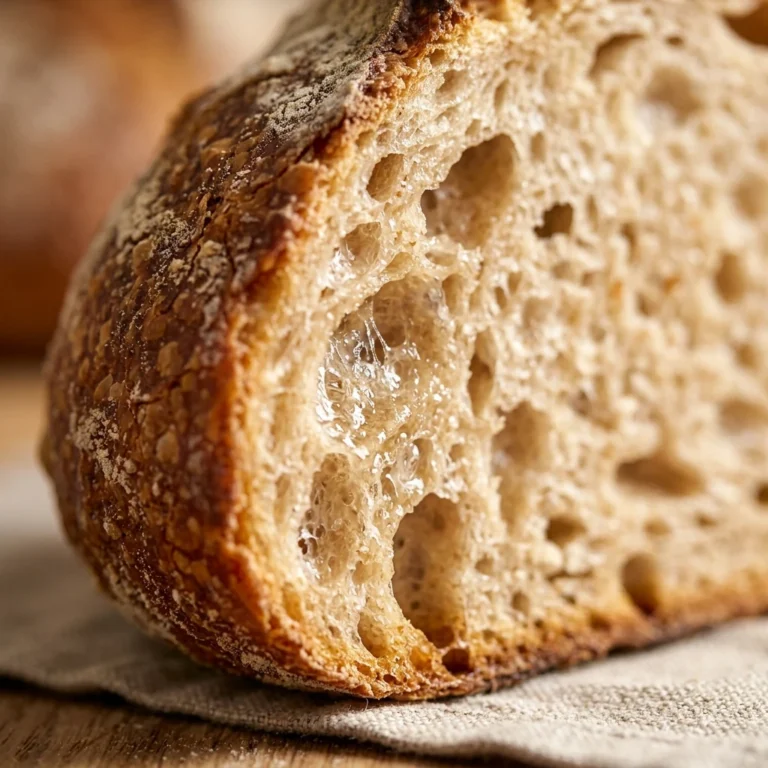
There is nothing quite like the aroma of fresh bread wafting through your home. If you have always felt intimidated by yeast and dough, this Homemade Italian Bread Easy Beginner Artisan recipe is your perfect starting point. You do not need fancy equipment or a professional bakery setup to achieve a golden, crispy crust and a light, airy center. With just a few pantry staples and a little patience, you can create a loaf that rivals any artisan bakery. Grab your apron, and let’s transform your kitchen into an Italian trattoria.
Recipe Information
- Prep Time: 20 minutes (plus 2 hours rising time)
- Cook Time: 25 minutes
- Total Time: 2 hours 45 minutes
- Servings: 2 loaves (approximately 12 slices per loaf)
- Difficulty: Easy
Nutrition values
- Calories: 165 kcal per slice
- Protein: 4g per slice
- Carbs: 32g per slice
Why Make This Homemade Italian Bread Easy Beginner Artisan
This recipe removes the mystery from bread making. It uses a straightforward kneading process that helps you understand the texture of the dough. Unlike store-bought loaves filled with preservatives, this bread contains only simple, wholesome ingredients. It is incredibly versatile; you can use it for sandwiches, dip it in olive oil and balsamic vinegar, or serve it alongside a hearty bowl of pasta. Plus, the satisfaction of slicing into a loaf you made from scratch is unmatched.
Ingredients
- 1.5 cups warm water (105-115°F)
- 1 tablespoon granulated sugar
- 1 package (2.25 tsp) active dry yeast
- 4 cups all-purpose flour (plus extra for dusting)
- 2 tablespoons olive oil
- 1.5 teaspoons salt
- 1 tablespoon cornmeal (for dusting the baking sheet)
- 1 egg white whisked with 1 tablespoon water (for egg wash)
Directions
Step 1: Proof the Yeast
In a large mixing bowl or the bowl of a stand mixer, combine the warm water, sugar, and yeast. Stir gently and let it sit for about 5 to 10 minutes. Look for a foamy layer to develop on the surface. This “bloom” indicates that your yeast is alive and ready to work.
Step 2: Mix and Knead the Dough
Add the olive oil, salt, and two cups of flour to the yeast mixture. Stir until smooth. Gradually add the remaining flour half a cup at a time until the dough pulls away from the sides of the bowl. Turn the dough onto a floured surface and knead by hand for 8 to 10 minutes, or use a dough hook on medium speed for 5 minutes. The dough should feel smooth, elastic, and slightly tacky but not sticky.
Step 3: The First Rise
Lightly grease a clean bowl with olive oil. Place the dough inside and turn it once to coat it in oil. Cover the bowl with a damp kitchen towel or plastic wrap. Place the bowl in a warm, draft-free spot and let it rise until it doubles in size, which usually takes about 60 to 90 minutes.
Step 4: Shape the Loaves
Gently punch down the risen dough to release air bubbles. Divide the dough into two equal portions. On a lightly floured surface, roll each piece into a rectangle, then roll it up tightly starting from the long side to form a baguette shape. Taper the ends slightly by rolling them under your palms. Place the loaves on a baking sheet dusted with cornmeal.
Step 5: Second Rise and Scoring
Cover the shaped loaves loosely and let them rise again for 45 to 60 minutes until they look puffy. Preheat your oven to 375°F (190°C). Use a very sharp knife or a razor blade to make three or four shallow diagonal slashes across the top of each loaf. Brush the tops gently with the egg wash mixture.
Step 6: Bake to Perfection
Place the baking sheet in the center of the oven. Bake for 25 to 30 minutes, or until the crust is a deep golden brown and the loaves sound hollow when tapped on the bottom. For an extra crispy crust, place a pan of hot water on the bottom rack of the oven during the first 10 minutes of baking. Transfer the bread to a wire rack to cool completely before slicing.
Expert Tips for Perfect Homemade Italian Bread Easy Beginner Artisan
Temperature is the most critical factor for success. Ensure your water is warm but not hot; water above 120°F will kill the yeast, while cold water will slow the rise significantly. When measuring flour, use the “spoon and level” method rather than scooping directly with the measuring cup to avoid packing too much flour into the dough. If your kitchen is cold, try proofing the dough in an oven that is turned off with the oven light on. Finally, resist the urge to slice the bread while it is hot. Cooling allows the internal structure to set, preventing a gummy texture.
Delicious Variations
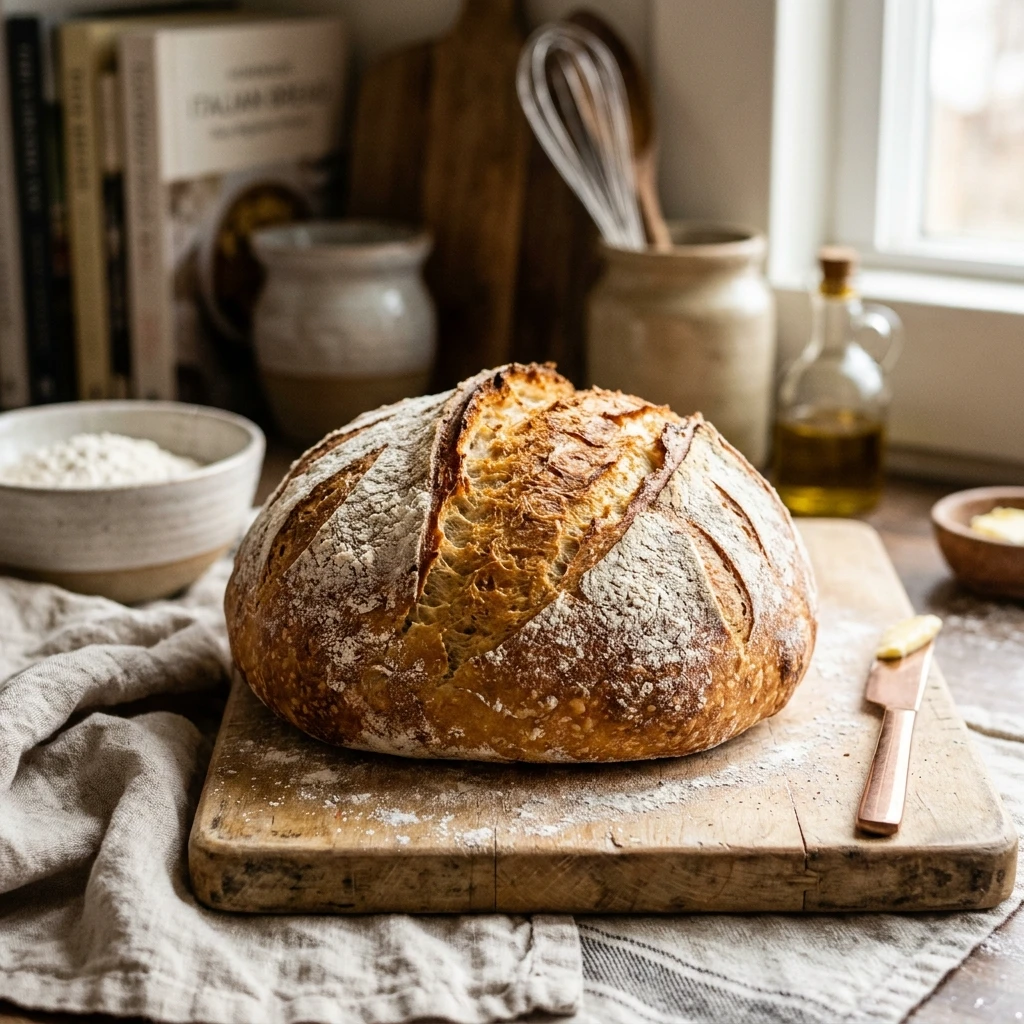
Once you master the basic recipe, try adding your own flair. Stir in a tablespoon of dried rosemary or oregano during the mixing stage for an herby aroma. You can also sprinkle coarse sea salt or sesame seeds over the egg wash before baking. For a cheesy version, fold in half a cup of shredded Parmesan cheese after the first rise. If you prefer a rustic look, skip the egg wash and dust the top of the loaves with a little flour before scoring.
Frequently Asked Questions
Can I use bread flour instead of all-purpose flour?
Yes, you can substitute bread flour 1:1. Bread flour has a higher protein content, which will result in a slightly chewier texture and a taller rise compared to all-purpose flour.
What if my dough doesn’t rise?
If the dough fails to rise, your yeast may have been expired or the water was too hot or too cold. Check the expiration date on your yeast and ensure your rising environment is warm enough.
Can I make the dough ahead of time?
Absolutely. You can let the dough perform its first rise in the refrigerator overnight. Cold fermentation actually develops a deeper flavor. Just let the dough come to room temperature before shaping.
How do I store homemade Italian bread?
Store your bread in a paper bag at room temperature for up to two days to maintain the crust. Avoid plastic bags, as they trap moisture and make the crust soft. For longer storage, wrap it tightly and freeze for up to three months.
Do I really need the cornmeal?
The cornmeal prevents the bread from sticking to the pan and adds a traditional crunch to the bottom of the loaf. If you don’t have it, you can use parchment paper instead.
Conclusion
Baking your own Homemade Italian Bread Easy Beginner Artisan is a rewarding experience that fills your home with warmth and flavor. This simple method proves that you do not need to be a professional baker to enjoy high-quality, crusty bread. Whether you are serving it at a family dinner or gifting a loaf to a neighbor, this recipe is sure to become a staple in your kitchen. Happy baking!