Follow Me On Pinterest!
Easy Sourdough Starter Maintenance For Beginners No Fail
Keeping a sourdough starter alive shouldn’t feel like a full-time job. Many beginners feel overwhelmed by complex schedules and scientific ratios, but I am here to tell you it is much simpler than it looks. This guide strips away the confusion and gives you a no-fail method to maintain a bubbly, active starter that is always ready for your next loaf of bread. Whether you bake every day or once a month, you can master this routine in just five minutes. Let’s turn that intimidating jar of flour and water into your favorite kitchen companion.
Recipe Information
- Prep Time: 5 minutes
- Cook Time: 0 minutes
- Total Time: 5 minutes
- Servings: 1 starter culture
- Difficulty: Easy
Nutrition values
Note: Values are estimated per 100g of fed starter.
- Calories: 180 kcal
- Protein: 5g
- Carbs: 38g
Why Make This Easy Sourdough Starter Maintenance For Beginners No Fail
Maintaining your own starter is the secret to bakery-quality bread at home. This specific method removes the guesswork and high-maintenance stress often associated with sourdough. By following this routine, you minimize waste and maximize the strength of your wild yeast. It is cost-effective because you stop throwing away massive amounts of flour. Most importantly, it builds your confidence as a baker. Once you see how resilient your starter actually is, you will never worry about “killing” it again. This no-fail approach works with your schedule, not against it.
Ingredients
- Active Sourdough Starter: At least 25 grams of your existing culture.
- All-Purpose or Bread Flour: 50 grams (unbleached is best).
- Filtered Water: 50 grams (lukewarm, about 80°F).
Directions
Step 1: Discard the Excess
Start by removing most of your starter from its jar. You only need to keep about 1 to 2 tablespoons (roughly 25 grams) of the old starter in the jar. You can save the “discard” in a separate container in the fridge for pancakes or crackers, or simply compost it. Leaving too much old starter makes it difficult to refresh the acidity levels properly, so do not be afraid to pour it out.
Step 2: Add Fresh Flour and Water
Place your jar with the small amount of starter on a digital kitchen scale. Zero the scale and pour in 50 grams of filtered water. Stir the water and starter together until it looks milky and the starter has mostly dissolved. Then, add 50 grams of unbleached flour. Using a scale ensures your ratios are perfect every time, which is the key to “no-fail” maintenance.
Step 3: Mix and Rest
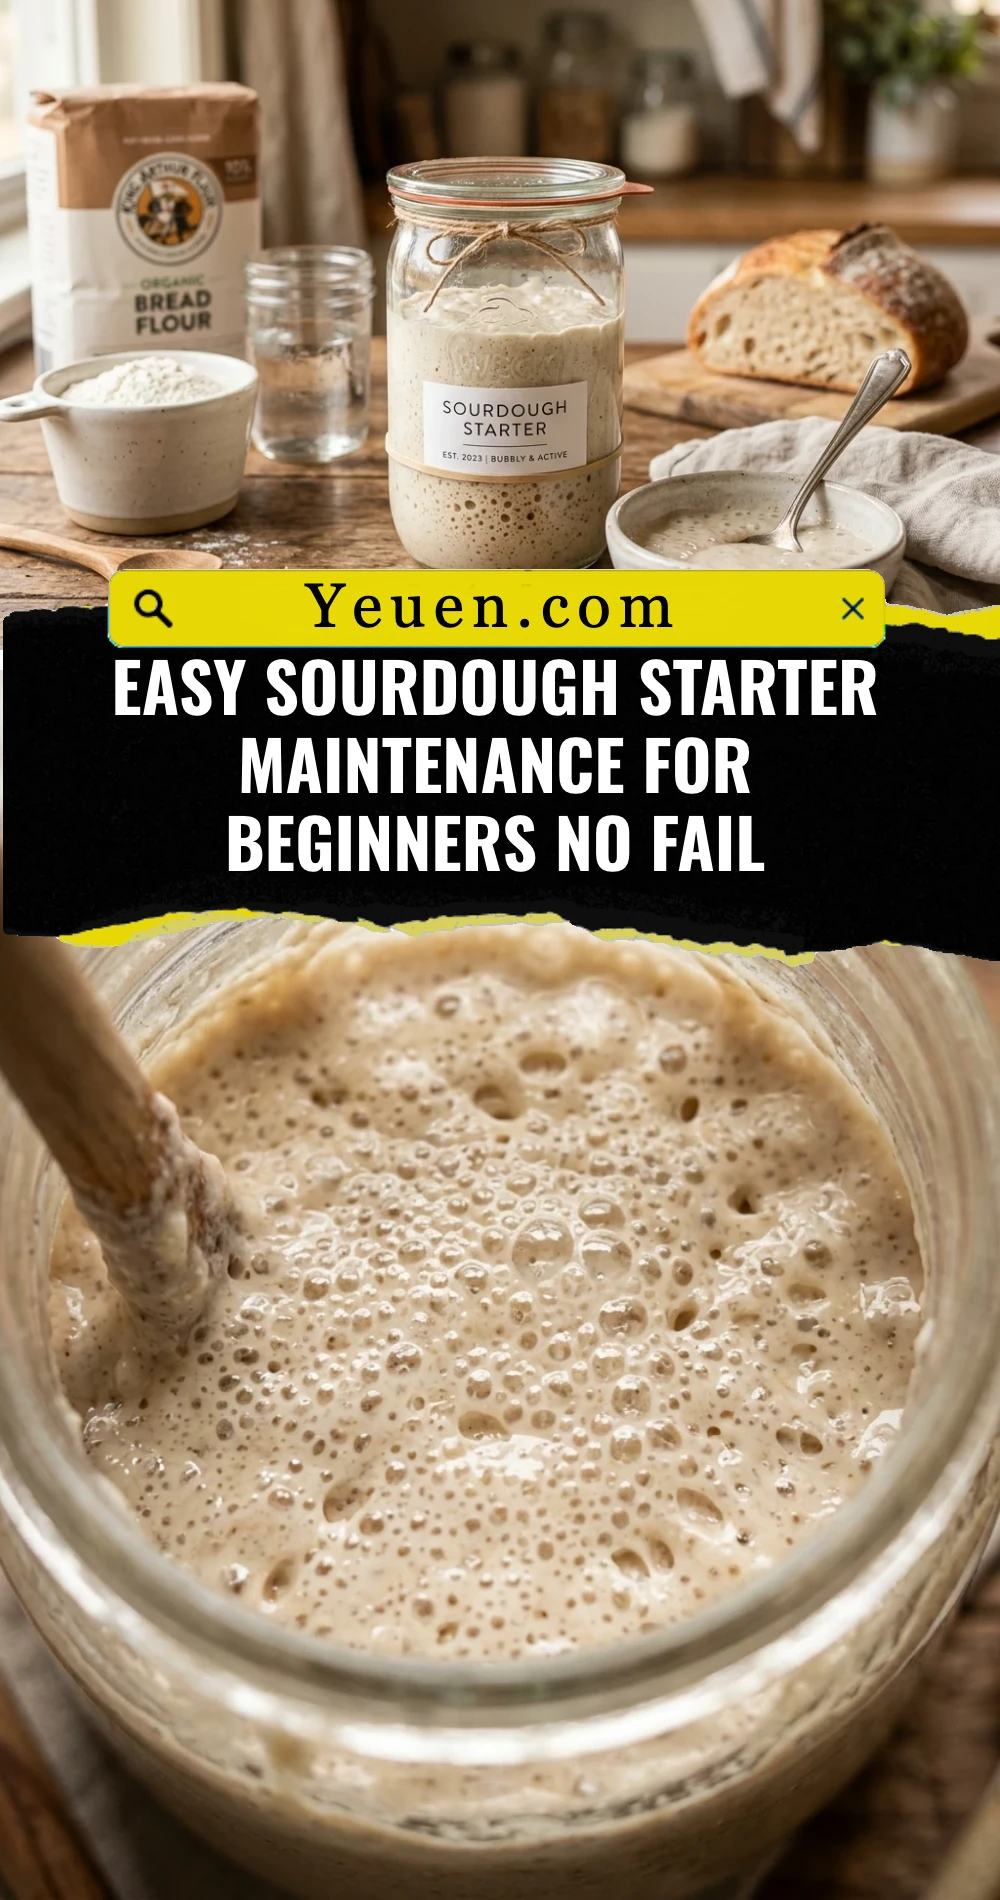
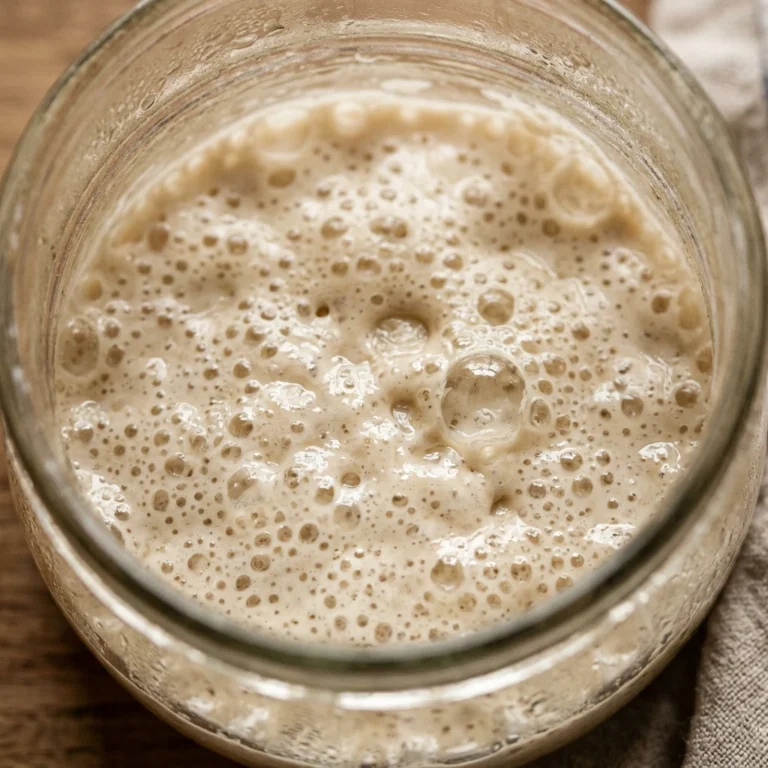
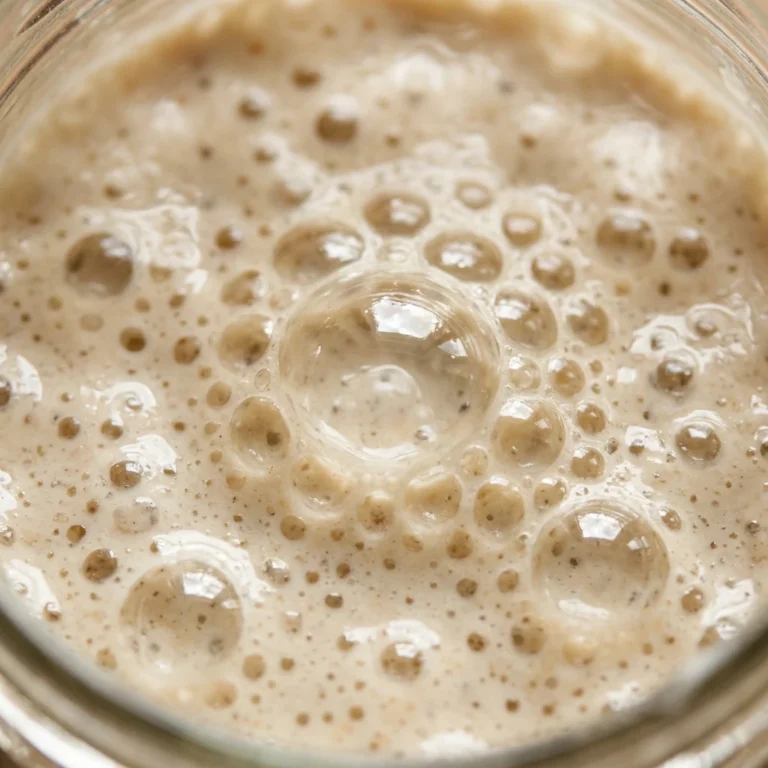
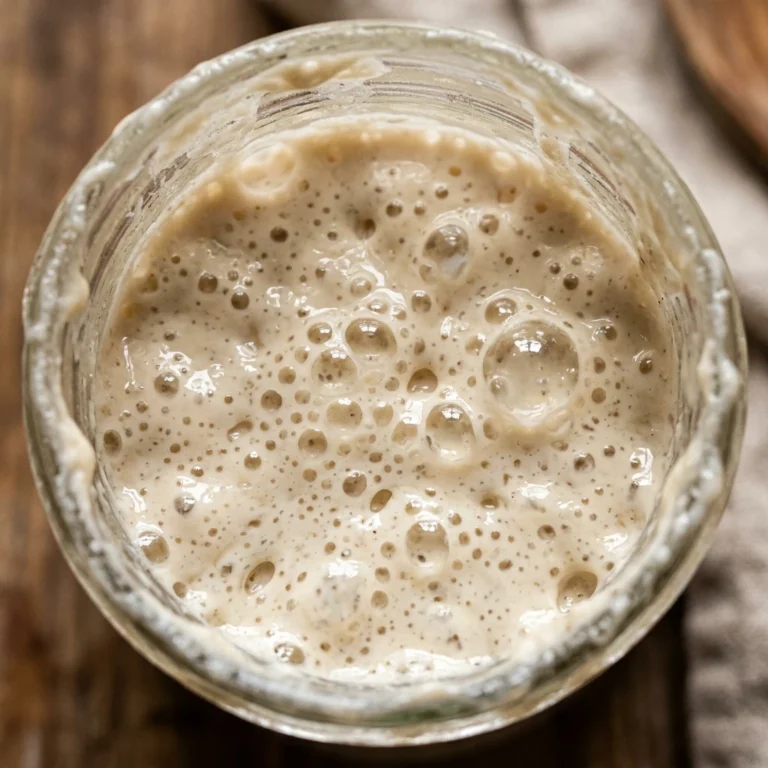
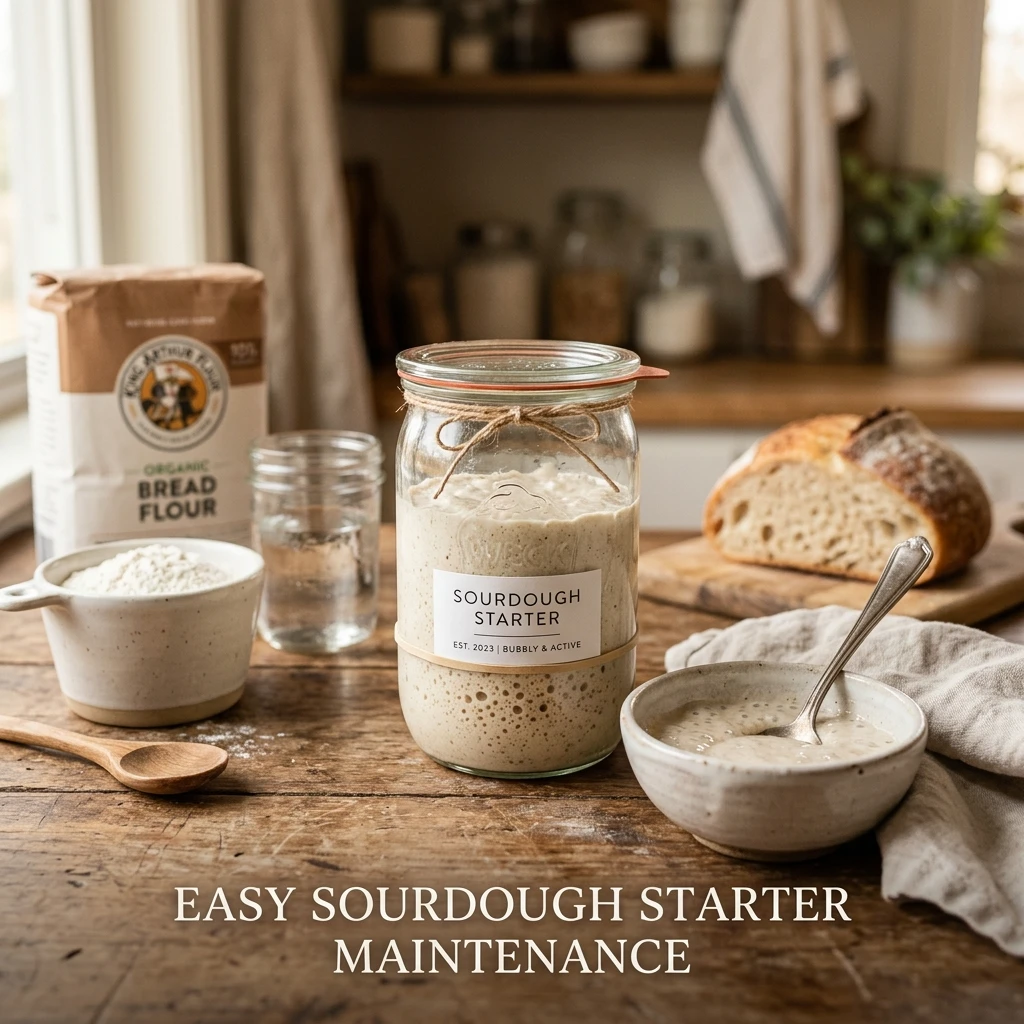
Stir the mixture vigorously with a small spatula or a spoon until no dry flour remains. The consistency should be like a thick, shaggy paste. Scrape down the sides of the jar so you can clearly see the starter rise. Place the lid on loosely (or use a cloth with a rubber band) to allow gases to escape. Leave it on your counter for 4 to 8 hours until it doubles in size and looks bubbly. If you aren’t baking today, move it to the refrigerator after it peaks.
Expert Tips for Perfect Easy Sourdough Starter Maintenance For Beginners No Fail
Always use filtered or spring water. Chlorine in tap water can sometimes inhibit the growth of your wild yeast. If you find your starter is sluggish, try using a 50/50 mix of whole wheat flour and white flour for one feeding to give it a nutrient boost. Another tip is to use a rubber band around the outside of the jar to mark the starting level after you feed it; this makes it easy to see exactly when it has doubled. Finally, remember that smell is your best indicator. A healthy starter should smell tangy, fruity, or like yeasty beer, never like gym socks or rotting trash.
Delicious Variations
You can easily customize your starter by changing the flour type during your maintenance routine. For a more robust, earthy flavor, feed it with 100% dark rye flour. Rye flour contains more fermentable sugars and usually results in a very active, bubbly starter. For a more mild, “San Francisco” style tang, stick strictly to high-quality unbleached white bread flour. You can even create a “stiff” starter by reducing the water to 40 grams while keeping the flour at 50 grams, which slows down fermentation and is great for sweet doughs like brioche.
Frequently Asked Questions
How often do I really need to feed my starter?
If you keep it on the counter, you must feed it once every 24 hours. If you keep it in the refrigerator, once a week is perfect. Sourdough is very hardy and can even survive a few weeks in the fridge without a feeding if necessary.
What is the clear liquid on top of my starter?
That liquid is called “hooch.” It is simply a byproduct of fermentation and a sign that your starter is hungry. You can either pour it off or stir it back in for a more sour flavor, then proceed with your regular feeding.
Does the water temperature matter?
Yes, temperature acts like a gas pedal for yeast. Lukewarm water (75°F-80°F) is ideal. Cold water slows fermentation down, while hot water (over 110°F) can actually kill the living organisms in your starter.
Can I use any type of jar?
Glass jars are best because they don’t react with the acidity of the starter and allow you to see the bubbles. Avoid metal containers for long-term storage, as the acid can corrode the metal over time.
How do I know if my starter is dead?
It is very hard to kill a starter! Unless you see fuzzy mold (pink, orange, or black) or it smells truly putrid like decay, it is likely just dormant. A few consistent feedings will usually bring a “dead” looking starter back to life.
Conclusion
Mastering sourdough starter maintenance is the first step toward becoming a confident home baker. By simplifying the process to a basic 1:2:2 ratio (starter to flour to water), you remove the stress and focus on the joy of fermentation. Remember that your starter is a living thing that adapts to your environment and your rhythm. Don’t sweat the small stuff, keep your tools clean, and enjoy the wonderful aroma of a healthy culture. Happy baking!