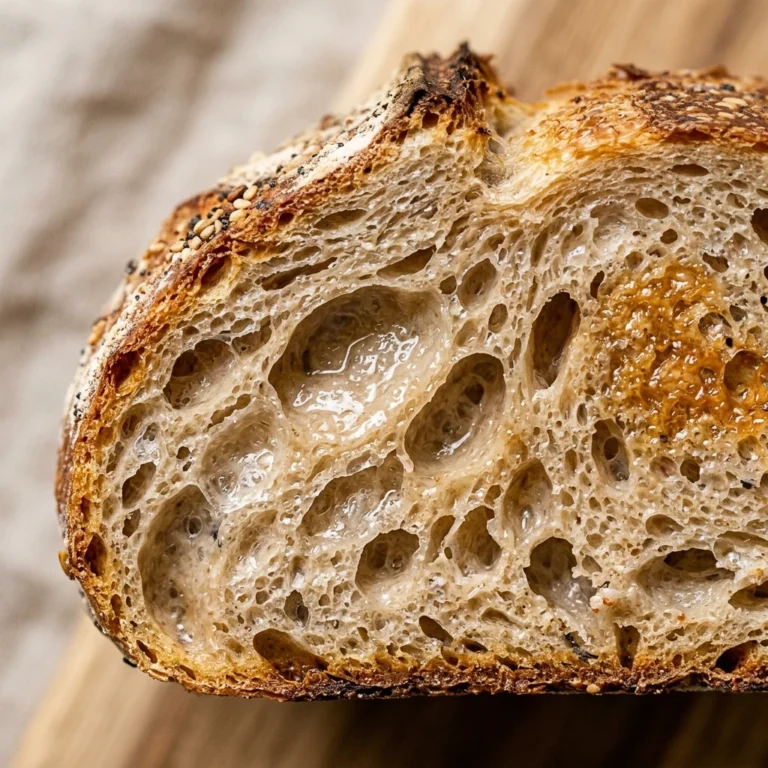
Follow Me On Pinterest!
Easy Sourdough Starter Maintenance For Beginners No Fail
Keeping a sourdough starter alive shouldn’t feel like a high-stakes science experiment. Many beginners quit because they feel overwhelmed by complex ratios and daily schedules that feel like a part-time job. This guide simplifies everything. We are stripping away the jargon to give you a no-fail routine that fits into a busy lifestyle. Whether you want to bake every day or once a month, this maintenance method ensures your starter stays bubbly, active, and ready for your next loaf of crusty bread without the stress.
Recipe Information
- Prep Time: 5 minutes
- Cook Time: 0 minutes
- Total Time: 5 minutes
- Servings: 1 active starter culture
- Difficulty: Easy
Nutrition values
- Calories: 180 kcal (per 100g feeding)
- Protein: 6g
- Carbs: 38g
Why Make This Easy Sourdough Starter Maintenance For Beginners No Fail
This approach takes the guesswork out of fermentation. Most people struggle with “discarding” or finding the right temperature, but this method focuses on a 1:1:1 ratio that is nearly impossible to mess up. It builds a resilient culture that survives even if you forget it in the fridge for a week. You will save money on flour by keeping a smaller “mother” starter and reduce waste by learning exactly when to feed. This is the ultimate “set it and forget it” system for home bakers who want artisan results without the headache.
Ingredients
- 50 grams active sourdough starter (the “mother”)
- 50 grams unbleached all-purpose flour or bread flour
- 50 grams filtered water (room temperature, roughly 70°F-75°F)
Directions
Step 1: Discard the Excess
Start by removing your starter from the refrigerator or your counter. Place a clean glass jar on a digital scale and tare it to zero. Transfer 50 grams of your existing starter into the new jar. You can save the remaining “discard” in a separate container in the fridge for pancakes or crackers, or simply toss it. Starting with a small amount of starter prevents your culture from growing too large and consuming too much flour.
Step 2: Add Flour and Water
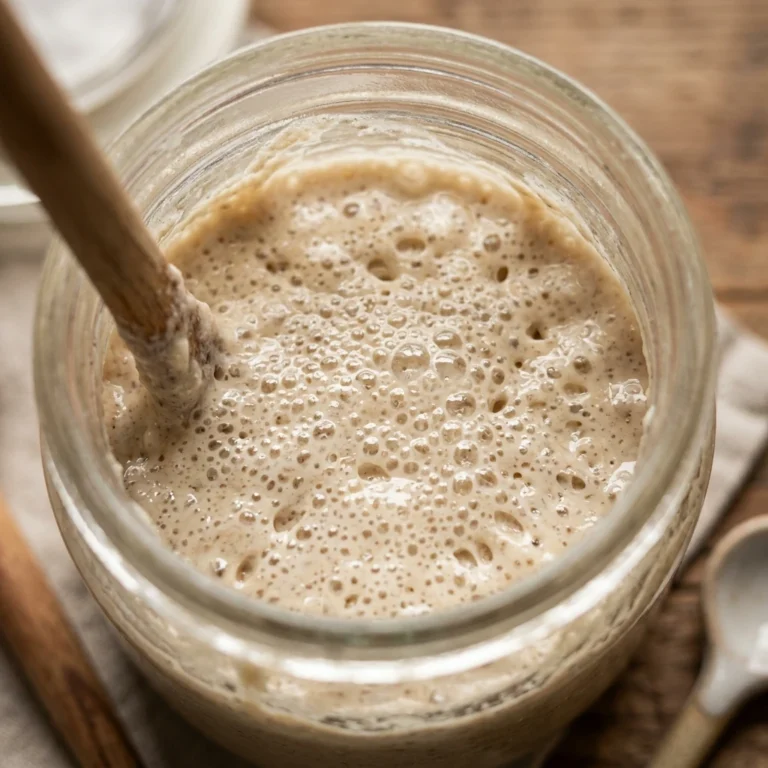
Add 50 grams of filtered water to the 50 grams of starter. Use a whisk or a fork to stir the water and starter together until it looks like a milky slurry. This ensures the yeast is evenly distributed. Next, add 50 grams of your chosen flour. If you want a more robust flavor, you can use a mix of half bread flour and half whole wheat flour. For beginners, plain unbleached all-purpose flour works perfectly and is very reliable.
Step 3: Mix and Aerate
Stir the mixture vigorously until no dry flour remains. You want a thick, paste-like consistency, similar to thick pancake batter. Scrape down the sides of the jar with a spatula so you can clearly see the level of the starter. Place a rubber band around the jar at the current height of the mixture. This acts as a marker so you can see exactly when the starter doubles in size. Cover the jar loosely with a lid or a cloth to allow gases to escape.
Step 4: Ferment and Store
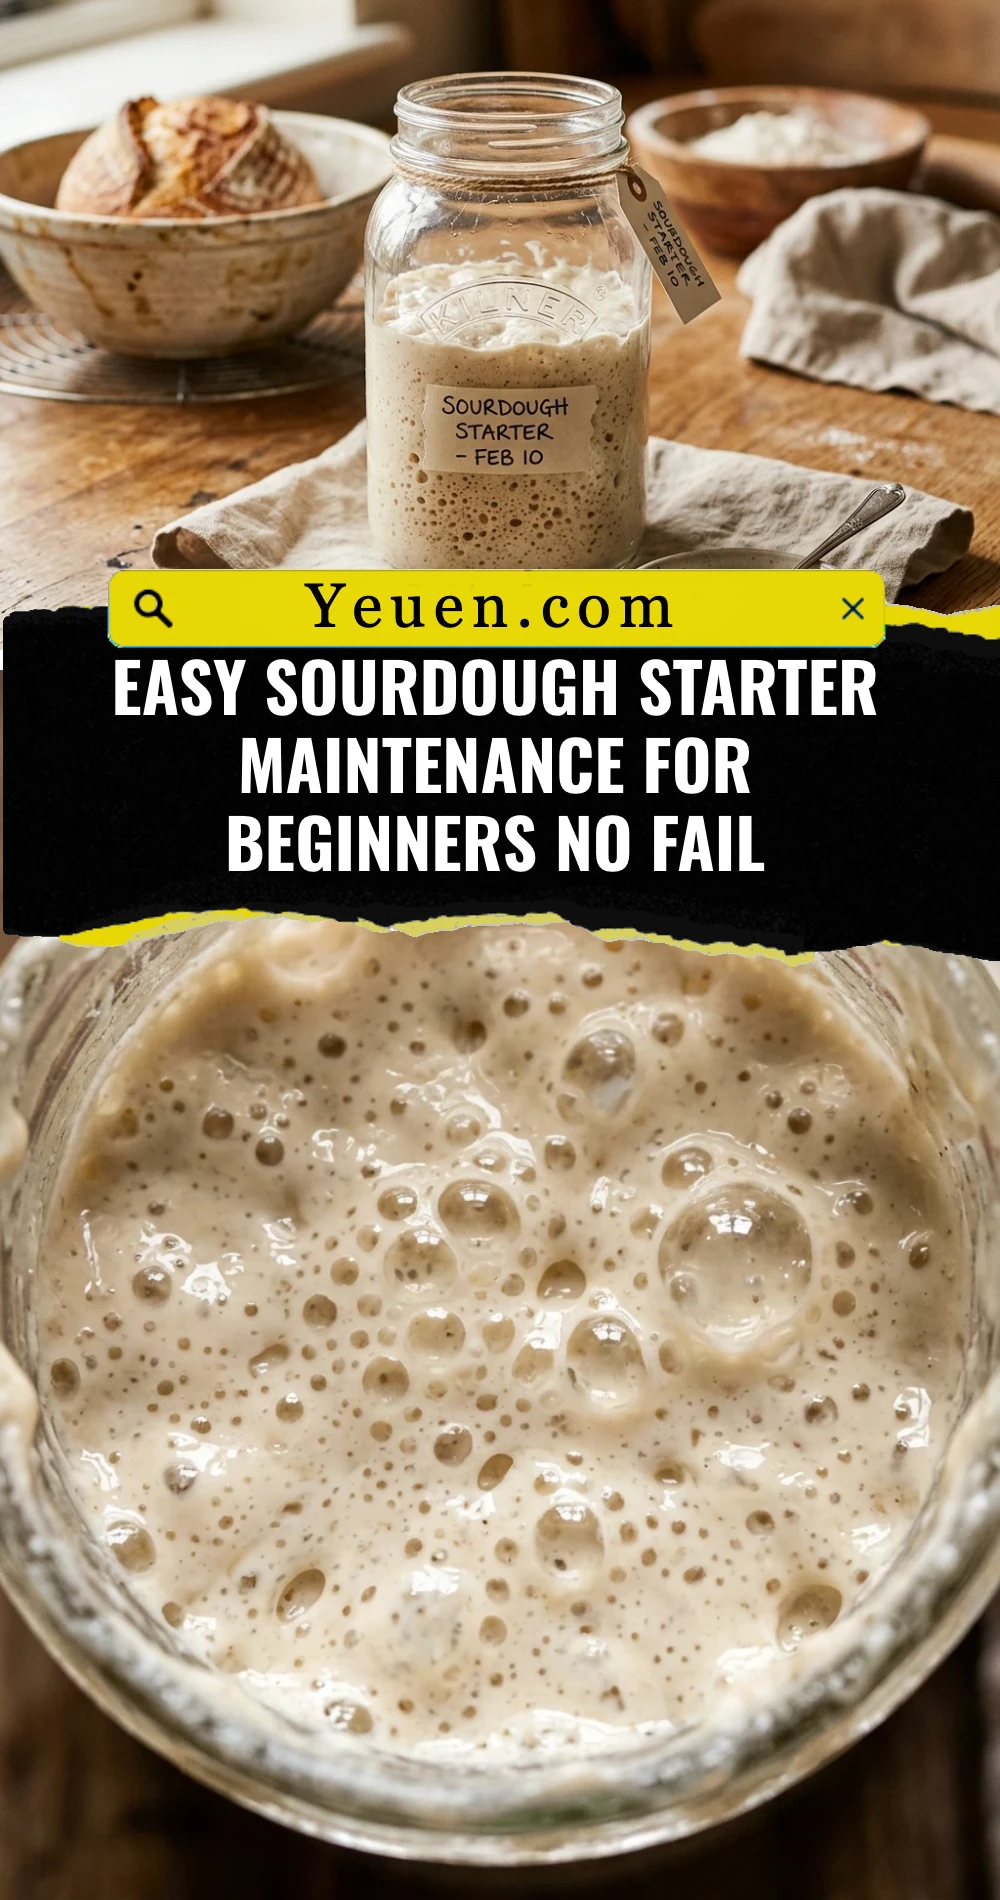
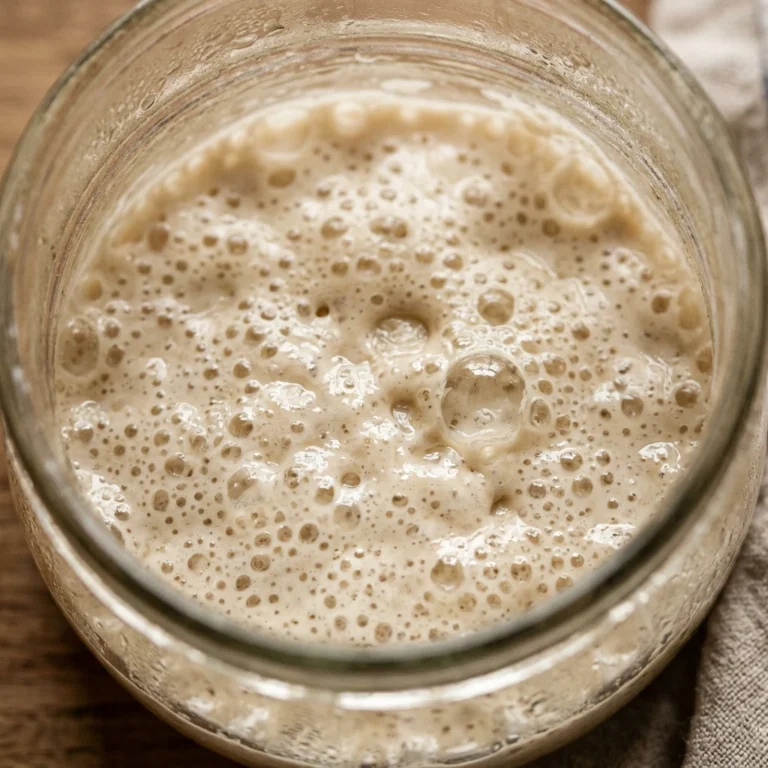
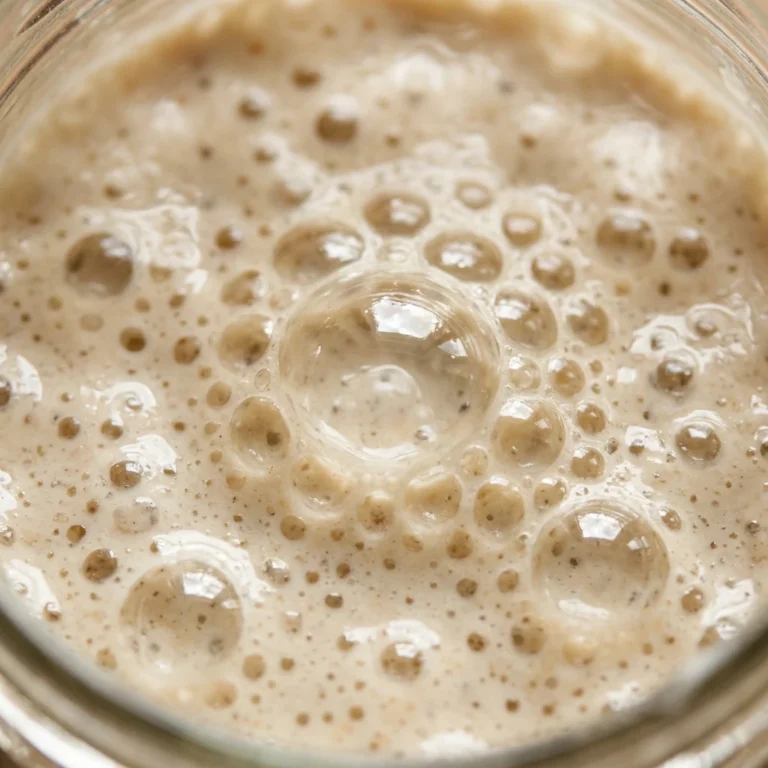
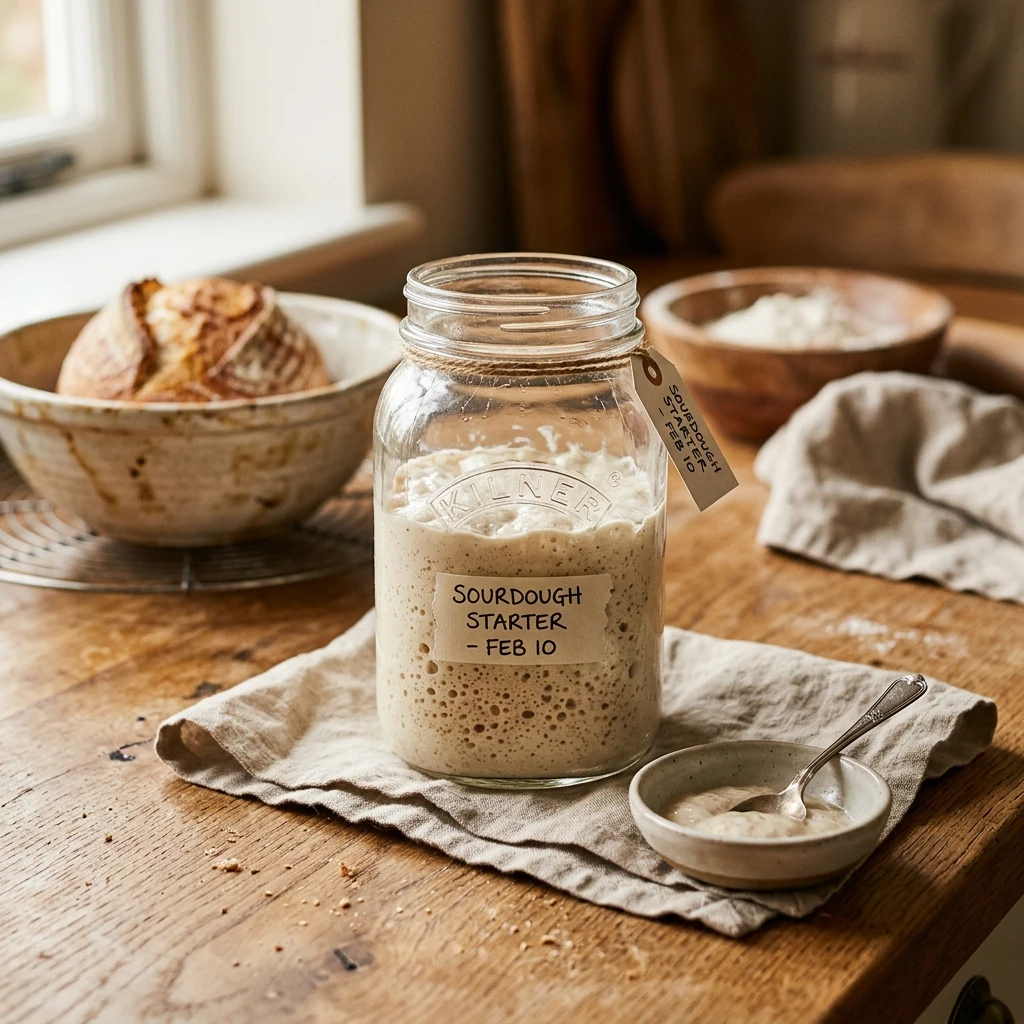
Leave the jar on your kitchen counter at room temperature. Over the next 4 to 8 hours, the starter should bubble and rise. Once it has doubled or tripled in height and smells slightly fruity or tangy, it is at its “peak.” If you are ready to bake, use it now. If you are maintaining it for later, tighten the lid and place the jar in the refrigerator. The cold temperature slows down the yeast, meaning you only need to repeat this process once a week.
Expert Tips for Perfect Easy Sourdough Starter Maintenance For Beginners No Fail
Always use filtered water. Chlorine in tap water can sometimes inhibit the growth of the natural yeast and bacteria. If you don’t have a filter, let your tap water sit out on the counter overnight so the chlorine can evaporate. Also, pay attention to the temperature of your home. If your kitchen is cold, your starter will rise slowly; if it’s warm, it will move much faster. Using a glass jar is highly recommended over plastic because it is easier to clean and doesn’t hold onto old odors.
Delicious Variations
You can easily customize your starter by changing the “fuel” you give it. For a more sour, San Francisco-style flavor, try feeding it 100% dark rye flour for a few cycles. Rye flour contains more nutrients and sugars, which makes the yeast go into overdrive. If you prefer a milder, sweeter bread, stick to unbleached all-purpose flour. You can also adjust the consistency; a “stiff” starter (using more flour than water) ferments more slowly and is great for people who travel and can’t feed their starter as often.
Frequently Asked Questions
How often do I really need to feed my starter?
If you keep it on the counter, feed it once a day. If you keep it in the fridge, once a week is perfect. Some starters can survive in the fridge for several weeks without a feeding, but a weekly schedule keeps it at peak strength.
What is the liquid on top of my starter?
That dark liquid is called “hooch.” It is simply a byproduct of fermentation and a sign that your starter is hungry. You can either stir it back in for a stronger flavor or pour it off before feeding.
Do I have to use a scale?
While you can use volume measurements (like 1/4 cup), a digital scale is much more accurate. Sourdough relies on ratios, and since flour settles differently in a cup every time, a scale ensures “no fail” results.
Can I use bleached flour?
It is best to avoid bleached flour. The bleaching process can remove some of the natural microbes that the sourdough culture needs to thrive. Always look for “unbleached” on the label.
What if I see mold?
If you see fuzzy green, black, or bright pink spots, the starter has been contaminated. In this case, it is safest to throw it away, sanitize your jar thoroughly, and start over or get a fresh scrap from a friend.
Conclusion
Mastering sourdough starter maintenance is the first step toward baking incredible bread at home. By following this simple 1:1:1 ratio and utilizing your refrigerator, you take the pressure off yourself and your kitchen schedule. Remember that your starter is a living thing; it is resilient and wants to grow. Stay consistent, watch for the bubbles, and soon you will be baking artisan loaves that will impress your friends and family. Happy baking!