Follow Me On Pinterest!
Sourdough For Beginners How To Know When Starter Is Ready
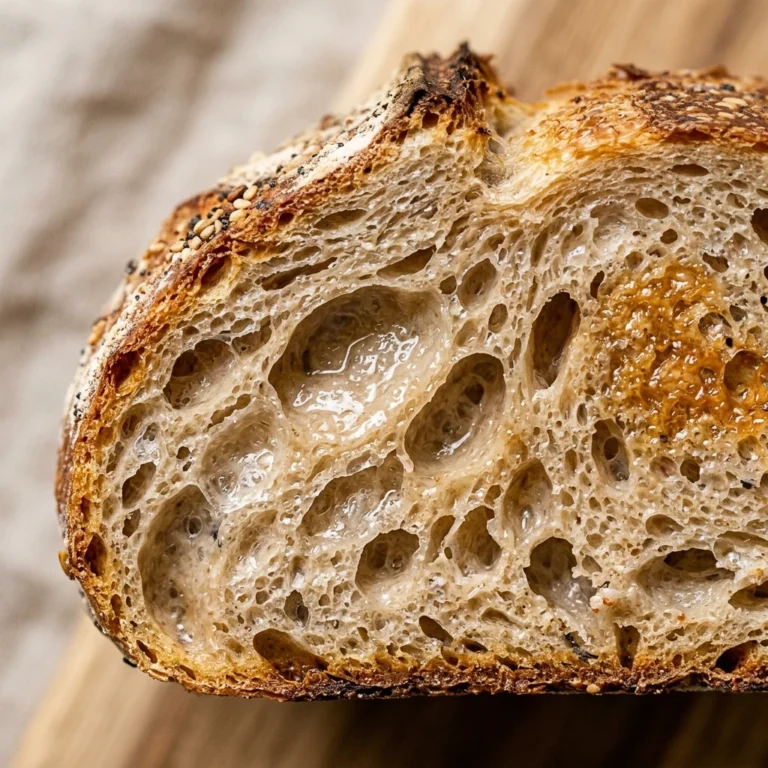
Starting your sourdough journey feels like a science experiment, but it is actually more like raising a tiny, bubbly pet. You mixed your flour and water days ago, and now you are staring at that jar, wondering if it is finally powerful enough to lift a loaf of bread. Knowing exactly when your starter is ready is the single most important skill for a beginner baker. It is the difference between a gummy, flat brick and a beautiful, airy masterpiece with a crisp crust. Let’s dive into the foolproof signs that your starter is active, hungry, and ready to transform into a delicious loaf of sourdough.
Recipe Information
- Prep Time: 5 minutes
- Cook Time: 0 minutes
- Total Time: 5 minutes
- Servings: 1 sourdough starter
- Difficulty: Medium
Nutrition values
- Calories: 180 kcal (per 1/2 cup feeding)
- Protein: 6g
- Carbs: 38g
Why Make This Sourdough For Beginners How To Know When Starter Is Ready
Understanding your starter takes the guesswork out of baking. Instead of following a strict clock, you learn to read the biological cues of your wild yeast. This guide prevents the frustration of wasted flour and failed loaves. By mastering these signs, you build confidence in your baking and ensure that every loaf you put in the oven has the best possible chance of rising perfectly. It turns a confusing process into a predictable, rewarding hobby.
Ingredients
- Mature sourdough starter (at least 7-10 days old)
- High-quality bread flour or whole wheat flour
- Filtered water (room temperature)
- A clean glass jar
- A rubber band
Directions
Step 1: Feed and Track Volume
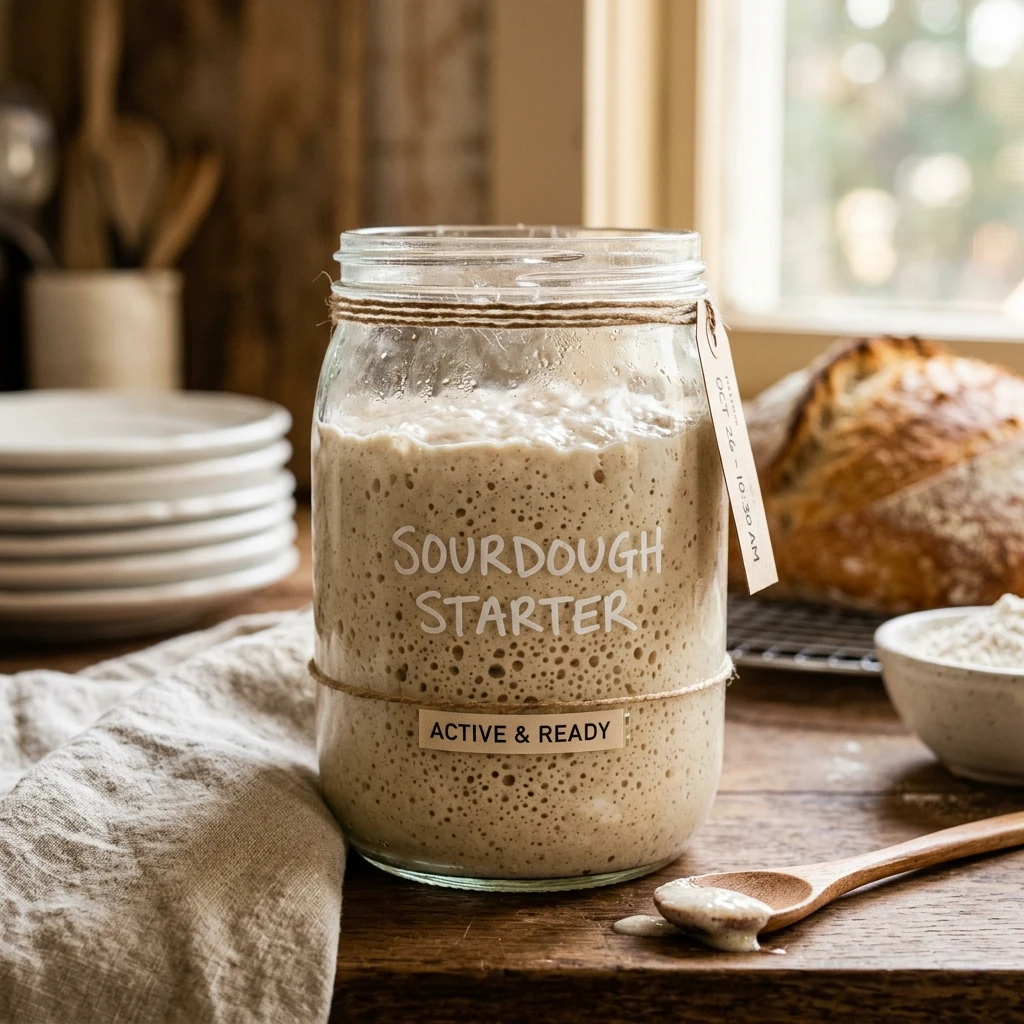
Discard all but a small amount of your starter and feed it a 1:1:1 ratio of starter, flour, and water. Place a rubber band around the jar at the level of the initial mixture. Watch the starter over the next 4 to 8 hours. A ready starter must consistently double in size within this timeframe. If it rises and then falls, it has passed its peak activity and is ready for use.
Step 2: Inspect the Bubble Structure
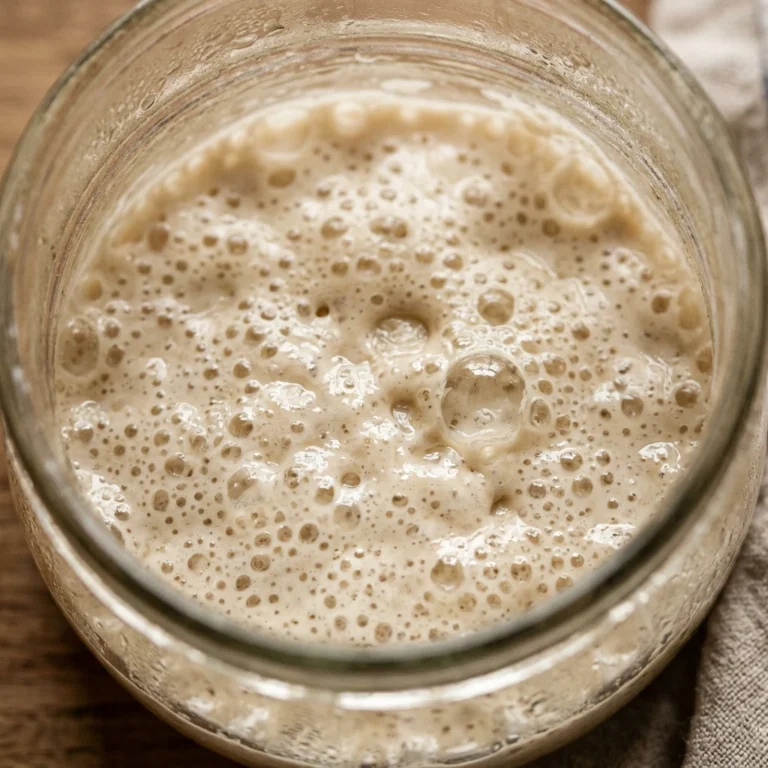
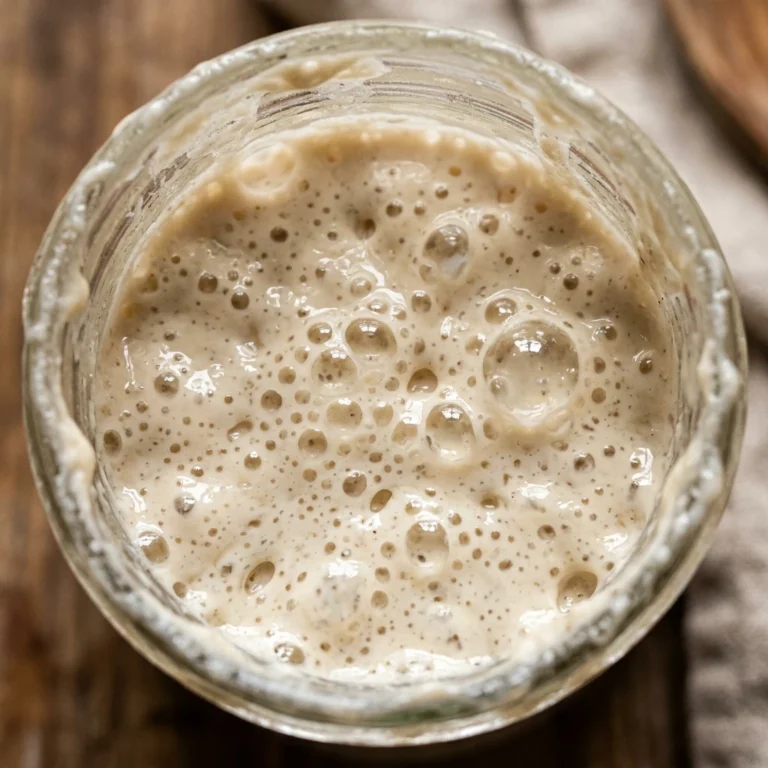
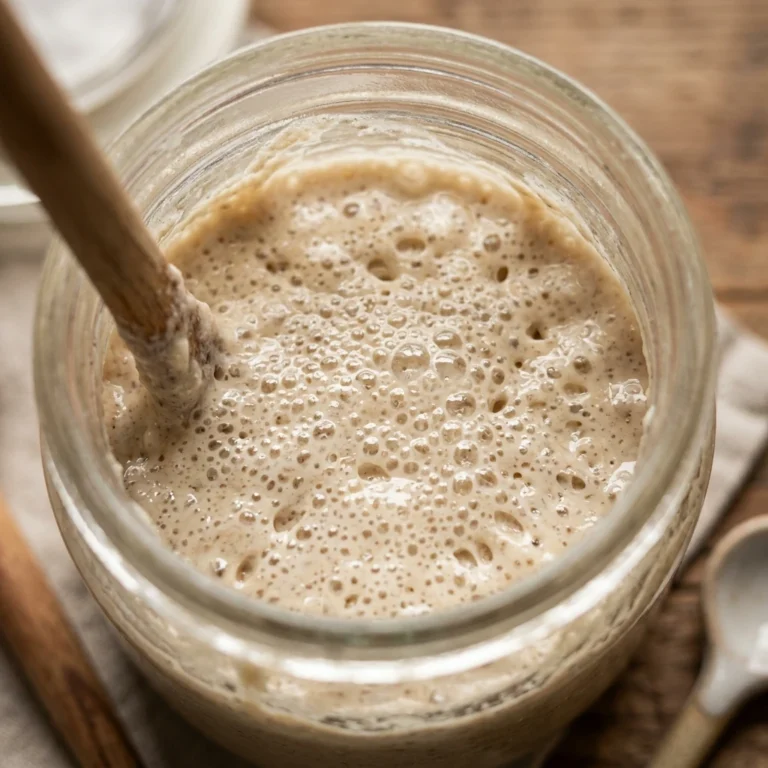
Look through the side of your glass jar. You should see a variety of bubble sizes, ranging from tiny pinpricks to large, airy pockets. When you pull back the top layer with a spoon, the inside should look like a thick, aerated mousse or a spiderweb of gluten strands. This structure proves the yeast is producing enough gas to trapped by the flour’s strength.
Step 3: Perform the Float Test
Drop a small teaspoon of your bubbly starter into a glass of room-temperature water. Do not stir it; simply let it drop. If the starter floats on the surface, it contains enough trapped carbon dioxide to indicate high activity. If it sinks, the starter either needs more time to peak or requires another feeding to build more strength. Note that high-rye starters may not always float even when ready due to different gluten structures.
Step 4: Evaluate the Aroma
Open the jar and take a deep breath. A ready starter should smell pleasantly tangy, yeasty, and slightly fruity. It might remind you of fresh yogurt or mild vinegar. If it smells like harsh nail polish remover (acetone) or very stinky feet, it is likely over-fermented or hungry and needs another feeding before you bake with it.
Expert Tips for Perfect Sourdough For Beginners How To Know When Starter Is Ready
Always use filtered water because chlorine in tap water can inhibit the growth of wild yeast. Maintain a consistent temperature; a warm spot (around 75°F or 24°C) helps the starter peak more predictably. Use a clear, straight-sided jar so you can easily see the volume increase. If your starter is sluggish, try a “booster” feeding with a bit of whole wheat or rye flour, which provides more nutrients for the yeast than plain white flour.
Delicious Variations
While a standard white flour starter is classic, you can experiment with different grains. A Rye Starter often becomes active much faster and provides a deep, earthy flavor. A Whole Wheat Starter offers a nuttier profile and more robust fermentation. You can also create a Stiff Starter by reducing the water ratio, which slows down fermentation and is excellent for sweet enriched breads like brioche.
Frequently Asked Questions
- How many days does it take for a new starter to be ready? Most starters take between 7 and 14 days of daily feedings to become strong enough to bake bread.
- What if my starter doubles but fails the float test? If it doubled in size, it is likely ready! Sometimes the act of scooping the starter pops the bubbles, causing it to sink. Trust the doubling more than the float test.
- What is the clear liquid on top of my starter? This is called “hooch.” It is a sign that your starter is hungry and has run out of food. Pour it off or stir it in, then feed your starter immediately.
- Can I use bleached flour for my starter? It is best to avoid bleached flour. The bleaching process can kill the natural bacteria and yeast you are trying to cultivate. Use unbleached bread flour or all-purpose flour.
- Why does my starter smell like vinegar? A strong vinegar smell means the acidity is high. This happens when the starter goes too long between feedings. Increase your feeding frequency or the ratio of flour/water to balance the pH.
Conclusion
Mastering your sourdough starter is the first major milestone in your baking journey. By watching for that predictable double in volume, checking for a bubbly web-like texture, and confirming with a quick float test, you eliminate the mystery of sourdough. Remember that fermentation is a living process that responds to your environment. Be patient, stay consistent with your feedings, and soon you will be pulling golden, crusty loaves out of your own oven with pride.