Follow Me On Pinterest!
Quick 30-Minute Vegetarian Chili


A Flavor-Packed Bowl of Comfort in Just Half an Hour
—
Introduction
The first time I made vegetarian chili, I was a college student living in a cramped apartment with a kitchen smaller than most closets. It was a chilly November evening, and the wind howled outside like a restless spirit, sending shivers through the thin walls. I rummaged through my pantry, pulling out cans of black beans, kidney beans, and a dusty jar of spices that had seen better days. As I chopped onions and garlic, the sizzling sound danced through the air, and the aroma enveloped me like a warm hug, cutting through the cold.
That night, I mixed vibrant red bell peppers with earthy cumin and spicy chili powder, watching as the colors melded into a bubbling pot of goodness. The deep crimson hue of the simmering chili was almost mesmerizing, and I could hardly wait to dig in. With a dollop of sour cream swirling on top, each bite was a delightful contrast of warmth and comfort. The creamy texture of the avocado I sliced on the side added a luxurious touch, melting into the spicy depths of the chili.
Since that evening, this 30-minute vegetarian chili has become one of my go-to recipes, not just for its mouthwatering flavors but for the memories it conjures of cozy nights spent in good company. It’s the kind of dish that warms your body and soul, perfect for any occasion – from busy weeknights to weekend gatherings with friends. With just a handful of ingredients and a quick cooking method, you can create a bowl of comfort that feels like a warm embrace. Now, let’s dive into the recipe that can transform your chilly evenings into something truly special.
—
Why This Recipe Works
At the heart of this quick vegetarian chili lies a harmonious blend of flavors and textures that come together beautifully in just half an hour. The key flavor combinations include the earthy beans, the sweetness of the bell peppers, the robust kick from the chili powder, and the aromatic profile of cumin and oregano. These spices are not just random additions; they work synergistically to create depth and complexity that elevates the dish far beyond generic versions.
The texture contrasts are equally important. You achieve a perfect balance by using both canned beans, which provide a creamy foundation, and fresh vegetables that retain a bit of crunch. The interplay of the soft, hearty beans with the tender-crisp peppers makes every spoonful exciting.
Each ingredient plays a role in this symphony of flavors. Tomatoes serve as the base, adding acidity and richness, while the beans provide protein and fiber, making this dish satisfying and nutritious. The choice of vegetable broth enhances the flavor without overpowering the other ingredients, ensuring that every bite is perfectly seasoned.
What sets this recipe apart from many others is its simplicity and speed. There’s no need for long simmering or fancy techniques; you can whip this up in your everyday kitchen, making it accessible for both novice cooks and seasoned chefs. You’ll be surprised at how much flavor can come together when you focus on quality ingredients and a few expert techniques.
—
What Makes It Special
This 30-minute vegetarian chili brings several unique qualities to the table that set it apart from restaurant or store-bought versions.
– Freshness: When you make it at home, you control the ingredients, ensuring everything is fresh and free from preservatives. The vibrant colors and aromas of freshly chopped vegetables are unbeatable, making each bowl feel like a warm embrace of health.
– Cost-efficiency: Preparing this chili at home is not only cost-effective but also allows you to make a larger batch, perfect for meal prep or feeding a crowd. Store-bought versions often come with a hefty price tag, especially for quality products.
– Customization: One of the best things about this recipe is how adaptable it is. Feel free to swap out ingredients based on your preferences or what you have on hand. Want more heat? Add chopped jalapeños. Prefer a different protein? Toss in some quinoa or even tofu.
– Surprising elements: The addition of cocoa powder or a hint of cinnamon can elevate the flavor profile, creating a subtle depth you might not expect. These small touches can transform your chili into something extraordinary, impressing friends and family alike.
—
Ingredient Breakdown
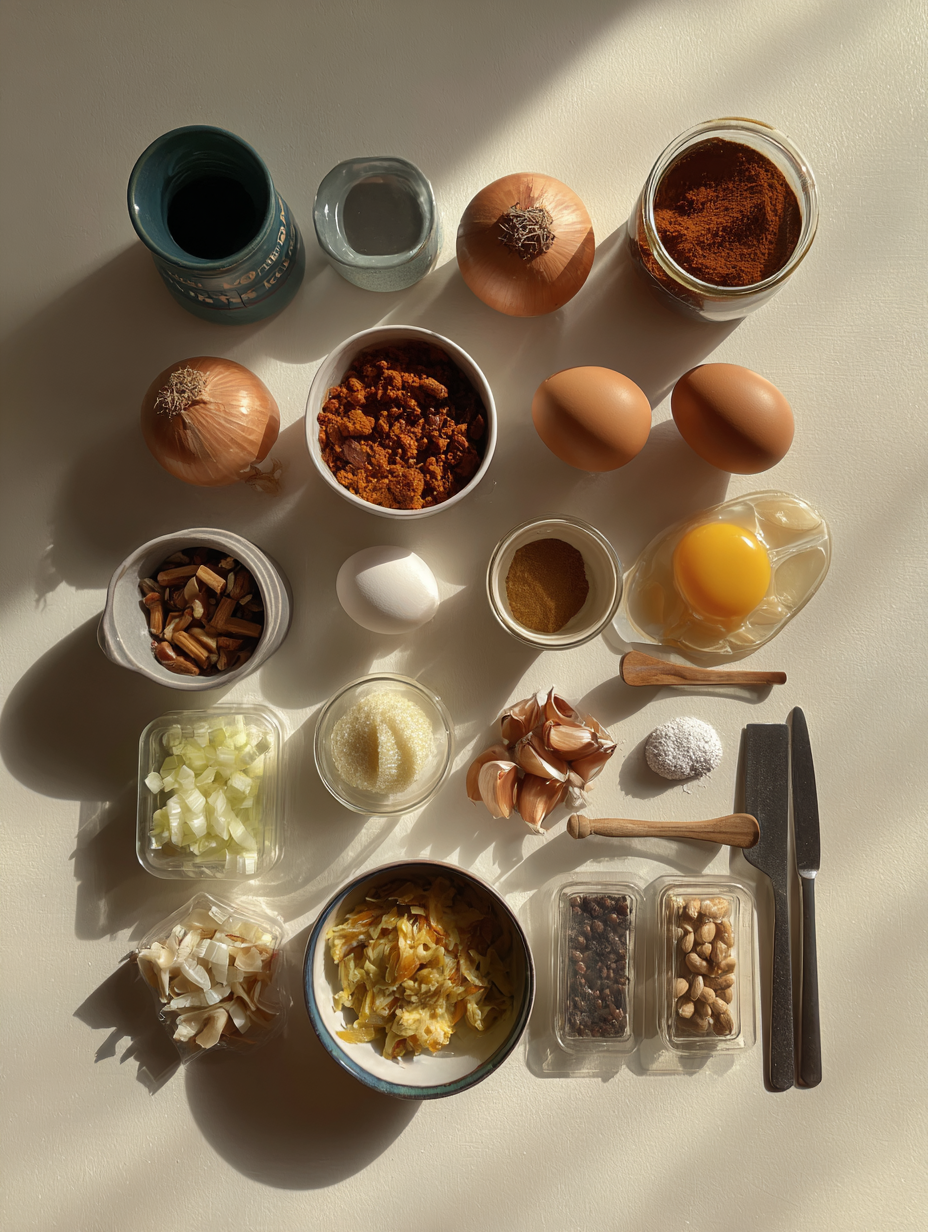
Let’s dive into the specifics of each ingredient that makes this quick vegetarian chili a standout dish.
1. Canned Black Beans: The star of the show, these beans add protein and a creamy texture. Using canned beans allows for convenience and quick prep. Make sure to rinse them to reduce sodium content.
2. Canned Kidney Beans: These provide a slightly firmer texture, adding to the chili’s heartiness. They complement the black beans perfectly, creating a rich, filling dish.
3. Tomatoes (Diced or Crushed): The base of your chili, tomatoes bring acidity and sweetness. If you prefer a thicker chili, crushed tomatoes are ideal; for a more broth-like consistency, diced tomatoes work well.
4. Red Bell Peppers: These add a sweet crunch and vibrant color. You can substitute with green bell peppers for a more bitter flavor, or even zucchini if you’re looking to mix things up.
5. Onion and Garlic: Essential aromatics that build the foundation of flavor. Sautéing them releases their natural sweetness, enhancing the overall taste. Use yellow onion for sweetness or red onion for a milder flavor.
6. Chili Powder: This spice blend gives the chili its signature kick. Be mindful of the amount; start small if you’re sensitive to spice, and adjust to taste.
7. Cumin and Oregano: These herbs add depth and warmth. Cumin brings nutty undertones, while oregano contributes an earthy aroma. They’re vital for achieving that classic chili flavor.
8. Vegetable Broth: This is the liquid base that helps everything come together. Use low-sodium broth to control the salt levels.
9. Olive Oil: For sautéing the vegetables, olive oil adds richness. You can substitute with avocado oil or coconut oil if you prefer.
10. Cocoa Powder: This might sound unusual, but a teaspoon of unsweetened cocoa powder adds a subtle richness and complexity to the chili.
11. Optional toppings (Sour Cream, Avocado, Fresh Cilantro): These add creaminess, freshness, and a pop of color. For dairy-free options, try vegan sour cream or a sprinkle of nutritional yeast.
When selecting your ingredients, opt for organic options when possible, especially for canned goods to avoid additives. Specialty items like cocoa powder or unique beans can often be found in health food stores or online, ensuring you have everything you need to create an incredible dish.
—
Equipment Needed
To whip up your quick vegetarian chili, you’ll need a few essential tools:
1. Large Pot or Dutch Oven: This is where all the magic happens. A heavy-bottomed pot ensures even heat distribution, preventing your chili from burning while it simmers. If you don’t have a Dutch oven, any large pot will suffice.
2. Cutting Board and Sharp Knife: A sturdy cutting board and a sharp knife are crucial for chopping your veggies efficiently. If you’re looking for an affordable alternative, a plastic cutting board works just as well.
3. Wooden Spoon or Spatula: For stirring the chili, a wooden spoon is ideal as it won’t scratch your pot and can handle the heat. A silicone spatula is also a great choice if you prefer something more flexible.
4. Can Opener: Since this recipe relies on canned beans and tomatoes, an easy-to-use can opener will save you time and effort.
5. Measuring Cups and Spoons: Accurate measurements are vital for achieving the best flavor. If you don’t have a full set, a simple 1-cup and tablespoon will work for most of the recipe.
6. Ladle: For serving, a ladle is helpful to scoop out your chili without making a mess. If you don’t have one, any large spoon will do the trick.
These tools are essential for making the cooking process smooth and enjoyable. While some items like a ladle might be optional, having a good pot and sharp knife on hand will make all the difference in how quickly and easily you can prepare your dish.
Step-by-Step Instructions
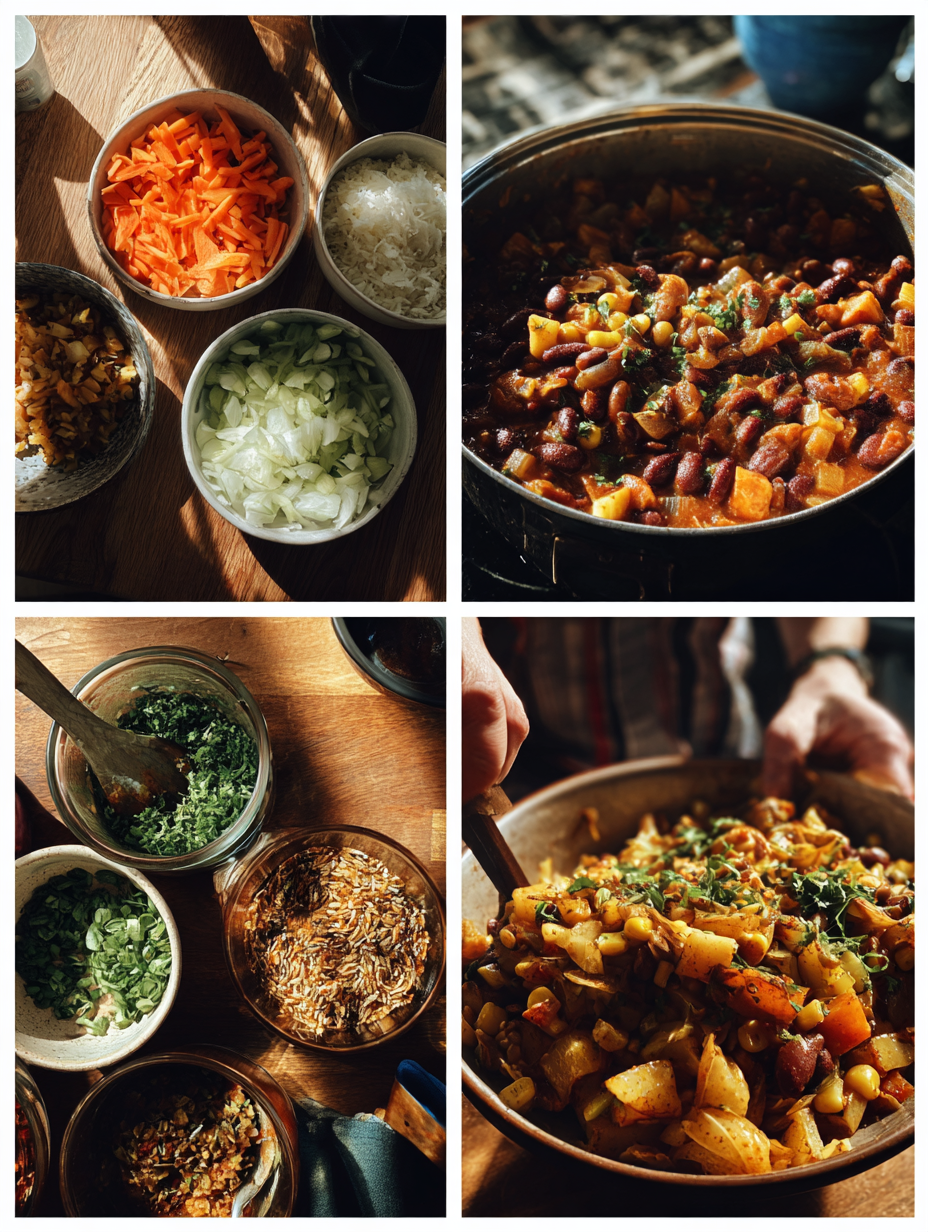
1. Prep Your Ingredients: Start by gathering all your ingredients on a clean workspace. You will need 1 tablespoon of olive oil, 1 onion (diced), 2 cloves of garlic (minced), 1 bell pepper (diced), 1 can of diced tomatoes (28 ounces), 1 can of black beans (15 ounces, rinsed and drained), 1 can of kidney beans (15 ounces, rinsed and drained), 1 can of corn (15 ounces, drained), 2 tablespoons of chili powder, 1 tablespoon of cumin, salt and pepper to taste, and fresh cilantro for garnish. This preparation not only speeds up cooking but also helps you stay organized.
2. Sauté the Vegetables: Heat 1 tablespoon of olive oil in a large pot over medium heat. Once the oil shimmers (about 30 seconds), add the diced onion. Sauté for 3-4 minutes until the onion is translucent and fragrant. You should hear a gentle sizzle. Next, stir in the minced garlic and diced bell pepper, cooking for another 2-3 minutes until the bell pepper softens. The aroma should be sweet and savory, filling your kitchen with a delightful scent.
3. Add the Spices: Once your vegetables are softened, it’s time to add the spices. Sprinkle in 2 tablespoons of chili powder and 1 tablespoon of cumin, stirring constantly for about 1 minute. This toasting of spices releases their essential oils and enhances their flavors. Be mindful that you should start to smell the warm, earthy notes that indicate the spices are ready.
4. Incorporate the Tomatoes and Beans: Pour in the can of diced tomatoes with its juices, and add the rinsed black beans, rinsed kidney beans, and drained corn. Stir thoroughly to combine all the ingredients. You want to see a vibrant mixture of colors — the red tomatoes, black beans, yellow corn, and green bell peppers. Bring the mixture to a gentle simmer, which should take about 2-3 minutes.
5. Adjust Seasoning and Simmer: As your chili simmers, taste the mixture. Season with salt and pepper to your liking, keeping in mind that the beans will absorb some flavor. Allow it to simmer uncovered for 10 minutes. During this time, the flavors will meld beautifully. You should see bubbles occasionally breaking the surface, and the chili should thicken slightly.
6. Finish and Garnish: After simmering, remove the pot from heat. Allow it to sit for a minute to cool slightly, then serve hot in bowls. Garnish with fresh cilantro for a burst of color and flavor. You’ll know it’s ready when the chili is warm to the touch, and the cilantro adds a refreshing herbal note.
7. Enjoy Your Chili: Ladle generous portions into bowls and serve with your favorite toppings, such as avocado slices, shredded cheese, or tortilla chips. The chili should have a comforting warmth, and each spoonful will reveal a harmonious blend of textures and flavors that invite you to dive in for more.
Pro Tips for the Best Results
1. Use Fresh Spices: Always use fresh spices. Dried spices can lose their potency over time, which might make your chili bland. Check the expiration date; if they’ve been sitting in your pantry for over a year, it’s time to replace them.
2. Don’t Skip the Sautéing: Sautéing the onions and garlic until they are fragrant transforms the flavor base of your chili. This step provides a depth that you won’t achieve if you just throw everything into the pot at once.
3. Experiment with Beans: While black and kidney beans are classic, you can mix it up by using pinto beans or even chickpeas. Different beans add unique textures and flavors, making your chili even more interesting.
4. Control the Heat: If you prefer a spicier chili, add a pinch of cayenne pepper or some chopped jalapeños when sautéing the vegetables. Start with a small amount, taste, and adjust as you go to avoid overwhelming heat.
5. Thicken for Texture: If you desire a thicker chili, use a potato masher to gently mash a portion of the beans after they’ve simmered. This will give your chili a creamy texture without losing the integrity of the ingredients.
6. Time to Rest: Allowing your chili to sit for 10-15 minutes after cooking enhances its flavor. This resting period allows the spices to meld even further, so if you can resist the immediate temptation, let it rest!
7. Serve with Sides: Chili is fantastic on its own, but consider serving it with crusty bread, rice, or a side salad. These sides will complement the dish and add variety to your meal.
8. Batch Cook for Freezing: This chili freezes well! If you’re making it for later, portion it into freezer-safe containers and store it for up to 3 months. Just remember to cool it completely before freezing for the best results.
Common Mistakes to Avoid
1. Skipping the Sautéing Step: Many beginners might think they can throw everything into the pot raw. This shortcut results in a lack of depth in flavor. Always sauté your aromatics first to build a flavorful base.
2. Not Rinsing Canned Beans: If you don’t rinse your canned beans, the excess starch and sodium can make your chili unappetizingly thick and overly salty. Rinse them under cold water before adding, ensuring a cleaner taste and better texture.
3. Overcooking the Vegetables: While you want your vegetables to be tender, overcooking can lead to mushy textures. Cook them just until they’re softened but still have some bite; this will keep your chili hearty.
4. Inadequate Seasoning: Avoid the mistake of underseasoning your chili. Beans and tomatoes absorb flavors, so taste and adjust the seasoning throughout the cooking process for the best results.
5. Ignoring Cooking Time: Allowing your chili to simmer for too short a time will result in an underdeveloped flavor profile. Aim for at least 10-15 minutes of simmering to let the spices and ingredients meld together beautifully.
6. Not Tasting as You Go: Skipping the tasting step can lead to imbalanced flavors. Always taste at various stages of cooking to adjust seasoning and ensure you’re on the right track.
7. Using Low-Quality Ingredients: Using canned tomatoes or beans of lower quality can greatly affect the overall taste of your chili. Opt for brands that you trust or organic varieties for a more robust flavor.
Creative Variations
1. Seasonal Variation: Fall Harvest Chili: Incorporate seasonal vegetables like butternut squash and sweet potatoes. Dice them and add them along with the bell pepper in step 2. These ingredients will add a natural sweetness and heartiness to your chili.
2. Dietary-Friendly Version: Vegan Chili: Simply ensure that all your ingredients, including beans and spices, are vegan. You can also add nutritional yeast for a cheesy flavor without dairy. This version will keep all the flavors intact while catering to vegan diets.
3. Gourmet Elevated Version: Mushroom & Quinoa Chili: Swap half the beans for finely chopped mushrooms and add 1 cup of cooked quinoa during the last 5 minutes of cooking. This will give your chili an umami kick and a gourmet touch that’s sure to impress.
4. Quick 15-Minute Version: Speedy Chili: Use pre-cooked lentils instead of canned beans and skip the sautéing step. Just heat everything in a pot for about 10 minutes until warmed through. This will drastically cut down on prep time while still delivering a delicious meal.
5. Kid-Friendly Version: Mild and Cheesy Chili: Reduce the chili powder to 1 teaspoon and add in 1 cup of shredded cheddar cheese at the end while the chili is still warm. This will give it a mild flavor that is appealing to kids while still being nutritious.
6. International Twist: Curry-Spiced Chili: Add 1 tablespoon of curry powder in step 3 instead of chili powder for a unique twist. Accompany it with coconut milk in place of half of the diced tomatoes to create a creamy, spicy chili with an exotic flair.
Serving Ideas
When it comes to serving your 30-minute vegetarian chili, presentation can elevate your dish from comforting to stunning. Here are some beautiful ways to plate and serve this delicious meal:
1. Bowl It Up: Serve the chili in deep, rustic bowls for a cozy feel. Top each bowl with a sprinkle of fresh cilantro, a dollop of sour cream or Greek yogurt, and a few avocado slices for a pop of color.
2. Chili Plates: Pour the chili onto a wide, shallow plate to create a canvas for garnishes. Crumble some tortilla chips on top for crunch, and arrange thin slices of radish and green onions around the edges for a vibrant look.
3. Chili Nacho Style: Turn your chili into a fun platter. Spread some tortilla chips on a large serving tray and ladle the chili over them. Add shredded cheese, jalapeños, and dollops of guacamole to create a colorful, shareable dish.
4. Mason Jar Layered Chili: For a charming twist, layer the chili in a mason jar with cornbread crumbles at the bottom and a layer of chili on top. Finish with a sprinkle of cheese and fresh herbs. This is not only visually appealing but also perfect for a casual gathering.
5. Garnish with Flair: Consider garnishing with a drizzle of lime crema or a sprinkle of smoked paprika for an extra touch. Serve with a slice of crusty artisan bread or cornbread on the side for a complete meal.
Aim for a portion size of about 1.5 cups per person, allowing room for those who may want seconds. With these ideas, your chili will not only taste incredible but look magnificent too!
What to Serve With
Pairing your vegetarian chili with complementary dishes can enhance the meal and create a delightful dining experience. Here are some specific suggestions:
1. Cornbread Muffins: The sweet, crumbly texture of cornbread muffins contrasts beautifully with the hearty chili, making for a comforting combination. The sweetness balances the spiciness, creating a harmonious flavor profile.
2. Margaritas: A refreshing margarita provides a zesty contrast to the savory chili. The citrus notes of lime and the coolness of the drink cleanse the palate between bites.
3. Guacamole and Chips: The creamy texture of guacamole paired with crispy tortilla chips works well in balancing the chili’s bold flavors. This appetizer adds a delightful crunch that complements the warmth of the dish.
4. Simple Green Salad: A light, mixed green salad with a tangy vinaigrette adds brightness to the meal. The freshness of the greens and the acidity of the dressing provide a nice counterpoint to the richness of the chili.
5. Chocolate Avocado Mousse: End your meal on a sweet note with a rich chocolate avocado mousse. This dessert’s creamy texture and deep chocolate flavor contrast well with the savory chili, allowing for a satisfying conclusion to your dining experience.
6. Cilantro Lime Rice: Serve a side of cilantro lime rice to soak up the extra chili sauce. The bright herb and citrus notes will enhance the chili’s flavors and add a delightful texture to each bite.
These pairings not only enhance your meal but also create a delightful balance of flavors and textures that will impress your guests.
Storage Guide
Storing leftovers from your vegetarian chili is simple, ensuring you can enjoy this delicious dish for days to come. Here’s how to do it properly:
– Use glass containers with airtight lids to keep your chili fresh. Glass is non-reactive, which is vital for preserving flavors and preventing any unwanted interactions with the ingredients.
– Store your chili in the refrigerator at a temperature of 40°F (4°C) or lower to ensure safety and freshness.
– Your chili can be stored in the fridge for up to 4 days. After that, the flavors may start to dull, and the quality can decline.
– Signs that your chili has gone bad include an off smell, discoloration, or mold growth. If you notice any of these, it’s best to discard it.
– To refresh your chili before serving again, add a splash of vegetable broth or water while reheating to restore moisture. You can also stir in some fresh herbs or a squeeze of lime juice just before serving to brighten the flavors.
By following these guidelines, you’ll enjoy your chili leftovers as much as you did on the first day!
Freezing Tips
Good news! Your 30-minute vegetarian chili freezes exceptionally well, making it a fantastic make-ahead meal. Here’s how to do it:
– Portion your chili into quart-sized freezer bags or airtight containers. Ensure you leave some space at the top of the container for the chili to expand as it freezes.
– Label each bag or container with the date and contents, so you can easily keep track of your meals.
– It will keep well in the freezer for up to 3 months. However, for optimal flavor and quality, try to consume it within the first month.
– Expect a slight change in texture after thawing, as some vegetables may soften. However, the flavors will remain robust.
– The best method for thawing is to place the container in the refrigerator overnight or for a few hours at room temperature. If you need it quickly, you can use the microwave, but be careful to avoid cooking it unevenly.
By following these steps, you’ll have a convenient and delicious meal waiting for you whenever you crave a comforting bowl of chili.
Reheating Guide
When it comes time to enjoy your leftover vegetarian chili, reheating it properly will help retain its original flavors and textures. Here are three effective methods:
– Microwave: Pour your chili into a microwave-safe bowl and cover it loosely with a microwave-safe lid or plate. Heat it on medium power for 2-3 minutes, stirring halfway through to ensure even heating. To prevent drying out, add a tablespoon of water or broth before microwaving.
– Oven: Preheat your oven to 350°F (175°C). Place the chili in an oven-safe dish and cover it with aluminum foil to keep moisture in. Heat for about 20-25 minutes, or until it’s heated through. This method can help restore the consistency of the chili.
– Stovetop: Pour the chili into a saucepan and heat over medium-low heat. Add a splash of vegetable broth or water to loosen it up and prevent sticking. Stir occasionally for about 5-10 minutes, until warmed through. This method also allows you to adjust the seasoning if needed.
To restore the original texture and flavor, consider stirring in a bit of fresh chopped cilantro or a squeeze of lime juice just before serving. Enjoy your perfectly reheated chili!
Nutrition Overview
You’ll be pleased to know that each serving of this 30-minute vegetarian chili is not only delicious but also nutritious. Here’s a breakdown of the approximate nutritional values per serving:
– Calories: 250
– Protein: 10g
– Carbohydrates: 40g
– Fat: 5g
– Fiber: 10g
– Sugar: 5g
The beans in your chili are a fantastic source of plant-based protein and fiber, helping to keep you full and satisfied. The bell peppers add a burst of vitamins A and C, which are essential for maintaining a healthy immune system. Additionally, the tomatoes provide antioxidants like lycopene, which may help reduce the risk of chronic diseases.
This dish is a wholesome, hearty option that can easily fit into a balanced diet while satisfying your taste buds!
Frequently Asked Questions
Q: Can I substitute canned beans for dried beans?
A: Absolutely! Canned beans save time and are convenient. Just make sure to drain and rinse them before adding them to your chili to remove excess sodium.
Q: How can I make this chili spicier?
A: To amp up the heat, try adding diced jalapeños, a teaspoon of cayenne pepper, or a splash of your favorite hot sauce. Adjust to your taste and enjoy the kick!
Q: Can I add more vegetables to the chili?
A: Yes! Feel free to add any vegetables you love, such as zucchini, carrots, or spinach. Just chop them into smaller pieces so they cook evenly within the 30-minute timeframe.
Q: Is this chili gluten-free?
A: Yes, this recipe is naturally gluten-free, as long as you ensure that your broth and any additional ingredients are certified gluten-free. Always check labels if you are sensitive to gluten.
Q: How long does it take to cook this chili from start to finish?
A: This vegetarian chili is designed to be made in 30 minutes, making it a quick and easy meal option. Just be sure to prep your ingredients beforehand for efficiency.
Q: What kitchen equipment do I need to make this chili?
A: You’ll need a large pot or Dutch oven for cooking, as well as a cutting board, knife, and measuring spoons. A can opener is also essential for the canned ingredients!
Q: Can I use frozen vegetables in this recipe?
A: Yes, frozen vegetables can be a great time-saver! Just add them directly to the pot without thawing, and they will cook down nicely in the chili.
Q: How can I make this chili suitable for a low-sodium diet?
A: You can make it low-sodium by using low-sodium vegetable broth and rinsing your canned beans. Additionally, avoid adding extra salt during cooking; you can always adjust seasoning to taste just before serving.
Final Thoughts
As you prepare your 30-minute vegetarian chili, remember to savor the process — the aromas wafting through your kitchen, the vibrant colors of your ingredients, and the satisfaction of creating a wholesome meal. A couple of key tips to keep in mind: don’t be afraid to customize the spices and vegetables to suit your taste, and always taste as you go to achieve the perfect balance of flavors.
I genuinely hope you enjoy making and sharing this chili with your loved ones. It’s the perfect dish for bringing people together around the table. So, grab your ingredients and get cooking! You’ll be delighting in a warm bowl of chili before you know it!