Follow Me On Pinterest!
Sourdough For Beginners How To Make Starter In 7 Days Easy
Starting your sourdough journey feels like a rite of passage for any home baker, but it doesn’t have to be intimidating. Imagine pulling a crusty, golden loaf out of your oven, knowing you created the yeast yourself using nothing but flour and water. This seven-day guide demystifies the process, turning simple ingredients into a bubbly, active culture that will last for years. You don’t need a laboratory or fancy gadgets; all you need is a little patience and a warm spot in your kitchen. Let’s get your kitchen smelling like a professional bakery with a starter that is robust, reliable, and ready to rise.
Recipe Information
- Prep Time: 10 minutes (daily)
- Cook Time: 0 minutes
- Total Time: 7 days
- Servings: 1 Sourdough Starter
- Difficulty: Easy
Nutrition values
Note: Nutrition is calculated per 100g of active starter.
- Calories: 160 kcal
- Protein: 5g
- Carbs: 34g
Why Make This Sourdough For Beginners How To Make Starter In 7 Days Easy
Creating your own starter is the ultimate kitchen DIY project. First, it saves you money because you never have to buy commercial yeast again. Second, the natural fermentation process breaks down gluten and phytic acid, making the final bread much easier on your digestion. Third, the flavor profile of a home-grown starter is far superior to store-bought bread, offering that signature tang and complex aroma. Finally, it’s a rewarding hobby that connects you to ancient baking traditions while providing a sustainable way to feed your family.
Ingredients
- 500g Whole Wheat Flour (for the initial boost)
- 500g Unbleached All-Purpose Flour or Bread Flour
- Filtered Water (chlorine-free is essential)
- A clean glass jar with a loose lid
Directions
Step 1: Day 1 – The Initial Mix
Combine 50 grams of whole wheat flour and 50 grams of warm filtered water in your glass jar. Stir vigorously until no dry clumps remain. Scrape down the sides of the jar so you can see the activity clearly. Cover the jar loosely with a lid or a cloth and let it sit in a warm spot (70-75°F) for 24 hours.
Step 2: Day 2 – Observation
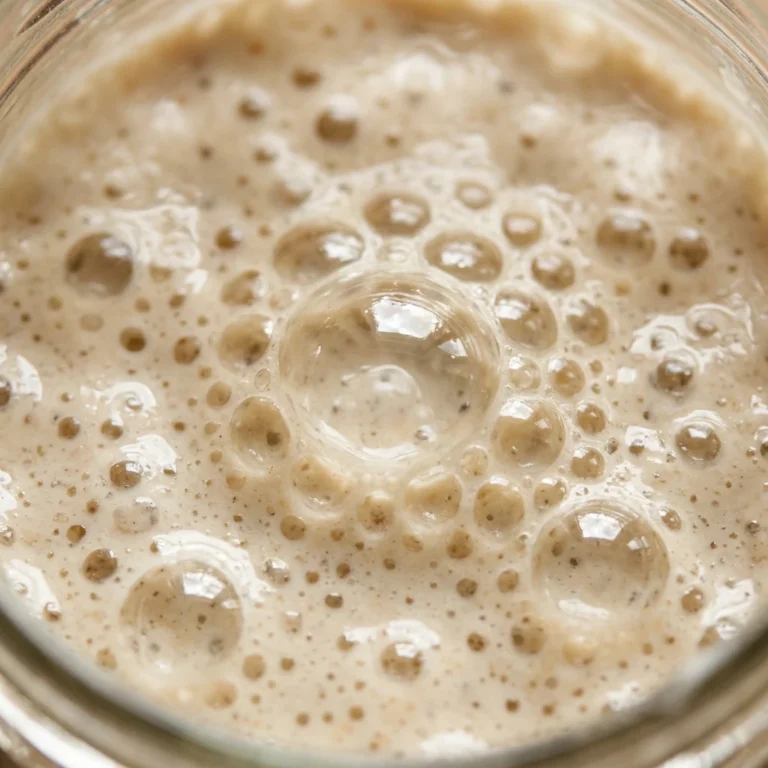
Check your jar. You might see a few tiny bubbles, or it might look exactly the same as yesterday. Do not feed the starter today. Simply stir it once to incorporate some air and let it rest for another 24 hours. This allows the natural bacteria to begin competing with the wild yeast.
Step 3: Day 3 – The First Feeding
You should see some activity now. Remove and discard half of the mixture (about 50g). Add 50 grams of unbleached all-purpose flour and 50 grams of warm water to the jar. Stir well until smooth. By discarding, you ensure the yeast has enough fresh food without the starter growing too large for the jar.
Step 4: Days 4 through 6 – Consistent Maintenance
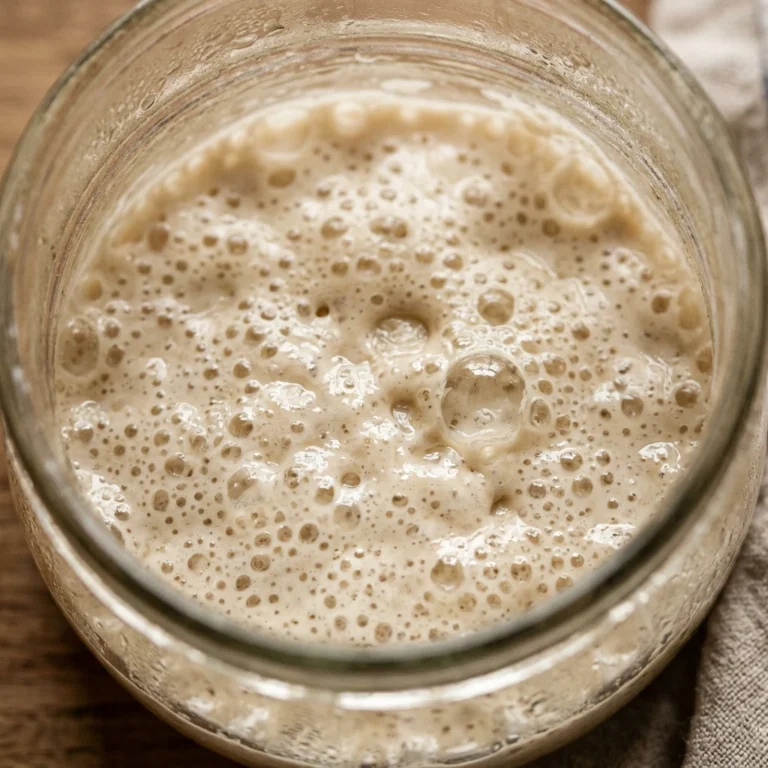
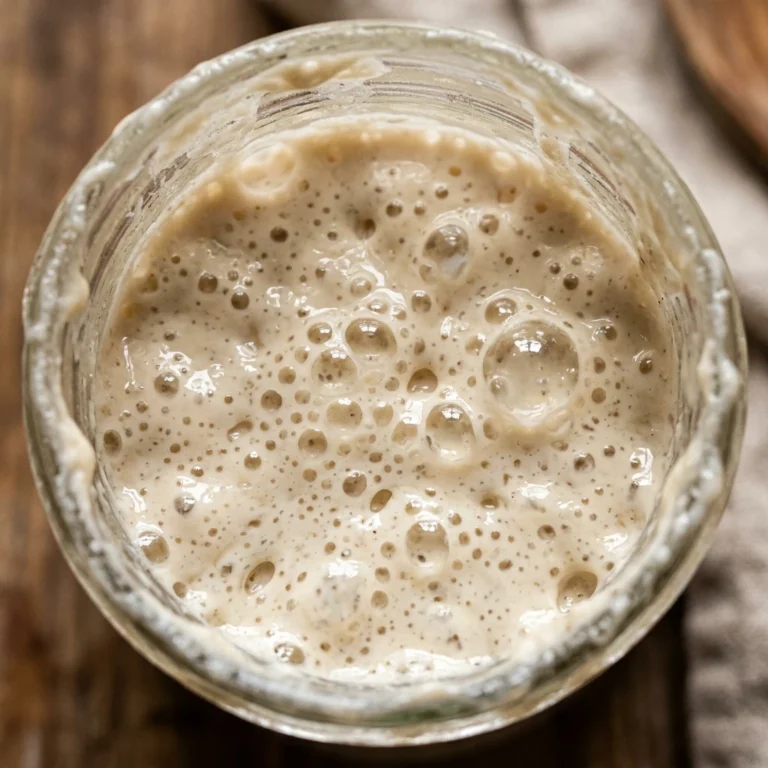
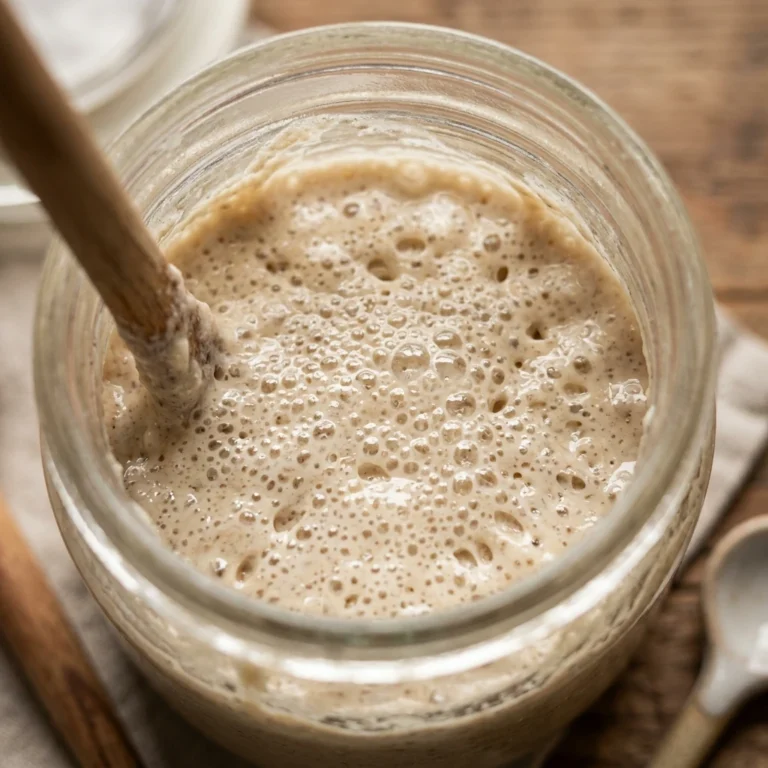
Repeat the feeding process every 24 hours. Discard half of your starter and “feed” it with 50 grams of all-purpose flour and 50 grams of water. You will notice the starter beginning to smell slightly sour or fruity. It should start doubling in size within 6-8 hours of feeding by Day 6.
Step 5: Day 7 – The Float Test
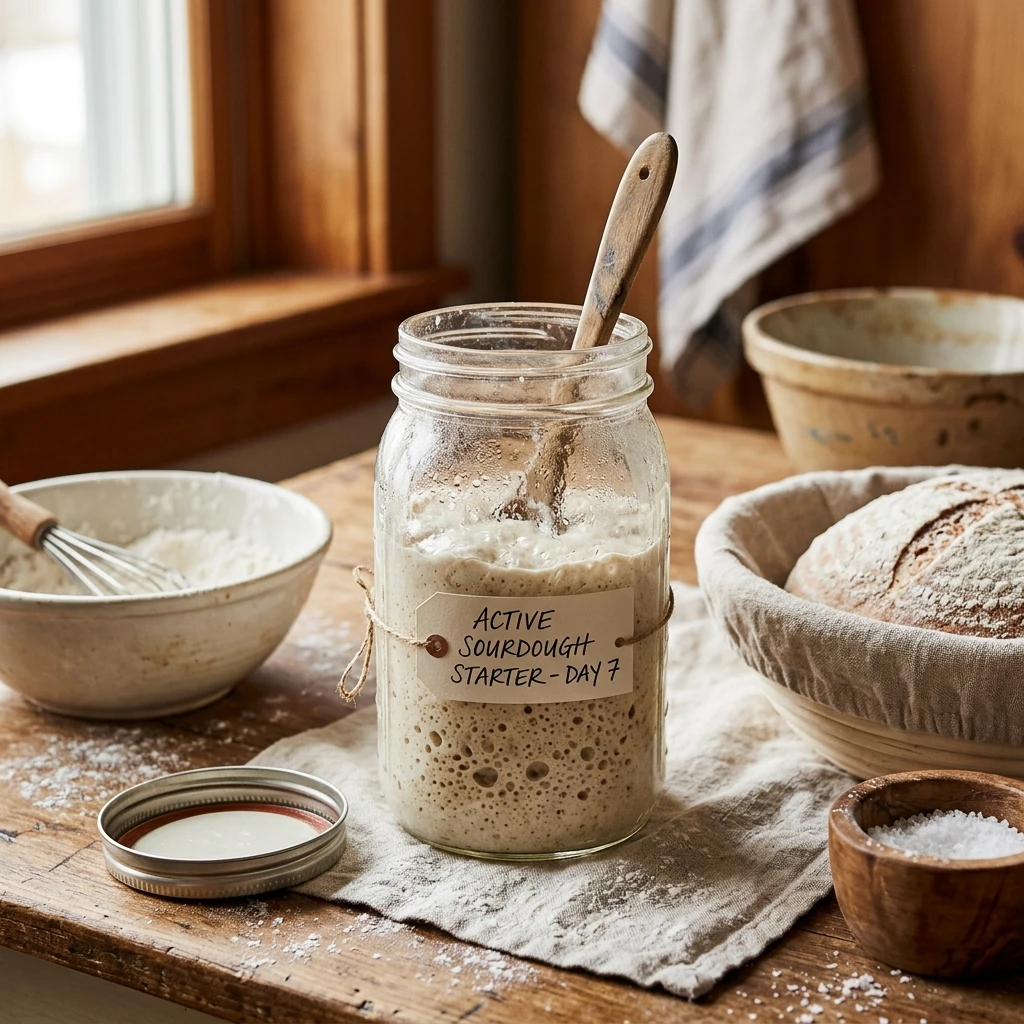
Your starter should now be bubbly and full of life. To see if it is ready for baking, take a small spoonful of the starter and drop it into a glass of water. If it floats, your starter is active and ready to bake your first loaf! If it sinks, continue the discard and feeding process for 2 more days.
Expert Tips for Perfect Sourdough For Beginners How To Make Starter In 7 Days Easy
Temperature is your best friend or your worst enemy. If your house is cold, your starter will grow slowly. Try placing the jar on top of the refrigerator or near a slightly warm oven. Always use filtered water; chlorine in tap water can kill the delicate wild yeast you are trying to grow. Use a rubber band around the outside of the jar to mark the starting level after a feeding; this helps you visualize exactly how much it has risen. Lastly, don’t throw away your “discard” once the starter is established—you can use it for pancakes, waffles, or crackers!
Delicious Variations
- Rye Starter: Use 100% Dark Rye flour for a more robust, earthy flavor and faster fermentation.
- Honey Starter: Add a teaspoon of raw honey on Day 1 to provide extra natural sugars for the yeast.
- San Francisco Style: Keep your starter in a slightly cooler environment to encourage the development of acetic acid for a sharper tang.
- Whole Grain Powerhouse: Continue using whole wheat flour for every feeding to create a denser, nuttier starter.
Frequently Asked Questions
What is the liquid on top of my starter?
That clear or dark liquid is called “hooch.” It is a byproduct of fermentation and usually means your starter is hungry. You can pour it off or stir it back in for more tang, then feed your starter immediately.
Can I use bleached flour?
It is not recommended. The bleaching process removes many of the natural nutrients and wild yeast spores that the starter needs to thrive. Stick to unbleached or organic flours.
My starter smells like nail polish remover, is it ruined?
Not at all! This “acetone” smell is a common sign that the starter has run out of food. Simply discard a portion and feed it, and the smell should return to a pleasant yeasty aroma within a few hours.
How do I store it if I don’t want to bake every day?
Once your starter is mature (after Day 7), you can store it in the refrigerator. You only need to feed it once a week to keep it alive. Bring it back to room temperature and feed it once before you plan to bake.
What if I see mold?
If you see fuzzy green, black, or pink spots, the starter has been contaminated. This is rare if you use clean jars, but if it happens, you must throw it away and start over for safety.
Conclusion
Creating a sourdough starter is a journey of patience and observation. By following this 7-day guide, you have cultivated a living culture that will provide delicious, healthy bread for your family. Don’t worry if your starter takes an extra day or two to get bubbly—living organisms work on their own schedule. Keep feeding it, keep baking, and soon you’ll be an expert in the art of sourdough. Happy baking!