Follow Me On Pinterest!
Sourdough For Beginners How To Make Starter In 7 Days Easy
Starting your sourdough journey feels like a rite of passage for any home baker. While the process might seem intimidating at first, creating a sourdough starter is actually a simple science experiment happening right in your kitchen. All you need is flour, water, and a little bit of patience. Over the next seven days, you will capture wild yeast and beneficial bacteria from your environment to create a living “culture” that will make your bread rise and give it that signature tangy flavor. Forget the store-bought packets of yeast; you are about to create a sustainable, lifelong baking companion from scratch.
Recipe Information
- Prep Time: 10 minutes daily
- Cook Time: 0 minutes
- Total Time: 10,080 minutes (7 days)
- Servings: 1 Starter Culture
- Difficulty: Easy
Nutrition values
- Calories: 180 kcal (per 1/2 cup fed starter)
- Protein: 6g
- Carbs: 36g
Why Make This Sourdough For Beginners How To Make Starter In 7 Days Easy
Making your own sourdough starter is incredibly rewarding. Unlike commercial yeast, a natural starter provides a depth of flavor that is impossible to replicate. It contains natural probiotics and enzymes that break down gluten, making the final bread easier to digest for many people. Plus, once you have a healthy starter, you never have to buy yeast again. This specific 7-day method is designed for success, using a consistent feeding schedule that maximizes yeast activity quickly and reliably.
Ingredients
- Whole wheat flour or Rye flour (for Day 1)
- Unbleached all-purpose flour or Bread flour (for Days 2-7)
- Filtered water (unchlorinated)
- A clean glass jar (at least 1-quart capacity)
- A kitchen scale (highly recommended for accuracy)
Directions
Step 1: Day 1 – The Initial Mix
In your clean glass jar, combine 60 grams (about 1/2 cup) of whole wheat flour and 60 grams (about 1/4 cup) of warm filtered water. Stir vigorously until no dry clumps remain. Scrape down the sides of the jar with a spatula. Cover the jar loosely with a lid or a cloth secured with a rubber band. Leave it in a warm spot (70-75°F) for 24 hours.
Step 2: Day 2 – Check for Activity
Open your jar and look for small bubbles. You might not see much action yet, and that is perfectly normal. Do not feed the starter today. Simply stir the mixture well to aerate it, scrape down the sides, and cover it again for another 24 hours. This allows the wild yeast to begin establishing themselves.
Step 3: Day 3 – The First Feed
You should see some bubbles and smell a faint aroma. Discard half of the mixture in the jar (about 60g). To the remaining half, add 60g of unbleached all-purpose flour and 60g of warm filtered water. Stir until smooth. Mark the level of the starter with a rubber band on the outside of the jar so you can track its growth.
Step 4: Days 4 through 6 – Consistent Maintenance
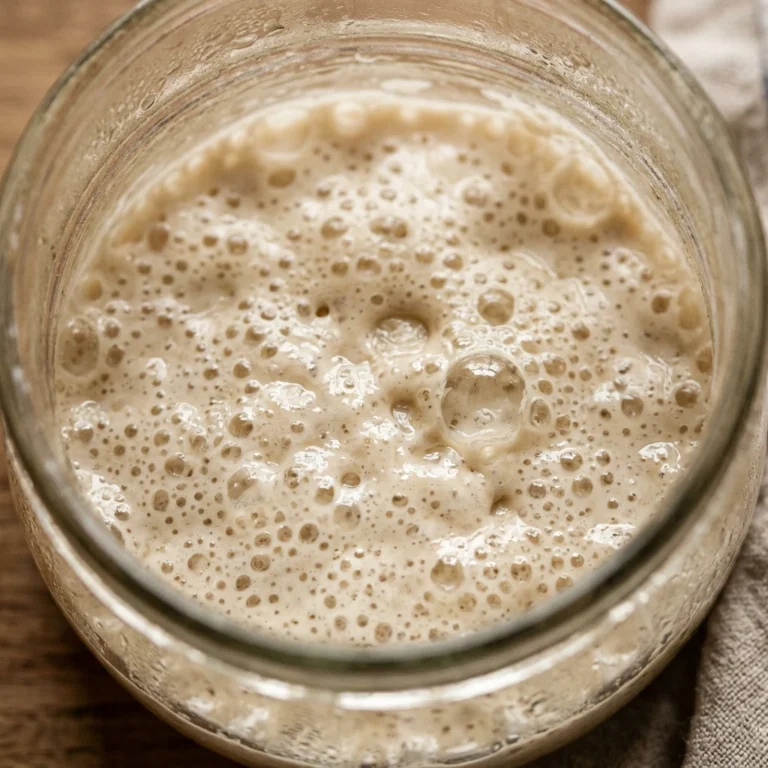
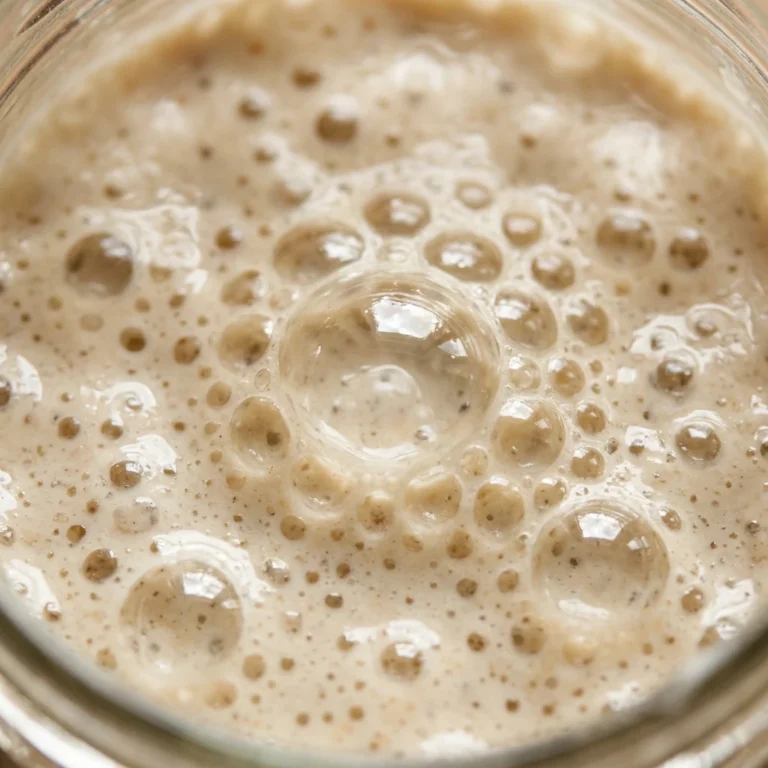
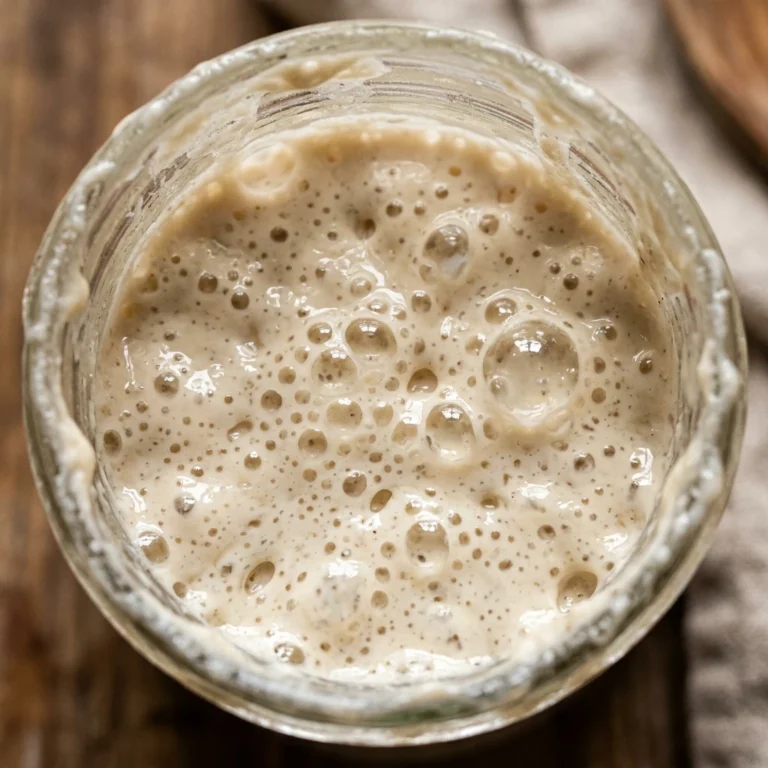
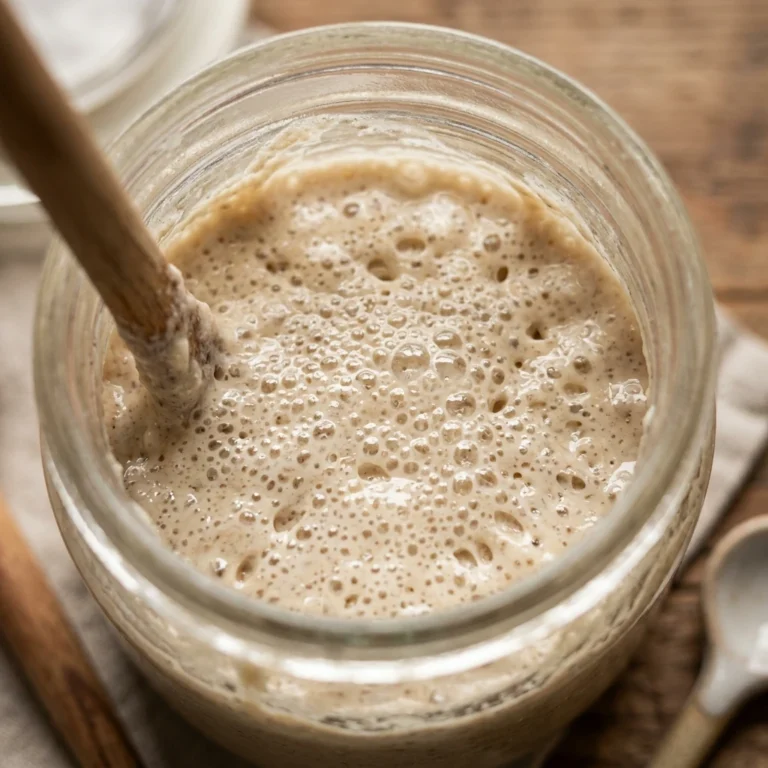
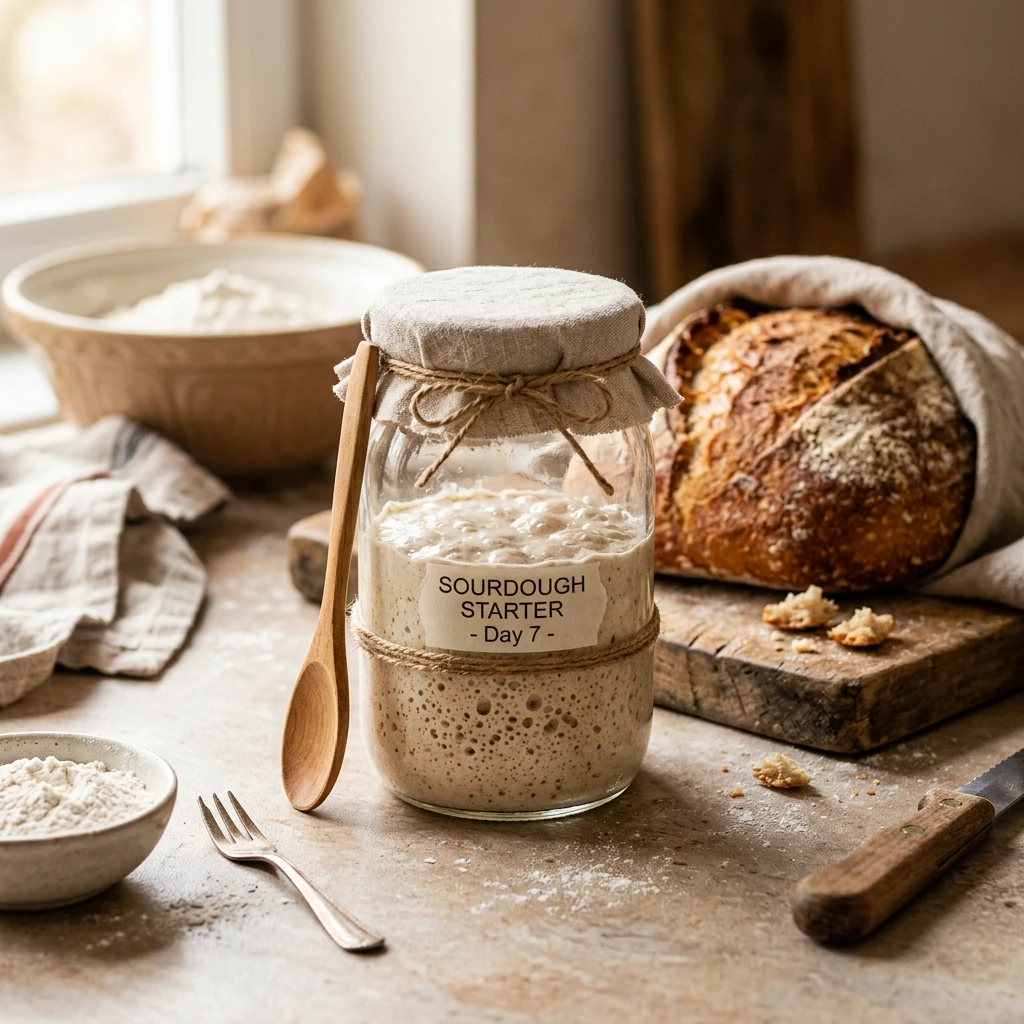
Repeat the feeding process from Day 3 every 24 hours. Always discard half of the starter before adding 60g of flour and 60g of water. You will notice the starter rising higher each day and developing a pleasant, slightly sour smell. It should begin to look bubbly and spongy about 4 to 6 hours after feeding.
Step 5: Day 7 – Testing for Readiness
By day seven, your starter should double in size within 4-6 hours of feeding. It should be full of bubbles and have a vinegary, fruity scent. To test it, drop a small spoonful of the starter into a glass of water. If it floats, your starter is active, full of air, and ready to bake bread! If it sinks, continue the daily feeding and discarding for a few more days.
Expert Tips for Perfect Sourdough For Beginners How To Make Starter In 7 Days Easy
Temperature is the most important factor in your starter’s growth. If your house is cold, your starter will develop slowly; if it is hot, it will ferment very fast. Try placing your jar near a warm appliance or inside an oven with only the light turned on. Always use unchlorinated water, as chlorine can kill the delicate wild yeast. If you use tap water, let it sit out on the counter overnight to allow the chlorine to dissipate before using it for your starter.
Delicious Variations
Once your starter is established, you can experiment with different grains. Try a “Rye Starter” by feeding it exclusively with dark rye flour for an earthy, robust flavor. You can also create a “Sweet Starter” by adding a pinch of sugar during the feeding process, which is great for enriched breads like brioche. For a faster-acting starter, some bakers use pineapple juice instead of water on Day 1 to lower the pH level and discourage bad bacteria growth immediately.
Frequently Asked Questions
Q: What is the liquid on top of my starter?
A: That dark liquid is called “hooch.” It is a byproduct of fermentation and a sign that your starter is hungry. Simply pour it off or stir it back in and feed your starter immediately.
Q: Why do I have to discard half of the starter?
A: If you don’t discard, your starter will grow exponentially, and you would need buckets of flour to feed the ever-increasing volume of yeast. Discarding keeps the culture manageable and healthy.
Q: My starter smells like gym socks. Is it bad?
A: Starters go through various aromatic phases. A “stinky” phase around day 3 or 4 is common as the bacteria balance out. Keep feeding it, and it should transition to a pleasant, sour, yeasty smell by day 7.
Q: Can I use bleached flour?
A: It is best to avoid bleached flour. The bleaching process removes many of the nutrients and wild yeast that the starter needs to thrive. Stick to unbleached all-purpose or bread flour.
Q: How do I store my starter if I am not baking every day?
A: Once your starter is mature (after day 7), you can store it in the refrigerator. Feed it once a week to keep it alive. When you are ready to bake, bring it out and feed it 1-2 times to wake it up.
Conclusion
Congratulations! You have successfully cultivated a living sourdough starter. This simple mixture of flour and water is the gateway to incredible artisan loaves, tangy pancakes, and crispy pizza crusts. Remember that your starter is a living thing; the more you bake with it and feed it, the stronger and more flavorful it will become. Keep your jar clean, follow your feeding schedule, and enjoy the wonderful world of sourdough baking!