Follow Me On Pinterest!
How To Feed Sourdough Starter For Beginners No Fail Guide
Welcome to the wonderful, slightly addictive world of sourdough baking! If you have ever felt intimidated by that bubbling jar of flour and water sitting on your counter, you are not alone. Keeping a sourdough starter alive and thriving is the foundation of great bread, but many beginners overcomplicate the process. Think of your starter as a low-maintenance pet that just needs a little flour and water to stay happy. This guide strips away the mystery and gives you a foolproof method to keep your starter strong, active, and ready to bake the loftiest loaves of your life.
Recipe Information
- Prep Time: 5 minutes
- Cook Time: 0 minutes
- Total Time: 5 minutes
- Servings: 1 Starter Culture
- Difficulty: Easy
Nutrition values
Note: Nutrition values are based on a 100g serving of fed starter.
- Calories: 185 kcal
- Protein: 6g
- Carbs: 38g
Why Make This How To Feed Sourdough Starter For Beginners No Fail Guide
Consistency is the secret to great sourdough. Following this specific “no-fail” guide ensures your yeast colony remains vibrant and predictable. By using a simple 1:1:1 ratio, you eliminate the guesswork that leads to flat bread or a weak rise. This method works for any schedule, whether you want to bake every day or once a week. Once you master this feeding routine, you will have the confidence to tackle any sourdough recipe with ease.
Ingredients
- Sourdough Starter: 50 grams of your existing starter (active or from the fridge).
- Flour: 50 grams of unbleached all-purpose flour or bread flour.
- Water: 50 grams of filtered, room-temperature water.
Directions
Step 1: Discard the Excess Starter
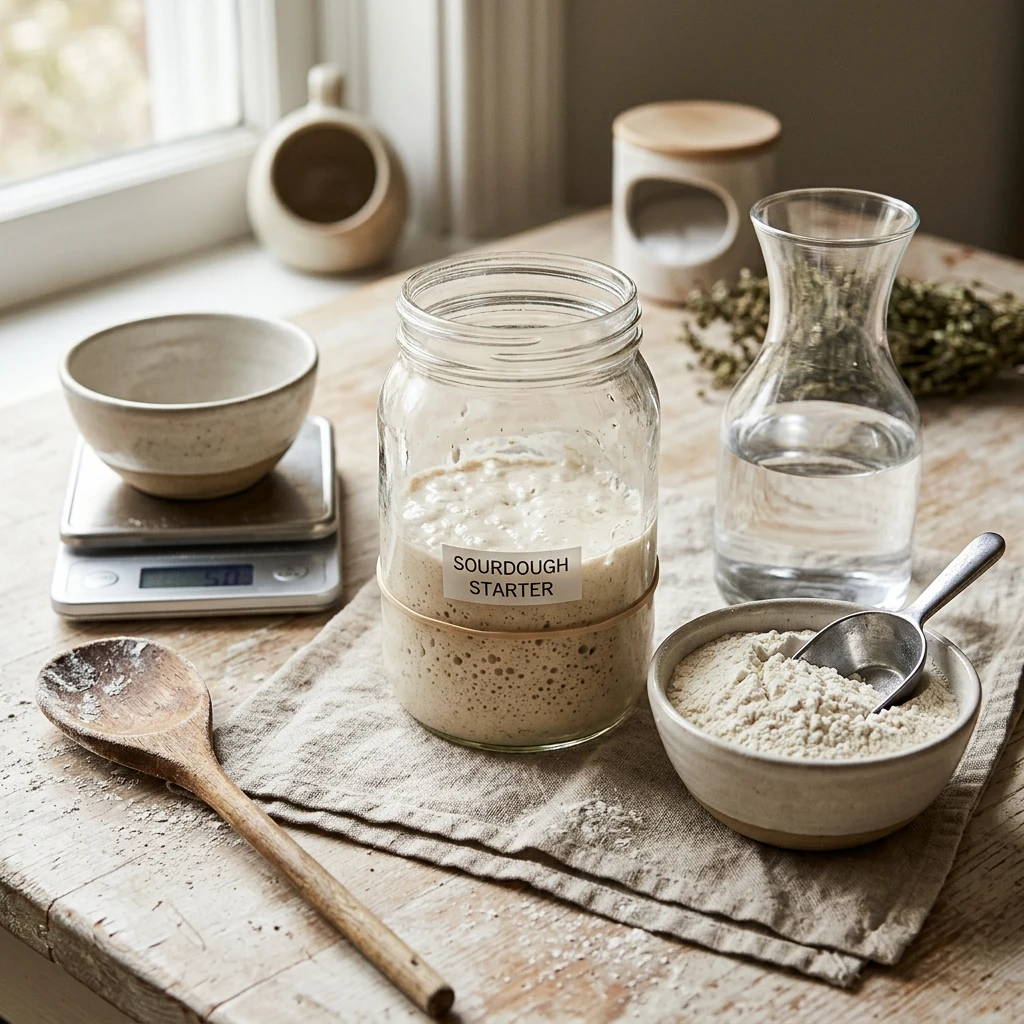
Place a clean glass jar on your kitchen scale and tare it to zero. Transfer 50 grams of your existing sourdough starter into the new jar. You can save the remaining “discard” in a separate container in the fridge for pancakes or crackers, or simply throw it away. Discarding is essential because it keeps the acidity levels in check and ensures your starter has enough fresh “food” to eat without requiring massive amounts of flour.
Step 2: Add Flour and Water
Add 50 grams of room-temperature filtered water to the jar containing your 50 grams of starter. Stir well with a small silicone spatula or a spoon until the starter is mostly dissolved into the water. Next, add 50 grams of unbleached flour. Using a scale for grams is much more accurate than using measuring cups, which helps maintain the perfect consistency every time.
Step 3: Mix and Mark
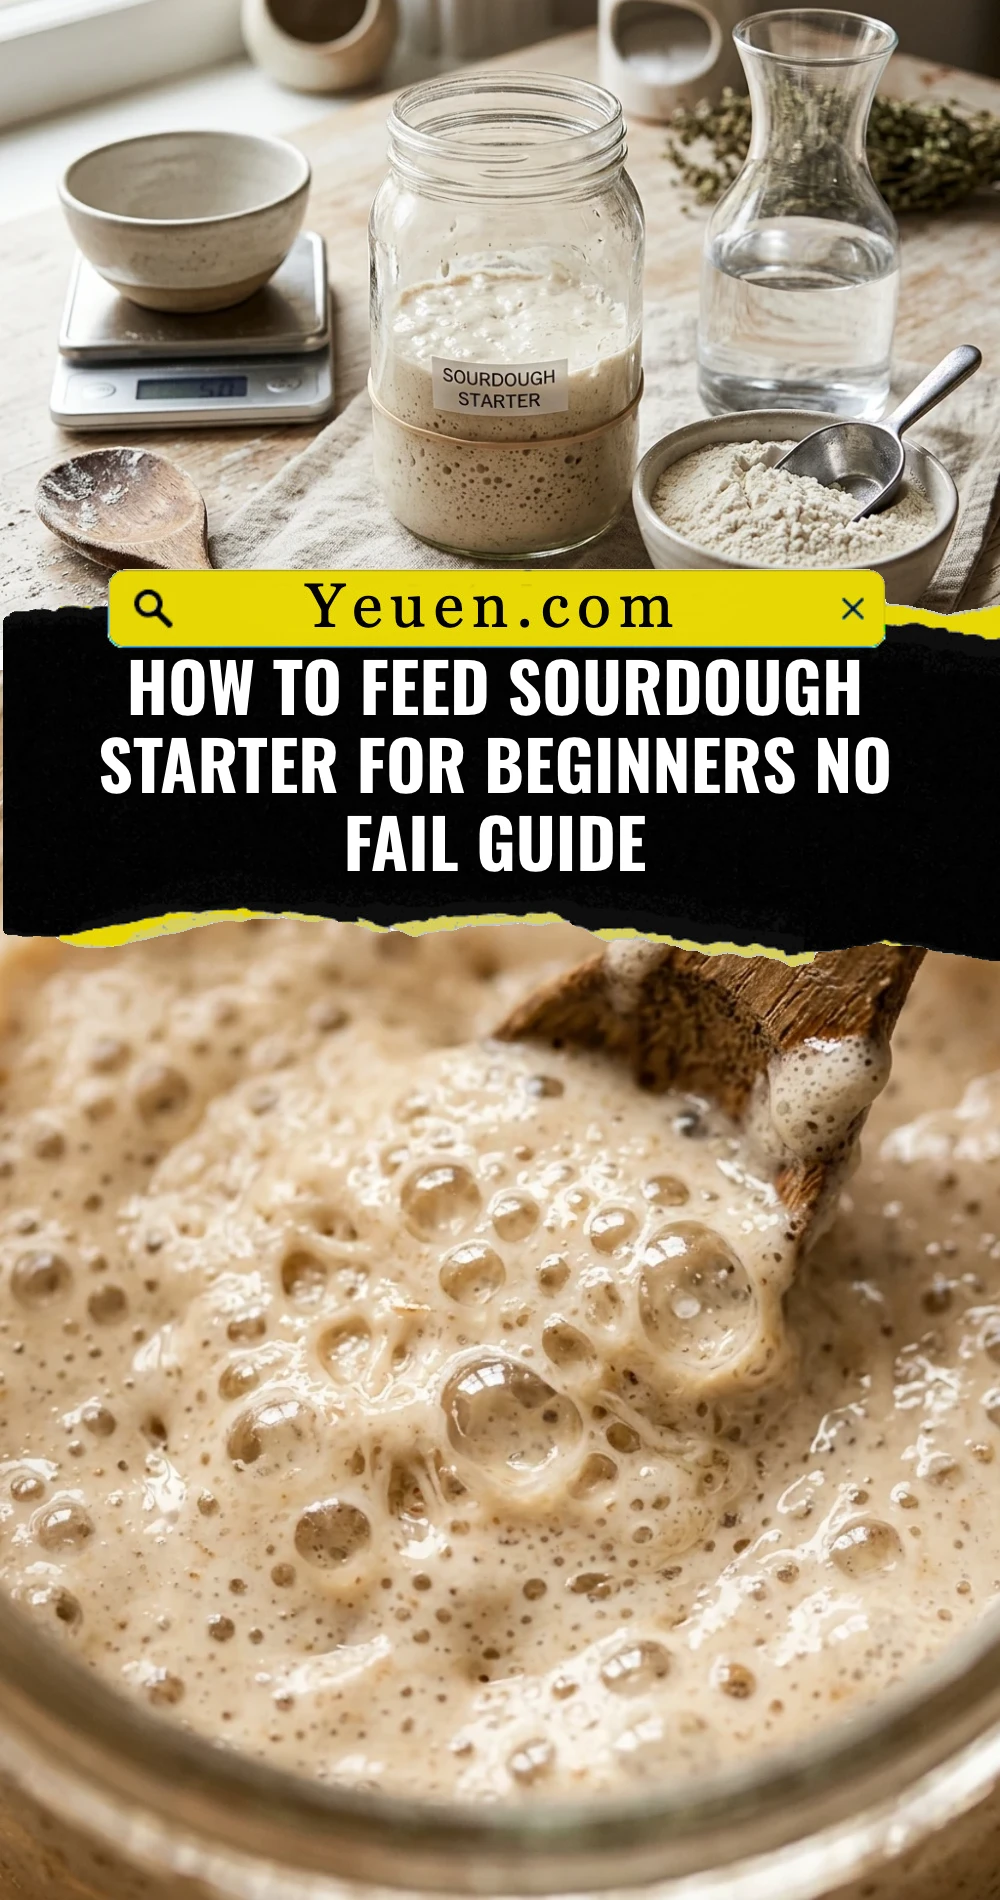
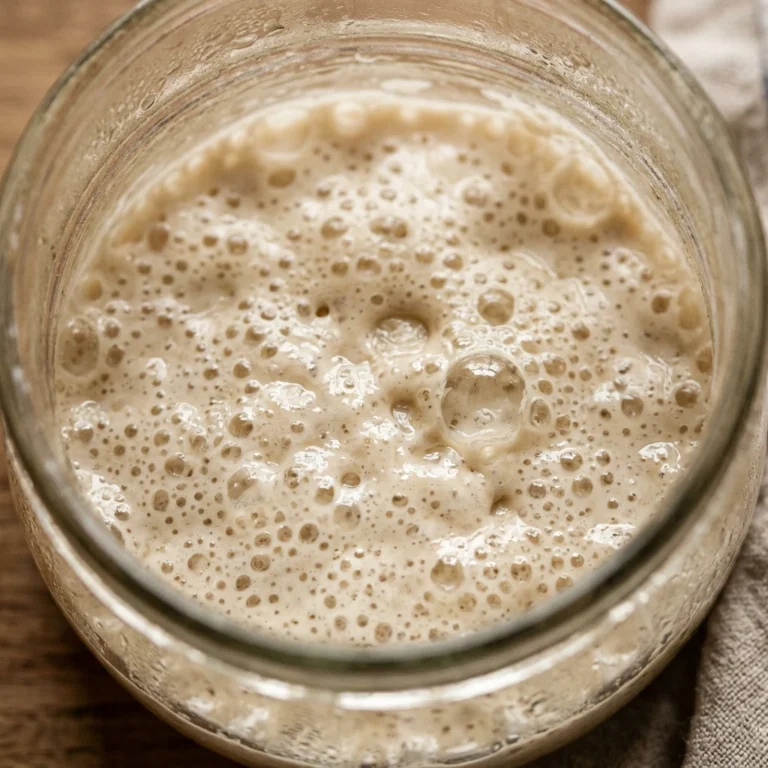
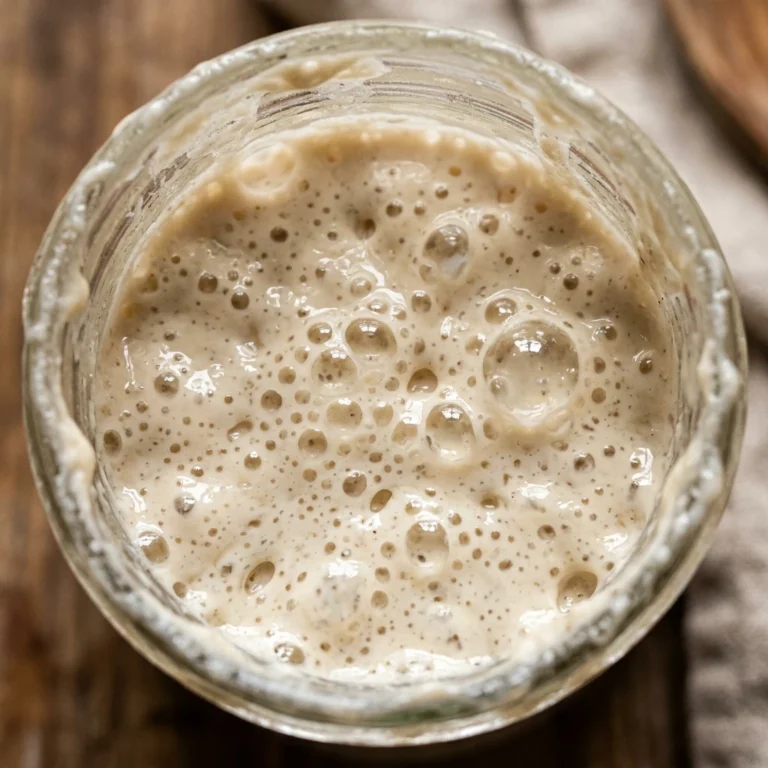
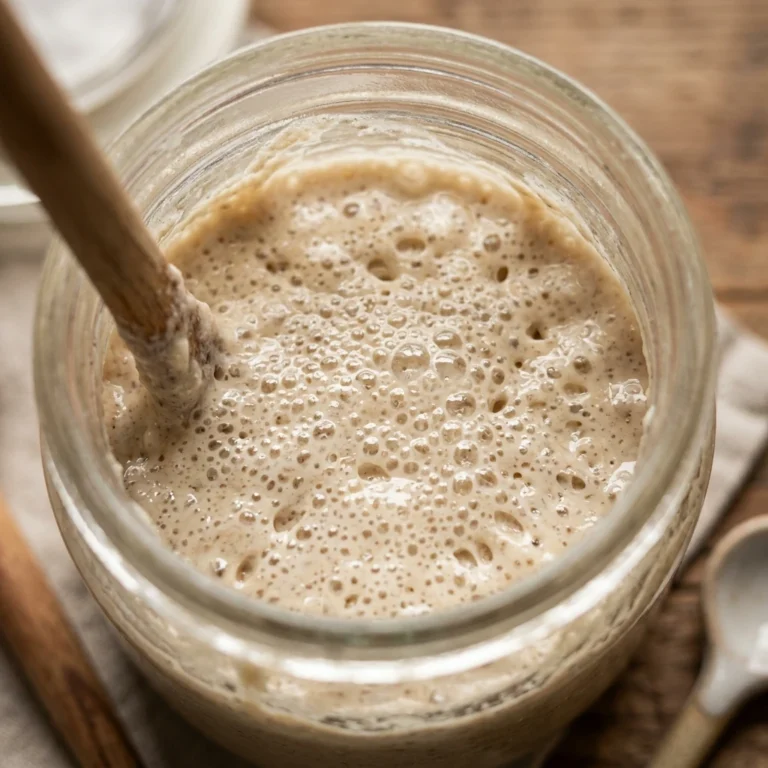
Stir the mixture vigorously until no dry streaks of flour remain. The consistency should be like a thick, shaggy paste. Scrape down the sides of the jar so you can clearly see the level of the starter. Place a rubber band around the jar at the current height of the mixture. Put the lid on loosely (don’t seal it airtight) and leave it on your counter at room temperature. The rubber band allows you to see exactly when the starter has doubled in size, which usually takes 4 to 8 hours depending on the temperature.
Expert Tips for Perfect How To Feed Sourdough Starter For Beginners No Fail Guide
Always use filtered water if your tap water contains high levels of chlorine, as chlorine can inhibit the growth of natural yeast. If your kitchen is cold, find a warm spot for your starter, such as the top of the refrigerator or inside an oven with the light turned on (but the heat turned off). For the most robust flavor and activity, try using a blend of 80% white bread flour and 20% whole wheat or rye flour; the extra nutrients in whole grains act like a superfood for the yeast.
Delicious Variations
- The Rye Boost: Swap the all-purpose flour for dark rye flour. Rye contains more fermentable sugars and will make your starter much more active and bubbly.
- Stiff Starter: Reduce the water to 35 grams while keeping the flour at 50 grams. A “stiff” starter ferments more slowly and often yields a more sour flavor profile in the final bread.
- Whole Wheat Feeding: Use 100% whole wheat flour for a nuttier, more earthy aroma and a faster fermentation rate.
Frequently Asked Questions
How often should I feed my starter?
If you keep it on the counter, feed it once every 24 hours. If you store it in the refrigerator, once a week is sufficient. Always feed it 4-12 hours before you plan to mix your bread dough.
What is the dark liquid on top of my starter?
That liquid is called “hooch.” It is a byproduct of fermentation and usually means your starter is hungry. You can pour it off or stir it back in, then proceed with a regular feeding immediately.
Why do I have to discard so much?
If you don’t discard, your starter will grow exponentially. To keep the ratio of “old starter” to “new food” correct, you would eventually need gallons of flour to keep the yeast healthy. Discarding keeps the volume manageable.
My starter isn’t bubbling, is it dead?
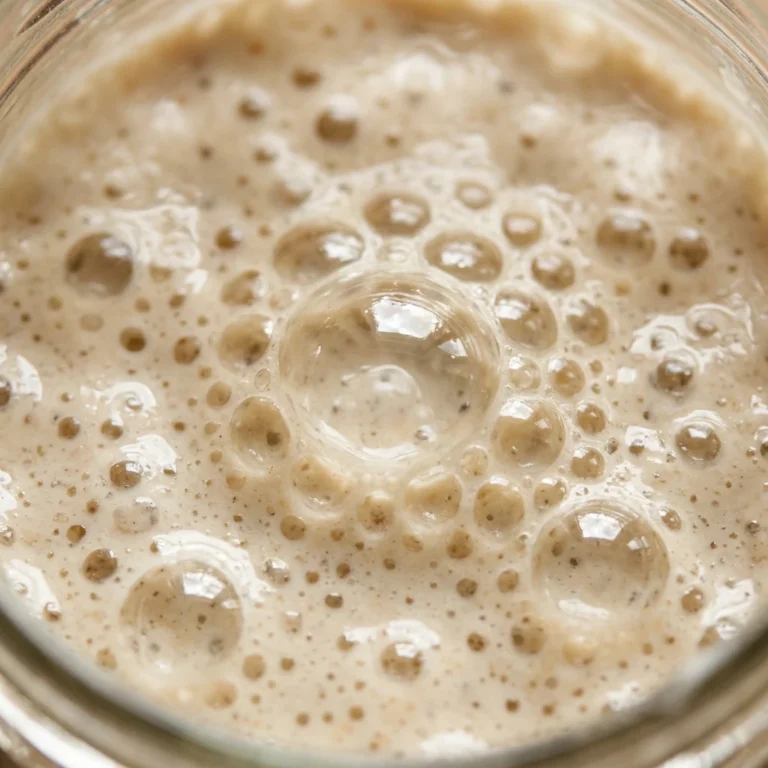
Probably not! It usually just needs warmth and consistent feedings. Try feeding it twice a day for a few days or using slightly warmer water (around 80°F) to jumpstart the activity.
Does the type of jar matter?
Glass is best because it is non-reactive and allows you to see the bubbles and growth. Ensure the jar is large enough for the starter to triple in size without overflowing.
Conclusion
Feeding your sourdough starter is a simple ritual that connects you to the ancient art of baking. By following these easy steps and maintaining a consistent 1:1:1 ratio, you provide the perfect environment for natural yeast to flourish. Do not worry if your starter doesn’t look perfect every single day; it is much more resilient than you think. Keep feeding it, keep baking, and soon you will be enjoying the incredible flavor and texture that only a homemade sourdough starter can provide. Happy baking!