Follow Me On Pinterest!
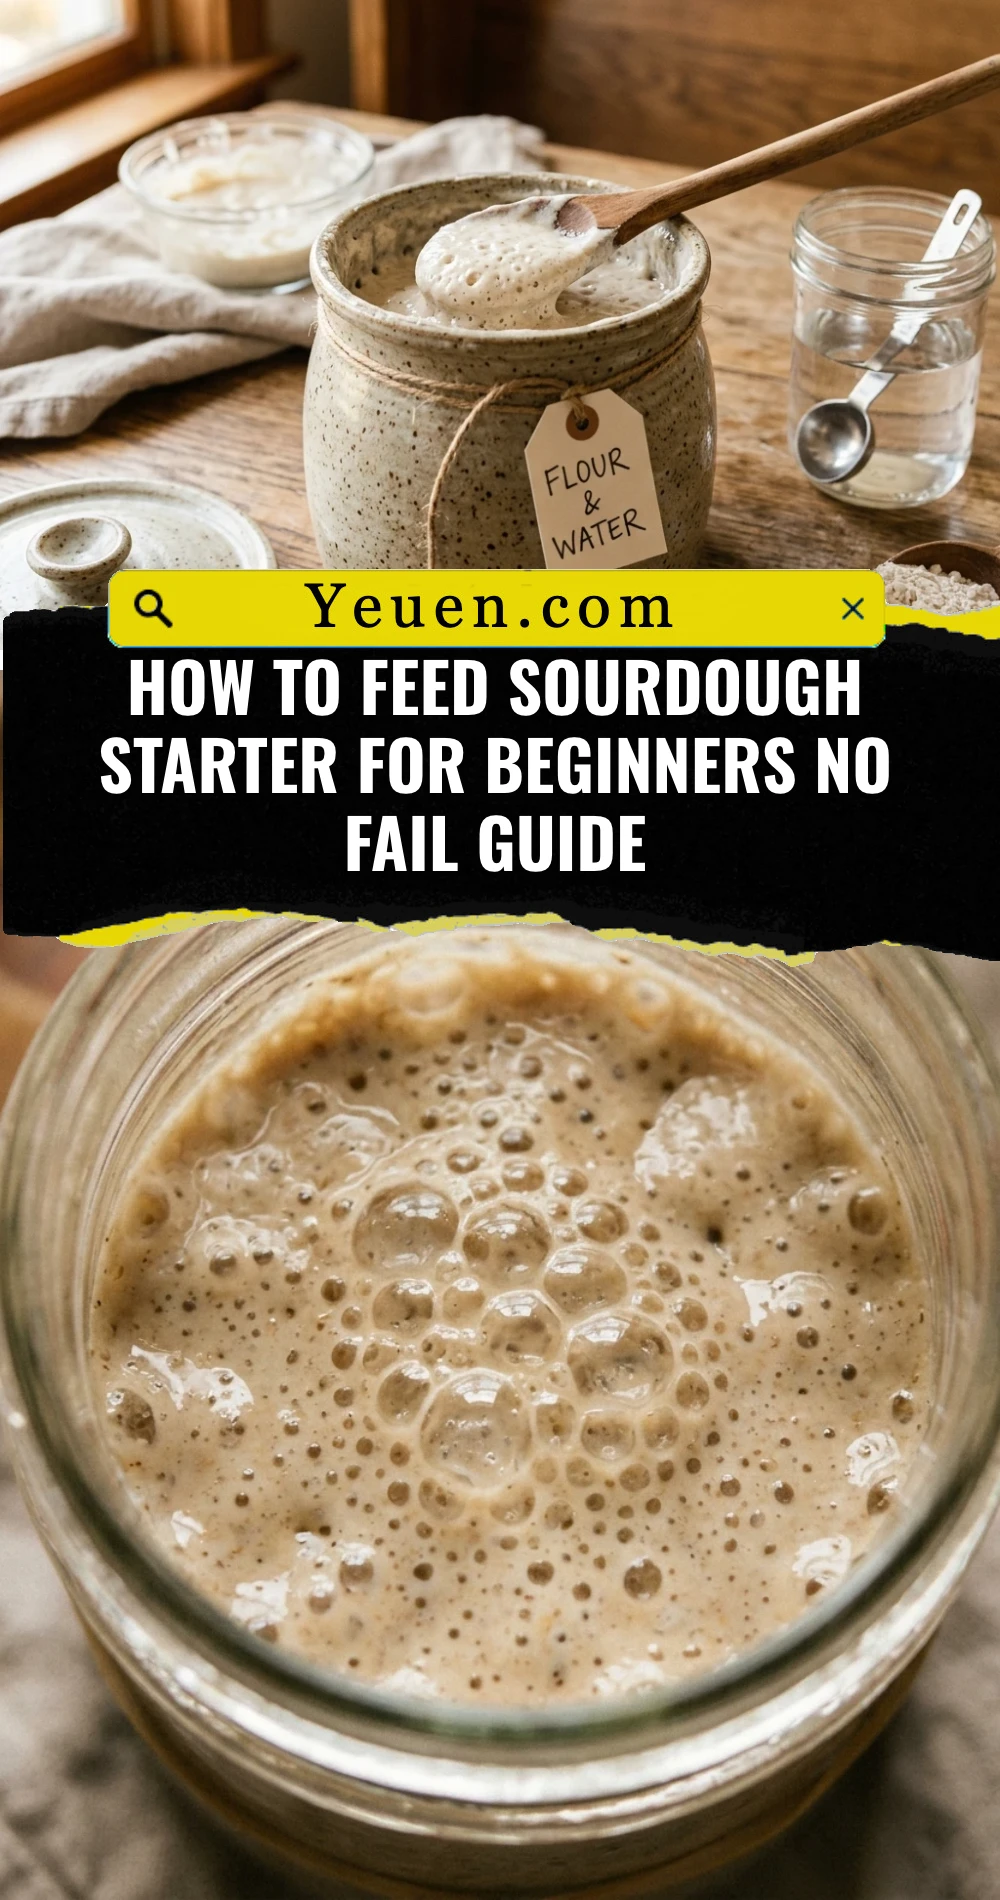
How To Feed Sourdough Starter For Beginners No Fail Guide
Embarking on your sourdough journey feels like a rite of passage for any home baker. It’s a magical process where simple flour and water transform into a bubbling, living ecosystem capable of producing the best bread you’ve ever tasted. However, many beginners feel intimidated by the maintenance. This guide strips away the mystery and provides a foolproof method for feeding your starter. You will learn exactly how to keep your “yeast beast” happy, active, and ready to bake. Consistency is the secret ingredient, and once you master these simple steps, you will never fear a flat loaf again.
Recipe Information
- Prep Time: 5 minutes
- Cook Time: 0 minutes
- Total Time: 5 minutes
- Servings: 1 Starter Culture
- Difficulty: Easy
Nutrition values
Note: Nutritional values represent a standard 100g serving of active starter.
- Calories: 185 kcal
- Protein: 6g
- Carbs: 38g
Why Make This How To Feed Sourdough Starter For Beginners No Fail Guide
Maintaining a sourdough starter is the foundation of artisanal baking. Following a consistent feeding routine ensures your wild yeast remains strong enough to lift heavy doughs. This specific guide focuses on the 1:1:1 ratio, which is the gold standard for beginners because it is easy to remember and highly effective. By mastering this process, you eliminate the guesswork and create a predictable baking schedule. You’ll save money by making your own yeast and enjoy the incredible health benefits of naturally fermented grains.
Ingredients
- 50 grams Mature Sourdough Starter (your “seed”)
- 50 grams Unbleached All-Purpose Flour or Bread Flour
- 50 grams Filtered Water (lukewarm, about 75°F-80°F)
Directions
Step 1: Discarding the Old Starter
Begin by removing most of your starter from its jar. Place a clean jar on your digital scale and tare it to zero. Transfer 50 grams of your existing starter into the clean jar. You can save the remaining “discard” in a separate container in the fridge for recipes like pancakes or crackers, or simply compost it. Discarding is essential because it prevents the starter from growing too large and ensures the acidity levels stay balanced.
Step 2: Weighing the Ingredients
With your 50 grams of starter already in the jar, tare the scale again. Pour in 50 grams of lukewarm filtered water. Tare the scale one more time and add 50 grams of unbleached flour. Using a digital scale is much more accurate than using volume measurements like cups, as flour density varies wildly. This 1:1:1 ratio provides the yeast with fresh food while keeping the culture concentrated.
Step 3: Mixing and Cleaning
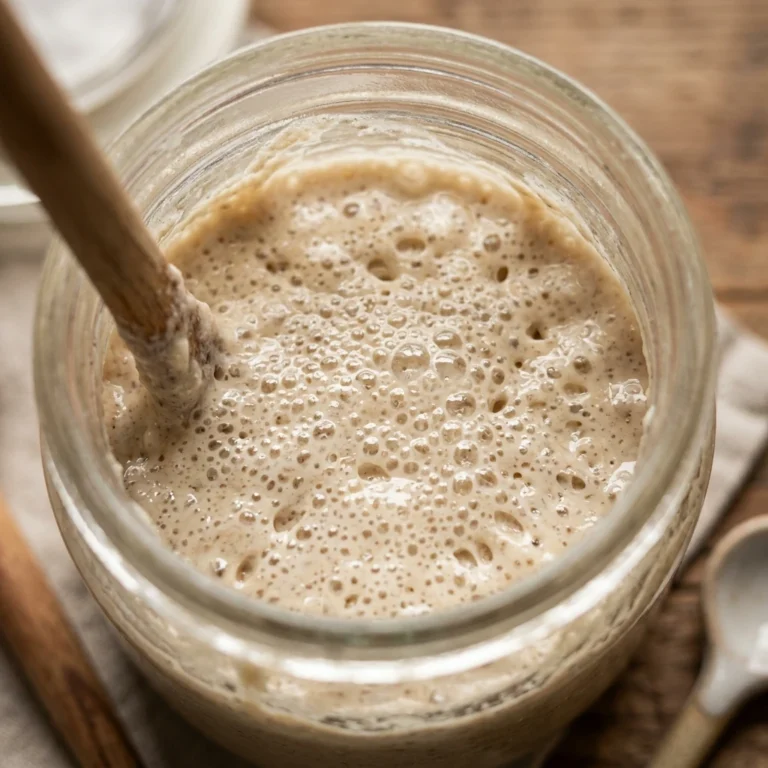
Use a small silicone spatula or a sturdy spoon to stir the mixture vigorously. Ensure there are no dry pockets of flour remaining at the bottom of the jar. The consistency should be like a thick, paste-like pancake batter. After mixing, scrape down the sides of the jar so you can clearly see the starter’s level. A clean jar wall makes it much easier to track the rise and fall of the culture.
Step 4: Marking and Fermenting
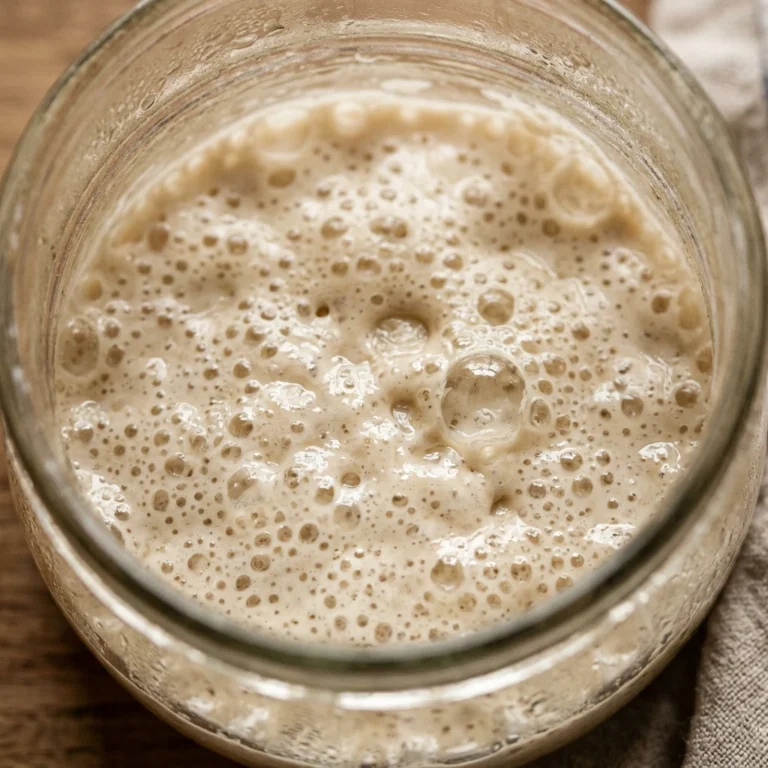
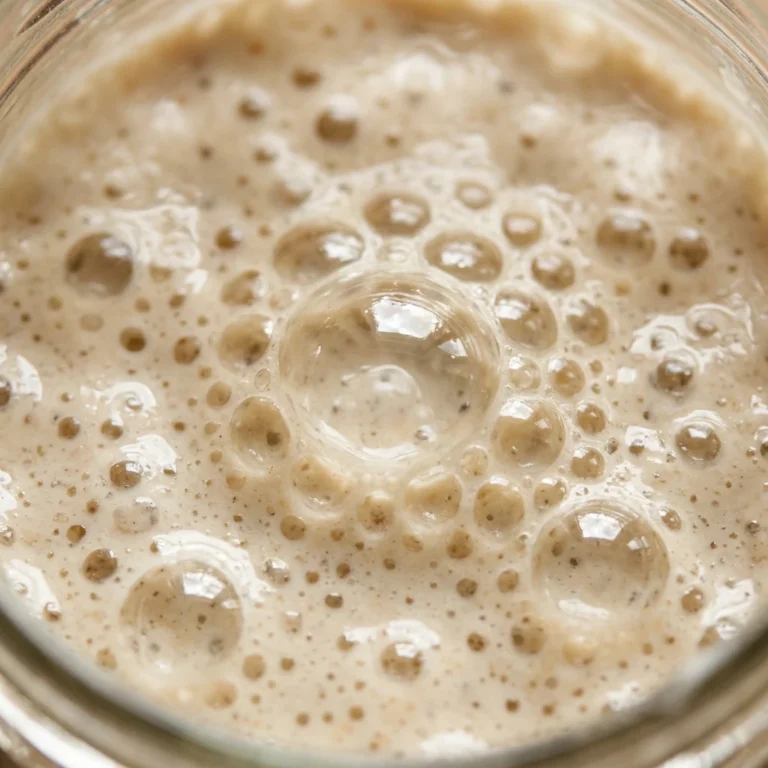
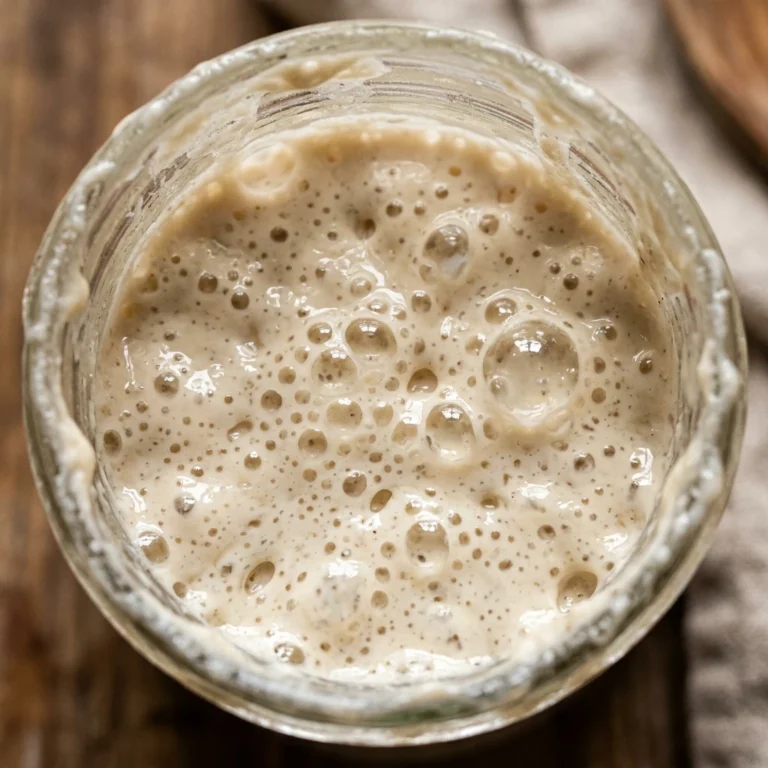
Place a rubber band around the jar at the current level of the mixture. Cover the jar loosely with a lid, a piece of cloth, or a coffee filter held by a rubber band. Leave the jar on your counter at room temperature. Over the next 4 to 8 hours, the starter should double or even triple in size. Once it reaches its peak height and begins to slightly dip in the middle, it is officially “active” and ready to be used in a bread recipe.
Expert Tips for Perfect How To Feed Sourdough Starter For Beginners No Fail Guide
- Use Filtered Water: Chlorine in tap water can sometimes inhibit the growth of wild yeast. If you don’t have a filter, let tap water sit out overnight to allow the chlorine to dissipate.
- The Temperature Matters: Yeast thrives in warmth. If your house is cold, your starter will rise slowly. If it’s hot, it will peak very quickly. Aim for a cozy spot like the top of the refrigerator.
- Watch the Consistency: If your starter looks too watery, add a teaspoon more flour. If it’s too stiff to stir, add a splash more water. It should feel like a very thick, sticky paste.
- Smell the Progress: A healthy starter should smell yeasty, fruity, or slightly vinegary. If it smells like gym socks or nail polish remover, it simply needs more frequent feedings.
- Clean Your Jar: Switch to a fresh jar every few feedings to prevent mold from growing on the dried bits of starter around the rim.
Delicious Variations
- Whole Grain Boost: Replace the 50g of white flour with 50g of Whole Wheat or Rye flour. Rye flour contains more nutrients and typically makes the starter much more active and bubbly.
- The Stiff Starter: Reduce the water to 35-40 grams while keeping the flour at 50 grams. A “stiff” starter ferments more slowly and can produce a more sour flavor profile in your bread.
- Honey Starter: Occasionally adding a tiny drop of raw honey can provide an extra boost of natural sugars if your starter seems sluggish, though this is rarely necessary for an established culture.
Frequently Asked Questions
How often do I need to feed my starter?
If you keep your starter on the counter, feed it once every 24 hours. If you store it in the refrigerator, you only need to feed it once a week. Always feed it 4-12 hours before you plan to bake so it is at its peak activity.
What is the “Hooch” on top of my starter?
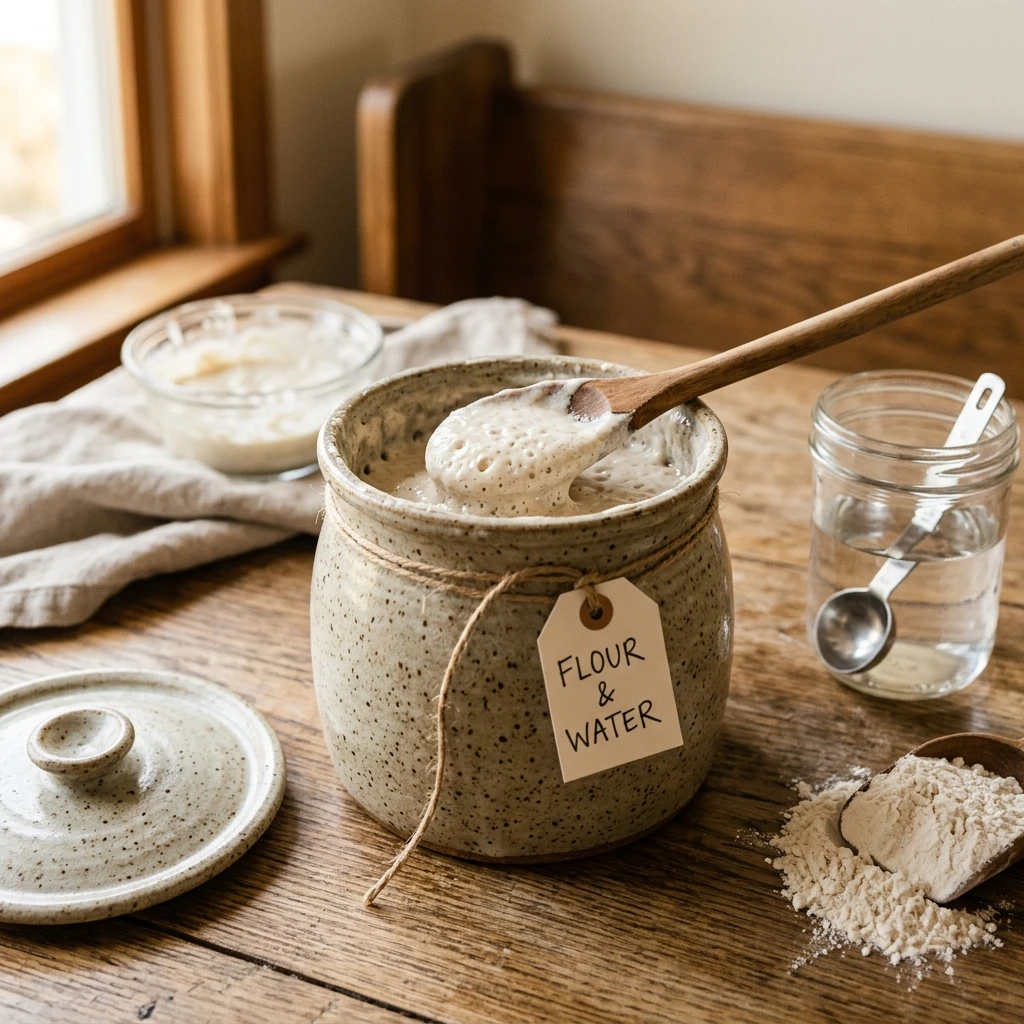
Hooch is a thin layer of dark liquid that forms when your starter is hungry. It is a byproduct of the fermentation process. You can pour it off or stir it back in for a more sour flavor, but it is a clear sign that your starter needs to be fed immediately.
When is my starter ready to bake bread?
The “Float Test” is a popular method. Drop a small spoonful of active starter into a glass of water. If it floats, the yeast has produced enough gas to lift your dough. If it sinks, it either hasn’t peaked yet or has already started to collapse.
Can I use bleached flour?
It is best to avoid bleached flour. The bleaching process uses chemicals that can hinder the growth of the wild yeast and bacteria you are trying to cultivate. Always opt for unbleached all-purpose, bread flour, or whole-grain flours.
What if I forgot to feed my starter for a few weeks?
Sourdough starters are incredibly resilient. Unless you see fuzzy black or orange mold, it is likely still alive. Discard most of it and perform “rescue feedings” every 12 hours for two days. Usually, it will bounce back to full strength quickly.
Conclusion
Feeding your sourdough starter is a simple, rhythmic task that connects you to the ancient art of baking. By following this no-fail guide, you’ve provided your culture with everything it needs to thrive: food, water, and a little bit of patience. Don’t worry if it doesn’t look perfect every single day; the more you interact with your starter, the better you will understand its needs. Keep your scale handy, your jars clean, and soon you’ll be pulling golden, crusty loaves of sourdough out of your own oven. Happy baking!