Follow Me On Pinterest!
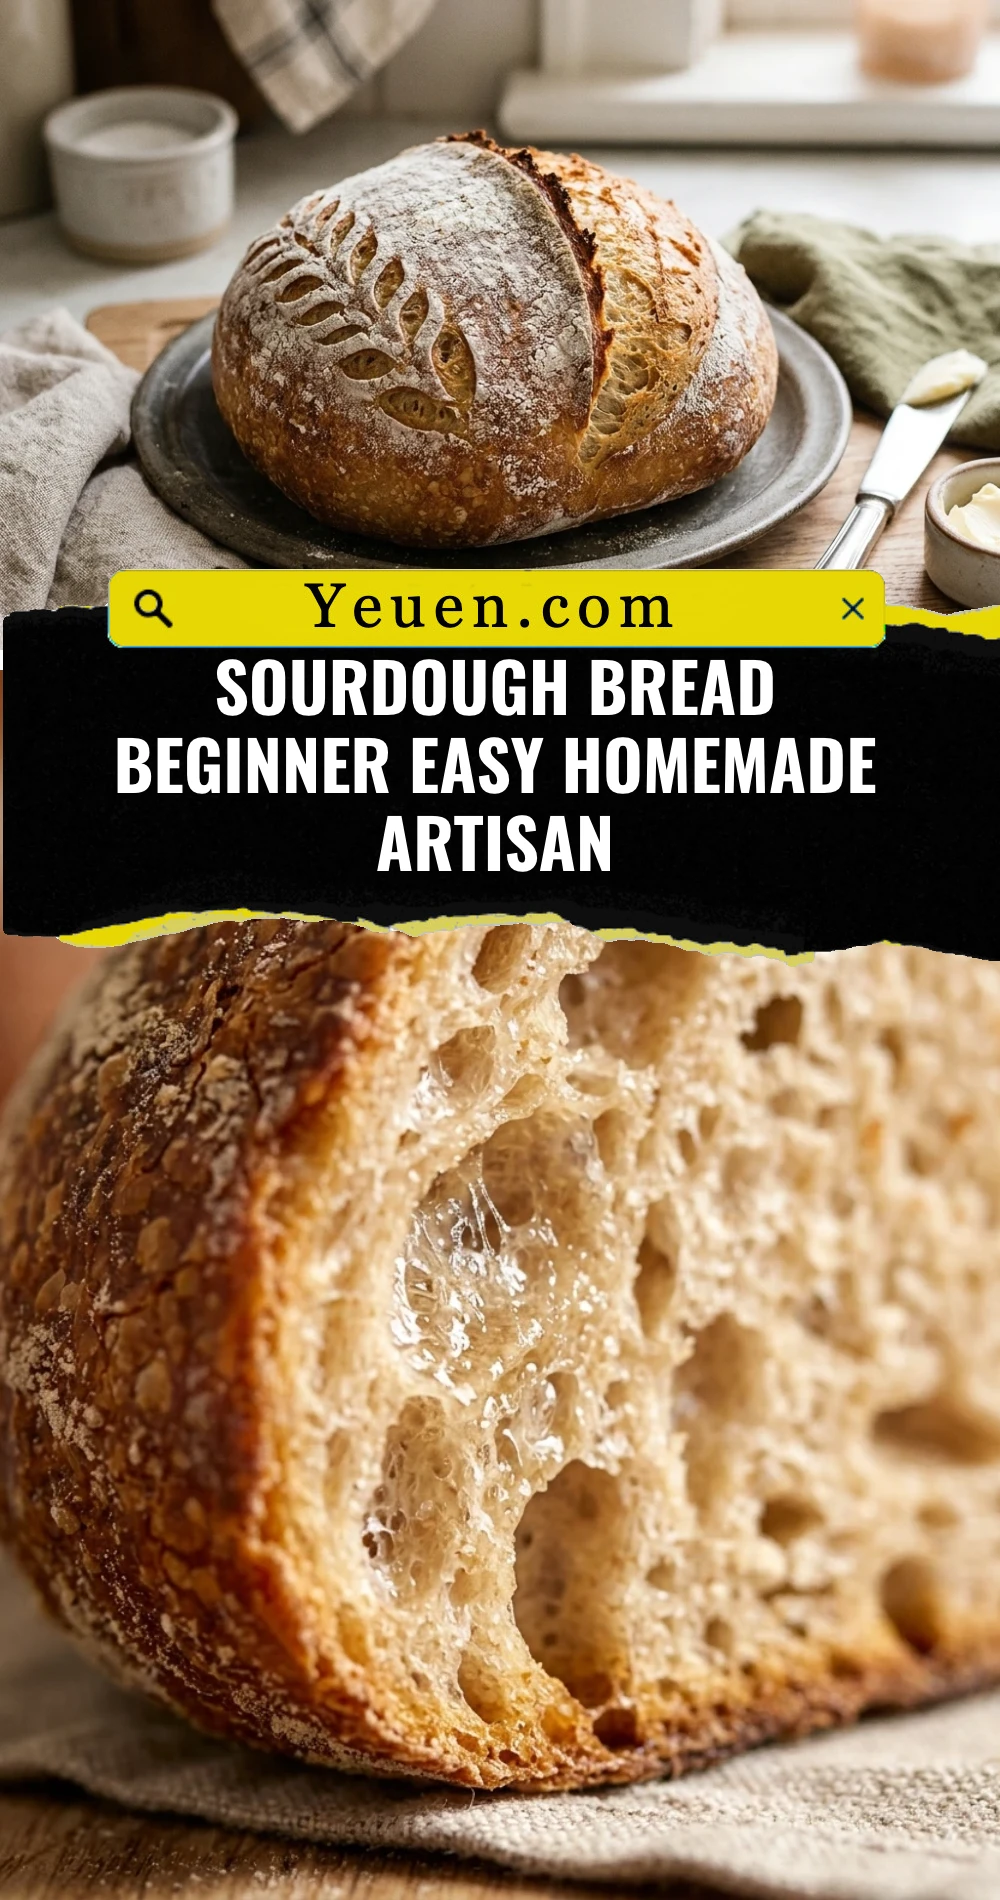
Sourdough Bread Beginner Easy Homemade Artisan
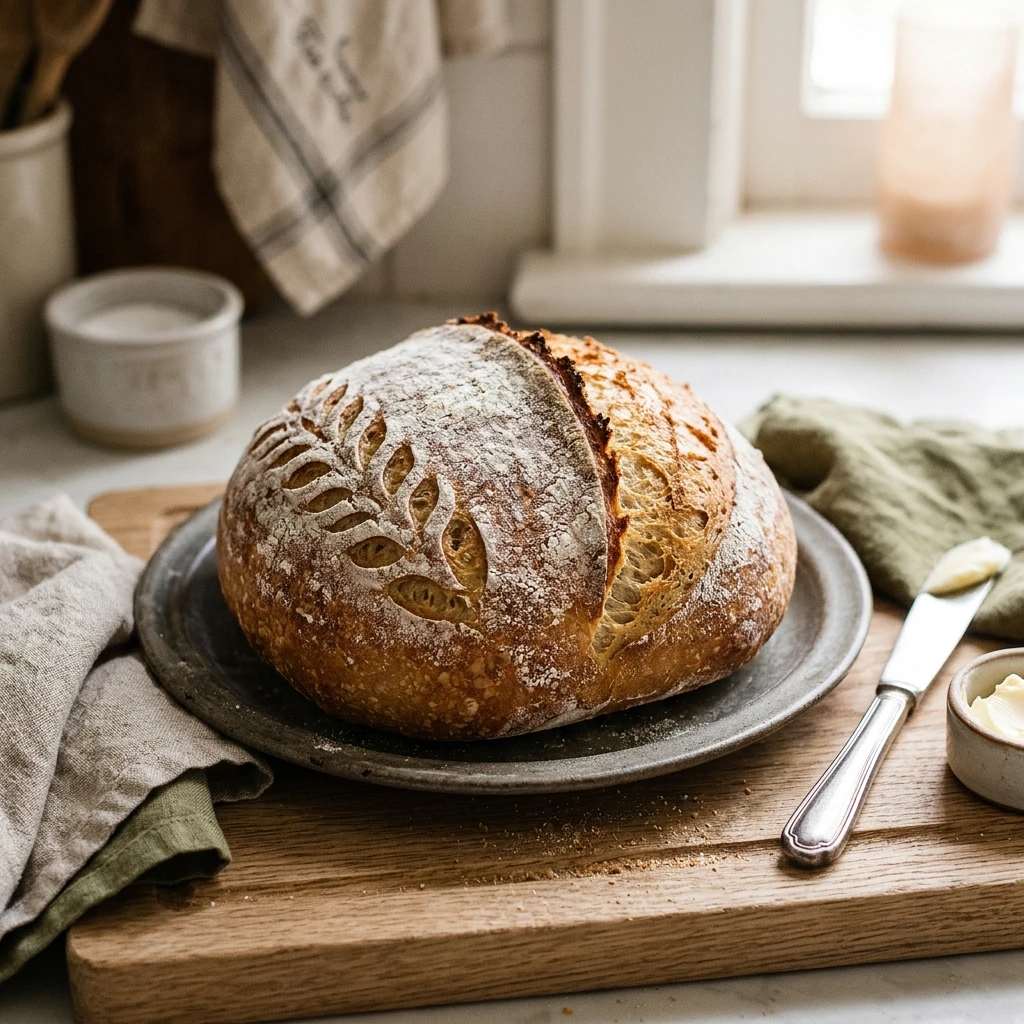
There is nothing quite like the smell of a fresh loaf of artisan sourdough cooling on your kitchen counter. If you have been intimidated by the thought of wild yeast and long fermentation times, this guide is for you. We have stripped away the complex jargon to bring you a straightforward, no-fail method for creating a crusty, tangy, and beautiful loaf right in your home oven. Whether you are a total novice or have tried and failed before, this beginner-friendly approach ensures a high-success rate and a delicious result every single time.
Recipe Information
- Prep Time: 30 minutes (active work)
- Cook Time: 45 minutes
- Total Time: 24 hours 15 minutes
- Servings: 1 loaf (approx. 10-12 slices)
- Difficulty: Easy
Nutrition values
- Calories: 185 kcal (per slice)
- Protein: 6g
- Carbs: 38g
Why Make This Sourdough Bread Beginner Easy Homemade Artisan
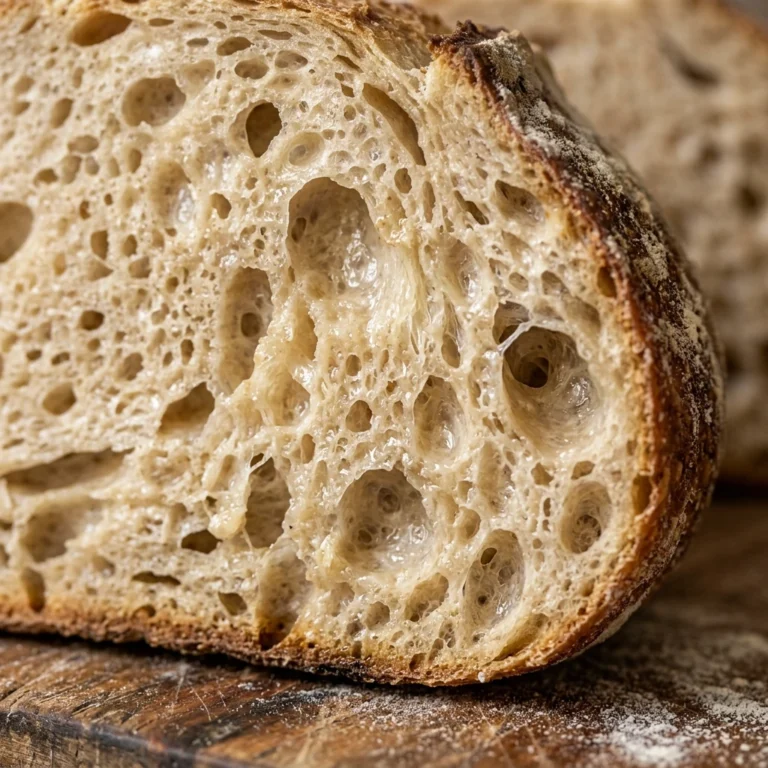
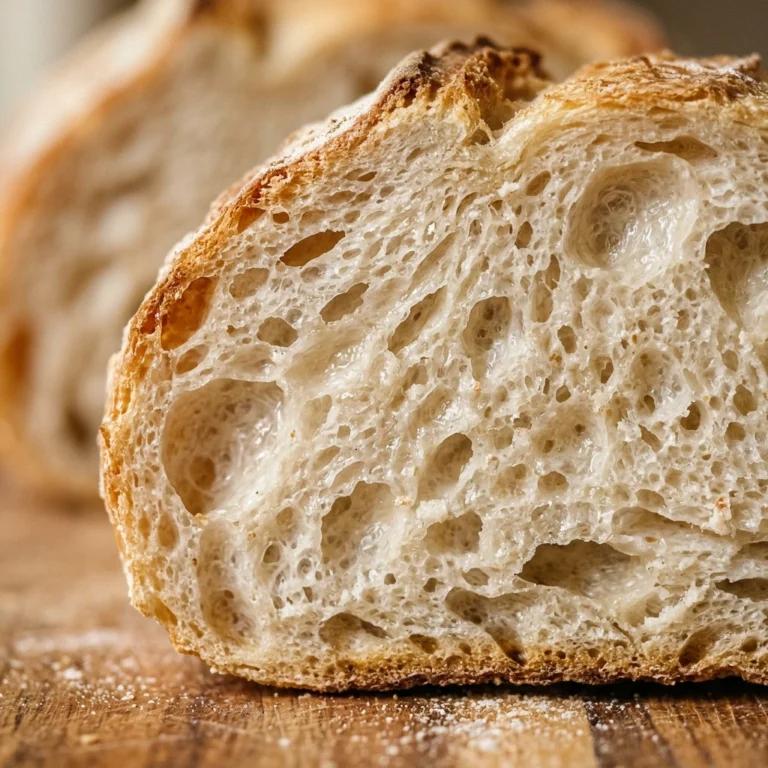
This recipe focuses on a “no-knead” technique that relies on time rather than physical labor to develop gluten. By using a slightly lower hydration level than advanced recipes, the dough is much easier to handle and shape, making it perfect for beginners. You get that signature open crumb and shatteringly crisp crust without the stress of managing a sticky, uncooperative mess. Plus, making your own bread allows you to control the ingredients, resulting in a healthier, preservative-free loaf that tastes significantly better than anything you can buy at a standard grocery store.
Ingredients
- 100g active, bubbly sourdough starter (fed within the last 4-8 hours)
- 350g warm water (filtered is best)
- 500g bread flour (unbleached)
- 10g fine sea salt
Directions
Step 1: Mixing the Dough
In a large glass bowl, whisk together your active sourdough starter and warm water until the starter is mostly dissolved and the water looks milky. Add the bread flour and sea salt to the liquid. Use a sturdy spatula or your hands to mix the ingredients until a shaggy, messy ball forms and no dry flour remains. Cover the bowl with a damp cloth or plastic wrap and let it rest for 30 minutes to allow the flour to fully hydrate.
Step 2: Stretch and Folds
Instead of kneading, you will perform “stretch and folds.” Reach under one side of the dough, pull it upward, and fold it over the center. Rotate the bowl and repeat this four times. Perform three sets of these folds, spaced 30 minutes apart. This process builds the strength of the dough gently. After the final set of folds, cover the bowl and let it sit at room temperature for 8 to 12 hours (overnight) until it has doubled in size and looks bubbly.
Step 3: Shaping the Loaf
Gently tip the fermented dough onto a lightly floured surface. Be careful not to pop all the air bubbles. Fold the edges of the dough into the center to create a round ball. Flip it over so the seam is on the bottom. Using your hands, gently tension the dough by pulling it toward you on the counter until the surface is taut. Place the dough upside down into a proofing basket (banneton) or a bowl lined with a floured kitchen towel.
Step 4: The Final Cold Proof
Cover the proofing basket and place it in the refrigerator for 2 to 4 hours. This cold environment slows down the yeast but allows the flavor to develop. It also firms up the dough, making it much easier to score with a knife before baking. While the dough rests, place a Dutch oven inside your oven and preheat it to 450°F (230°C).
Step 5: Scoring and Baking
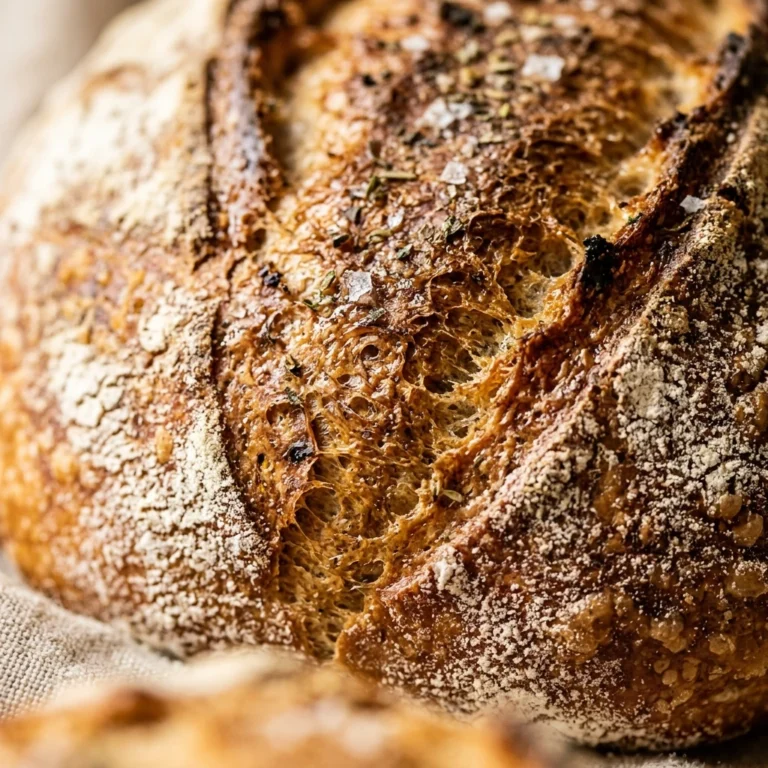
Carefully flip the cold dough onto a piece of parchment paper. Use a sharp razor blade or a very sharp knife to cut a deep slit (about 1/2 inch deep) across the top of the dough; this allows the bread to expand. Carefully lift the parchment and dough into the hot Dutch oven. Bake with the lid on for 20 minutes. Remove the lid and bake for another 20 to 25 minutes until the crust is a deep golden brown. Let the bread cool on a wire rack for at least one hour before slicing.
Expert Tips for Perfect Sourdough Bread Beginner Easy Homemade Artisan
Always use a digital kitchen scale for the most accurate results, as measuring flour by cups can lead to inconsistent dough. Ensure your sourdough starter is truly “active” by checking if a small spoonful floats in water; if it sinks, it needs more time to ferment. When baking, the steam trapped inside the Dutch oven is what creates the crispy crust, so do not peek during the first 20 minutes. Finally, resist the urge to cut into the bread while it is hot; the internal structure is still setting, and cutting it too early can result in a gummy texture.
Delicious Variations
- Rosemary and Garlic: Fold in 2 tablespoons of fresh chopped rosemary and 3 cloves of minced roasted garlic during the first set of stretch and folds.
- Cheddar and Jalapeño: Add 100g of cubed sharp cheddar and a handful of pickled jalapeño slices during the shaping process.
- Everything Bagel Sourdough: Coat the exterior of the loaf with everything bagel seasoning right after shaping and before the final proof.
- Whole Wheat Blend: Replace 100g of the bread flour with 100g of whole wheat flour for a nuttier, more rustic flavor profile.
Frequently Asked Questions
How do I know if my sourdough starter is ready to use?
Your starter is ready when it has doubled or tripled in size after feeding and is filled with bubbles. It should have a pleasant, slightly yeasty aroma. You can also perform the “float test” by dropping a small amount into a glass of water; if it floats, it is ready to bake.
Why did my dough not rise during the bulk fermentation?
This is usually due to the temperature of your kitchen or the health of your starter. If your kitchen is cold, the rise will take much longer. Make sure your starter was fed recently and that you give the dough enough time in a warm, draft-free spot.
Do I really need a Dutch oven to bake sourdough?
A Dutch oven is the best tool for beginners because it traps the moisture escaping from the dough, creating a steamy environment that mimics a professional bread oven. If you don’t have one, you can use a heavy pot with a tight lid or place a tray of water at the bottom of your oven to create steam.
What if my dough is too sticky to handle?
Sourdough is naturally stickier than commercial yeast dough. Wetting your hands with water instead of using flour will prevent the dough from sticking to you without altering the recipe’s hydration level. As you perform your stretch and folds, the dough will become smoother and more manageable.
How should I store my homemade sourdough?
Store your bread at room temperature in a paper bag or wrapped in a clean kitchen towel for up to 3 days. Avoid plastic bags, as they will soften the crust. For longer storage, slice the loaf and freeze it in a freezer-safe bag, then toast individual slices as needed.
Conclusion
Mastering the art of sourdough is a journey, but this beginner-friendly artisan recipe proves that you don’t need years of experience to produce a professional-quality loaf. By following these simple steps and giving your dough the time it needs, you will soon be enjoying the incredible flavor and texture that only homemade sourdough can provide. Keep practicing, experiment with different flavors, and enjoy the rewarding process of baking your own bread from scratch!