Follow Me On Pinterest!
Homemade White Bread Easy Beginner Artisan
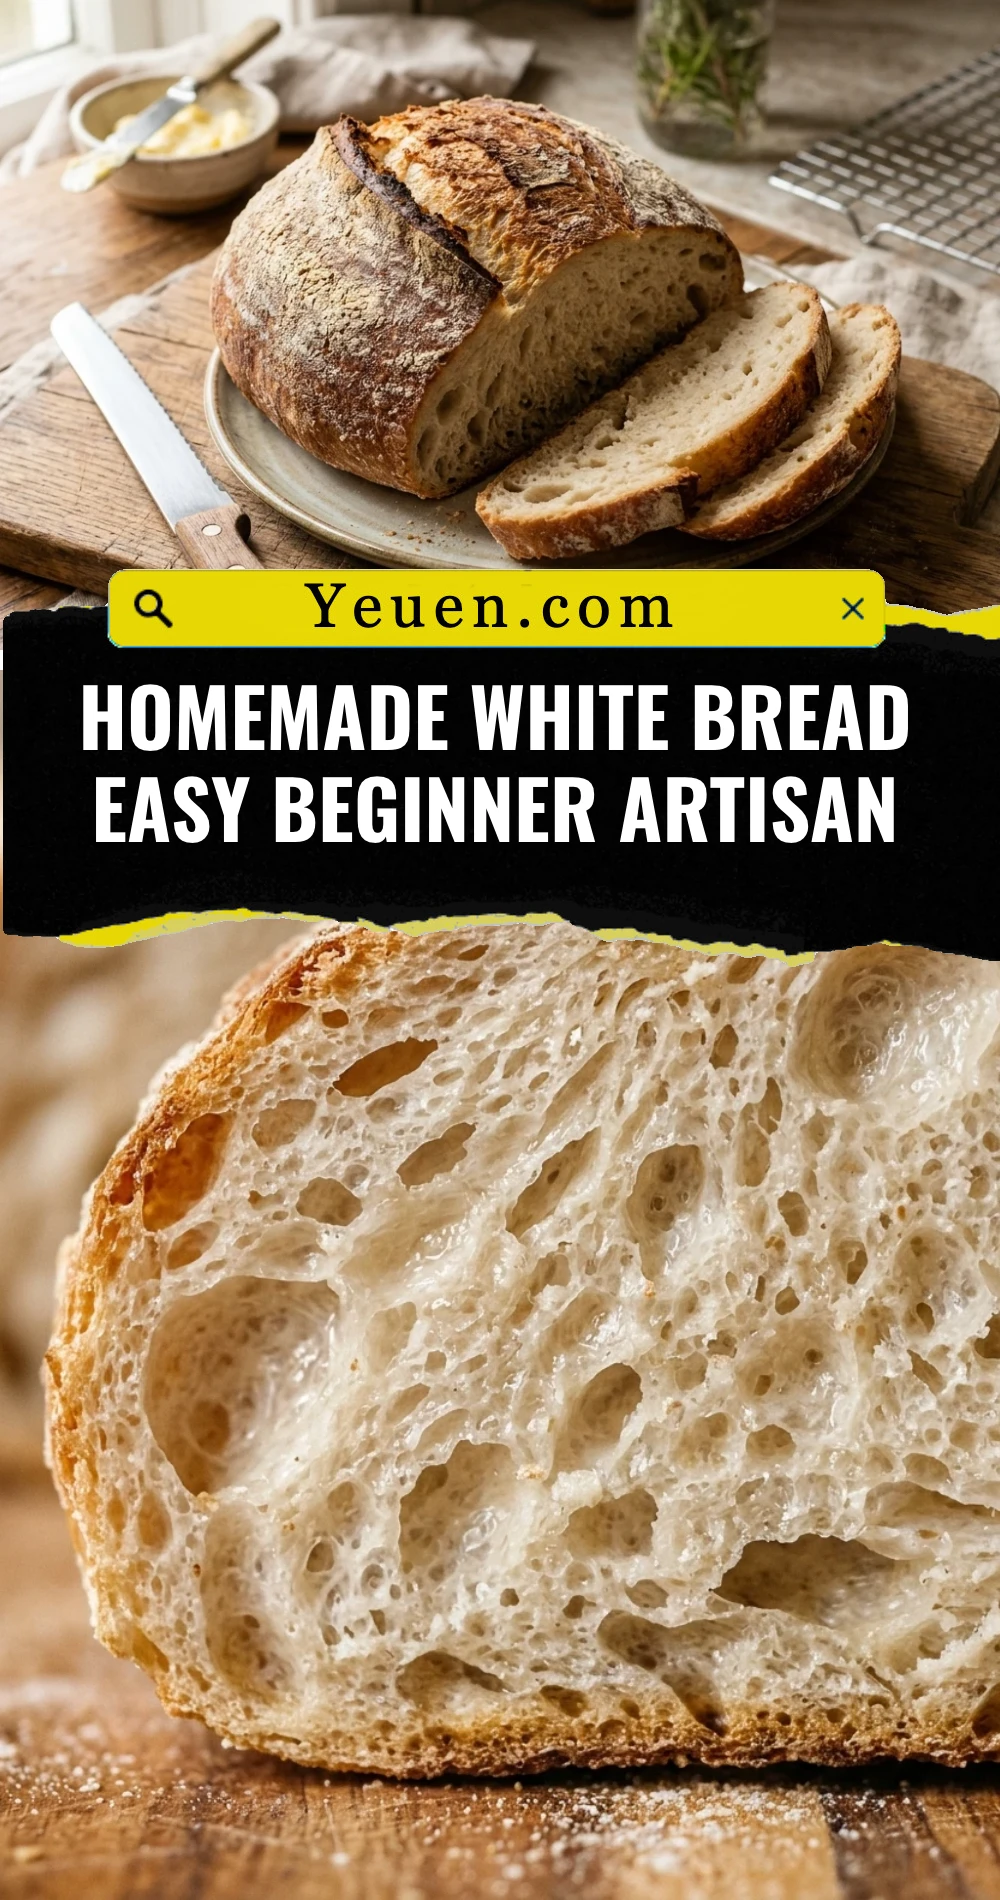
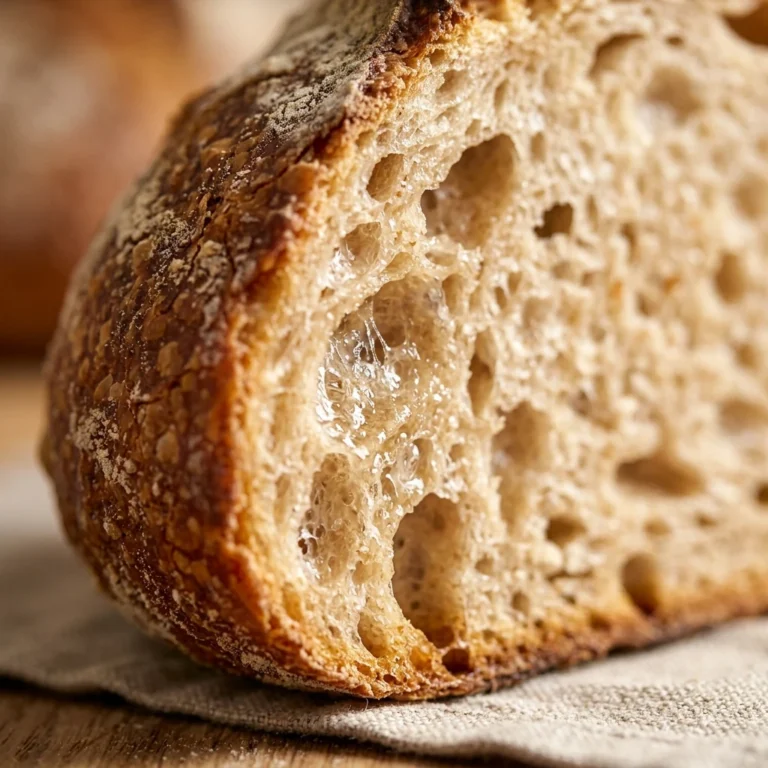
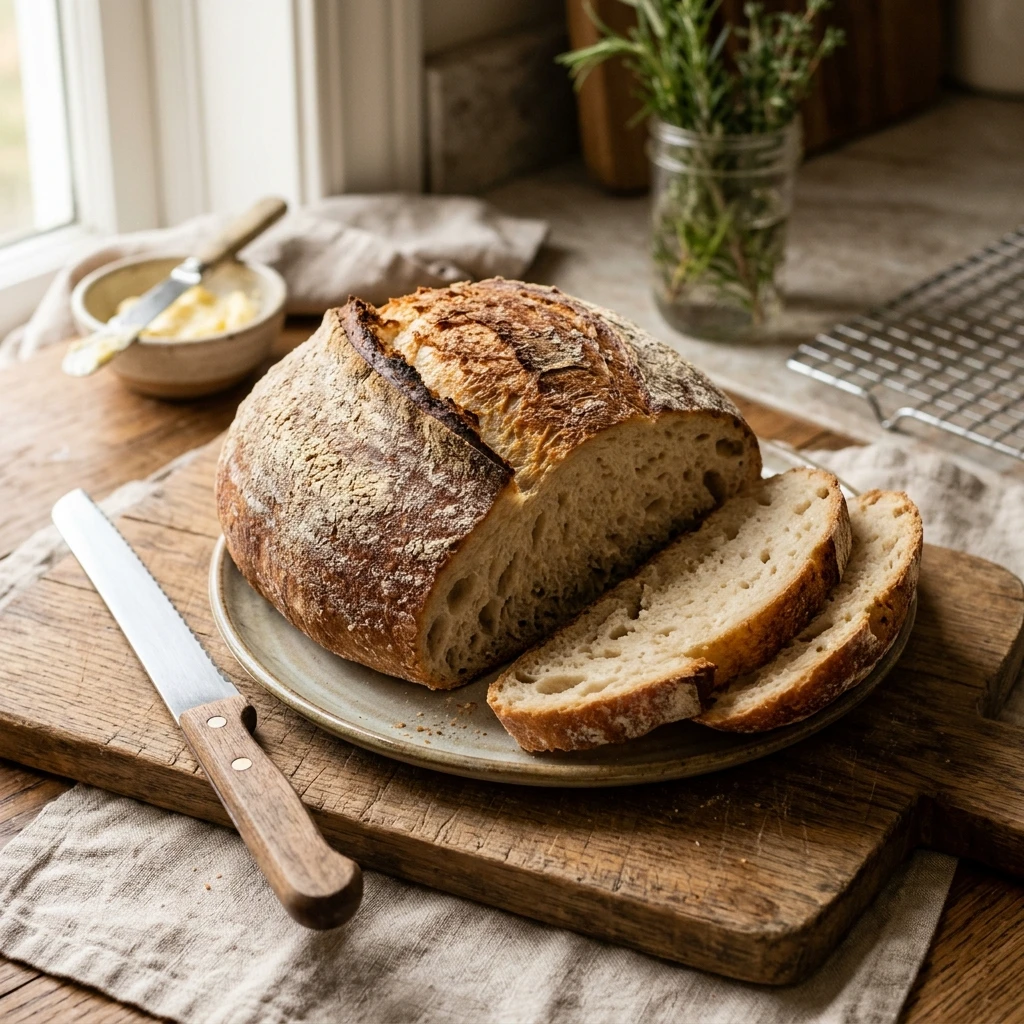
There is nothing quite like the aroma of freshly baked bread wafting through your home. If you have always felt intimidated by the idea of baking your own loaf, this recipe is your perfect starting point. We are stripping away the complex techniques and fancy equipment to bring you a simple, no-fail way to create a crusty, artisan-style white bread right in your own kitchen. You do not need a bread machine or years of professional experience to master this. With just four basic pantry staples and a little patience, you will transform into a confident home baker. Let’s get started on your first golden, crispy, and delicious loaf!
Recipe Information
- Prep Time: 15 minutes
- Cook Time: 30 minutes
- Total Time: 3 hours (includes rising time)
- Servings: 12 slices
- Difficulty: Easy
Nutrition values
- Calories: 165 kcal per slice
- Protein: 5g
- Carbs: 33g
Why Make This Homemade White Bread Easy Beginner Artisan
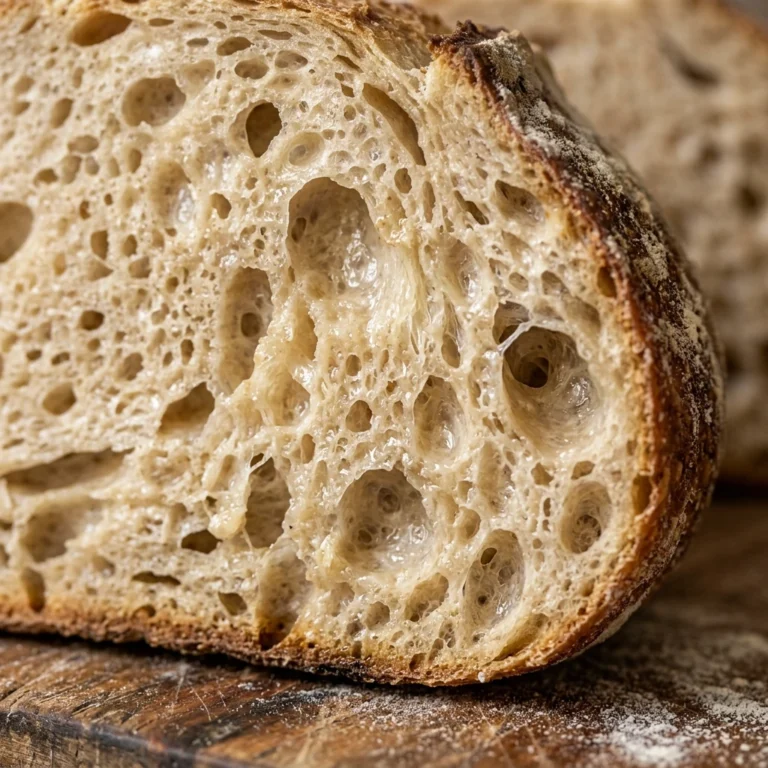
This recipe is a game-changer for anyone who wants high-quality bread without the high-stress techniques. Unlike traditional sandwich bread, this artisan version creates a beautiful, crackly crust and a soft, airy interior. It is incredibly cost-effective, costing only pennies per loaf compared to expensive bakery prices. Because you are making it yourself, you have total control over the ingredients, meaning no hidden preservatives or artificial additives. It is also the perfect “entry-level” bread that teaches you the fundamentals of yeast and dough handling without requiring a stand mixer.
Ingredients
- 3 cups All-purpose flour (or bread flour for extra chew)
- 1 ½ cups Warm water (about 110°F/45°C)
- 1 ½ teaspoons Salt
- 1 packet (2 ¼ teaspoons) Active dry yeast
- 1 teaspoon Sugar (to help activate the yeast)
Directions
Step 1: Activate the Yeast
Start by pouring your warm water into a large mixing bowl. Stir in the sugar until it dissolves, then sprinkle the active dry yeast over the top. Let it sit for about 5 to 10 minutes until the mixture becomes foamy and bubbly. This confirms your yeast is alive and ready to work. If it doesn’t foam, your water may have been too hot or the yeast may be expired.
Step 2: Mix the Dough
Add the salt to the flour and then gradually stir the flour into the yeast mixture. Use a sturdy wooden spoon or your hands to mix until a shaggy dough forms and no dry flour remains. This recipe is high-hydration, so the dough will feel slightly sticky, which is exactly what you want for an artisan texture.
Step 3: The First Rise
Cover the bowl with a clean kitchen towel or plastic wrap. Place it in a warm, draft-free spot and let the dough rise for about 1.5 to 2 hours. You want the dough to double in size. During this time, the yeast creates air bubbles that give the bread its signature light and airy structure.
Step 4: Shape and Second Rise
Gently turn the dough out onto a lightly floured surface. Fold the edges toward the center to form a round ball. Place the dough onto a piece of parchment paper or a floured baking sheet. Cover it again and let it rest for another 30 to 45 minutes while you preheat your oven to 425°F (218°C).
Step 5: Scoring and Baking
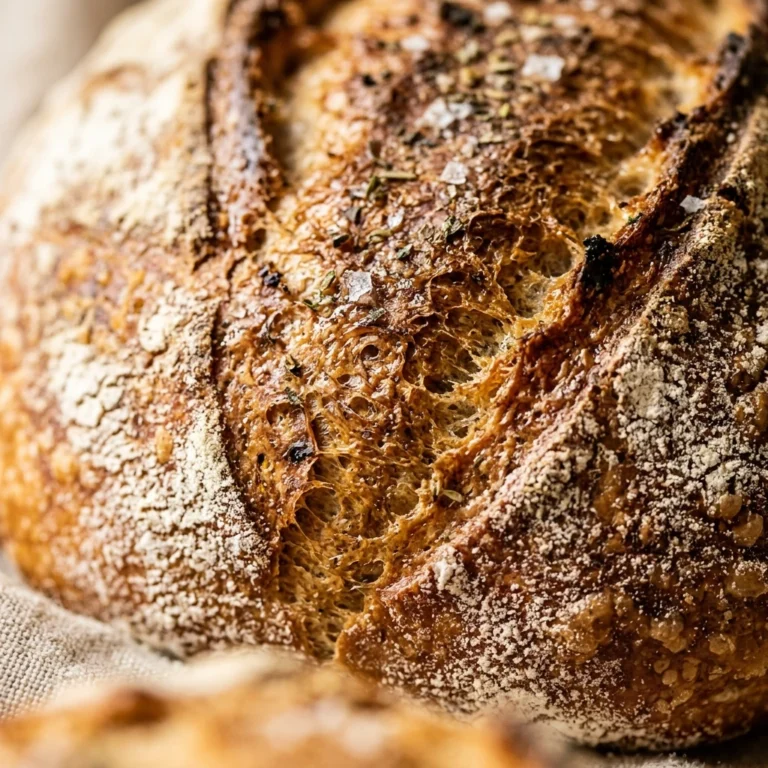
Use a sharp knife or a razor blade to cut a shallow “X” or a long slit across the top of the dough. This allows the bread to expand without cracking. Slide the dough into the oven. For an extra crispy crust, place a shallow pan of water on the bottom rack to create steam. Bake for 30 minutes or until the crust is deep golden brown and the loaf sounds hollow when tapped on the bottom.
Expert Tips for Perfect Homemade White Bread Easy Beginner Artisan
- Check your water temperature: Use a thermometer to ensure the water is between 105°F and 115°F. Too hot will kill the yeast, and too cold will not activate it.
- Don’t over-flour: It is tempting to add more flour when the dough feels sticky, but too much flour results in a dense, heavy loaf. Use just enough to handle the dough.
- Use a Dutch Oven: If you have one, bake the bread inside a preheated Dutch oven with the lid on for the first 20 minutes to trap steam, then remove the lid for the final 10 minutes.
- Let it cool: Resist the urge to cut into the bread immediately. Letting it cool for at least 30 minutes allows the internal structure to set.
Delicious Variations
- Rosemary and Garlic: Fold in 2 tablespoons of chopped fresh rosemary and 1 tablespoon of minced garlic during Step 2.
- Everything Bagel Style: Brush the top with an egg wash before baking and sprinkle generously with everything bagel seasoning.
- Cheddar and Jalapeño: Mix in half a cup of shredded sharp cheddar and a tablespoon of diced jalapeños for a spicy, cheesy kick.
- Honey Wheat: Replace 1 cup of all-purpose flour with whole wheat flour and swap the sugar for a tablespoon of honey.
Frequently Asked Questions
Can I use Instant Yeast instead of Active Dry?
Yes! If using instant yeast, you can skip the proofing step in the water and mix the yeast directly into the dry flour. The rise times may also be slightly faster.
Why didn’t my bread rise?
This usually happens if the yeast was old or if the water used to activate it was too hot. Ensure your yeast is fresh and your rising environment is warm.
How do I store this bread?
Since this bread has no preservatives, it is best eaten within 2 days. Store it in a paper bag at room temperature to keep the crust crisp, or wrap it in plastic to keep it soft.
Can I freeze the dough?
Yes. After the first rise, you can wrap the dough tightly and freeze it. Thaw it in the refrigerator overnight and let it come to room temperature before shaping and baking.
What if I don’t have parchment paper?
You can bake the loaf directly on a baking sheet, but make sure to grease it well or sprinkle it with a little cornmeal to prevent the bread from sticking.
Conclusion
Baking your own artisan white bread is a rewarding experience that fills your home with warmth and your stomach with joy. This beginner-friendly method proves that you do not need complex tools to achieve bakery-quality results. Whether you serve it warm with a pat of butter, use it for gourmet sandwiches, or pair it with a hearty soup, this loaf is sure to impress. Keep practicing, and soon you will be the go-to baker in your circle of friends!