Follow Me On Pinterest!
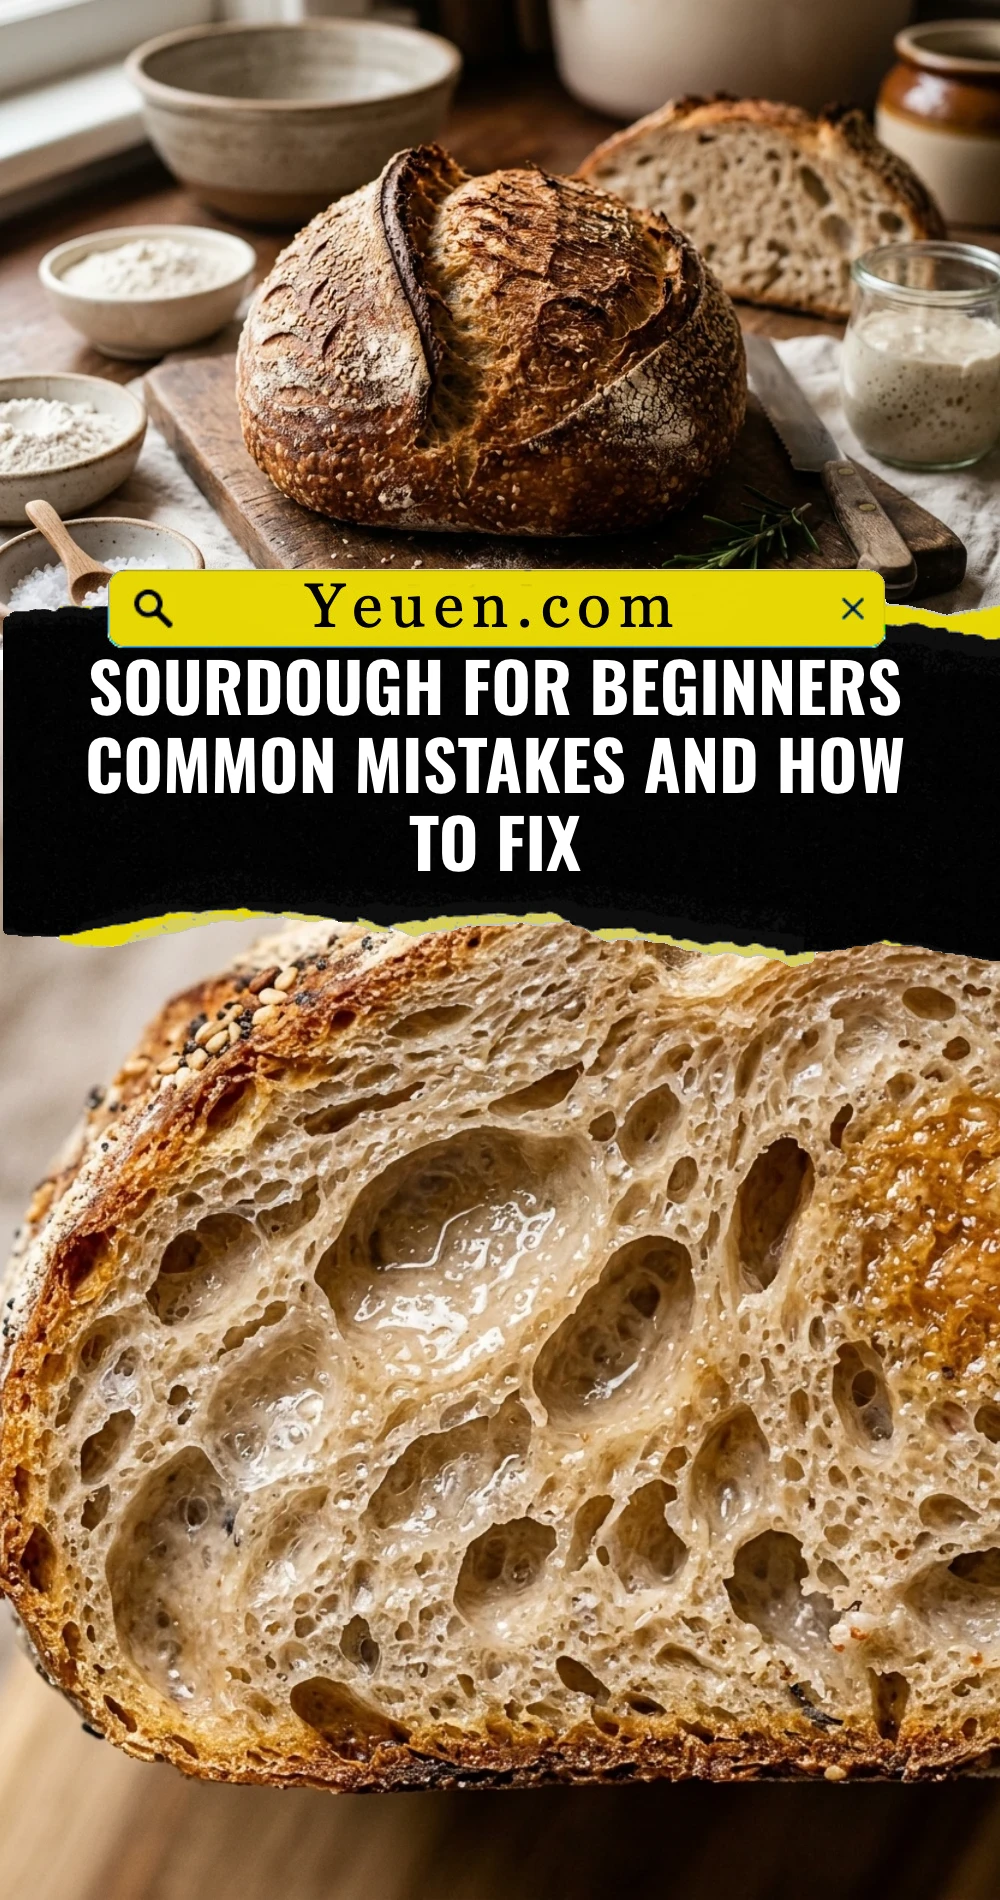
Sourdough For Beginners Common Mistakes And How To Fix
Starting your sourdough journey feels like a rite of passage for every home baker. You see those beautiful, airy loaves on social media and think, “I can do that!” Then, reality hits. Maybe your starter won’t bubble, or your bread comes out of the oven looking like a sad, flat frisbee. Don’t worry, you aren’t alone. Sourdough is a living thing, and mastering it takes a bit of practice and troubleshooting. This guide breaks down the most common mistakes beginners make and provides a foolproof method to get that perfect, crusty loaf every single time.
Recipe Information
- Prep Time: 24 hours (includes fermentation)
- Cook Time: 45 minutes
- Total Time: 24 hours 45 minutes
- Servings: 1 loaf (12 slices)
- Difficulty: Medium
Nutrition values
- Calories: 185 kcal
- Protein: 6g
- Carbs: 38g
Why Make This Sourdough For Beginners Common Mistakes And How To Fix
This isn’t just a recipe; it’s a troubleshooting manual in disguise. Most beginners fail because they follow a strict timeline rather than watching their dough. This guide teaches you the “why” behind the “how.” You will learn to recognize when your starter is ready, how to handle sticky dough without adding too much flour, and the secret to getting that elusive “oven spring.” Making your own bread is cheaper, healthier, and far more satisfying than buying store-bought loaves filled with preservatives.
Ingredients
- 100g active, bubbly sourdough starter (fed within 4-12 hours)
- 350g warm filtered water (about 80°F)
- 500g high-quality bread flour (12% protein or higher)
- 10g fine sea salt
Directions
Step 1: Feed and Activate Your Starter
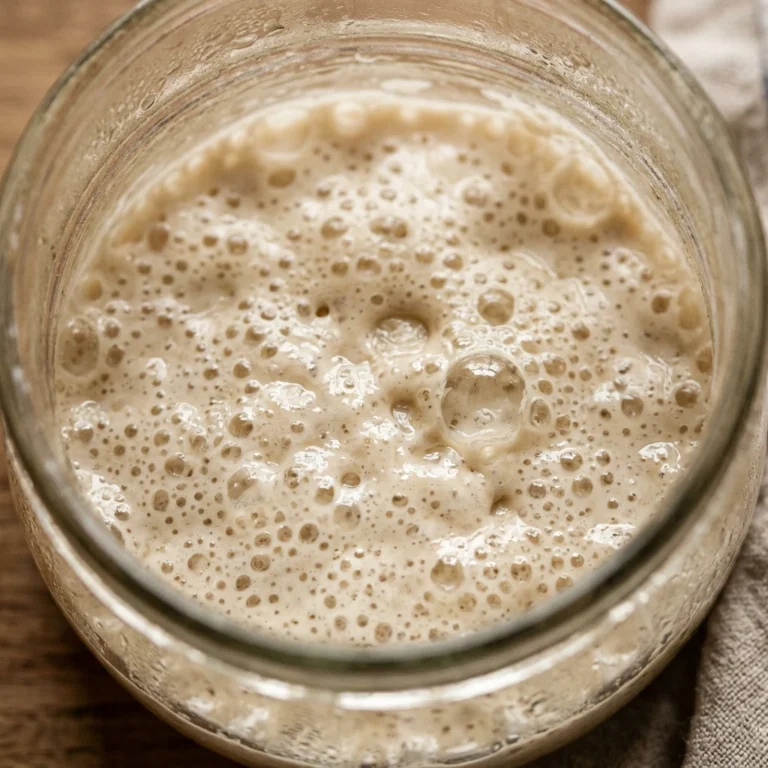
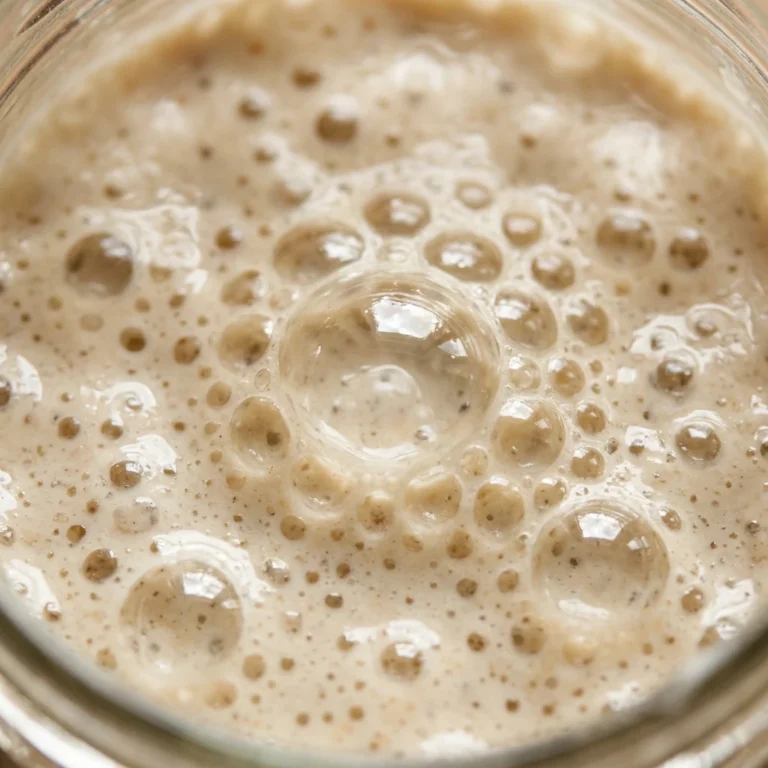
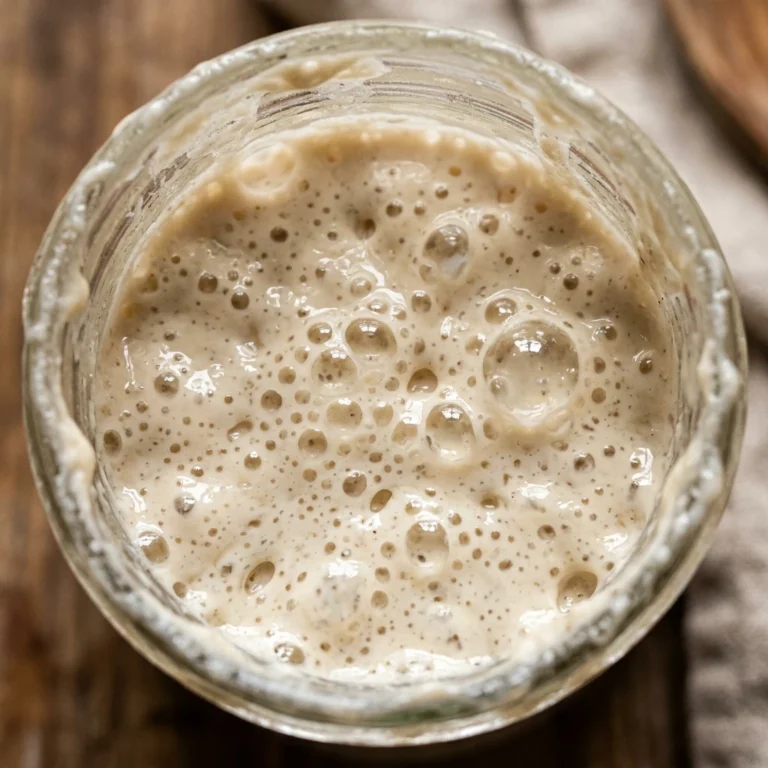
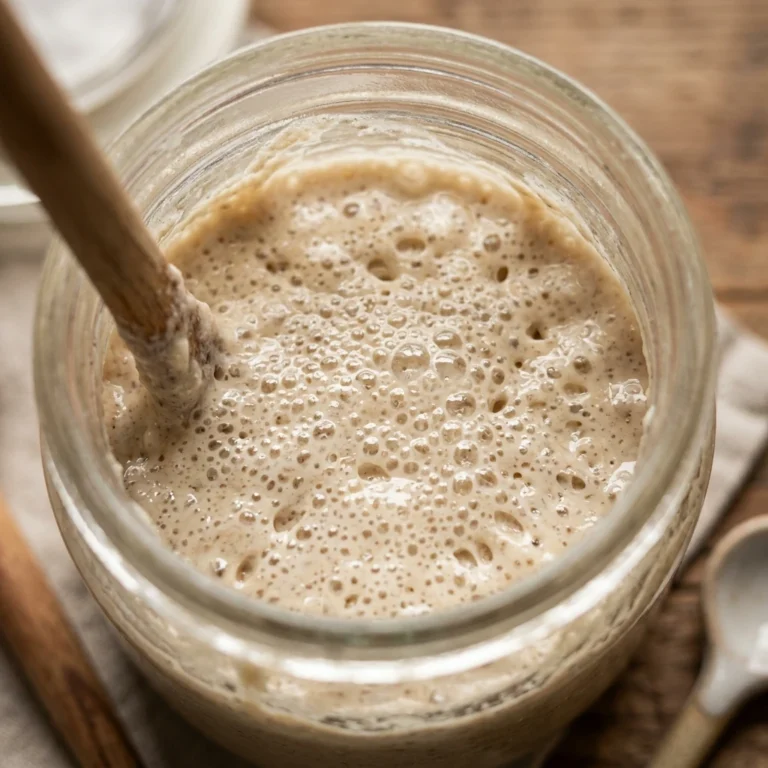
Ensure your starter is at its peak activity. Mix equal parts flour and water into your starter and wait until it doubles in size and passes the “float test.” To do this, drop a teaspoon of starter into a glass of water; if it floats, you are ready to bake. If it sinks, your starter needs more time or another feeding.
Step 2: Mix the Initial Dough
In a large glass bowl, whisk your active starter into the warm water until it is mostly dissolved and milky. Add the bread flour and salt. Mix by hand or with a dough whisk until a shaggy mass forms and no dry flour remains. Cover the bowl with a damp cloth and let it rest for 30 to 45 minutes. This is the autolyse phase, which allows the flour to fully hydrate.
Step 3: Bulk Fermentation and Stretching
Instead of traditional kneading, perform “stretch and folds.” Every 30 minutes for the next 2 hours, grab one side of the dough, pull it up high, and fold it over the center. Rotate the bowl and repeat four times. Cover and let the dough rise in a warm spot (75°F-80°F) until it has increased in volume by about 50% and looks bubbly and jiggly.
Step 4: Shaping and Cold Proofing
Gently turn the dough onto a lightly floured surface. Fold the edges into the center to create tension, then flip it over. Use your hands to drag the dough toward you, creating a tight, smooth skin on the surface. Place it upside down in a floured proofing basket or a bowl lined with a linen towel. Cover and refrigerate for 12 to 15 hours. This cold proof develops the signature tangy flavor.
Step 5: Scoring and Baking
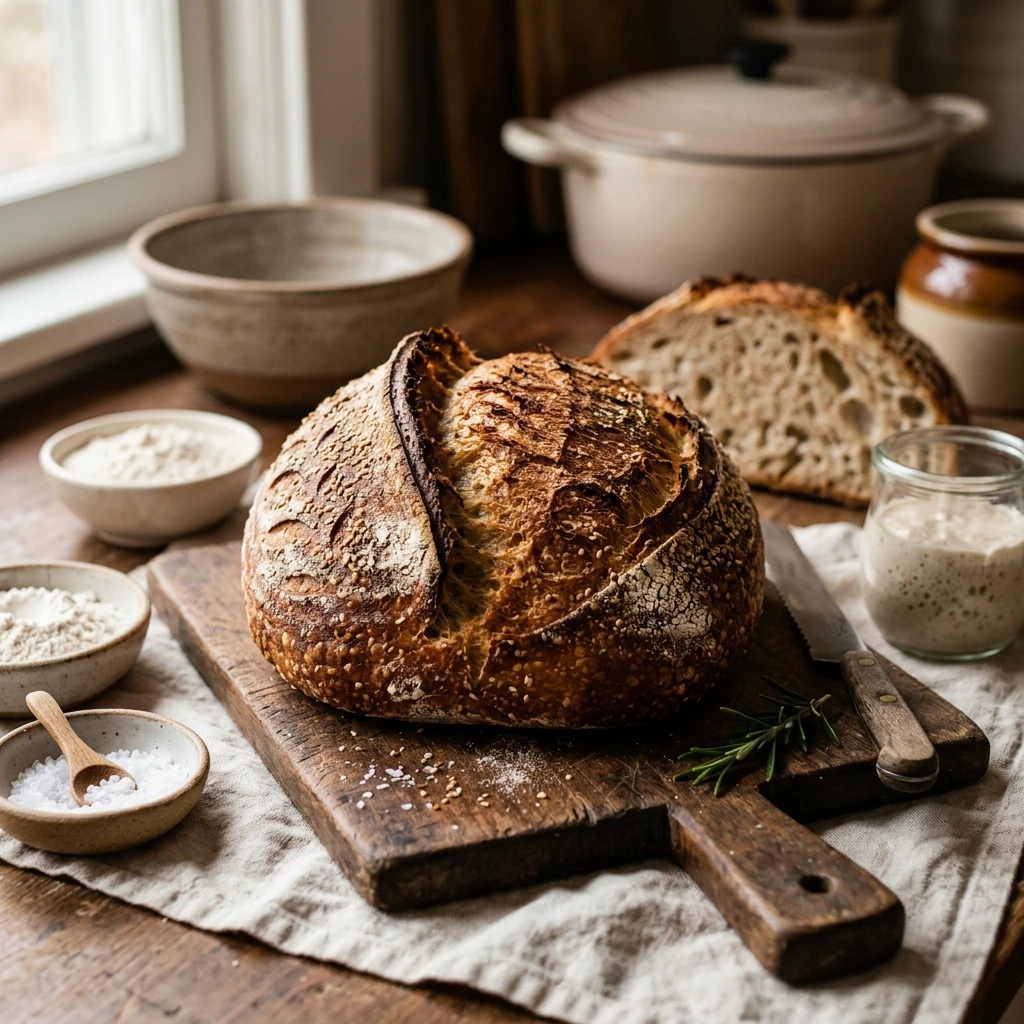
Preheat your oven to 450°F (230°C) with a Dutch oven inside for at least 30 minutes. Flip the cold dough onto a piece of parchment paper. Use a sharp blade or lame to make a deep slash across the top at a 45-degree angle. Carefully place the dough into the hot Dutch oven, cover with the lid, and bake for 20 minutes. Remove the lid and bake for another 20-25 minutes until the crust is a deep, golden brown.
Expert Tips for Perfect Sourdough For Beginners Common Mistakes And How To Fix
Always use a digital scale. Measuring by cups is the most common reason for failure because flour density varies wildly. Use filtered water, as chlorine in tap water can inhibit the wild yeast in your starter. If your kitchen is cold, your dough will rise much slower; try putting it inside the oven with just the light turned on to create a warm environment. Finally, wait at least one hour before slicing! Cutting into hot bread ruins the internal structure and makes it gummy.
Delicious Variations
Once you master the basic loaf, try these tweaks. Add 1 tablespoon of dried rosemary and 2 cloves of minced roasted garlic during the initial mixing phase for a savory treat. For a “Seeded Sourdough,” fold in 50g of toasted sunflower and pumpkin seeds during your first stretch and fold. You can also swap 100g of the bread flour for whole wheat or rye flour to add a nutty depth and extra fiber to your loaf.
Frequently Asked Questions
Why did my bread turn out flat like a pancake? This is usually due to under-proofing or a weak starter. Ensure your starter is very active and let the dough rise long enough during the bulk fermentation stage until it feels airy and light. It could also mean you didn’t create enough surface tension during shaping.
Why is my dough so sticky and impossible to handle? High hydration dough is naturally sticky. Instead of adding more flour, which makes the bread dense, use wet hands to handle the dough. This prevents it from sticking to you without changing the recipe’s hydration ratio.
How do I know exactly when bulk fermentation is done? Look for bubbles on the surface and along the sides of your container. The dough should feel “jiggly” when you shake the bowl and should have grown significantly in size. It should no longer feel dense or heavy.
Can I use All-Purpose flour instead of Bread Flour? You can, but bread flour has more protein, which creates a stronger gluten network. This helps the bread hold its shape and rise higher in the oven. If using AP flour, reduce the water by 20-30g.
My crust is too hard and thick; what happened? A thick, hard crust is often caused by baking too long without a lid or not enough steam in the oven. Using a Dutch oven traps the moisture from the dough, keeping the crust soft enough to expand during the first half of baking.
Conclusion
Mastering sourdough is a journey of patience and observation. While mistakes like flat loaves or sticky dough are common for beginners, they are also the best teachers. By focusing on your starter’s health and the feel of the dough rather than just the clock, you will soon be pulling bakery-quality loaves out of your own oven. Keep practicing, stay curious, and enjoy the delicious process of creating bread from just flour, water, and air.