Follow Me On Pinterest!
Sourdough For Beginners Common Mistakes And How To Fix
Embarking on your sourdough journey feels like a rite of passage for any home baker. There is something magical about turning flour, water, and salt into a crusty, tangy masterpiece. However, the path to the perfect loaf is often paved with flat “pancakes,” gummy interiors, and starters that refuse to bubble. If your first few attempts felt more like a science experiment gone wrong than a bakery success, don’t worry. Most beginners face the same hurdles. Understanding why your dough behaves the way it does is the secret to mastering this ancient craft. Let’s dive into how to fix those common mistakes and get you baking like a pro.
Recipe Information
- Prep Time: 24 hours (includes fermentation)
- Cook Time: 45 minutes
- Total Time: 24 hours 45 minutes
- Servings: 1 loaf (approx. 10 slices)
- Difficulty: Medium
Nutrition values
- Calories: 185 kcal per slice
- Protein: 6g
- Carbs: 38g
Why Make This Sourdough For Beginners Common Mistakes And How To Fix
This guide isn’t just a recipe; it is a troubleshooting manual designed to save you from frustration. Sourdough baking relies on living organisms, which means variables like temperature and humidity change everything. By learning the “why” behind the “how,” you gain the confidence to adjust your process on the fly. You will save money on wasted flour and finally achieve that elusive open crumb and golden, crackly crust. Plus, homemade sourdough is easier on the gut and tastes far superior to anything you can buy at a standard grocery store.
Ingredients
- 100g active, bubbly sourdough starter (fed within 4-8 hours)
- 350g warm water (approx. 80°F/27°C)
- 500g bread flour (high protein is best)
- 10g fine sea salt
- Extra flour for dusting
Directions
Step 1: Testing and Mixing the Levain
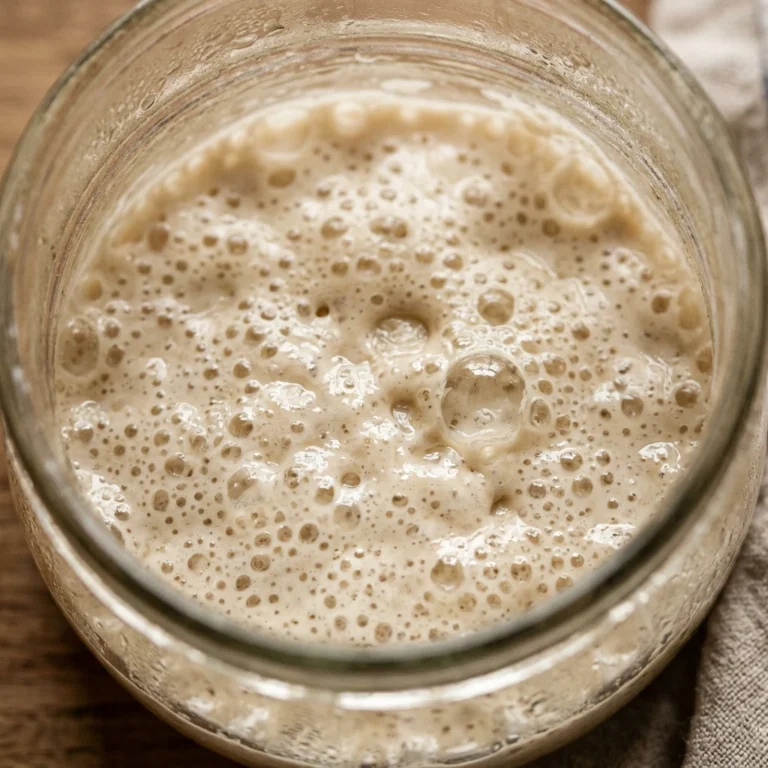
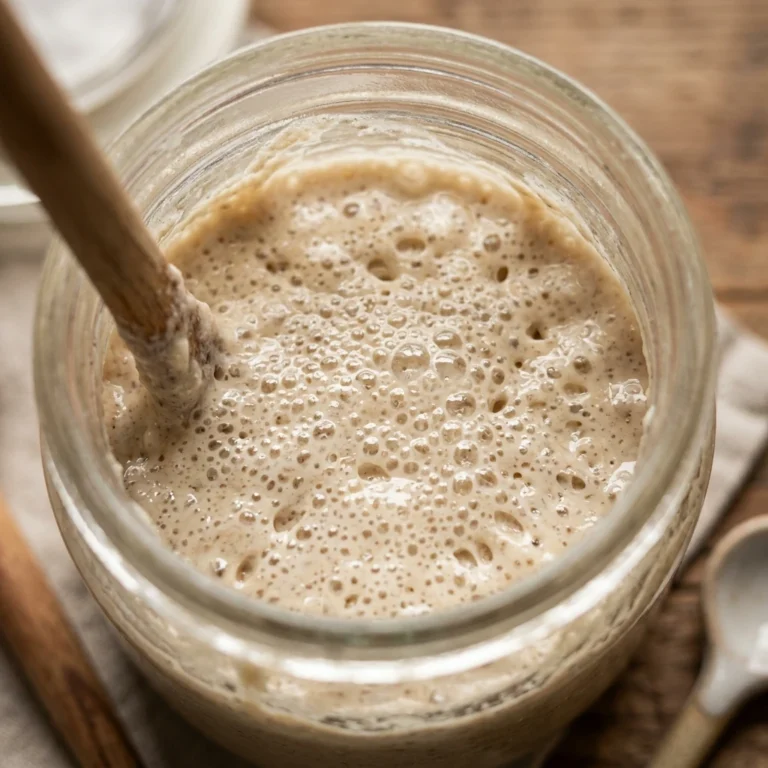
Common mistake: Using a weak starter. Before you begin, ensure your starter is active. Drop a teaspoon of starter into a glass of water; if it floats, it is ready. In a large bowl, whisk your active starter into the warm water until it mostly dissolves. Add the bread flour and salt. Mix by hand or with a sturdy spoon until no dry flour remains. The dough will look shaggy and messy at this stage. Cover the bowl with a damp cloth and let it rest for 30 minutes. This rest period, called autolyse, helps the flour hydrate and makes the dough easier to handle later.
Step 2: Bulk Fermentation and Strength Building
Common mistake: Skipping the stretch and folds. Instead of traditional kneading, sourdough requires “stretch and folds” to build gluten. Every 30 minutes for the next 2 hours, reach under one side of the dough, pull it up, and fold it over the center. Rotate the bowl and repeat four times. Do this four times total. After the final fold, let the dough sit undisturbed in a warm spot (75°F-80°F) until it increases in volume by about 50-75% and looks bubbly. This “Bulk Fermentation” is where most beginners fail by under-proofing (dough is dense) or over-proofing (dough collapses).
Step 3: Shaping and Cold Retard
Common mistake: Poor tension during shaping. Gently tip the dough onto a lightly floured surface. Fold the edges into the center to create a round ball. Flip it over so the seam side is down. Use your hands to pull the dough toward you on the counter, creating surface tension on the “skin” of the loaf. Place the dough upside down into a proofing basket (banneton) or a bowl lined with a floured tea towel. Cover and place it in the refrigerator for 12 to 18 hours. This cold proof develops flavor and makes the dough easier to score.
Step 4: Scoring and Steam Baking
Common mistake: Baking in a dry oven. Preheat your oven to 450°F (230°C) with a Dutch oven inside for at least 45 minutes. Carefully flip the cold dough onto a piece of parchment paper. Use a sharp blade or “lame” to make a deep slash (about 1/2 inch deep) across the top at a 45-degree angle. This controls where the bread expands. Lift the parchment and dough into the hot Dutch oven. Drop in two ice cubes between the parchment and the pot wall to create extra steam. Cover with the lid and bake for 20 minutes.
Step 5: The Final Crisp and Cooling
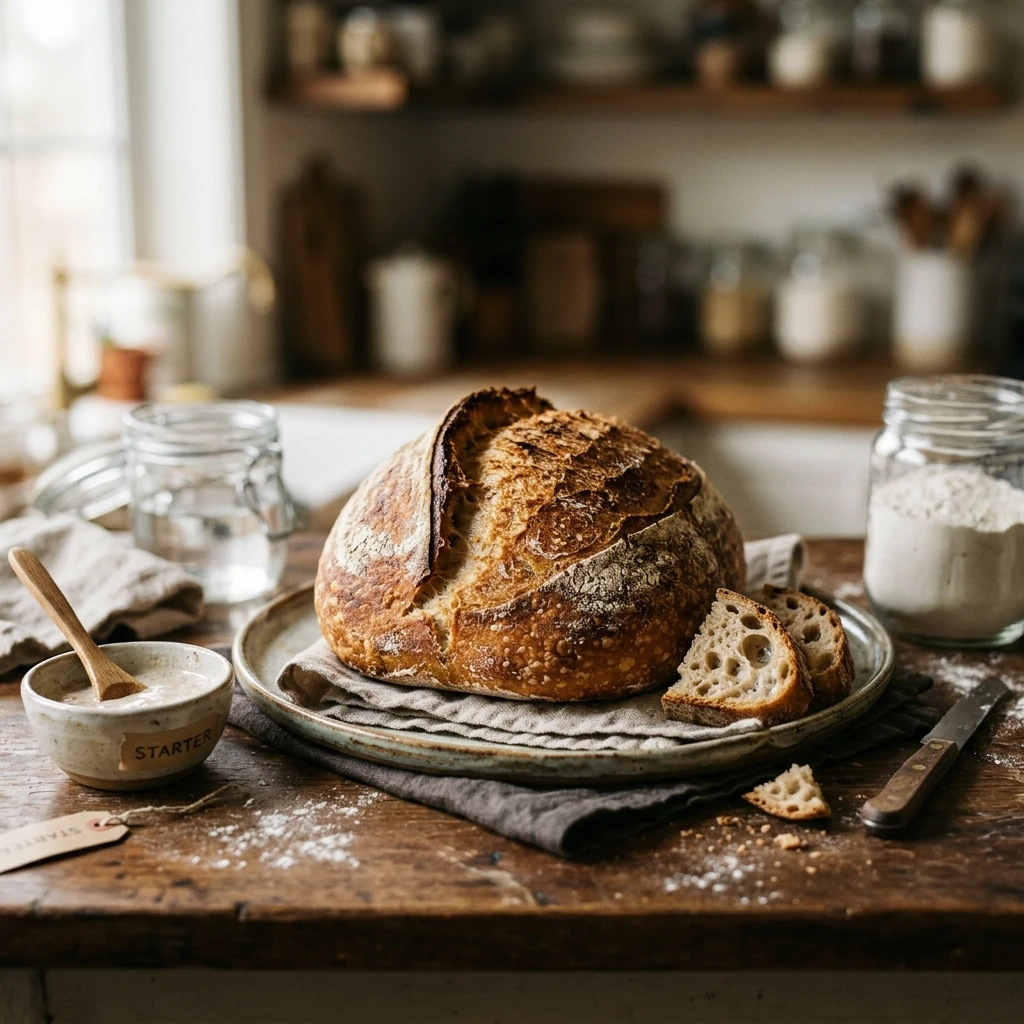
Common mistake: Cutting the bread while hot. Remove the lid of the Dutch oven. You should see a beautiful “oven spring” where the bread has risen. Continue baking uncovered for another 20-25 minutes until the crust is a deep mahogany brown. Internal temperature should reach 208°F. Remove the loaf and place it on a wire rack. You must wait at least 2 hours before slicing. Cutting too early traps steam inside, resulting in a gummy, sticky texture.
Expert Tips for Perfect Sourdough For Beginners Common Mistakes And How To Fix
- Watch the Dough, Not the Clock: Fermentation times vary wildly based on your kitchen’s temperature. If your house is cold, your dough may need 10 hours to rise; if it’s hot, it might take 3.
- Use a Digital Scale: Volume measurements (cups) are inaccurate for flour and starter. Weighing in grams ensures consistency every single time.
- Keep Your Starter Strong: If your starter isn’t doubling in size within 4-6 hours of feeding, it isn’t strong enough to rise bread. Feed it daily for a few days before baking.
- Master the “Poke Test”: Gently press the dough with a floured finger. If it springs back slowly and leaves a small indentation, it is ready to bake. If it snaps back instantly, it needs more time.
Delicious Variations
- Roasted Garlic and Rosemary: Fold in 6 cloves of roasted garlic and 1 tablespoon of fresh chopped rosemary during the second set of stretch and folds.
- Cinnamon Raisin: Add 1/2 cup of soaked raisins and 1 teaspoon of cinnamon during the mixing phase for a sweet breakfast loaf.
- Everything Bagel Sourdough: Coat the exterior of the shaped loaf with everything bagel seasoning right before scoring.
- Jalapeño Cheddar: Incorporate 1/2 cup of cubed sharp cheddar and 1 diced jalapeño during the shaping process.
Frequently Asked Questions
Why did my sourdough turn out flat like a pancake?
This usually happens for two reasons: under-proofing or weak gluten structure. If your starter wasn’t active enough, it couldn’t lift the dough. If you skipped the stretch and folds, the dough lacked the strength to hold its shape. Ensure your starter is bubbly and you create enough tension during the shaping step.
Why is my crust so hard I can barely cut it?
A very thick, hard crust often results from baking too long at a lower temperature or not having enough steam. Using a Dutch oven with a tight lid is the best way to trap steam, which keeps the crust soft while the bread expands.
How do I know if my starter has gone bad?
A healthy starter smells yeasty, fruity, or like vinegar. If you see fuzzy mold (black, green, or pink) or if it smells like rotting garbage, throw it away. A dark liquid on top, called “hooch,” is just a sign that your starter is hungry and needs a feeding.
Can I use All-Purpose flour instead of Bread Flour?
Yes, but Bread Flour has a higher protein content, which creates a stronger gluten network and a better rise. If you use All-Purpose, reduce the water by about 25g to prevent the dough from becoming too sticky and unmanageable.
Why is the inside of my bread gummy?
Gummy bread is usually caused by slicing the loaf while it is still warm. The cooking process continues even after the bread leaves the oven. If you cut it too soon, the starches haven’t set, resulting in a sticky texture. It could also be a sign of under-baking.
Conclusion
Sourdough baking is a skill that rewards patience and observation. Don’t be discouraged by a few “ugly” loaves; they usually still taste delicious as toast! By focusing on the strength of your starter and the timing of your fermentation, you will quickly move past the beginner stage. Remember that every kitchen environment is unique, so treat every bake as a learning experience. Keep practicing, keep feeding your starter, and soon you will be pulling bakery-quality sourdough out of your own oven every weekend.