Follow Me On Pinterest!
No Knead Wheat Bread Easy Homemade Beginner Artisan
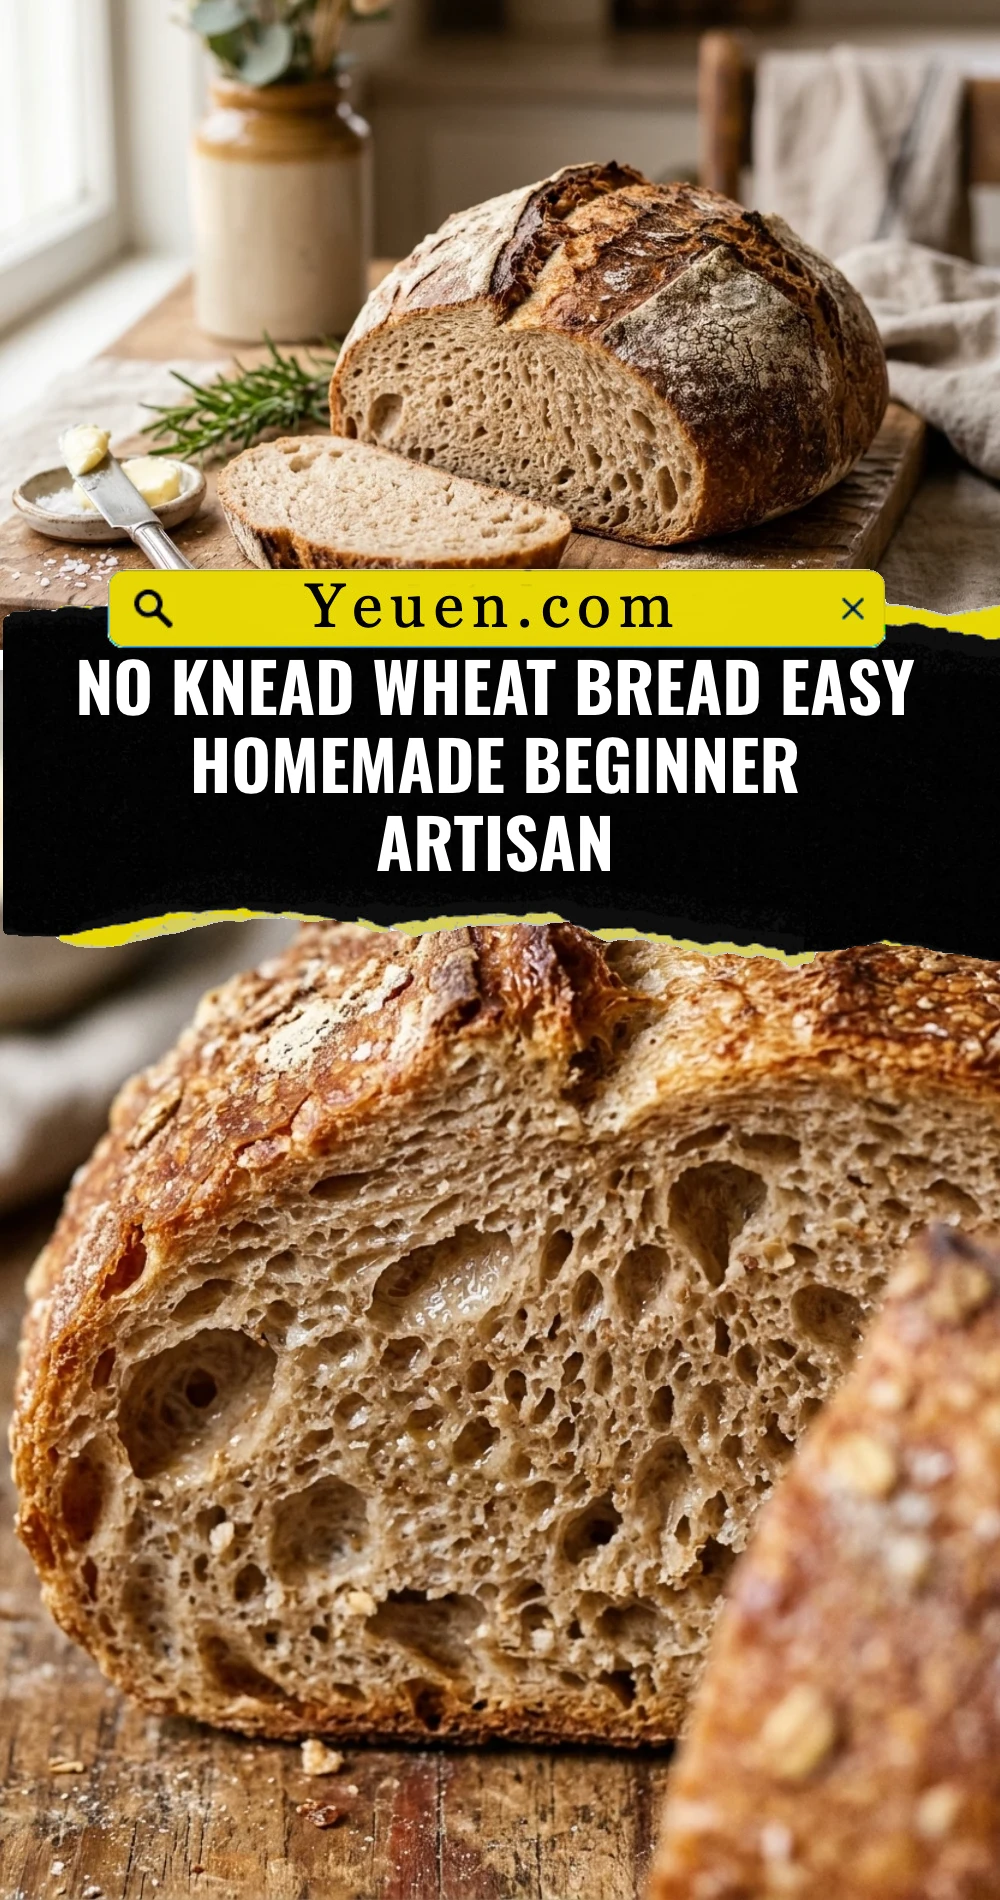
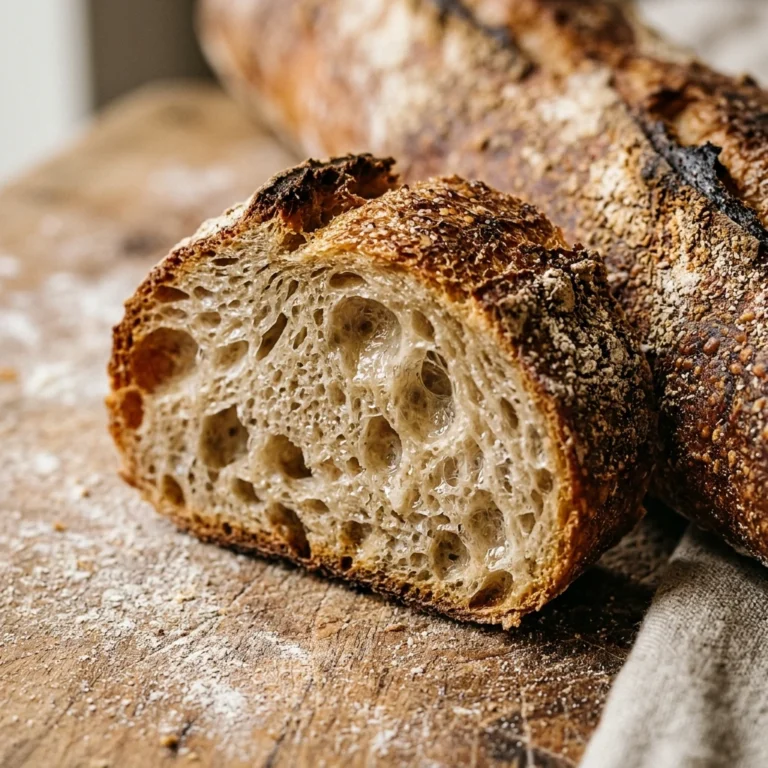
There is nothing quite like the aroma of fresh bread wafting through your kitchen, but for many, the thought of kneading dough for twenty minutes is enough to stick to store-bought loaves. That stops today. This No Knead Wheat Bread is the ultimate “set it and forget it” recipe that yields a professional, artisan-style crust and a soft, airy interior. Even if you have never touched yeast in your life, this beginner-friendly method uses time instead of elbow grease to develop gluten. You will be amazed at how a few basic pantry staples transform into a golden, crackly masterpiece with almost zero effort.
Recipe Information
- Prep Time: 15 minutes (plus 12-18 hours rising time)
- Cook Time: 45 minutes
- Total Time: 19 hours
- Servings: 1 loaf (approx. 10-12 slices)
- Difficulty: Easy
Nutrition values
- Calories: 185 kcal per slice
- Protein: 6g
- Carbs: 38g
Why Make This No Knead Wheat Bread Easy Homemade Beginner Artisan
This recipe is a game-changer for busy households and novice bakers. By using a long fermentation process, the bread develops a complex, nutty flavor that quick-rise breads simply can’t match. It is incredibly cost-effective, much healthier than processed versions with preservatives, and requires no special equipment other than a heavy pot. The combination of whole wheat and all-purpose flour ensures you get all the fiber and nutrients of whole grains without the dense, “brick-like” texture often associated with homemade wheat bread.
Ingredients
- 2 cups Whole Wheat Flour
- 1 cup All-Purpose Flour (plus extra for dusting)
- 1 ½ teaspoons Salt
- ½ teaspoon Active Dry Yeast
- 1 ½ cups Warm Water (approx. 105°F-110°F)
- 1 tablespoon Honey or Maple Syrup (optional, for a hint of sweetness)
Directions
Step 1: Mix the Dough
In a large mixing bowl, whisk together the whole wheat flour, all-purpose flour, salt, and yeast. If you are using honey, stir it into your warm water first. Pour the water into the dry ingredients and stir with a wooden spoon or a sturdy spatula until a shaggy, sticky ball forms. Ensure there are no dry pockets of flour left at the bottom of the bowl. The dough will look messy, but do not worry—this is exactly how it should look!
Step 2: The Long Rise
Cover the bowl tightly with plastic wrap or a beeswax wrap. Place it in a warm, draft-free spot in your kitchen. Let the dough rest for at least 12 hours, though 18 hours is even better for flavor development. During this time, the yeast works its magic, and the gluten strands form naturally. You will know it is ready when the dough has doubled in size and the surface is dotted with tiny bubbles.
Step 3: Shape and Preheat
Place a Dutch oven (with the lid on) into your oven and preheat to 450°F (230°C). While the oven heats, turn the sticky dough out onto a well-floured surface. Gently fold the edges toward the center to form a rough ball. Place the dough on a piece of parchment paper, cover it with a clean kitchen towel, and let it rest for 30 minutes while the pot gets screaming hot.
Step 4: The Bake
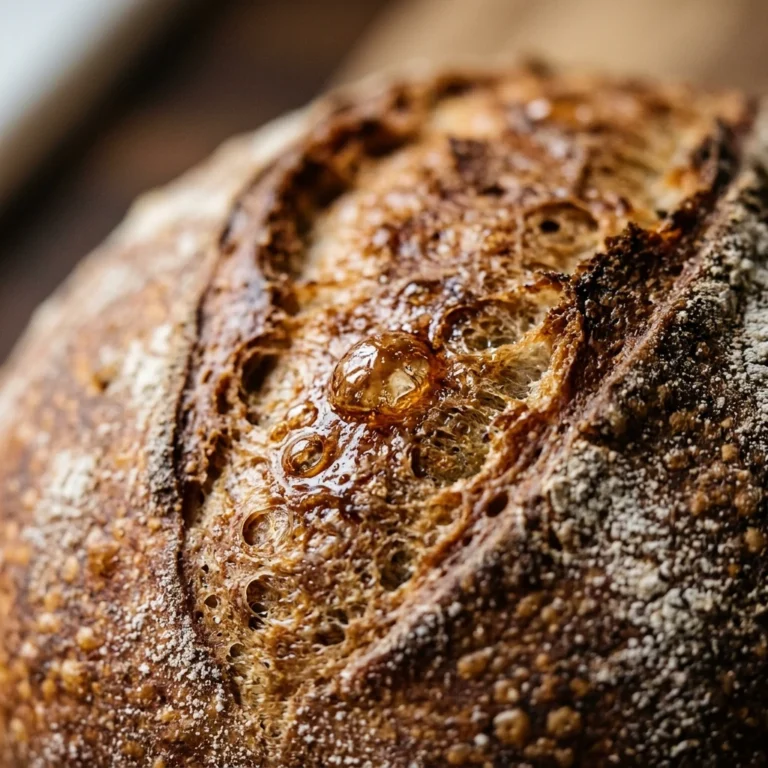
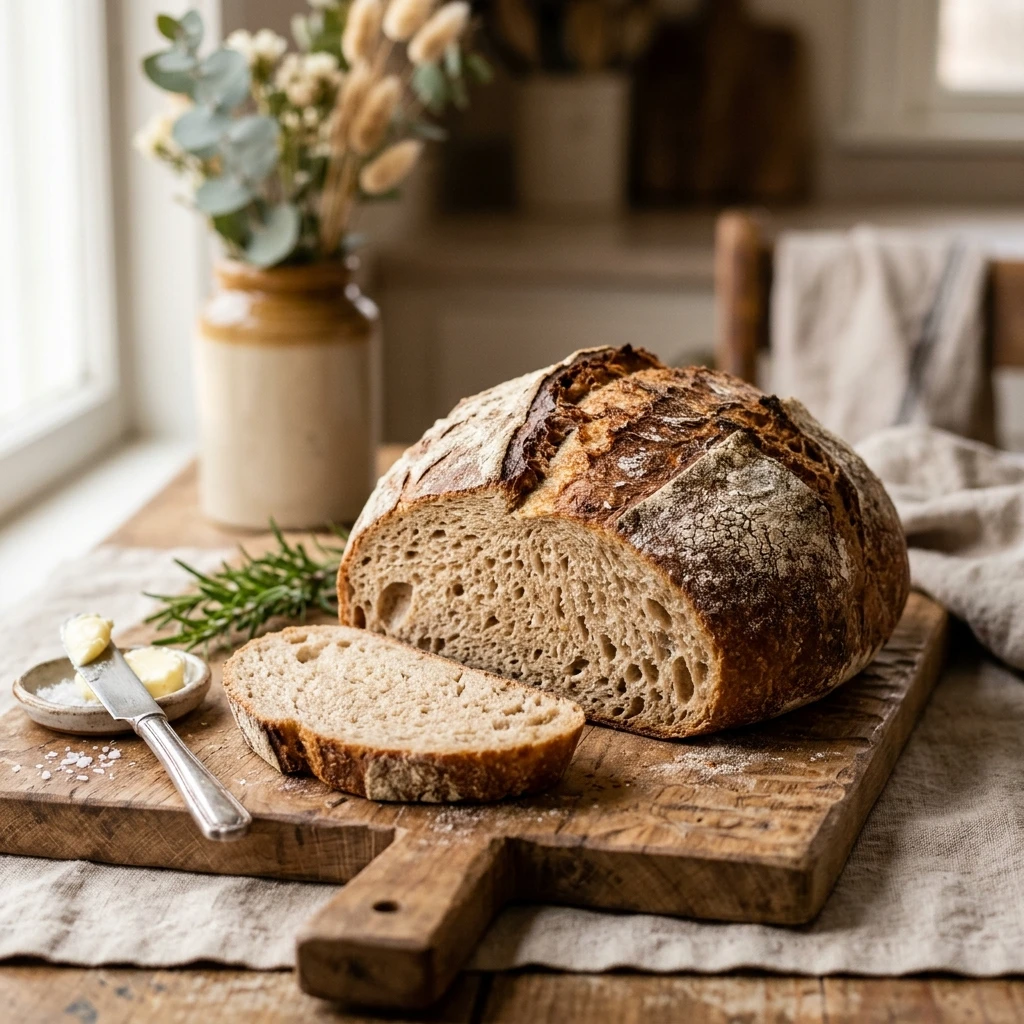
Carefully remove the hot Dutch oven from the oven. Lift the parchment paper by the corners and lower the dough into the pot. Put the lid back on and bake for 30 minutes. The steam trapped inside the pot creates that signature artisan crust. After 30 minutes, remove the lid and bake for another 12-15 minutes until the crust is a deep golden brown and the loaf sounds hollow when tapped on the bottom.
Step 5: Cooling
Lift the bread out of the pot and place it on a wire cooling rack. Resisting the urge to slice it immediately is the hardest part! Let the bread cool for at least 30-60 minutes. This allows the internal structure to set; cutting it too early can result in a gummy texture.
Expert Tips for Perfect No Knead Wheat Bread Easy Homemade Beginner Artisan
- Check Your Yeast: Ensure your yeast is fresh. If your water is too hot, it will kill the yeast; if it is too cold, the dough won’t rise. Aim for “baby bath” temperature.
- The Flour Ratio: Do not use 100% whole wheat flour for your first try. The addition of all-purpose flour provides the necessary lift to keep the bread light and airy.
- Use a Dutch Oven: A cast iron Dutch oven is the secret to a crunchy crust. It mimics a professional steam oven by trapping the moisture released by the dough.
- Don’t Over-Flour: The dough is supposed to be sticky. Resist the urge to add too much extra flour during the shaping process, or your bread will be tough.
Delicious Variations
- Seeded Wheat: Add ¼ cup of sunflower seeds, flax seeds, or pumpkin seeds to the dry ingredients for extra crunch.
- Rosemary and Sea Salt: Mix in 1 tablespoon of chopped fresh rosemary for a fragrant, savory loaf.
- Honey Walnut: Stir in ½ cup of chopped walnuts and increase the honey to 2 tablespoons for a perfect breakfast toast.
- Everything Bagel: Sprinkle everything bagel seasoning on top of the loaf just before putting it into the oven.
Frequently Asked Questions
Do I really not have to knead it at all?
That is correct! The long fermentation time (12-18 hours) allows the flour to hydrate fully and the gluten to align itself naturally. Time does all the work that your hands would normally do.
Can I make this without a Dutch oven?
Yes, though the crust may be less “artisan.” You can use a heavy oven-safe pot with a lid, or bake it on a preheated baking stone with a pan of water on the bottom rack of the oven to create steam.
Can I use active dry yeast instead of instant yeast?
Yes. This recipe calls for active dry yeast. Because of the very long rise time, you do not even need to bloom it in water first; it will activate slowly as it sits in the dough.
How do I store this bread?
Store the bread cut-side down on a wooden cutting board for the first 24 hours. After that, keep it in a paper bag or a bread box. Avoid plastic bags, as they make the crust soft and chewy.
Can I freeze the dough or the baked loaf?
It is best to freeze the baked loaf. Let it cool completely, slice it, and store it in a freezer-safe bag. You can toast individual slices directly from the freezer for a quick snack.
Conclusion
Making your own No Knead Wheat Bread is a rewarding experience that proves you don’t need to be a professional baker to enjoy high-quality artisan loaves. With just a few minutes of active work and a little bit of patience, you can serve a healthy, delicious, and impressive bread that rivals any local bakery. Once you see how easy it is to achieve that perfect golden crust, you may never go back to buying bread from the store again. Happy baking!