Follow Me On Pinterest!
Homemade Pita Bread Easy Beginner Artisan
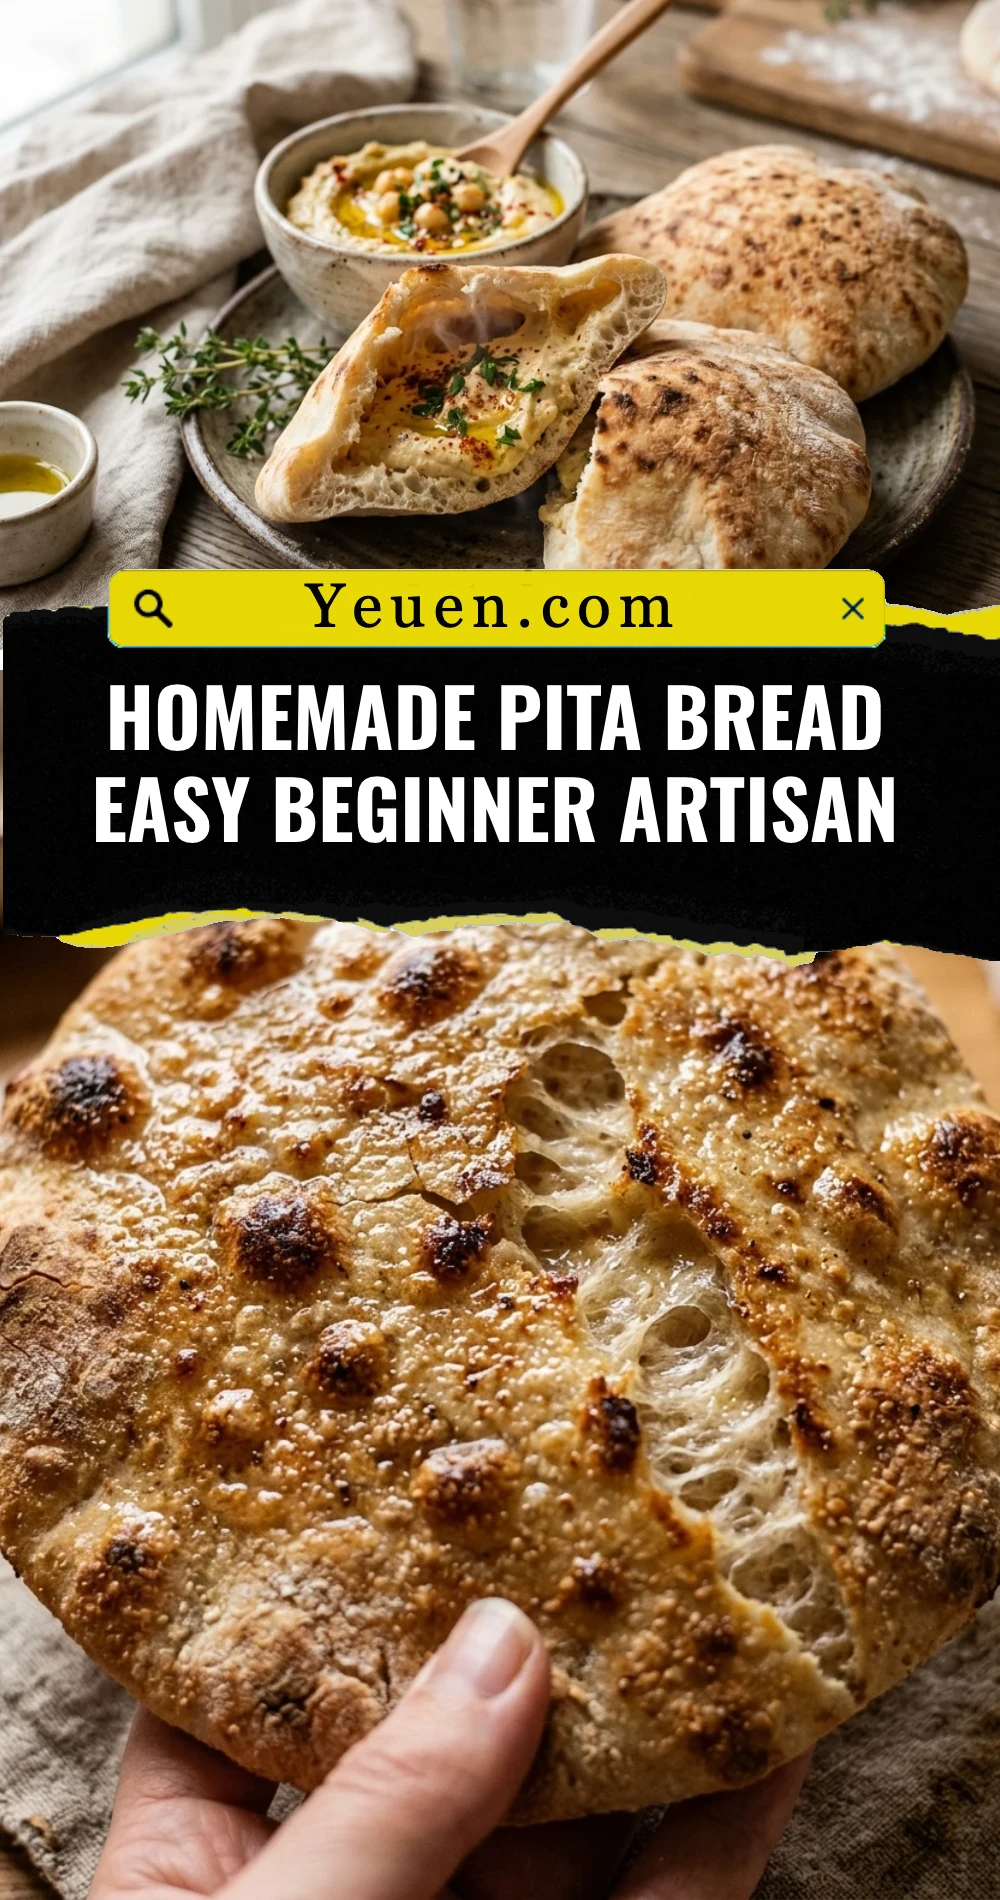
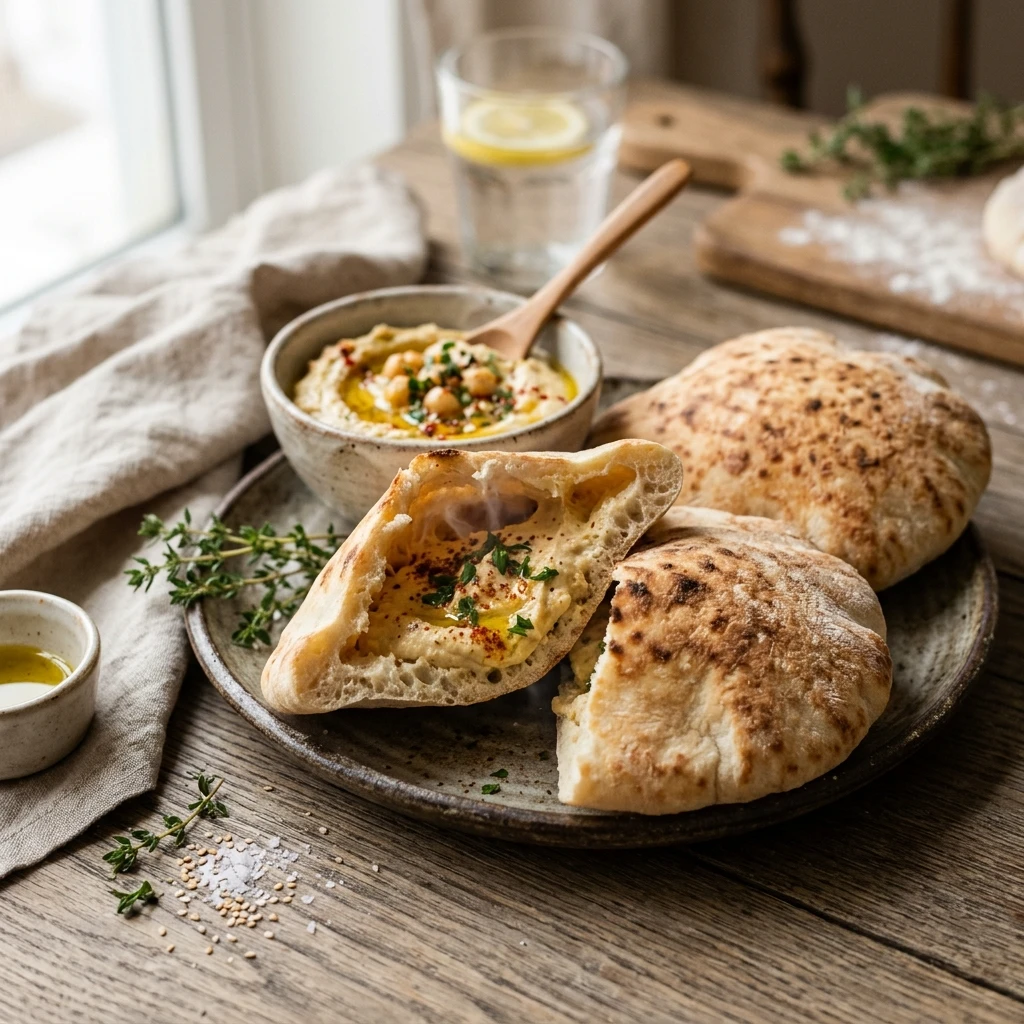
There is nothing quite like the smell of fresh bread wafting through your kitchen, and this Homemade Pita Bread Easy Beginner Artisan recipe is the perfect way to start your baking journey. If you have ever been disappointed by the dry, cardboard-like pita from the grocery store, you are in for a massive treat. These pitas come out of the pan pillowy soft, incredibly flavorful, and featuring that iconic pocket perfect for stuffing with your favorite fillings. You do not need to be a professional baker or own a fancy brick oven to achieve artisan-level results. With just a few basic pantry staples and a little bit of patience, you will master the magic of the “pita puff” right on your stovetop or in your oven.
Recipe Information
- Prep Time: 1 hour 30 minutes
- Cook Time: 15 minutes
- Total Time: 1 hour 45 minutes
- Servings: 8 pitas
- Difficulty: Easy
Nutrition values
- Calories: 165 kcal
- Protein: 5g
- Carbs: 33g
Why Make This Homemade Pita Bread Easy Beginner Artisan
This recipe transforms simple ingredients into something extraordinary. Unlike store-bought versions that sit on shelves for days, these pitas are preservative-free and boast a superior texture. They are soft enough to wrap around a gyro but sturdy enough to hold heavy scoops of hummus. Making them at home is also incredibly cost-effective. Plus, there is a distinct sense of pride when you watch your dough transform from a flat disc into a golden, puffed-up balloon. It is a foolproof entry point into the world of yeast breads that yields high-reward results every single time.
Ingredients
- 2 teaspoons active dry yeast
- 1 teaspoon granulated sugar
- 1 cup warm water (about 105°F to 110°F)
- 3 cups all-purpose flour (plus extra for dusting)
- 2 tablespoons extra virgin olive oil
- 1 ½ teaspoons fine sea salt
Directions
Step 1: Activate the Yeast
In a large mixing bowl or the bowl of a stand mixer, combine the warm water, sugar, and active dry yeast. Stir gently and let it sit for about 5 to 10 minutes. You will know it is ready when a foamy, bubbly layer forms on the surface. This step ensures your yeast is alive and ready to make the bread rise.
Step 2: Mix and Knead the Dough
Add the olive oil, salt, and 2 cups of the flour to the yeast mixture. Stir until a shaggy dough forms. Gradually add the remaining flour while kneading. If using a stand mixer, use the dough hook on medium-low speed for 5 minutes. If kneading by hand, turn the dough onto a floured surface and work it for 8 to 10 minutes until it is smooth, elastic, and slightly tacky but not sticky.
Step 3: The First Rise
Lightly grease a clean bowl with a drizzle of olive oil. Place the dough inside and turn it once to coat it in oil. Cover the bowl with a damp kitchen towel or plastic wrap. Place it in a warm, draft-free spot and let it rise for about 1 hour, or until it has doubled in size.
Step 4: Divide and Shape
Gently punch down the risen dough to release air. Turn it out onto a lightly floured surface and divide it into 8 equal pieces. Roll each piece into a smooth ball. Cover the balls with a towel and let them rest for 15 minutes. After resting, use a rolling pin to flatten each ball into a circle about 6 inches wide and ¼ inch thick. Avoid rolling them too thin, or they may not puff.
Step 5: The Stovetop Bake
Heat a heavy-bottomed skillet or cast-iron pan over medium-high heat. Lightly grease the pan with a tiny bit of oil. Place one dough circle in the hot pan. Cook for about 30 seconds until bubbles begin to form, then flip. Cook the second side for 1 to 2 minutes until golden brown spots appear. Flip back to the first side and watch it puff up. Once fully puffed, remove it from the heat and wrap it in a clean kitchen towel to keep it soft. Repeat with the remaining dough.
Expert Tips for Perfect Homemade Pita Bread Easy Beginner Artisan
To ensure a perfect pocket every time, make sure your skillet is truly hot before adding the dough; the steam needs sudden heat to create the puff. If your dough isn’t puffing, your heat might be too low or you may have rolled the dough too thin. Always keep your cooked pitas wrapped in a towel immediately after they leave the pan; the trapped steam softens the crust, making them pliable and tender. If you prefer using an oven, place a baking stone or inverted baking sheet inside and preheat it to 475°F before baking the pitas for 2 to 3 minutes.
Delicious Variations
You can easily customize this artisan bread to suit your palate. For a Whole Wheat Version, replace half of the all-purpose flour with whole wheat flour. If you love aromatics, add a teaspoon of Garlic Powder and Dried Oregano to the dry ingredients. For a beautiful finish, brush the hot pitas with melted butter and sprinkle them with Za’atar or Sesame Seeds immediately after cooking. You can even make “Pita Chips” by slicing leftovers, tossing them in olive oil and salt, and baking them until crunchy.
Frequently Asked Questions
Can I use instant yeast instead of active dry yeast?
Yes, you can use instant yeast. You can skip the activation step and mix it directly with the flour and water, though the rise time may be slightly faster.
Why didn’t my pita bread puff up?
This usually happens if the skillet isn’t hot enough or if there is a small tear or hole in the dough that lets the steam escape. Even if they don’t puff, they will still taste delicious!
How do I store homemade pita bread?
Store completely cooled pitas in an airtight bag at room temperature for up to 3 days. For longer storage, you can freeze them for up to 3 months.
Can I make the dough in advance?
Absolutely. You can let the dough rise in the refrigerator overnight. Cold fermentation actually develops more flavor in the artisan dough.
What is the best flour to use?
All-purpose flour works perfectly for a soft, beginner-friendly pita. Bread flour can also be used if you prefer a slightly chewier, sturdier texture.
Conclusion
Mastering Homemade Pita Bread Easy Beginner Artisan is a rewarding experience that elevates any Mediterranean or Middle Eastern meal. These pitas are infinitely better than anything you can buy at the store, providing a soft, fresh, and warm vessel for your favorite foods. Whether you are dipping them in creamy hummus or stuffing them with grilled chicken, the quality of homemade bread is unmistakable. Give this recipe a try, and you will see how simple and satisfying artisan baking can truly be. Happy baking!