Follow Me On Pinterest!
Easy Sourdough Starter With Whole Wheat Flour For Beginners
Imagine walking into your kitchen and smelling the earthy, tangy aroma of fresh bread baking in the oven. You do not need a commercial yeast packet to make this a reality. All you need is flour, water, and a little bit of patience. Starting a sourdough culture can feel intimidating, but using whole wheat flour is like giving your starter a superpower. Whole wheat is packed with natural minerals and wild yeasts that make the fermentation process move faster and more reliably than refined white flour. If you have struggled with a finicky starter in the past, this whole wheat method is the beginner-friendly solution you have been looking for to kickstart your home bakery journey.
Recipe Information
- Prep Time: 10 minutes (daily)
- Cook Time: 0 minutes
- Total Time: 7 days (168 hours)
- Servings: 1 Starter Jar
- Difficulty: Easy
Nutrition values
Note: Nutritional values are per 100g of mature starter.
- Calories: 160 kcal
- Protein: 6g
- Carbs: 32g
Why Make This Easy Sourdough Starter With Whole Wheat Flour For Beginners
Whole wheat flour is a game-changer for sourdough beginners. Unlike highly processed all-purpose flour, whole wheat contains the bran and germ, which are rich in nutrients that wild yeast and lactic acid bacteria love to eat. This means your starter will likely bubble and grow much faster than a traditional white starter. It also develops a deep, nutty flavor profile that adds incredible complexity to your loaves. Because whole wheat absorbs more water, the starter has a thick, stable consistency that is easy for beginners to read and manage.
Ingredients
- 2 cups Whole Wheat Flour (organic is preferred for higher wild yeast content)
- 2 cups Filtered Water (chlorine-free to avoid killing the yeast)
- A clean glass jar with a loose-fitting lid
- A digital kitchen scale (highly recommended for accuracy)
Directions
Step 1: The Initial Mix (Day 1)
Place a clean glass jar on your scale and tare it. Add 60 grams of whole wheat flour and 60 grams of room temperature filtered water. Stir the mixture vigorously with a clean spoon or spatula until no dry clumps of flour remain. The consistency should be thick, like a heavy paste. Scrape down the sides of the jar so you can see the activity clearly. Cover the jar loosely with a lid or a cloth and let it sit in a warm spot (70-75°F) for 24 hours.
Step 2: The First Feeding (Day 2)
After 24 hours, you may or may not see bubbles; either is fine. Discard half of the mixture in the jar. Add another 60 grams of whole wheat flour and 60 grams of filtered water. Mix thoroughly until smooth. By discarding half, you ensure the yeast has fresh “food” to eat without the starter growing too large for the jar. Cover loosely and let it rest for another 24 hours.
Step 3: Establishing the Routine (Days 3-7)
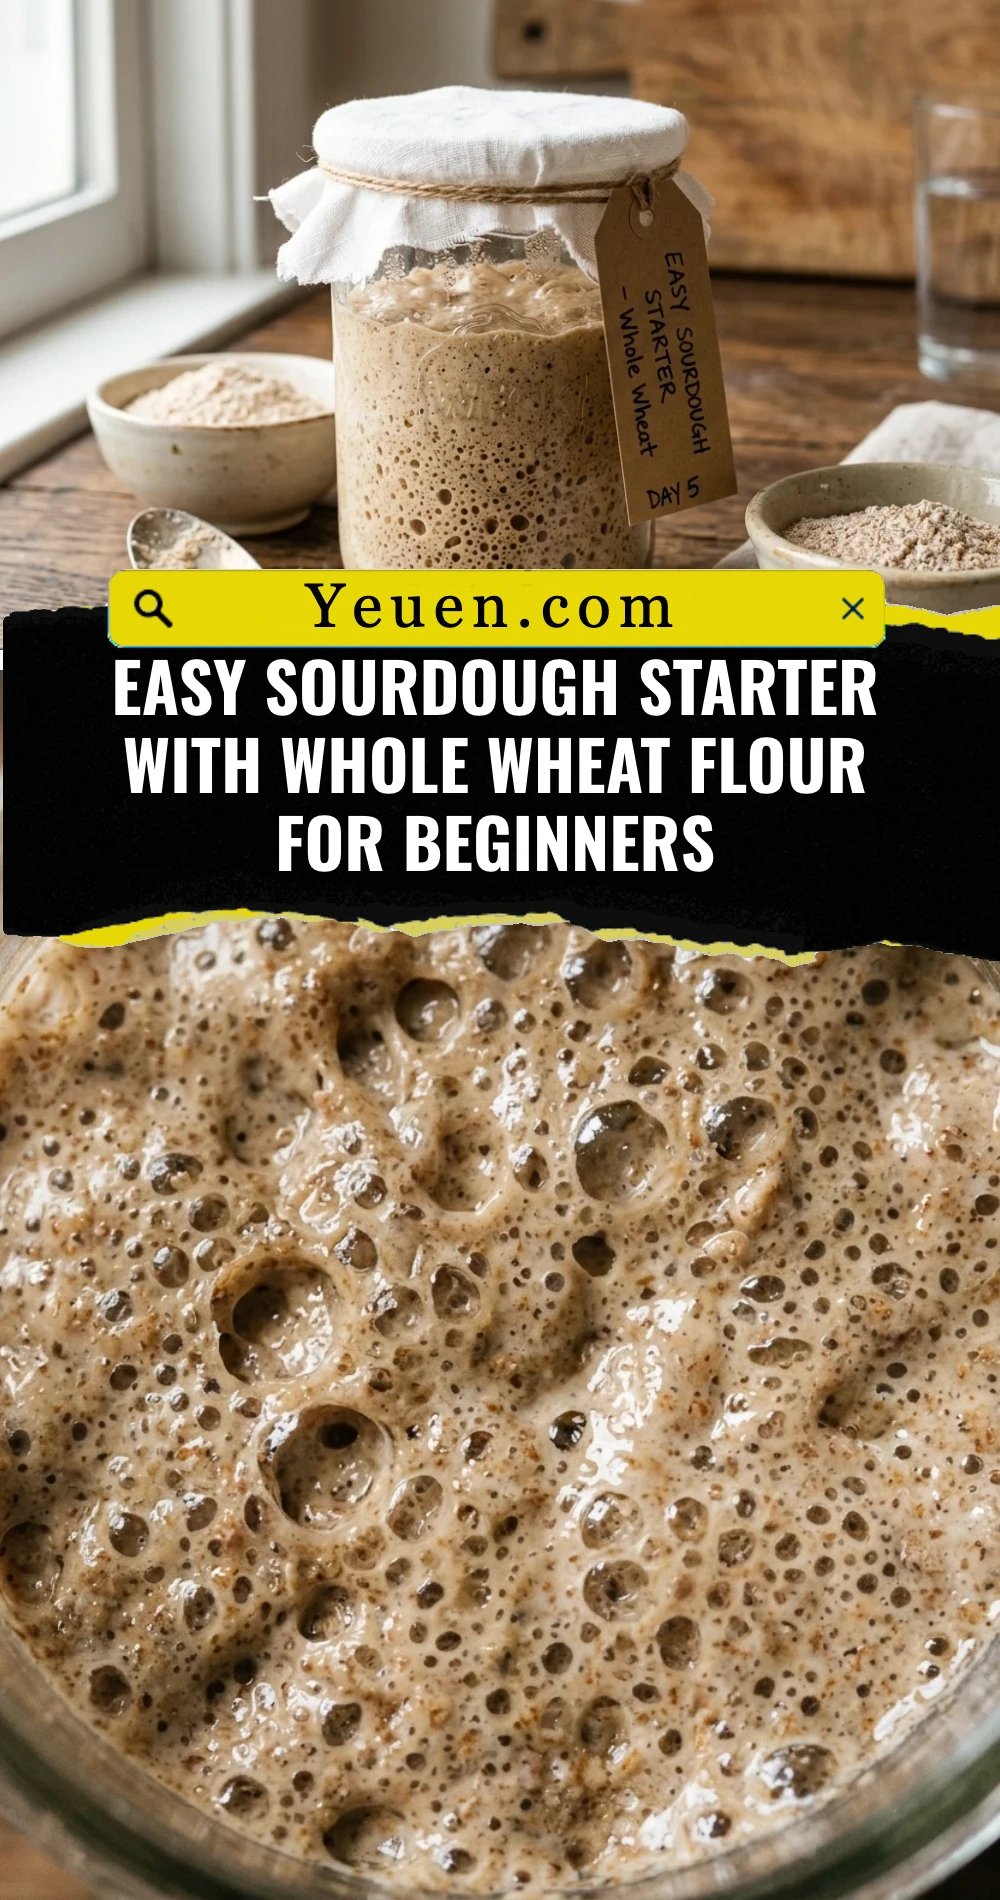
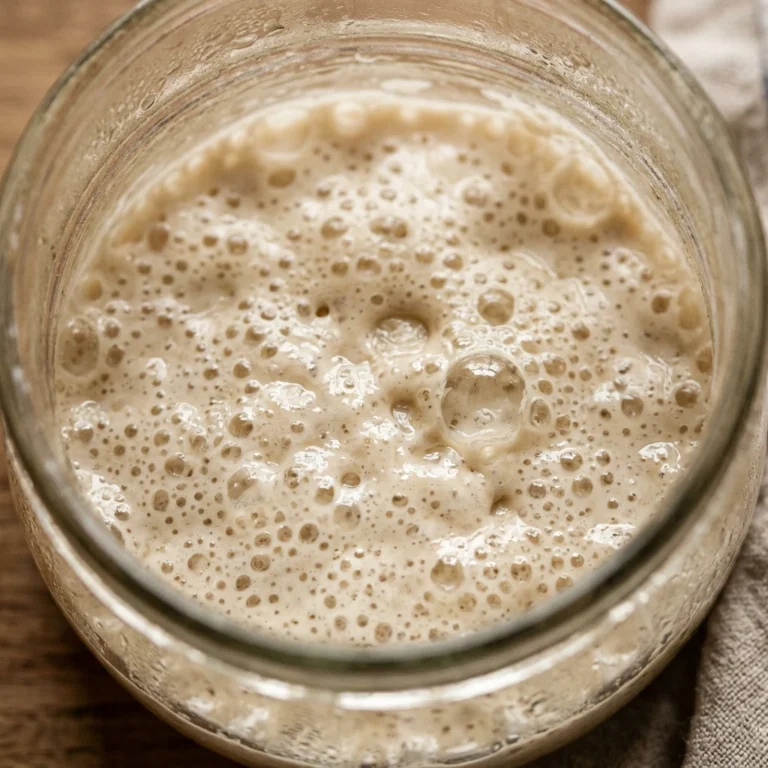
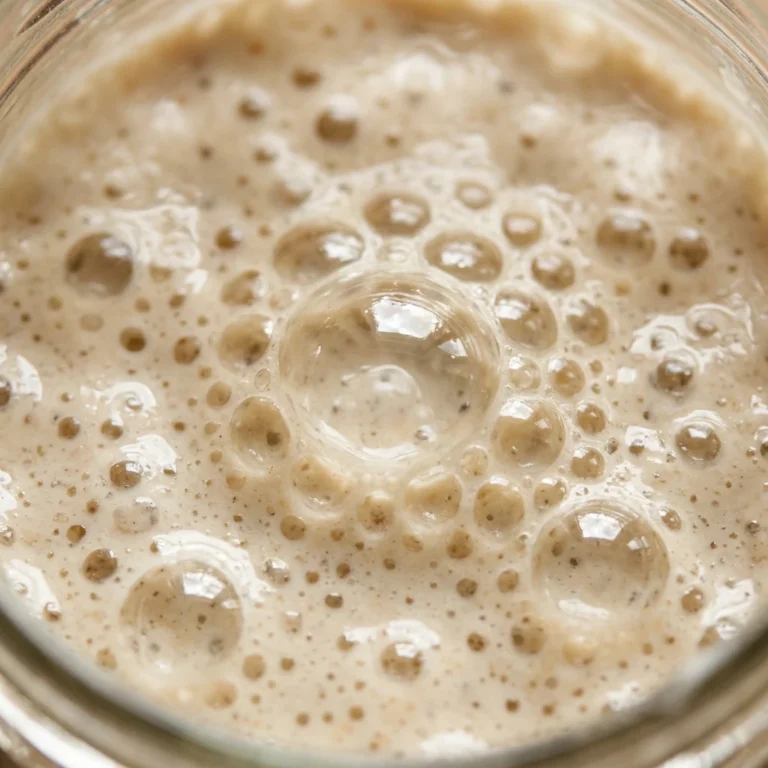
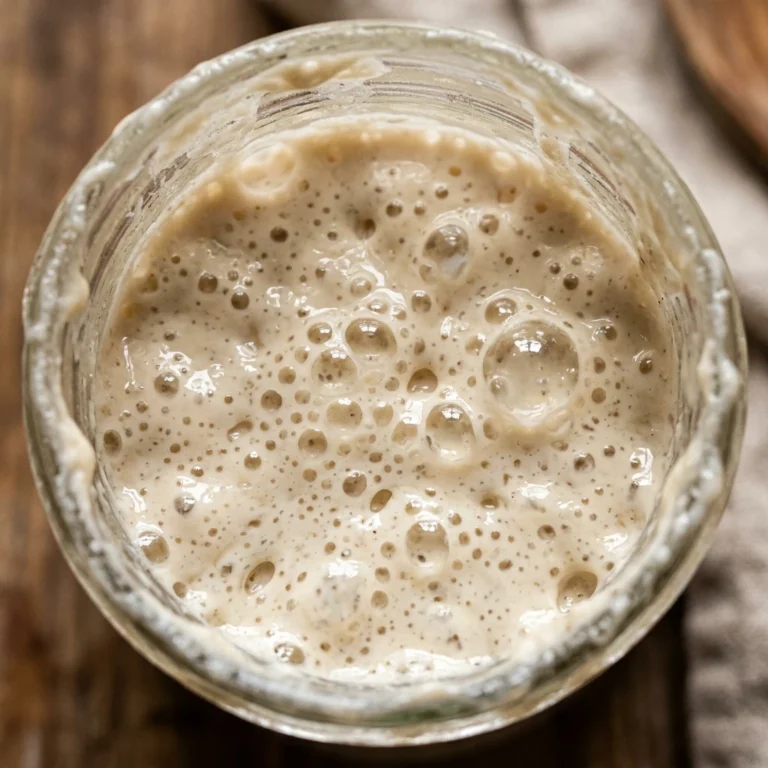
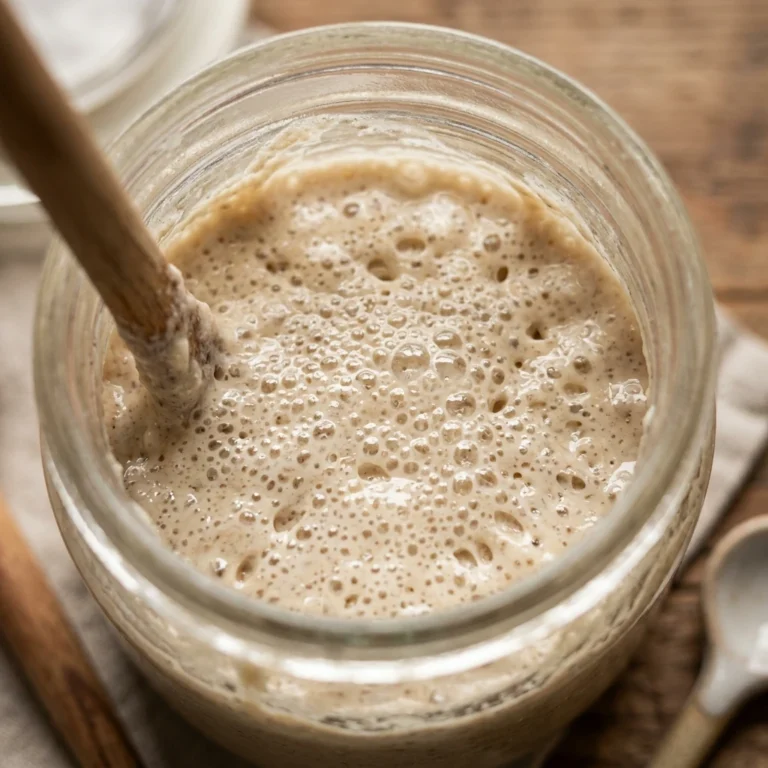
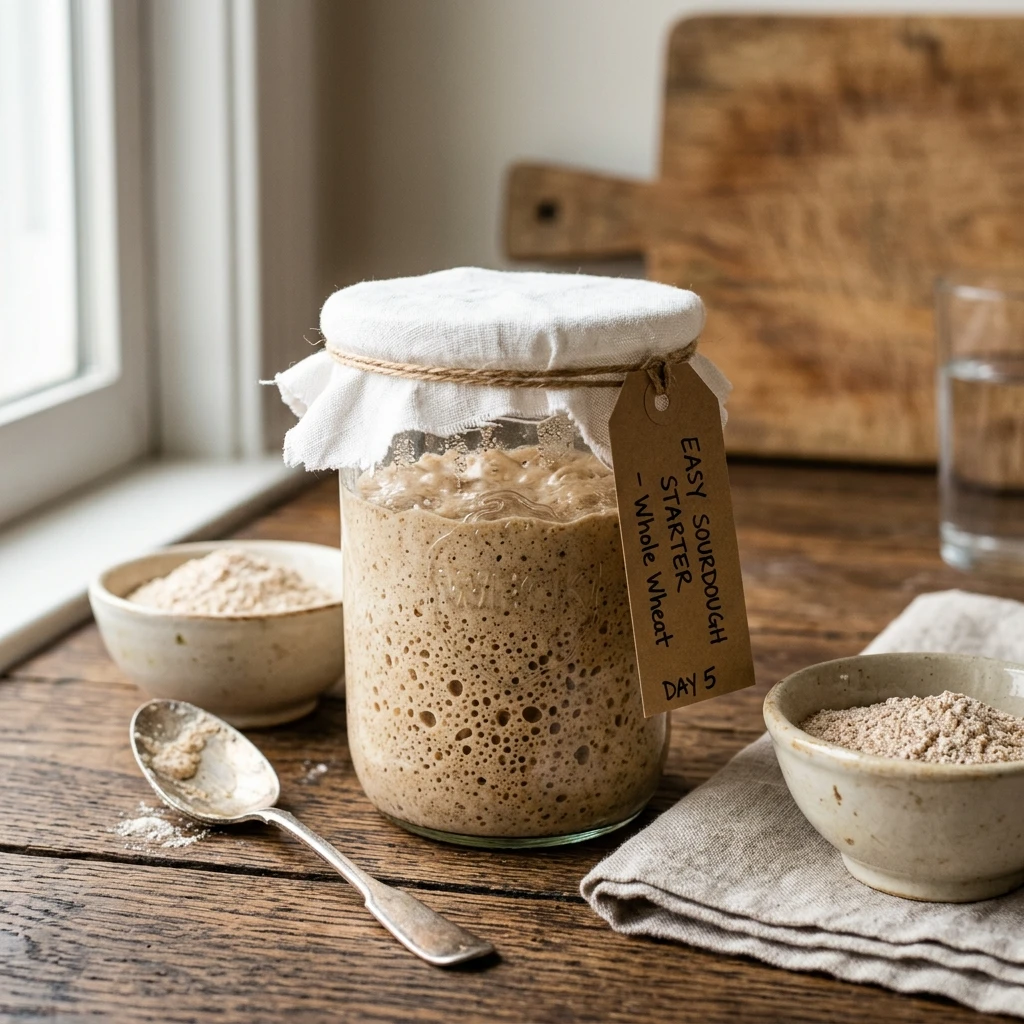
Repeat the feeding process every 24 hours: discard all but 60 grams of starter, then add 60 grams of flour and 60 grams of water. By Day 4 or 5, you should see significant bubbling and a noticeable rise and fall in the jar. By Day 7, the starter should double in size within 4 to 6 hours of feeding and have a pleasant, slightly fruity or vinegary smell. Once it consistently doubles every day, your starter is mature and ready to bake your first loaf of bread!
Expert Tips for Perfect Easy Sourdough Starter With Whole Wheat Flour For Beginners
- Use Filtered Water: Tap water often contains chlorine, which can inhibit the growth of wild yeast. Use a charcoal filter or let tap water sit out overnight before using.
- Consistency is Key: Try to feed your starter at the same time every day. This helps the microbial colony stabilize.
- Find a Warm Spot: If your kitchen is cold, put the jar inside an oven with the light turned on (but the heat turned off).
- Watch for the “Hooch”: If a dark liquid forms on top, don’t panic! It is called hooch, and it means your starter is hungry. Simply pour it off or stir it in and feed the starter immediately.
- Keep the Jar Clean: Use a clean jar every few days to prevent dried flour from molding on the rim.
Delicious Variations
- Rye Transition: Once your starter is strong, you can feed it a 50/50 mix of whole wheat and rye flour for an even earthier, more robust flavor.
- The White Sourdough Swap: If you prefer a lighter loaf, you can slowly transition your whole wheat starter to an all-purpose starter by using white flour for its daily feedings.
- Honey Boost: If your starter feels sluggish in the first few days, a tiny drop of raw honey can provide a sugar boost to wake up the yeast.
Frequently Asked Questions
What is the “discard” and do I have to throw it away?
The discard is the portion of the starter you remove before adding fresh flour and water. While you shouldn’t use it for bread in the first few days while the bacteria are stabilizing, once it smells good, you can use it in recipes for pancakes, waffles, or crackers!
How do I know if my starter is ready to bake?
The “float test” is a common method. Drop a small spoonful of your active starter into a glass of water. If it floats, it contains enough carbon dioxide to leaven bread. If it sinks, it needs more time or another feeding.
What if I see mold on my starter?
If you see fuzzy green, black, or pink mold, throw it out and start over. It is rare with whole wheat flour because of the acidity, but it can happen if the environment isn’t clean.
Can I keep my starter in the fridge?
Yes! Once your starter is mature (about 2 weeks old), you can store it in the refrigerator and feed it just once a week. This is perfect for home bakers who don’t want to bake every single day.
Why does my starter smell like nail polish remover?
An acetone or vinegar smell usually means the starter has run out of food. It is producing acid because it is hungry. Simply discard a portion and feed it more frequently or with a higher ratio of flour and water.
Conclusion
Creating an easy sourdough starter with whole wheat flour is one of the most rewarding kitchen projects you can undertake. By using the natural power of whole grains, you are setting yourself up for success and creating a living ingredient that can last for years. Don’t worry if it doesn’t look perfect on day three—nature takes time. Keep feeding it, keep it warm, and soon you will be enjoying the crustiest, most flavorful homemade bread you have ever tasted. Happy baking!