Follow Me On Pinterest!
Bubbly Sourdough Starter Troubleshooting For Beginners No Fail
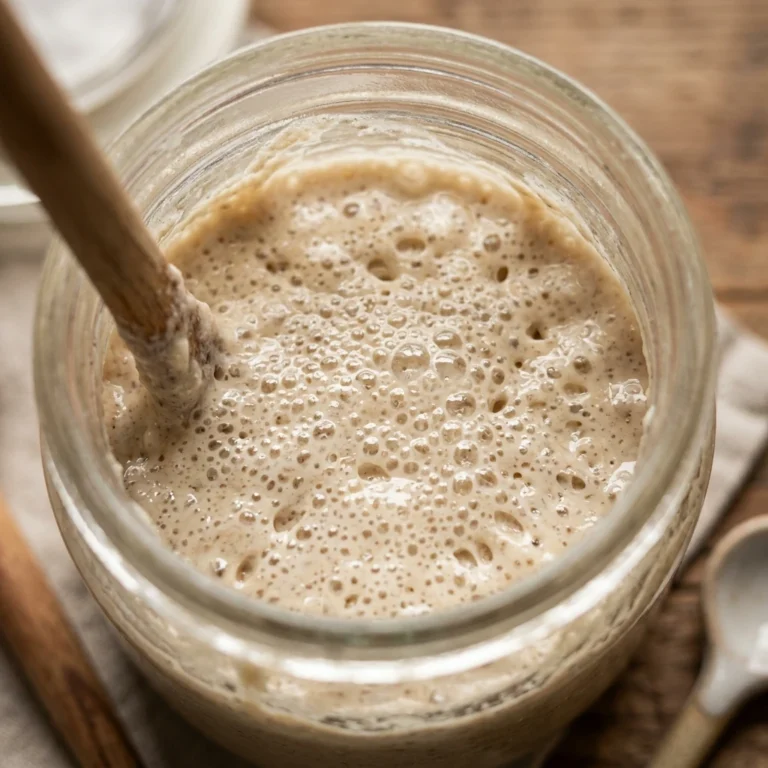
Have you ever felt the heartbreak of staring at a flat, lifeless jar of flour and water when you were expecting a bubbly, active sourdough starter? You are not alone. Transitioning into the world of wild yeast can feel like a science experiment gone wrong, but achieving that vigorous, “bubbly” peak is easier than you think. This guide strips away the confusion and focuses on a “no-fail” approach to reviving or starting your sourdough journey. We will look at why your starter might be sluggish and how to fix it using simple, everyday kitchen staples. Get ready to finally see those double-in-size results and that satisfying sponge-like texture that makes for the perfect loaf of artisan bread.
Recipe Information
- Prep Time: 10 minutes
- Cook Time: 0 minutes
- Total Time: 10 minutes
- Servings: 1 starter culture
- Difficulty: Easy
Nutrition values
Note: Nutritional values are per 100g of active starter.
- Calories: 165
- Protein: 5g
- Carbs: 34g
Why Make This Bubbly Sourdough Starter Troubleshooting For Beginners No Fail
Sourdough baking is incredibly rewarding, but it all hinges on the health of your starter. This troubleshooting method is designed for beginners who want a reliable, resilient culture without the guesswork. By following this approach, you ensure your yeast is strong enough to lift heavy doughs, resulting in better oven spring and that signature tangy flavor. Plus, using this no-fail method saves you from wasting bags of flour on a starter that just won’t rise. It is the ultimate foundation for every bread recipe in your future.
Ingredients
- 50g Unbleached All-Purpose Flour or Bread Flour
- 50g Whole Wheat Flour or Rye Flour (for the initial boost)
- 100g Filtered Water (lukewarm, about 80°F/27°C)
- A small pinch of organic pineapple juice (optional, for stubborn starters)
- Existing sluggish starter (if troubleshooting)
Directions
Step 1: Preparation
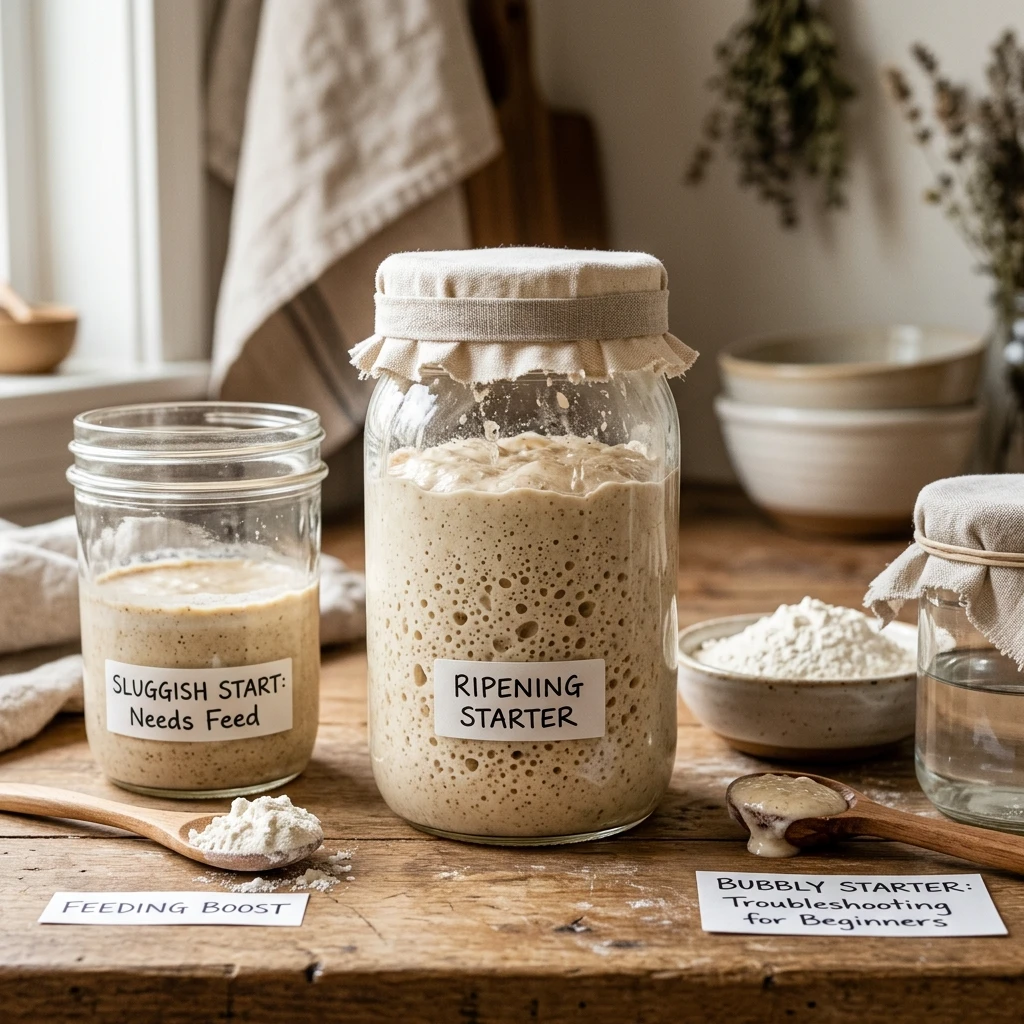
Begin by selecting a clean glass jar with a loose-fitting lid. If you are troubleshooting a starter that isn’t bubbling, discard all but 25 grams of your existing culture. This “aggressive discard” is essential because it lowers the acidity of the environment, allowing new yeast to thrive. Mix your 50g of All-Purpose flour and 50g of Whole Wheat flour in a separate bowl to create your feeding blend. Ensure your water is filtered; chlorine in tap water can often be the invisible culprit that kills off delicate wild yeast before it can even start bubbling.
Step 2: Cooking
While we aren’t “cooking” in an oven, the fermentation process is where the “cooking” happens through biological heat. Add 100g of your flour blend and 100g of lukewarm filtered water to your 25g of starter. Stir vigorously with a silicone spatula or a wooden spoon until no dry clumps remain. This aeration is vital—it introduces oxygen which helps the yeast multiply. Wipe down the sides of the jar so you can clearly see the rise. Place a rubber band around the jar at the level of the initial mix. This serves as your baseline to measure exactly how much your starter grows over the next 4 to 12 hours.
Step 3: Plating
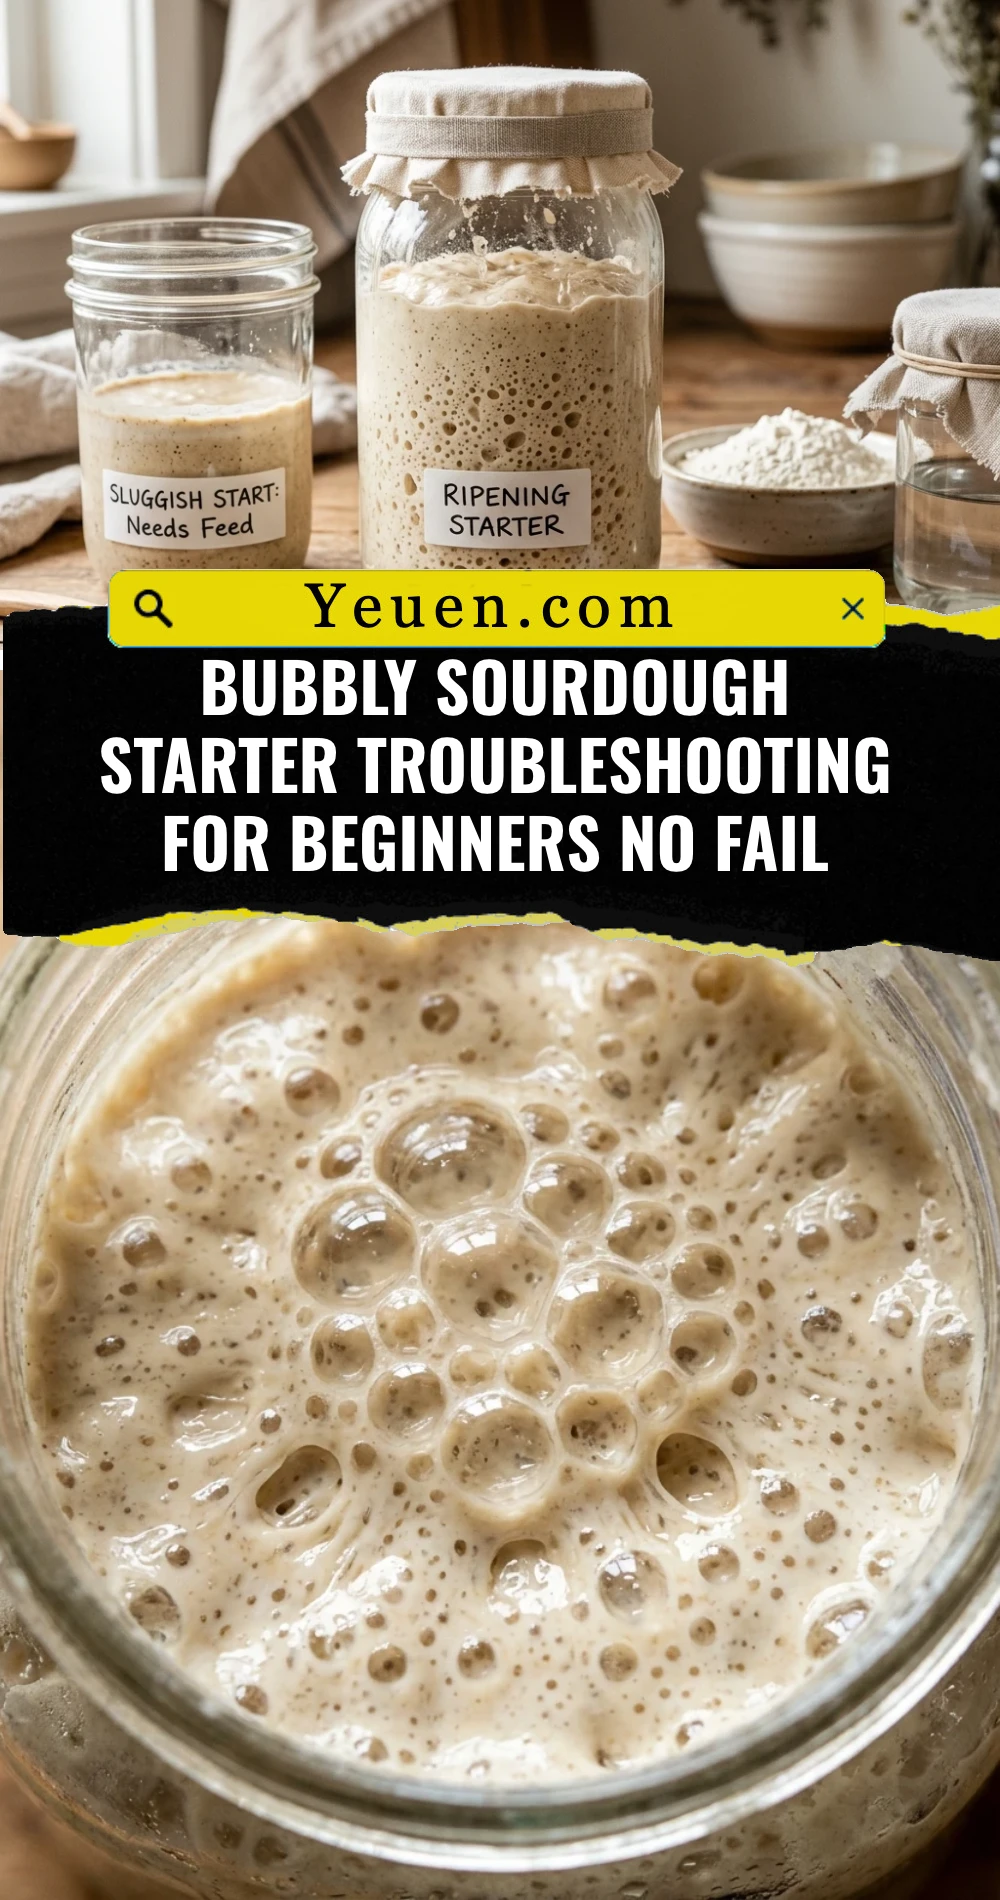
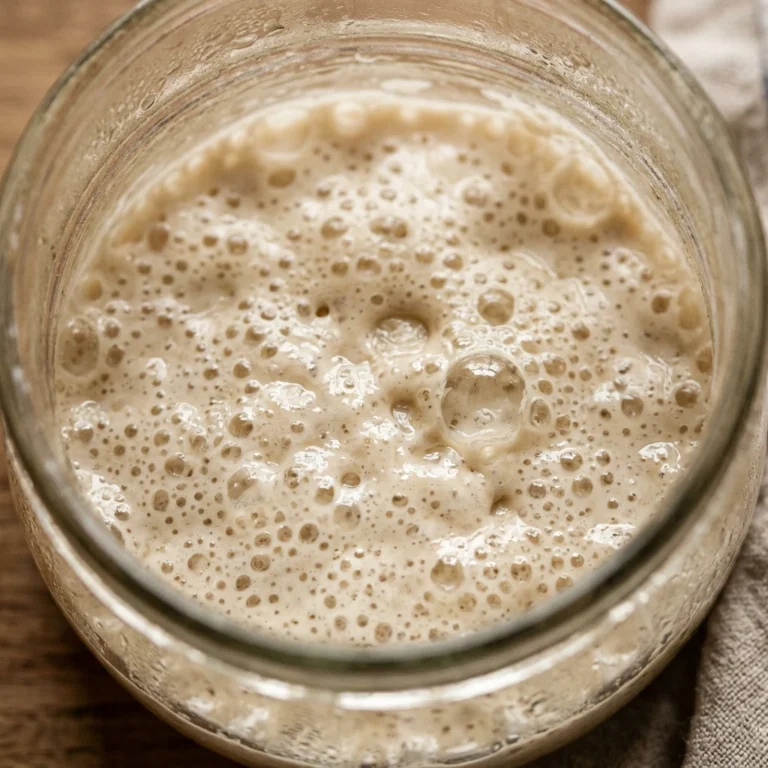
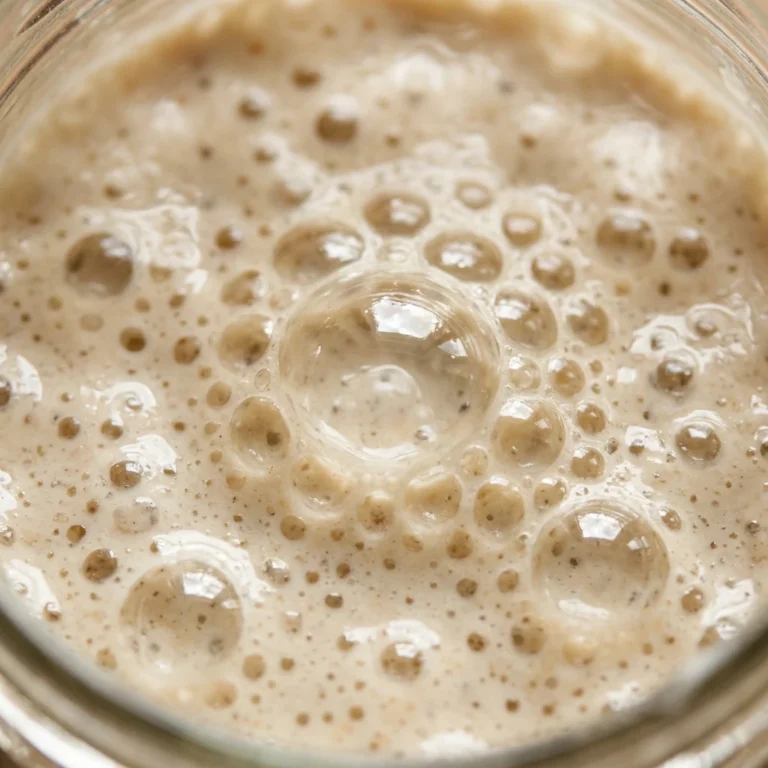
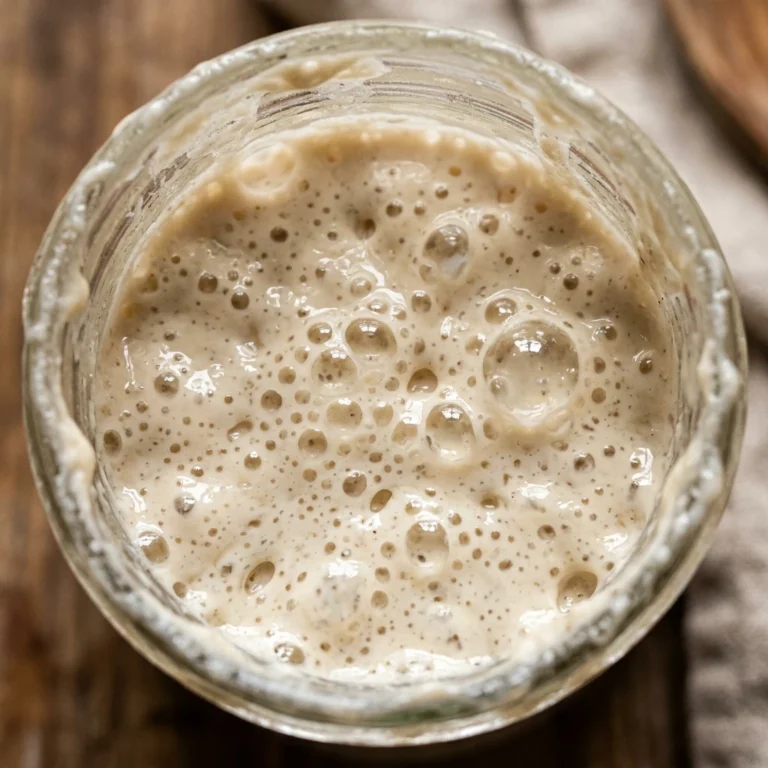
In the world of sourdough, “plating” is the moment of peak activity. Place your jar in a warm spot, ideally between 75°F and 80°F (24°C-27°C). A cold countertop is the most common reason for a flat starter. You can use the top of a refrigerator or inside an oven with the light turned on (but the heat turned off!). Watch for the starter to double in size and develop a bubbly, honeycomb-like structure on the sides and surface. Once it hits this peak and begins to slightly dip in the middle, it is “plated” and ready to be used in your favorite bread recipe or moved to the fridge for maintenance.
Expert Tips for Perfect Bubbly Sourdough Starter Troubleshooting For Beginners No Fail
- Use a Scale: Volume measurements (cups) are notoriously inaccurate for flour. A digital scale ensures the 1:1 ratio of flour to water is perfect every time.
- Temperature is Key: If your house is cold, your yeast will sleep. Use a seedling mat or a warm cupboard to wake them up.
- The Smell Test: A healthy starter should smell fruity, yeasty, or slightly vinegary. If it smells like nail polish remover (acetone), it is starving and needs more frequent feedings.
- Check Your Water: If you suspect your tap water is heavily chlorinated, let it sit out on the counter overnight uncovered before using it so the chlorine can dissipate.
- Whole Grains Matter: If your starter is sluggish, feed it a bit of Rye or Whole Wheat flour. These flours contain more nutrients and wild yeast than highly processed white flour.
Delicious Variations
- The Rye Powerhouse: Swap the all-purpose flour entirely for Dark Rye flour for a more robust, earthy flavor and a starter that bubbles almost instantly.
- Honey-Boosted Starter: Add half a teaspoon of raw honey to a sluggish starter to provide a quick sugar source for the yeast to consume.
- The Chocolate Starter: Incorporate 5g of cocoa powder into your feeding for a unique starter that pairs perfectly with chocolate cherry sourdough loaves.
- The Long-Term Fridge Culture: Once your starter is bubbly and strong, you can transition it to a weekly feeding schedule in the refrigerator to save time.
Frequently Asked Questions
What is the clear/dark liquid on top of my starter?
That liquid is called “hooch.” It is an alcohol byproduct that signifies your starter is hungry and has consumed all its food. Simply pour it off or stir it back in and feed your starter immediately.
How long does it take for a new starter to become bubbly?
Typically, it takes 5 to 7 days of consistent daily feedings to see a reliable rise, though some environments might take up to two weeks.
Why did my starter bubble on day 2 but then stop?
This is very common! The initial burst is often a “false start” caused by bacteria. The real yeast takes a few more days to stabilize the pH and start the actual rising process. Keep feeding!
Do I have to throw away the discard?
No! You can save the “discard” in a separate jar in the fridge and use it for pancakes, waffles, crackers, or pizza crusts.
Can I use a metal spoon to stir my starter?
Yes, stainless steel is perfectly fine. Avoid reactive metals like copper or aluminum, but modern stainless steel will not harm your yeast.
Conclusion
Troubleshooting your sourdough starter doesn’t have to be a source of stress. By focusing on consistent temperatures, quality flour, and filtered water, you can transform a flat mixture into a bubbly, thriving culture. Remember that your starter is a living thing that responds to its environment. Be patient, observe the changes, and don’t be afraid to give it an extra feeding if it looks hungry. With this no-fail approach, you are well on your way to baking the beautiful, airy bread you’ve always dreamed of. Happy fermenting!