Follow Me On Pinterest!
Bubbly Sourdough Starter Troubleshooting For Beginners No Fail
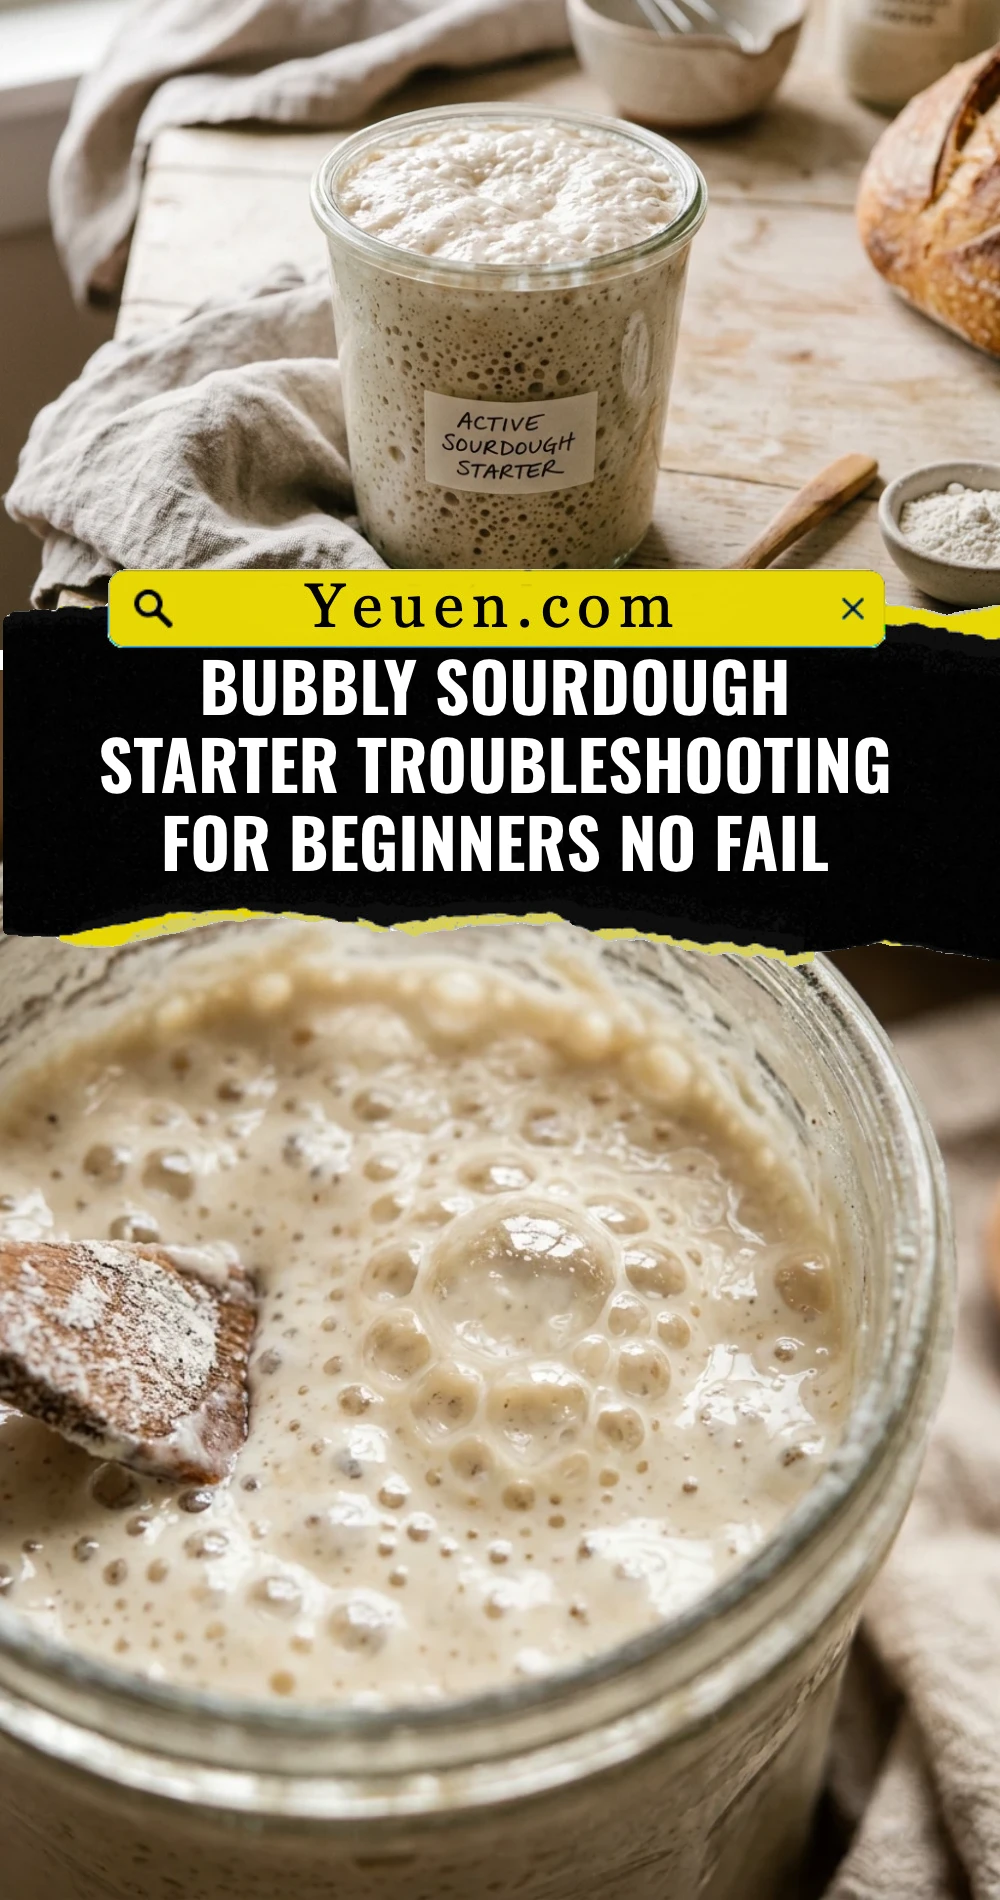
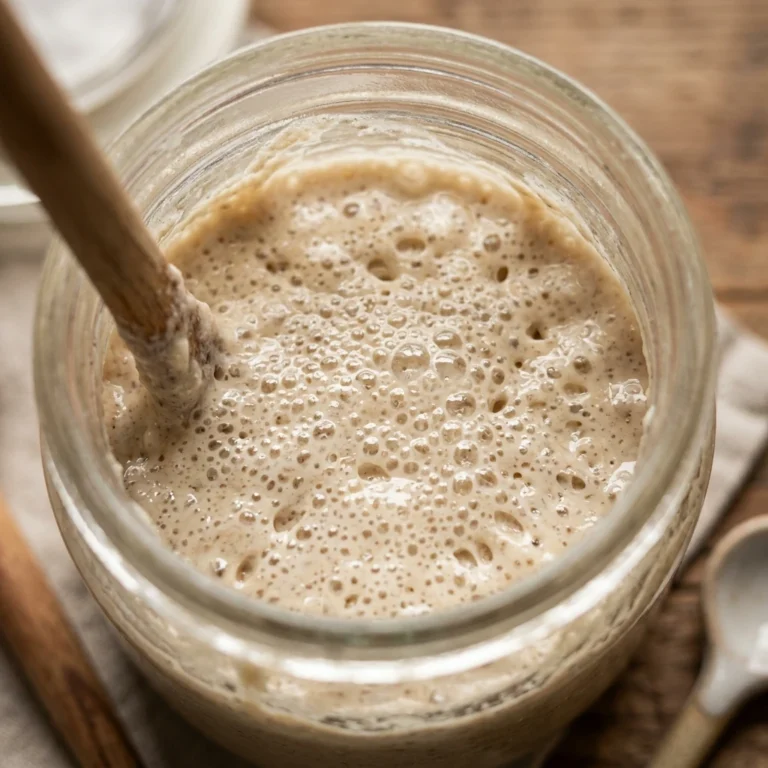
Is there anything more frustrating than staring at a jar of flour and water that refuses to move? You’ve followed the guides, you’ve named your starter, but all you see are a few tiny, unenthusiastic bubbles. We have all been there. Achieving that vigorous, bubbly sourdough starter can feel like a secret science experiment, but it is actually quite simple once you understand what your wild yeast needs to thrive. This guide will walk you through the exact steps to troubleshoot your sluggish starter and transform it into a predictable, high-rising powerhouse that makes your kitchen smell like a professional bakery.
Recipe Information
- Prep Time: 10 minutes
- Cook Time: 0 minutes (fermentation time varies)
- Total Time: 10 minutes
- Servings: 1 active starter jar
- Difficulty: Easy
Nutrition values
- Calories: 110 kcal (per 50g feeding)
- Protein: 3g
- Carbs: 22g
Why Make This Bubbly Sourdough Starter Troubleshooting For Beginners No Fail
You should use this troubleshooting method because it removes the guesswork from bread making. A weak starter is the number one reason sourdough loaves turn out dense and gummy. By mastering these simple adjustments, you ensure your starter has the strength to lift heavy doughs. This guide focuses on accessible fixes that don’t require expensive equipment—just a little patience and the right technique to wake up those dormant microbes.
Ingredients
- 50g Active or sluggish sourdough starter
- 50g Unbleached bread flour or whole wheat flour
- 50g Filtered water (warmed to 80°F/27°C)
- A pinch of organic rye flour (optional for a boost)
Directions
Step 1: Evaluate and Discard
Before you feed your starter, you must remove the excess. Keeping too much starter in the jar dilutes the new “food” you provide. Discard all but 50 grams of your existing starter into a separate container. This small amount is plenty to inoculate a new batch. Ensure your jar is clean and free of dried crust around the rim.
Step 2: Feeding with Precision
Add 50 grams of flour and 50 grams of warm filtered water to your 50 grams of starter. This is a 1:1:1 ratio by weight. Using a digital scale is vital for success because volume measurements (cups) are often inaccurate. Stir vigorously with a small spatula until no dry flour remains. This aeration adds oxygen, which helps the yeast multiply faster.
Step 3: Control the Temperature
Place your jar in a warm spot, ideally between 75°F and 82°F. If your kitchen is cold, the yeast will go dormant. Try placing the jar inside a turned-off oven with the light on, or on top of a refrigerator. This warmth acts as a catalyst for fermentation, encouraging those elusive bubbles to form within hours rather than days.
Step 4: Monitor the Peak
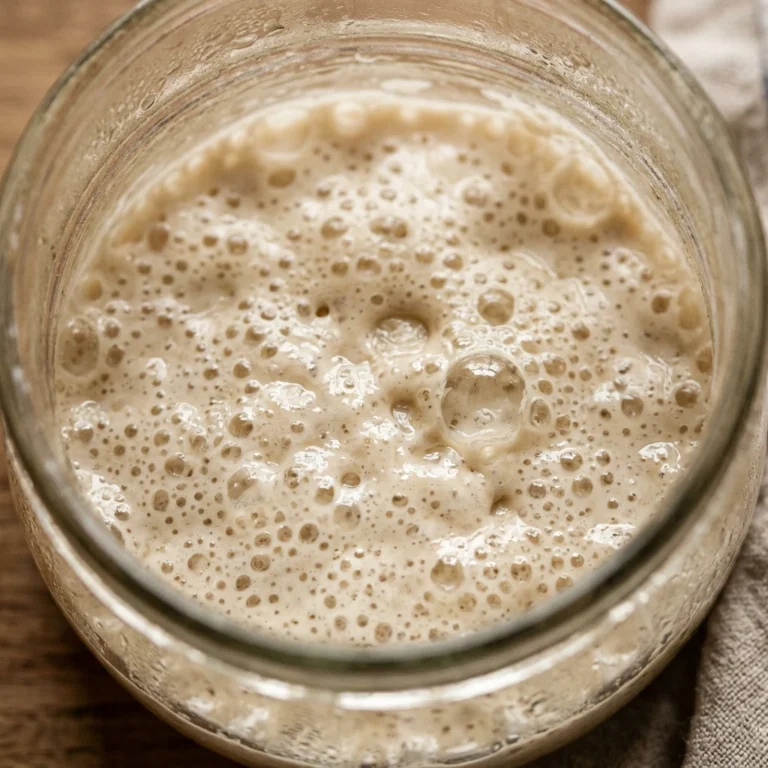
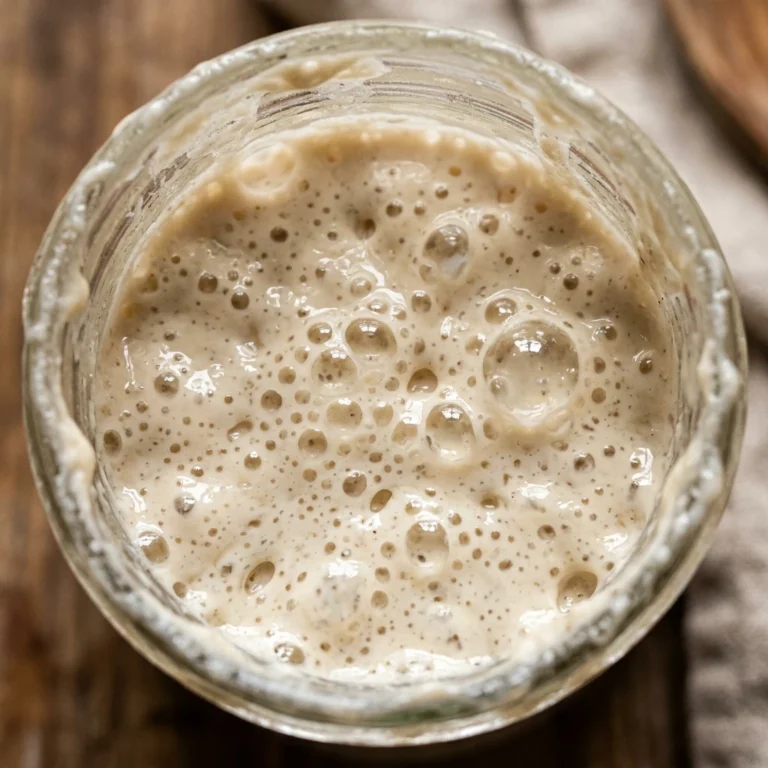
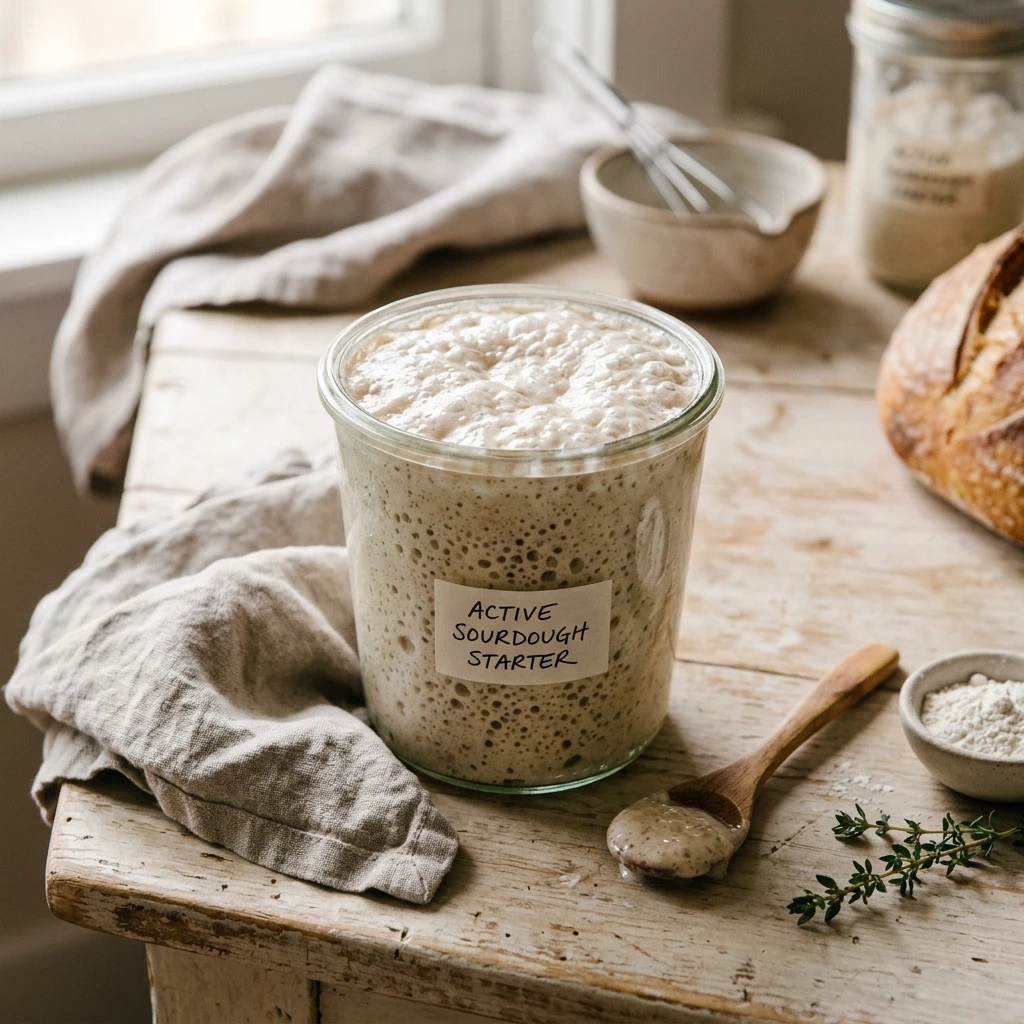
Place a rubber band around the jar at the initial level of the starter. Watch it over the next 4 to 8 hours. You are looking for the starter to double or even triple in size. Once it reaches its highest point and starts to slightly dip in the middle, it is at its “peak” and ready for baking. If it doesn’t double, repeat the discard and feeding process every 12 hours until it does.
Expert Tips for Perfect Bubbly Sourdough Starter Troubleshooting For Beginners No Fail
- Use Filtered Water: Chlorine in tap water can kill or inhibit the growth of sensitive wild yeast. Use a charcoal filter or let tap water sit out overnight before using.
- Try Rye Flour: If your starter is very sluggish, replace half of your white flour feeding with whole grain rye flour. Rye contains more nutrients and amylase enzymes that jumpstart fermentation.
- Check Your Flour: Avoid bleached flours. The bleaching process removes the very bacteria and yeast you are trying to cultivate. Always opt for unbleached, high-quality flour.
- Consistency Matters: Aim for a thick, pancake-batter consistency. If it’s too runny, bubbles will escape to the surface rather than getting trapped and lifting the starter.
Delicious Variations
- Whole Wheat Power Starter: Use 100% whole wheat flour for a nuttier flavor and a more robust rise in rustic loaves.
- The Stiff Starter: Reduce the water to 40g for every 50g of flour. This creates a dough-like starter that ferments more slowly and develops a more pronounced sour tang.
- Honey Boost: Add a tiny drop of raw honey to a feeding if you are starting from scratch; the natural sugars can help attract wild yeast.
Frequently Asked Questions
What is the dark liquid on top of my starter?
That is called “hooch.” It is a byproduct of fermentation and a sign that your starter is hungry. Simply pour it off or stir it back in, then feed your starter immediately.
Why does my starter smell like vinegar or nail polish remover?
This sharp acidic smell means the yeast has run out of food. You need to increase your feeding frequency or use a higher ratio of flour and water (like 1:2:2) to keep the yeast satisfied longer.
Can I use a metal spoon to stir my starter?
Yes. While old myths suggest metal hurts the yeast, modern stainless steel is perfectly safe for quick stirring. Just avoid leaving metal in the jar for long periods.
How long does it take for a new starter to become bubbly?
It typically takes 7 to 10 days of consistent daily feedings before a new starter is strong enough to bake bread. Consistency is the most important factor.
What if I see fuzzy mold?
If you see green, black, or pink fuzzy mold, you must throw the starter away and sanitize the jar. Surface mold is dangerous and cannot be reliably “scraped off.”
Conclusion
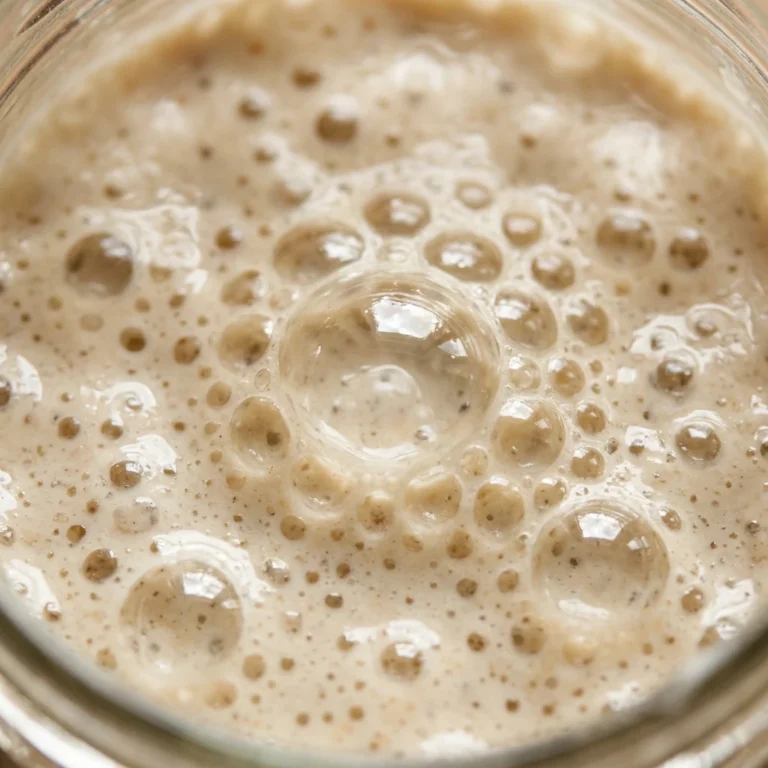
Troubleshooting a sourdough starter is a rite of passage for every home baker. By focusing on temperature, using a scale for 1:1:1 ratios, and being patient with your feedings, you will eventually see those beautiful, lacy bubbles. Don’t get discouraged if it takes a few extra days; wild yeast works on its own schedule. Once you have a bubbly, active starter, you are only a few steps away from the best loaf of bread you’ve ever tasted!