Follow Me On Pinterest!
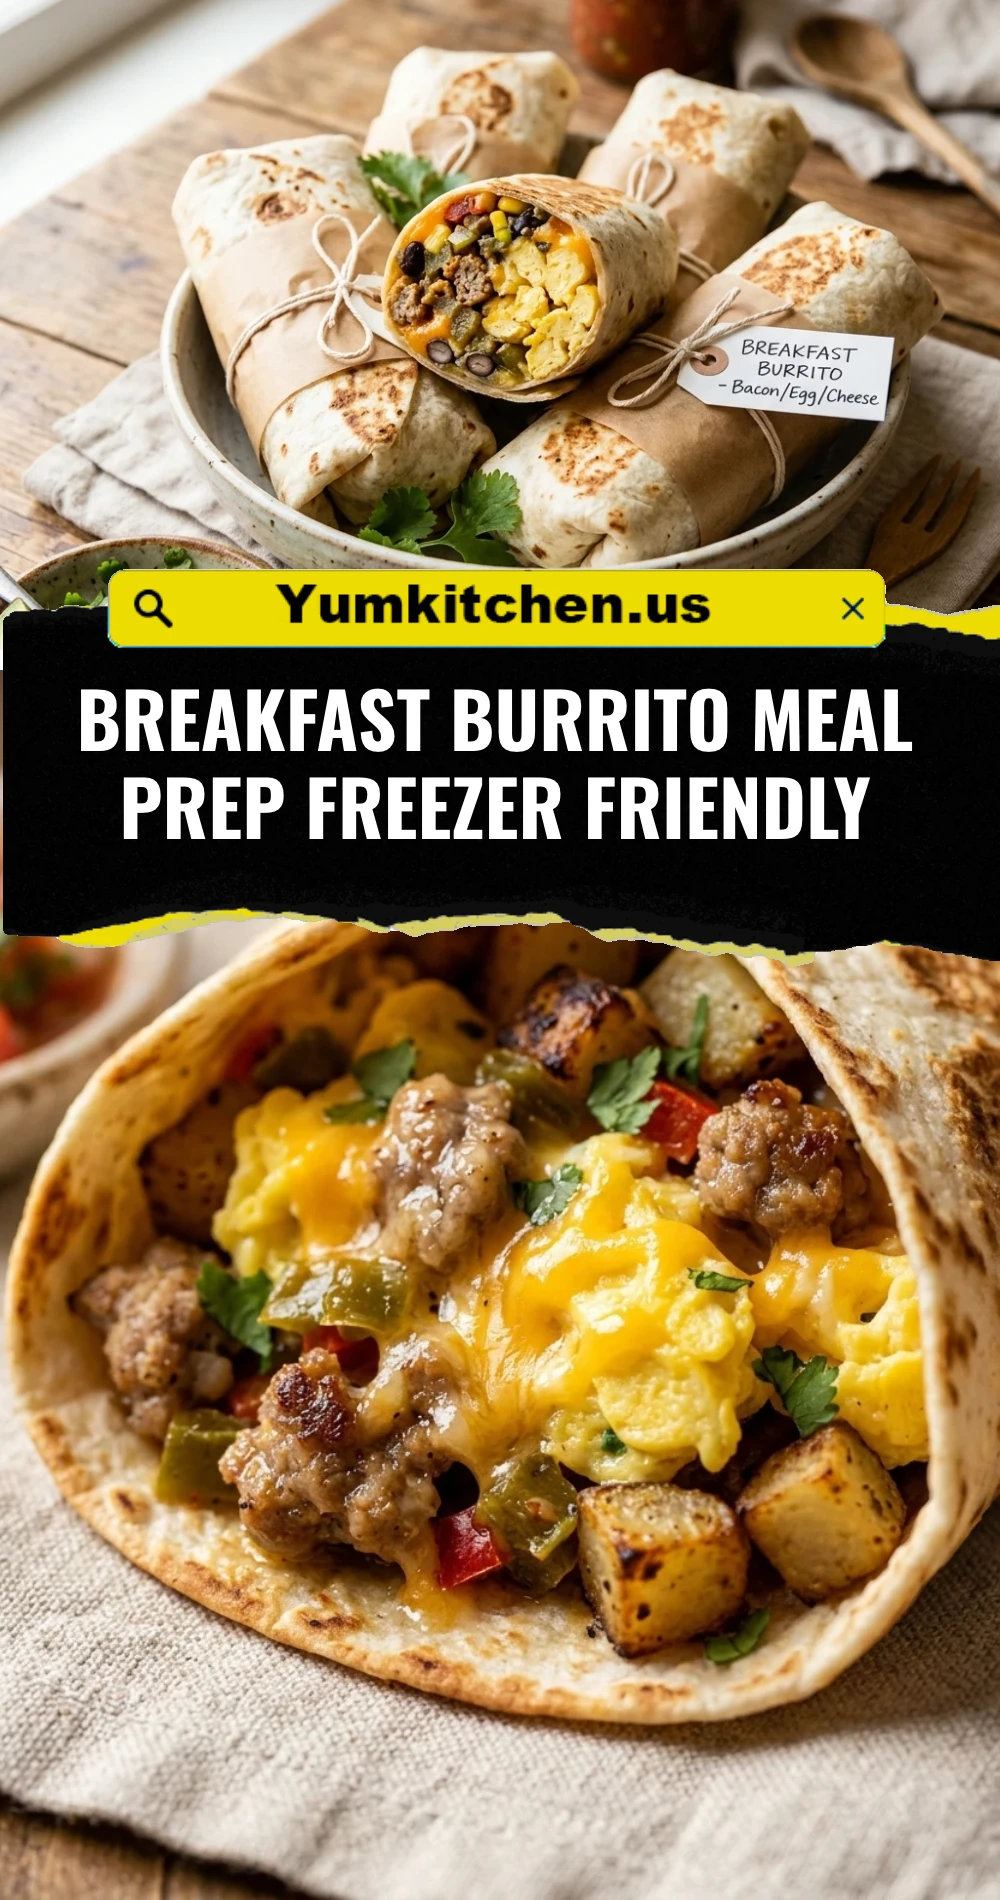
Breakfast Burrito Meal Prep Freezer Friendly
Morning madness is real. Between hitting the snooze button and hunting for matching socks, breakfast usually becomes a rushed afterthought or a pricey trip to a drive-thru. That is where these freezer-friendly breakfast burritos come in to save your sanity. Imagine a warm, protein-packed meal ready in minutes without any morning cleanup or prep work. These burritos are hearty, satisfying, and far superior to any pre-packaged version you find in the frozen aisle. By spending less than an hour on Sunday, you can secure a delicious, hot breakfast for every day of the work week.
Recipe Information
- Prep Time: 20 minutes
- Cook Time: 25 minutes
- Total Time: 45 minutes
- Servings: 8 burritos
- Difficulty: Easy
Nutrition values
- Calories: 410 kcal
- Protein: 24g
- Carbs: 38g
Why Make This Breakfast Burrito Meal Prep Freezer Friendly
Making your own breakfast burritos is a total game changer for your budget and your health. When you control the ingredients, you skip the excessive sodium and preservatives found in commercial brands. These burritos provide a balanced ratio of protein, healthy fats, and carbohydrates to keep you full until lunch. They are also incredibly versatile; you can swap out proteins or add extra veggies based on what is in your fridge. Most importantly, they reheat beautifully, maintaining that soft tortilla texture and cheesy center that makes breakfast the best meal of the day.
Ingredients
- 8 large flour tortillas (10-12 inch “burrito size”)
- 12 large eggs, beaten
- 1 lb ground breakfast sausage or diced bacon
- 2 cups frozen shredded hash browns or diced potatoes
- 1 bell pepper, finely diced
- 1/2 yellow onion, finely diced
- 2 cups shredded cheddar or Monterey Jack cheese
- 1 teaspoon salt
- 1/2 teaspoon black pepper
- 1 tablespoon olive oil or butter
- Optional: Hot sauce or pickled jalapeños
Directions
Step 1: Prepare the Potatoes and Vegetables
Heat the olive oil in a large non-stick skillet over medium-high heat. Add the hash browns (or diced potatoes), onions, and bell peppers. Cook for about 8 to 10 minutes, stirring occasionally, until the potatoes are golden brown and crispy and the vegetables are soft. Remove the mixture from the pan and set it aside in a large bowl to cool slightly.
Step 2: Cook the Breakfast Meat
In the same skillet, add your ground sausage or diced bacon. Cook over medium heat, breaking the sausage into small crumbles with a wooden spoon, until it is fully browned and no longer pink. Use a slotted spoon to transfer the meat to the bowl with the potatoes, leaving a little bit of the fat in the pan for flavor. Let the meat mixture cool down before moving to the next step.
Step 3: Scramble the Eggs
Lower the heat to medium-low. Season your beaten eggs with salt and pepper. Pour the eggs into the skillet. Use a spatula to gently move the eggs around, creating soft, large curds. Cook them until they are just set but still slightly moist—overcooking them now will make them rubbery when you reheat the burritos later. Remove from heat and let the eggs cool for a few minutes.
Step 4: Assemble the Burritos
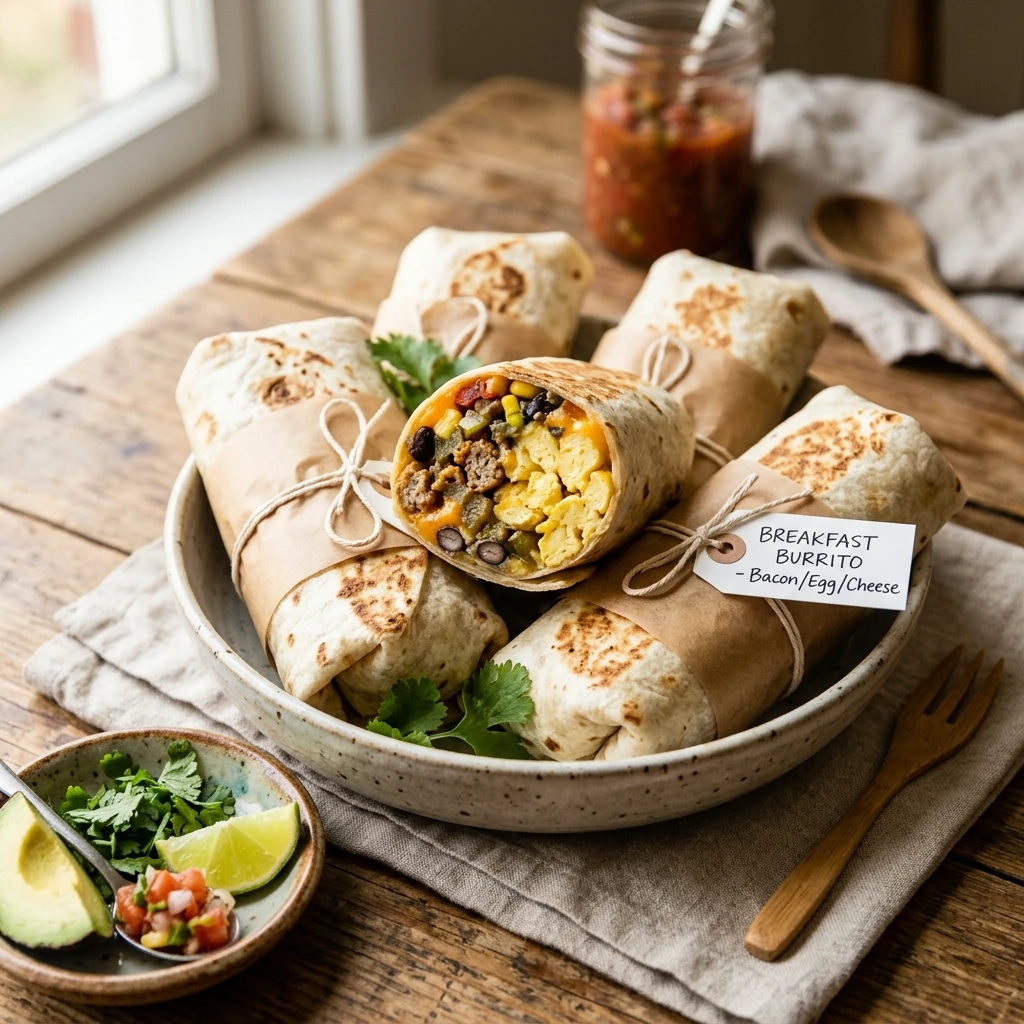
Lay out a flour tortilla on a flat surface. Place a scoop of the potato and meat mixture in the center, followed by a portion of scrambled eggs. Top with a generous sprinkle of shredded cheese. To fold, tuck in the sides of the tortilla first, then roll from the bottom up as tightly as possible. Repeat this process until all eight burritos are filled and rolled.
Step 5: Wrap and Freeze
Allow the assembled burritos to reach room temperature before wrapping. This prevents condensation which leads to sogginess. Wrap each burrito tightly in a piece of parchment paper, followed by a layer of aluminum foil. Place the wrapped burritos into a large gallon-sized freezer bag, squeeze out the air, and label the bag with the date. Store in the freezer for up to three months.
Expert Tips for Perfect Breakfast Burrito Meal Prep Freezer Friendly
The biggest secret to a great freezer burrito is cooling your ingredients. If you wrap hot eggs and steaming potatoes inside a cold tortilla, the steam gets trapped and turns the bread into mush. Always let your fillings reach room temperature before assembly. Additionally, try to avoid “wet” ingredients like fresh salsa or watery tomatoes inside the burrito; instead, keep salsa on the side for dipping after you reheat. For a better seal, you can lightly toast the finished burrito in a dry pan for 30 seconds on each side before wrapping.
Delicious Variations
If you want to switch things up, try a “Southwest” version by adding black beans, corn, and a dash of cumin to your egg mixture. For a vegetarian option, swap the sausage for sautéed mushrooms, spinach, and crumbled feta cheese. Those looking for a spicy kick can add chopped canned green chiles or pepper jack cheese. You can even make these lower in carbohydrates by using high-fiber, low-carb tortillas available at most grocery stores.
Frequently Asked Questions
How long do these burritos stay fresh in the freezer?
When wrapped properly in both parchment and foil and kept in a sealed freezer bag, these burritos will stay fresh and delicious for up to 3 months. After that, they are still safe to eat but may start to develop freezer burn.
What is the best way to reheat a frozen breakfast burrito?
For a quick morning, remove the foil and wrap the burrito in a damp paper towel. Microwave on high for 2 to 3 minutes, flipping halfway through. If you prefer a crispy exterior, you can reheat it in an air fryer at 350°F for about 12-15 minutes or in a conventional oven at 375°F for 20-25 minutes.
Can I add avocado inside before freezing?
It is generally not recommended to freeze avocado inside the burrito as the texture becomes slimy and brown upon thawing. It is much better to slice fresh avocado and serve it on top of the hot burrito right before eating.
How do I prevent the tortilla from cracking when I roll it?
Cold tortillas are brittle and prone to tearing. Warm your tortillas in the microwave for 15-20 seconds under a damp paper towel before you start the assembly process. This makes them much more pliable and easy to roll tightly.
Is it necessary to use both parchment paper and foil?
Using both provides the best protection. The parchment paper prevents the tortilla from sticking to the foil and provides a microwave-safe wrapper for later. The foil provides the airtight barrier needed to prevent freezer burn. If you only have one, use foil but be careful when unwrapping.
Conclusion
Mastering the art of the freezer-friendly breakfast burrito is the ultimate gift to your future self. It removes the stress of morning cooking while ensuring you start your day with a nutritious, filling meal. With a little bit of weekend prep, you can enjoy a custom-made, protein-rich breakfast every single day. Once you taste the difference between these homemade rolls and the store-bought variety, you will never go back to the cereal box again.