Follow Me On Pinterest!
Homemade Oat Bread Easy Beginner Artisan
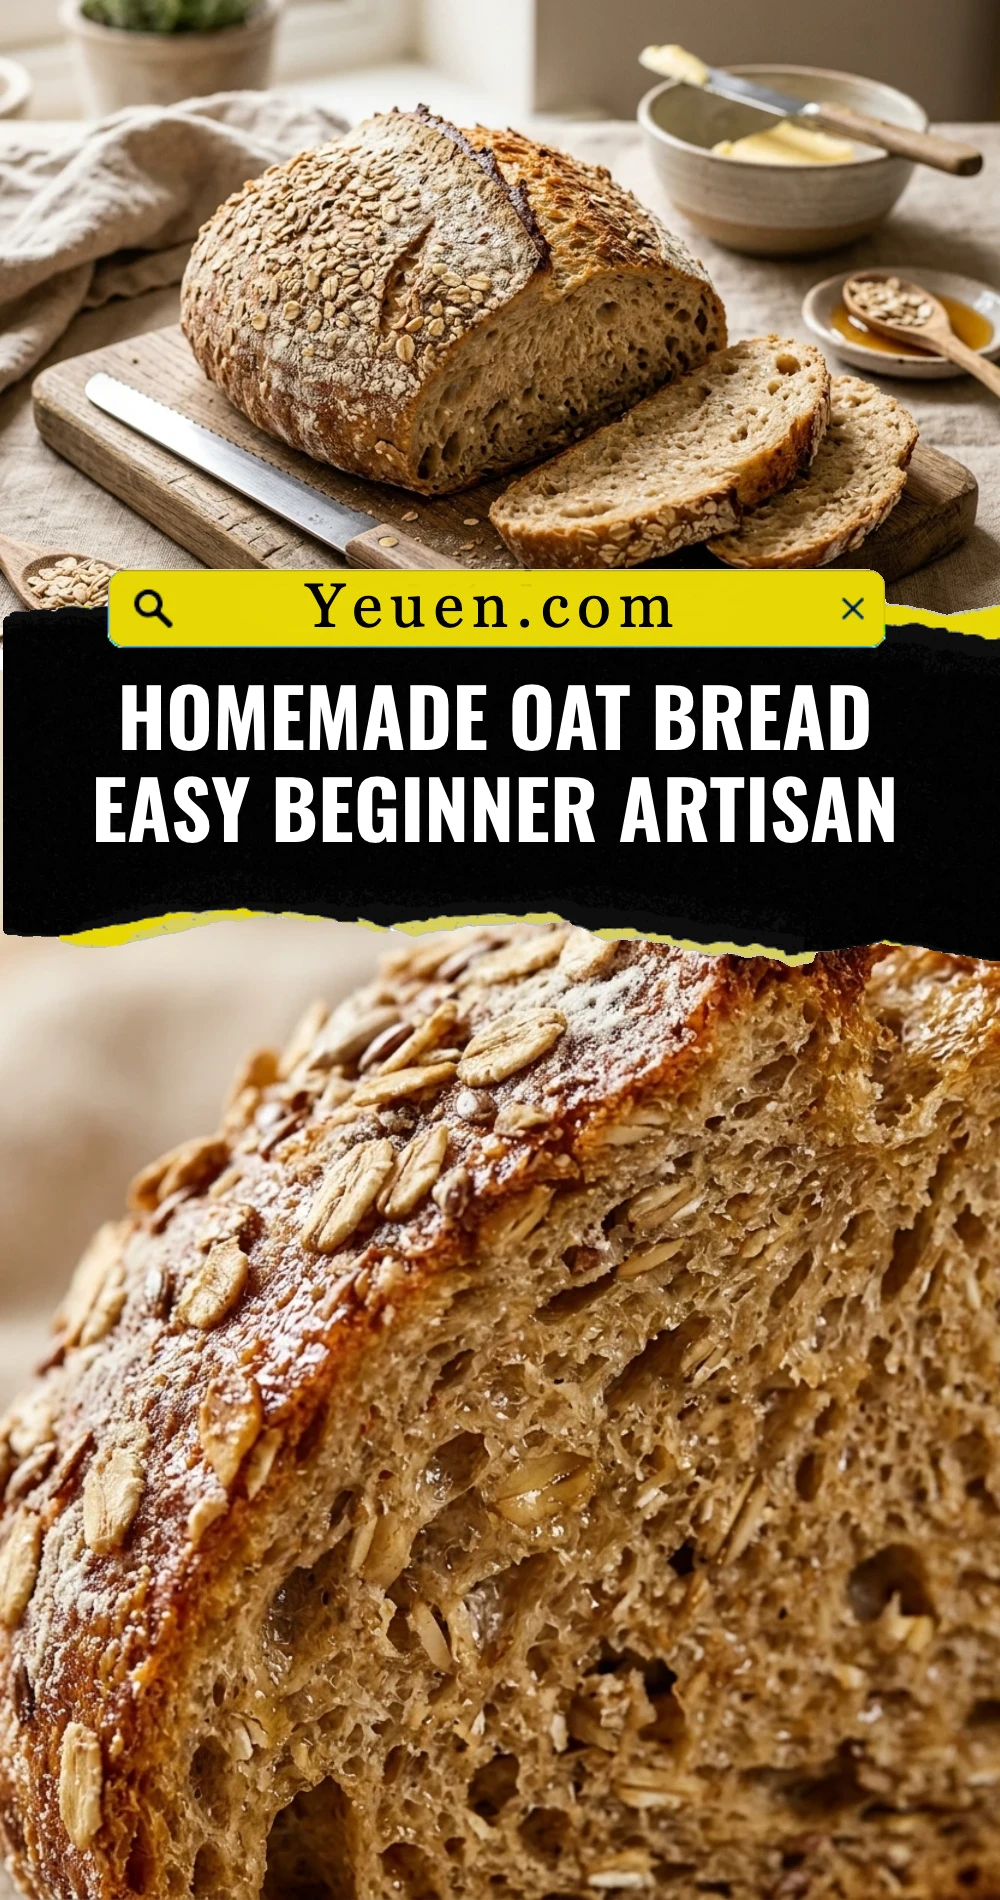
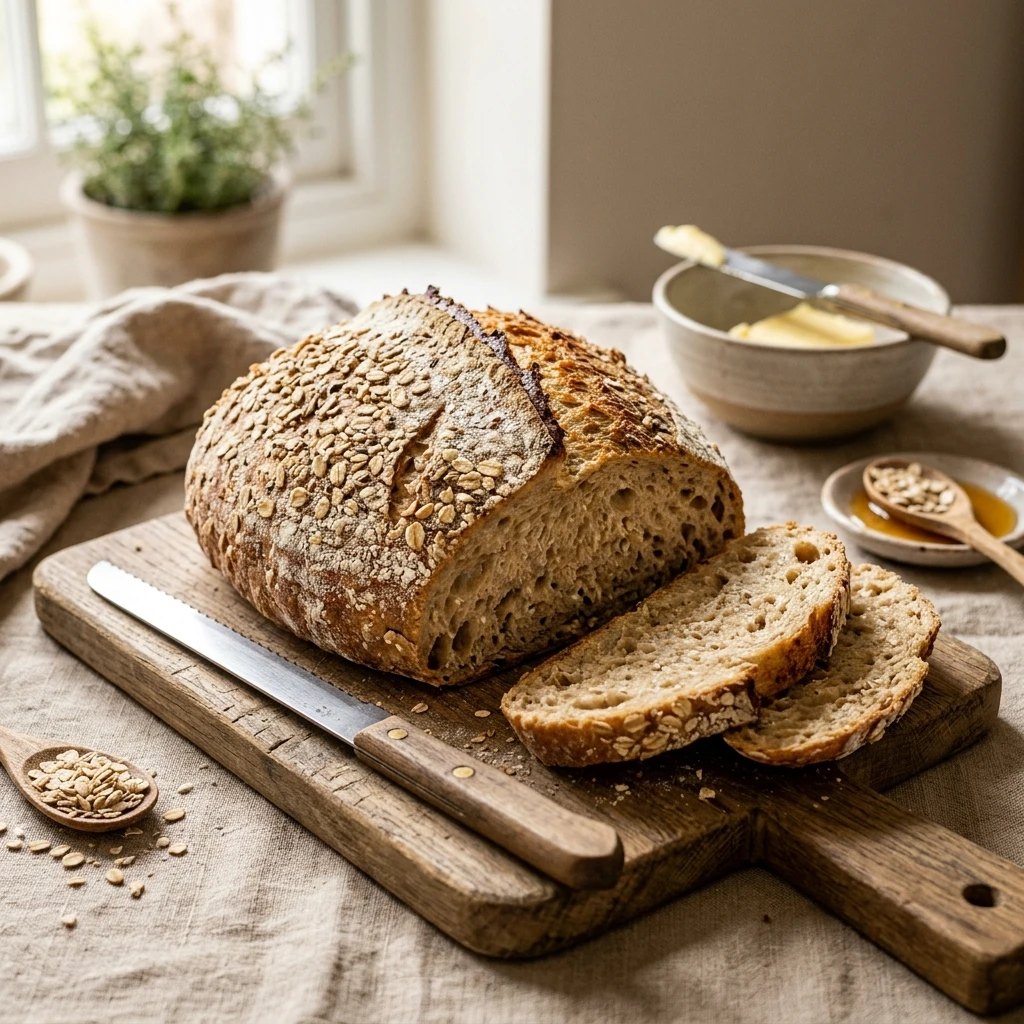
There is nothing quite like the comforting aroma of freshly baked bread wafting through your home. If you have always wanted to try your hand at artisan baking but felt intimidated by complex techniques, this Homemade Oat Bread Easy Beginner Artisan recipe is your perfect starting point. We combine the rustic charm of a crusty bakery loaf with the wholesome, nutty flavor of toasted oats. This recipe requires no special equipment—just a few simple ingredients and a little bit of patience. You will end up with a loaf that boasts a golden, crunchy crust and a soft, airy interior that is perfect for morning toast or a hearty sandwich.
Recipe Information
- Prep Time: 15 minutes (plus 2 hours rising time)
- Cook Time: 40 minutes
- Total Time: 2 hours 55 minutes
- Servings: 10-12 slices
- Difficulty: Easy
Nutrition values
- Calories: 185 kcal
- Protein: 6g
- Carbs: 36g
Why Make This Homemade Oat Bread Easy Beginner Artisan
This bread bridges the gap between a standard sandwich loaf and a fancy sourdough. The addition of rolled oats provides a wonderful texture and a boost of fiber without making the bread feel heavy. Because it uses a straightforward mixing method, it is nearly foolproof for beginners. You do not need a Dutch oven or a stand mixer to achieve that classic artisan look. Plus, making your own bread allows you to skip the preservatives and artificial additives found in store-bought options. It is cost-effective, incredibly satisfying to touch and shape, and guaranteed to impress your family and friends.
Ingredients
- 1 ½ cups warm water (105-110°F)
- 2 ¼ teaspoons active dry yeast (1 packet)
- 2 tablespoons honey or maple syrup
- 1 cup old-fashioned rolled oats (plus extra for topping)
- 3 cups all-purpose flour or bread flour (plus more for dusting)
- 1 ½ teaspoons fine sea salt
- 2 tablespoons melted unsalted butter or olive oil
Directions
Step 1: Activate the Yeast and Oats
In a large mixing bowl, combine the warm water, honey, and active dry yeast. Stir gently and let it sit for about 5 to 10 minutes until the mixture becomes foamy. Once the yeast is activated, stir in the rolled oats and the melted butter. Let the oats soak for 5 minutes; this softens them and ensures they integrate perfectly into the dough without stealing moisture from the flour.
Step 2: Mix and Knead the Dough
Add the salt and the flour to the wet mixture one cup at a time. Stir with a sturdy wooden spoon until a shaggy dough forms. Turn the dough out onto a lightly floured surface. Knead the dough by hand for about 8 to 10 minutes. You want the dough to become smooth, elastic, and slightly tacky but not sticky. If the dough clings to your hands excessively, add a tablespoon of flour at a time until it is manageable.
Step 3: The First Rise
Lightly grease a clean bowl with oil. Place the dough inside and turn it once to coat it in the oil. Cover the bowl with a damp kitchen towel or plastic wrap. Place the bowl in a warm, draft-free spot and let the dough rise until it has doubled in size. This usually takes about 1 to 1.5 hours depending on the temperature of your kitchen.
Step 4: Shaping the Loaf
Gently punch down the risen dough to release the air. Turn it out onto a lightly floured surface and shape it into a round boule or an oval loaf. To get that artisan look, pull the edges of the dough toward the center to create tension on the top surface. Place the shaped loaf onto a baking sheet lined with parchment paper or into a well-floured proofing basket.
Step 5: Second Rise and Topping
Cover the loaf lightly and let it rise again for about 30 to 45 minutes. While the bread rises, preheat your oven to 400°F (200°C). Just before baking, lightly mist the top of the loaf with water and sprinkle a handful of oats over the top. Use a very sharp knife or a bread lame to score a shallow slash (about 1/2 inch deep) across the top of the bread to allow for expansion.
Step 6: Baking the Bread
Place the baking sheet in the center of the oven. For a crispier crust, you can place a shallow pan of hot water on the bottom rack to create steam. Bake for 35 to 40 minutes, or until the crust is a deep golden brown and the loaf sounds hollow when tapped on the bottom. Remove the bread from the oven and transfer it to a wire rack. Allow it to cool completely before slicing to ensure the internal structure sets properly.
Expert Tips for Perfect Homemade Oat Bread Easy Beginner Artisan
To ensure the best results, always check your yeast’s expiration date. If the yeast doesn’t foam in Step 1, discard it and start over with fresh yeast. When measuring flour, use the “spoon and level” method rather than scooping directly with the measuring cup to avoid packing too much flour. If you want an even more rustic crust, bake the loaf inside a preheated Dutch oven with the lid on for the first 20 minutes, then remove the lid for the final 15-20 minutes. Finally, resist the urge to cut the bread while it is hot! Slicing too early lets the steam escape, which can result in a gummy texture.
Delicious Variations
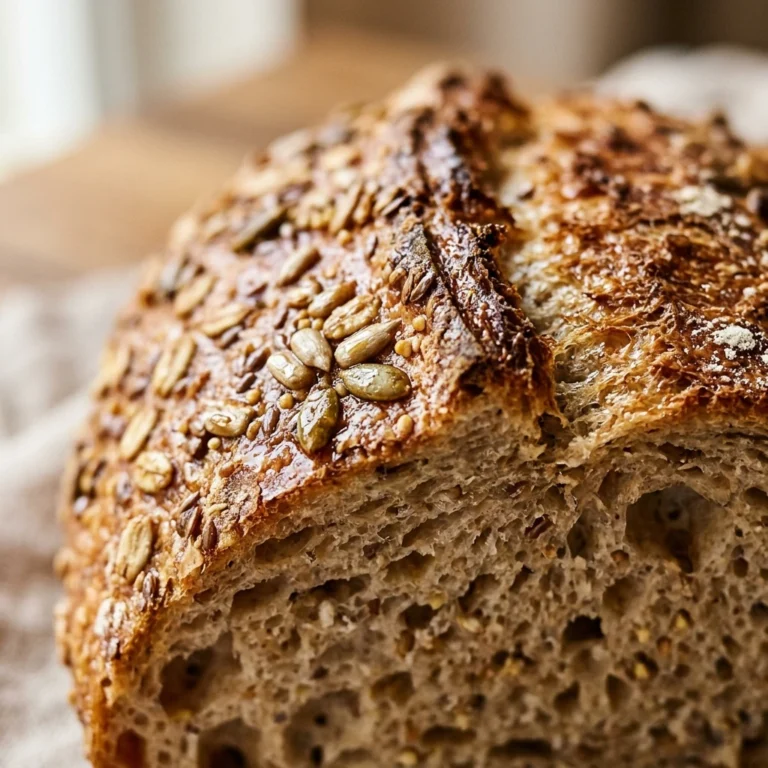
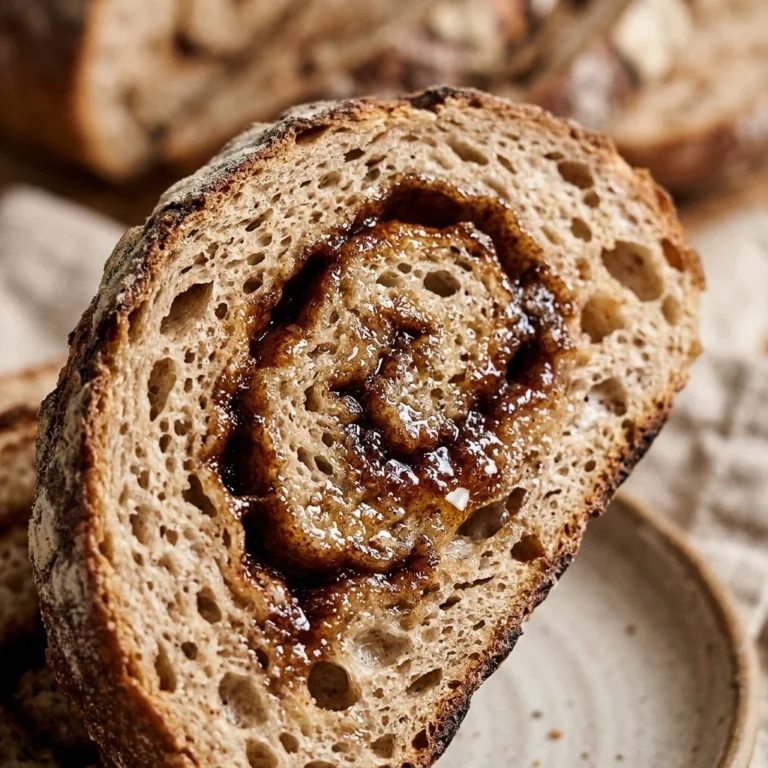
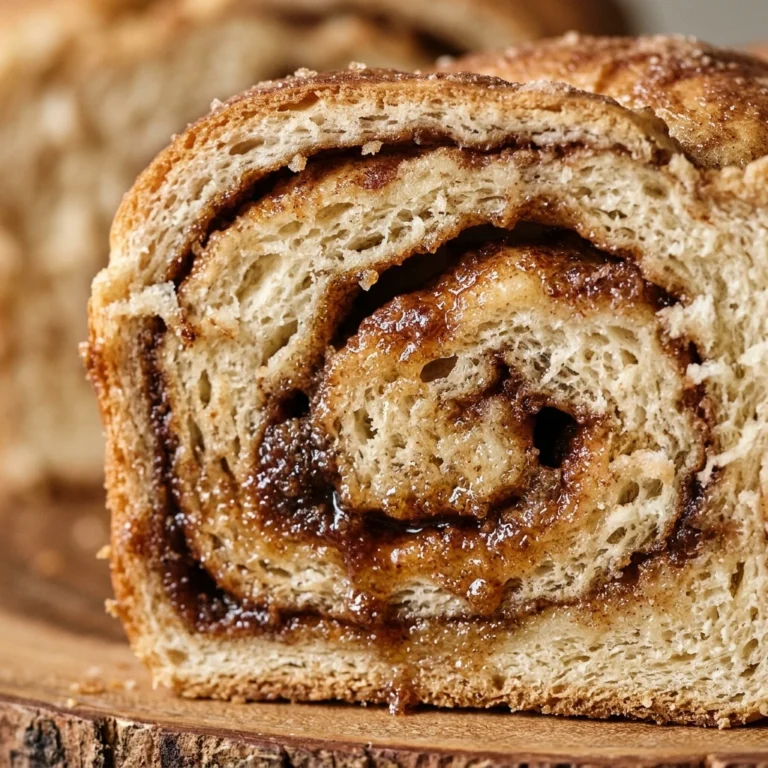
You can easily customize this recipe to suit your taste. For a “Cinnamon Raisin Oat Bread,” add 1 tablespoon of cinnamon and 1/2 cup of raisins during the kneading process. If you prefer a savory version, mix in 1 tablespoon of dried rosemary and 1/2 cup of shredded sharp cheddar cheese. For extra crunch, swap the topping for a mix of sunflower seeds, pumpkin seeds, and oats. You can also replace 1 cup of the white flour with whole wheat flour for an even heartier, more fiber-rich artisan loaf.
Frequently Asked Questions
Can I use quick oats instead of rolled oats?
Yes, you can use quick oats if that is what you have on hand. The texture will be slightly different, as quick oats are smaller and will blend more into the dough, whereas rolled oats provide more visible “flakes” and a chewier bite. Avoid using steel-cut oats, as they are too hard and will not soften sufficiently during the rising and baking process.
What if I don’t have a warm place for the dough to rise?
If your kitchen is cold, you can create a makeshift proofing box. Turn your oven on for just 60 seconds, then turn it off. Place the bowl of dough inside the slightly warmed oven with the door closed. The residual heat will help the yeast work its magic. Alternatively, placing the bowl near a sunny window or on top of a refrigerator can also work.
How do I store this homemade bread?
Since this bread contains no preservatives, it is best eaten within 2 to 3 days. Store it in a paper bag or a bread box at room temperature to maintain the crust’s texture. Avoid storing it in the refrigerator, as this can cause the bread to go stale faster. If you cannot finish it quickly, slice the loaf and freeze the slices in a zip-top bag for up to three months.
Can I make this dough in a bread machine?
Absolutely! You can add the ingredients to your bread machine according to the manufacturer’s suggested order. Use the “Dough” setting to handle the mixing, kneading, and first rise. Once the cycle finishes, remove the dough, shape it by hand, and follow the instructions for the second rise and baking in a conventional oven for that artisan finish.
Why did my bread turn out dense?
Density usually stems from one of three things: old yeast that didn’t provide enough lift, too much flour being added during the kneading process, or not letting the dough rise long enough. Ensure the dough doubles in size during both the first and second rise. If the dough feels very heavy and stiff while kneading, it likely has too much flour; aim for a dough that is soft and slightly stretchy.
Conclusion
Mastering the Homemade Oat Bread Easy Beginner Artisan loaf is a rewarding journey that fills your kitchen with warmth and your plate with wholesome goodness. This recipe proves that you do not need years of experience to create a stunning, bakery-quality loaf. By following these simple steps and utilizing the power of oats, you will create a versatile bread that is sure to become a staple in your home. Slice it thick, slather it with butter, and enjoy the unparalleled satisfaction of eating something you made entirely from scratch.