Follow Me On Pinterest!
One Pan Honey Garlic Chicken

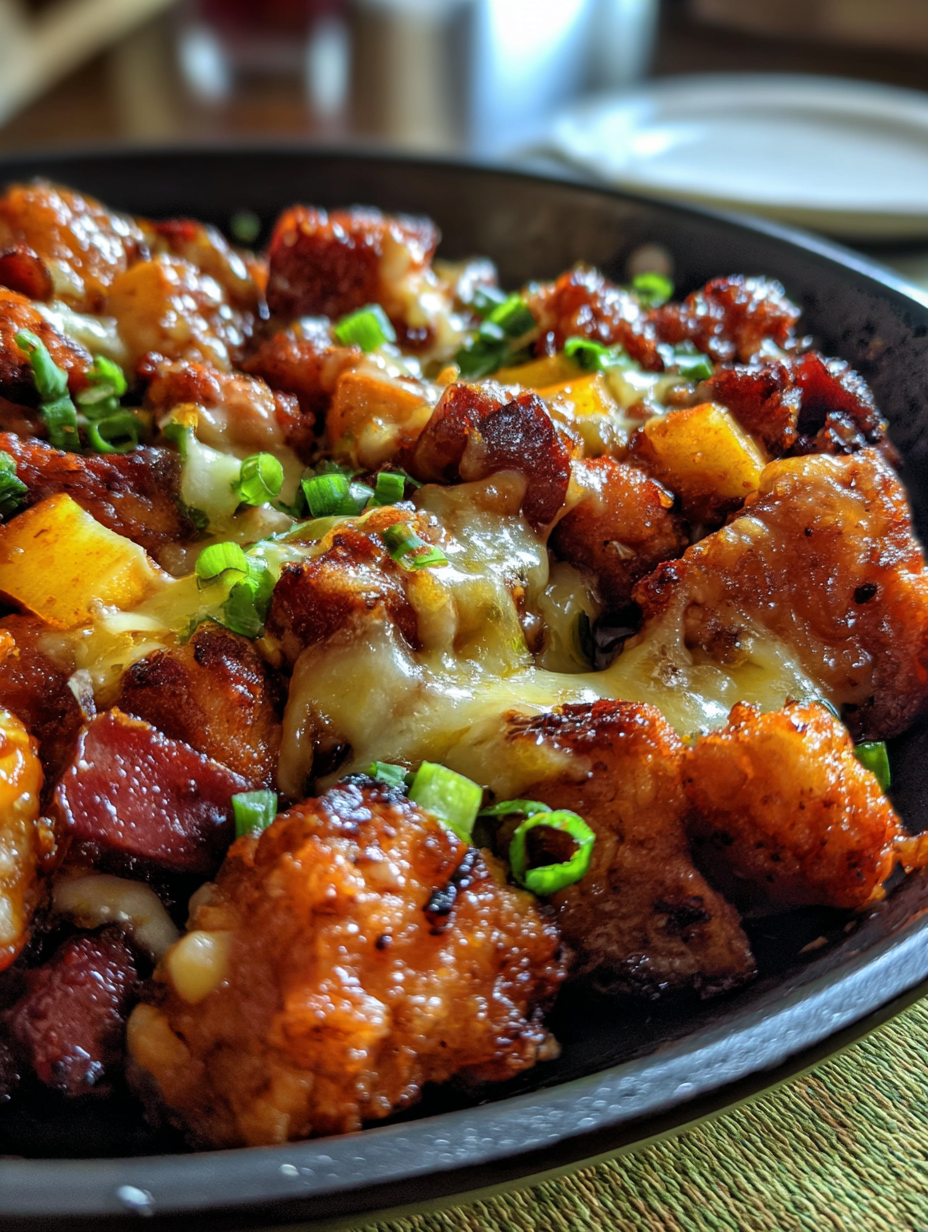
One Pan Honey Garlic Chicken: A Symphony of Sweet and Savory Simplicity
—
Introduction
As I stand in my kitchen, the sun filters through the window, casting a warm glow on the countertop. It’s a quiet evening, and the air is filled with the tantalizing aroma of honey and garlic mingling together, creating a symphony of sweet and savory notes that envelops you like a warm hug. This is the moment I cherish, a moment that takes me back to family gatherings at my grandmother’s house, where her laughter filled the air as she cooked for us. I can still hear the clatter of pots and pans as she whipped up her famous honey garlic chicken, a dish that became a staple in our family gatherings.
I recall the first time I attempted to replicate her recipe. The chicken sizzled in the pan, the golden-brown skin glistening as I flipped it over, revealing a sticky glaze that promised layers of flavor. The sound of the chicken cooking, along with the occasional bubbles from the honey garlic sauce, was music to my ears. As I plated the dish, the vibrant colors of the chicken, alongside fresh green vegetables, painted a portrait of culinary joy. Each bite was a harmony of crunchy texture from the vegetables and tender, juicy chicken, perfectly balanced with the sweet and garlicky sauce.
This recipe became a favorite not just for its delightful taste, but for the memories it brings back every time I make it. The simplicity of the one-pan method means you can enjoy your meal without the hassle of a thousand dishes to wash afterward, allowing you to focus on what truly matters—sharing the moment with loved ones. So, let’s dive into this One Pan Honey Garlic Chicken, where every element works together to create a dish that is both comforting and impressively flavorful.
—
Why This Recipe Works
At the heart of One Pan Honey Garlic Chicken lies a beautiful interplay of flavors and textures that elevates it above ordinary chicken dishes. The key flavor combinations—sweet honey, robust garlic, and a splash of soy sauce—create a perfect balance that satisfies your taste buds. Honey not only adds sweetness but also contributes to a gorgeous caramelization on the chicken skin, while garlic infuses the dish with its aromatic depth, leaving you craving more.
The texture contrasts are also significant. The chicken is seared to perfection, providing you with that delightful crispiness on the outside, while the inside remains juicy and tender. Achieving this involves a two-step cooking process: first, you sear the chicken to lock in moisture and develop a beautiful crust, then you glaze it with the honey garlic sauce, allowing the flavors to meld together wonderfully.
Each major ingredient serves a vital role in the final result. The chicken thighs bring richness and flavor, while the honey and soy sauce create a sticky, glossy coating that clings to the meat. The addition of fresh vegetables not only adds color but also provides a crunch that complements the tender chicken. What separates this version from more generic recipes is the balance of ingredients and the one-pan approach, which allows for a harmonious blending of flavors as everything cooks together, enhancing each bite.
—
What Makes It Special
This One Pan Honey Garlic Chicken shines with its unique qualities that set it apart from restaurant or store-bought versions. First and foremost, the freshness of ingredients used is paramount. When you cook at home, you have control over the quality of the chicken, honey, and vegetables, ensuring a dish that bursts with flavor and nutrition. Compared to pre-packaged versions, which can often be overly processed and lacking in authenticity, this homemade version is both satisfying and wholesome.
Another benefit is the cost-effectiveness of preparing this dish at home. You can feed a family of four without breaking the bank, and you have the freedom to customize it to your taste. Want more garlic? Go for it! Craving some heat? A pinch of red pepper flakes will do the trick.
One surprising element that elevates this dish is the addition of a splash of apple cider vinegar or rice vinegar, which brightens the overall flavor profile. It cuts through the sweetness of the honey, adding a tangy note that balances the dish beautifully, making each bite a delightful experience.
—
Ingredient Breakdown
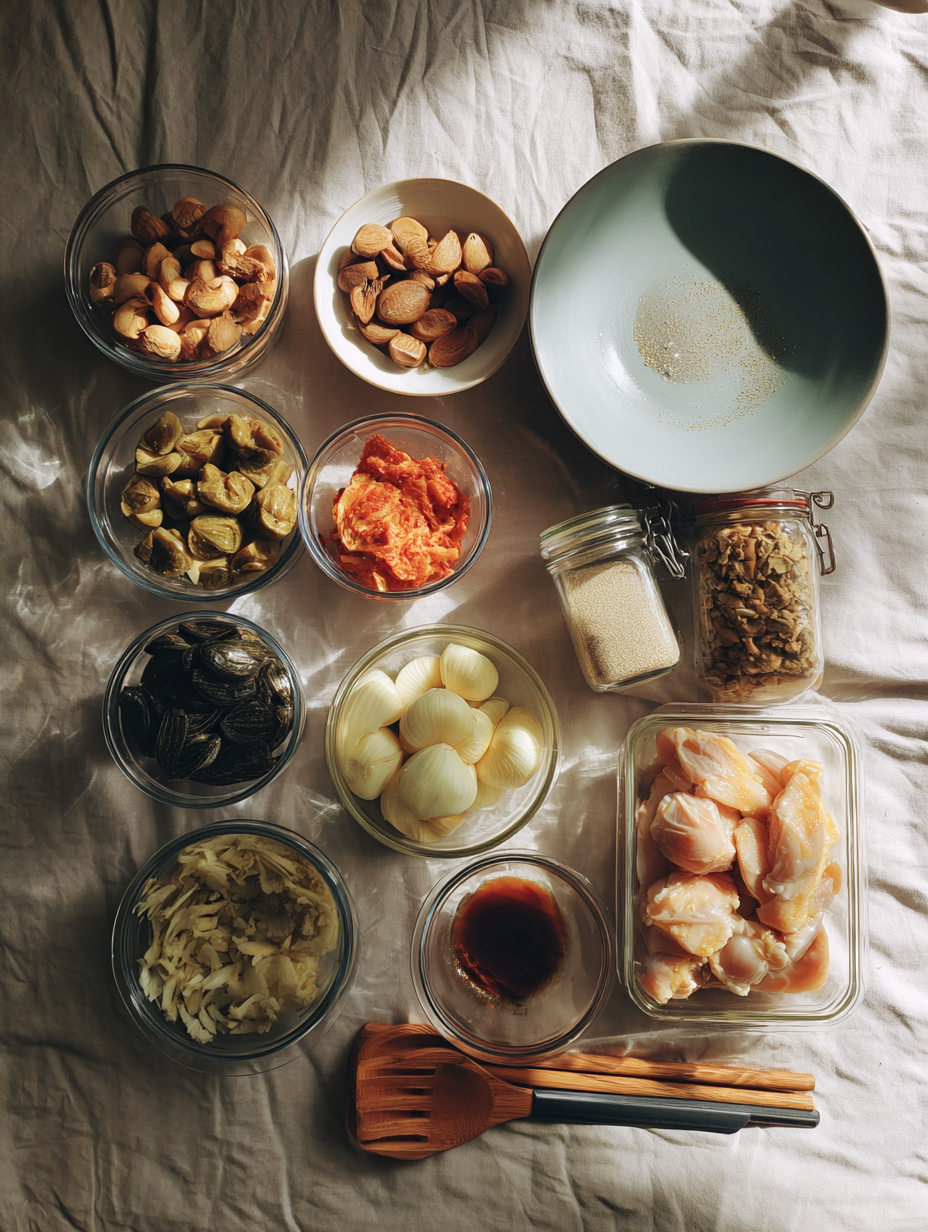
– Chicken Thighs: The star of this dish! Chicken thighs are preferred for their rich flavor and moist texture. You’ll need about 4-6 thighs, bone-in or boneless, depending on your preference. Bone-in thighs offer more flavor, while boneless cooks faster.
– Honey: The sweet component that gives the dish its name. Using about ½ cup will yield a perfect sweetness that caramelizes beautifully. If you want to experiment, try using local honey for added depth.
– Garlic: Fresh garlic is key—about 4-6 cloves, minced. Its pungent aroma and flavor will infuse the dish, bringing warmth and richness. You can substitute with garlic powder in a pinch, but fresh is always best.
– Soy Sauce: Adds umami and depth. You’ll need about ¼ cup. For a gluten-free option, you can use tamari or coconut aminos.
– Apple Cider Vinegar: Just a tablespoon can brighten the flavors and balance the sweetness. It’s optional, but highly recommended for a more complex taste.
– Vegetables: I love using a mix of bell peppers, broccoli, and snap peas for color and crunch. Feel free to substitute with whatever you have on hand—zucchini, asparagus, or carrots would also be delicious.
– Sesame Seeds: These are for garnish—about a tablespoon will add a nice crunch and a nutty flavor. If you’re allergic, feel free to skip them.
When it comes to quantities, maintaining the right balance is crucial for achieving the desired flavor and texture. Each ingredient contributes to the overall harmony of the dish, ensuring that no single flavor overpowers the others. If you’re adjusting for dietary restrictions, remember to consider the role of each component. For example, to keep it vegan, try using tofu or seitan in place of chicken and maple syrup instead of honey.
For specialty ingredients, local health food stores often stock organic honey and tamari, while fresh garlic is typically available at any grocery store.
—
Equipment Needed
To create your One Pan Honey Garlic Chicken, you’ll need just a few essential tools:
– Large Skillet or Frying Pan: This should be heavy-bottomed to ensure even cooking and to withstand the high heat when searing the chicken. A non-stick pan can also help with easy cleanup.
– Wooden Spoon or Spatula: Essential for stirring and flipping the chicken without scratching your pan. A silicone spatula can also work well.
– Meat Thermometer (optional): If you want to ensure your chicken is perfectly cooked, a meat thermometer can be invaluable. Aim for an internal temperature of 165°F.
– Cutting Board and Sharp Knife: For chopping your vegetables and mincing garlic, a good cutting board and knife will make your prep work a breeze.
– Measuring Cups and Spoons: Accurate measuring will help you get the perfect balance of flavors.
While some of these tools are essential, others, like the meat thermometer, are optional for those who are comfortable judging doneness by sight and touch. If you’re on a budget, a good-quality skillet is your best investment, as it will serve you well for countless recipes beyond this one.
Step-by-Step Instructions
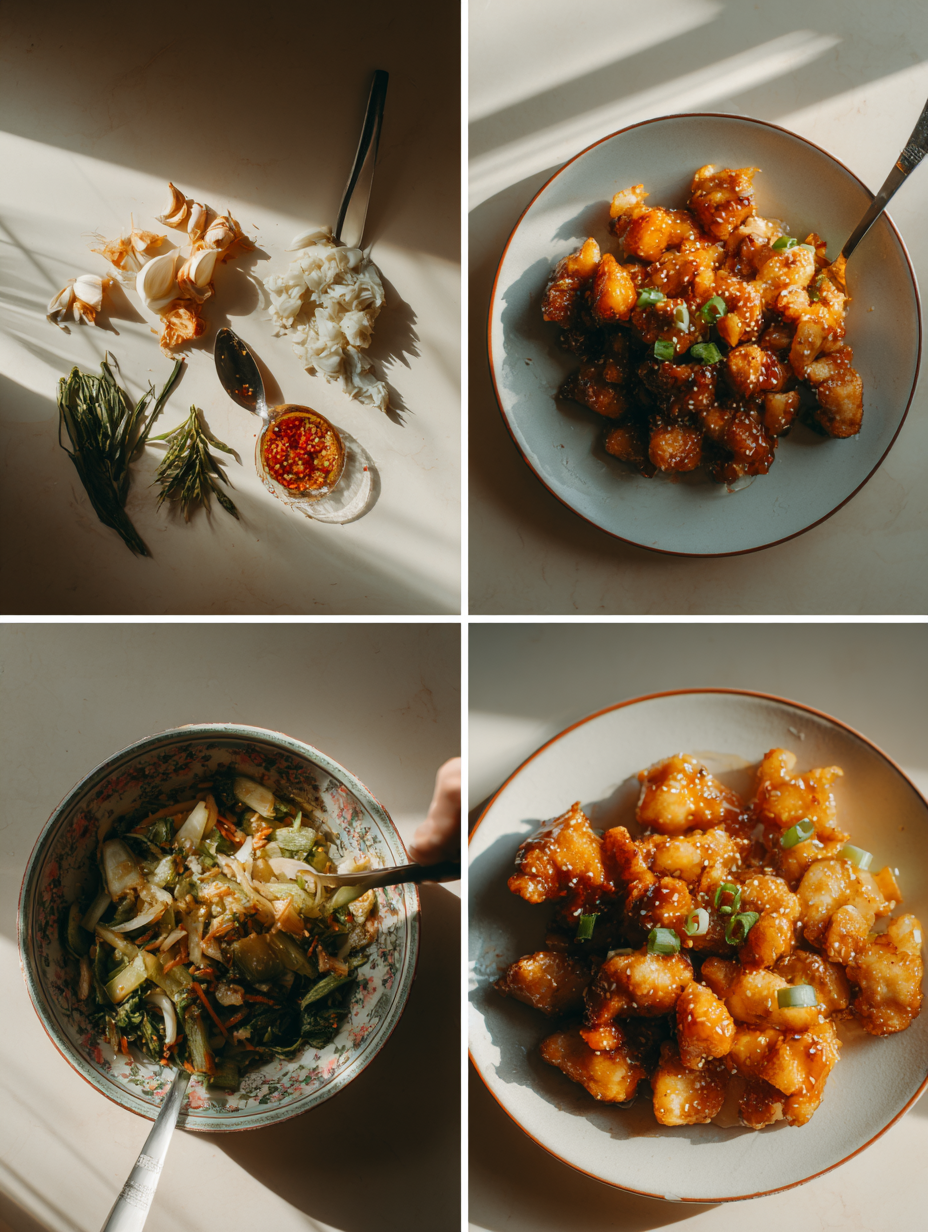
1. Prep the Chicken: Start by selecting 4 chicken thighs (bone-in, skin-on preferred for flavor). Pat them dry with a paper towel to remove excess moisture—this helps achieve a crispier skin. Season both sides generously with salt and pepper. This basic seasoning brings out the natural flavors. You should hear a satisfying crunch when you season them correctly.
2. Sear the Chicken: Heat 2 tablespoons of olive oil in a large, oven-safe skillet over medium-high heat. Once the oil shimmers and is hot (about 2 minutes), carefully place the chicken thighs skin-side down in the pan. Sear them for about 5-7 minutes until the skin is golden brown and crispy. You’ll know it’s time to flip when the skin releases easily from the pan. If it sticks, give it another minute.
3. Create the Sauce: After searing, flip the chicken and reduce the heat to medium. Add 4 cloves of minced garlic to the pan, stirring it around to prevent burning. In a separate bowl, mix together 1/2 cup of honey, 1/4 cup of soy sauce, and 1 tablespoon of apple cider vinegar. Pour this mixture over the chicken. You’ll notice the sweet, sticky aroma filling your kitchen as it bubbles around the chicken.
4. Simmer and Coat: Allow the chicken to simmer in the sauce for 5-10 minutes, occasionally spooning the sauce over the thighs. This step is crucial for flavor penetration. You want the sauce to thicken and coat the chicken, creating a glossy finish. You’ll notice the sauce reducing, turning darker and more caramelized.
5. Bake the Chicken: Preheat your oven to 400°F (200°C). Once the sauce has thickened, transfer the skillet to the preheated oven (make sure your skillet is oven-safe!). Bake for 20-25 minutes or until the internal temperature of the chicken reaches 165°F (74°C). Keep an eye on the chicken; it should be bubbling and caramelized, with a sticky glaze coating the skin.
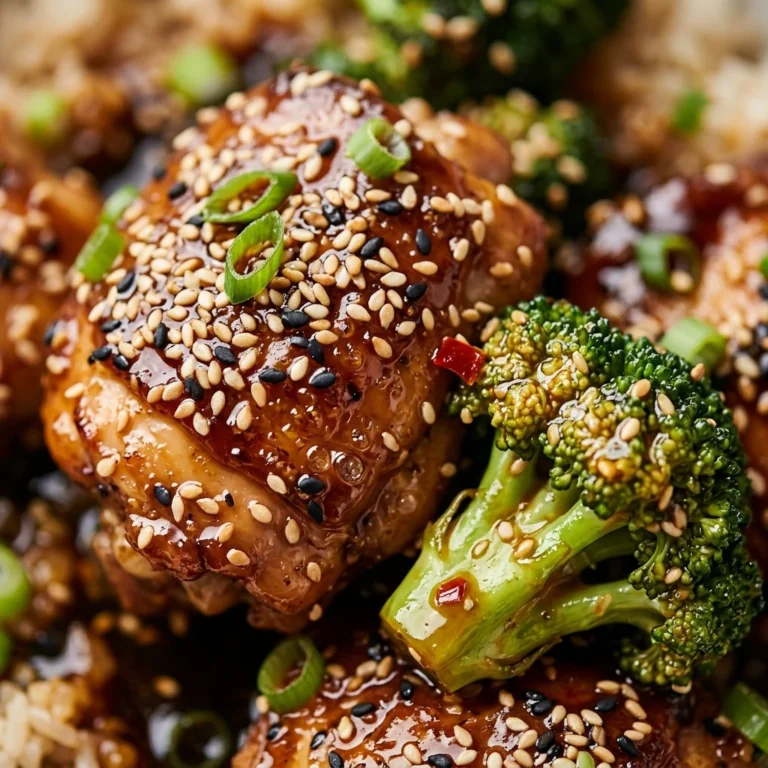
6. Finish and Garnish: Remove the skillet from the oven and let the chicken rest for about 5 minutes. This allows the juices to redistribute, keeping the meat moist. Drizzle any remaining sauce from the pan over the chicken. For an extra touch, sprinkle some sliced green onions or sesame seeds on top for a pop of color and crunch. The aroma will be irresistible, and the glaze should glisten beautifully.
Chef’s Note: For an even easier clean-up, line your baking sheet with foil before placing the skillet in the oven.
Pro Tips for the Best Results
1. Choose the Right Chicken: Opt for bone-in, skin-on thighs instead of chicken breasts. They offer more flavor and moisture, which is essential for this recipe. The fat from the skin helps create a deliciously crispy exterior while keeping the meat tender.
2. Temperature Control: Maintain a medium-high heat when searing the chicken to achieve that beautiful golden color. If the heat is too low, the chicken will steam rather than sear, resulting in a pale appearance and lack of flavor. It’s all about that sizzle!
3. Sauce Thickness: If your sauce isn’t thickening as desired, let it simmer uncovered. This allows moisture to evaporate, intensifying the flavors. A good test is to drag a spoon through the sauce; if it leaves a trail, it’s ready!
4. Oven Safety: Always ensure your skillet is oven-safe before transferring it to the oven. Avoid using non-stick pans, as they may not withstand high temperatures. Cast iron or stainless steel skillets are ideal for this recipe.
5. Resting Time: Don’t skip letting the chicken rest after baking! This crucial step helps retain moisture, making each bite juicy and tender. If you cut into the chicken too soon, you risk losing all those delicious juices.
6. Garnish for Presentation: Fresh herbs or sliced scallions not only enhance the dish visually but also add a fresh flavor contrast to the sweet honey garlic sauce. Just a sprinkle can elevate your meal to restaurant-quality presentation.
7. Experiment with Flavors: Feel free to customize the sauce by adding a pinch of red pepper flakes for heat or a splash of lemon juice for brightness. These small additions can transform your honey garlic sauce into something uniquely yours.
Common Mistakes to Avoid
1. Skipping the Drying Step: Not patting the chicken dry can lead to steaming rather than searing. This results in a lack of crispy skin and flavor. Always dry your chicken well before seasoning and cooking.
2. Crowding the Pan: Overcrowding the skillet prevents the chicken from browning properly. If your chicken pieces are too close together, they’ll steam instead of sear. Cook in batches if necessary, leaving space for air to circulate.
3. Ignoring Internal Temperature: Relying solely on cooking time can lead to undercooked or overcooked chicken. Use a meat thermometer to check for doneness, aiming for an internal temperature of 165°F (74°C).
4. Not Letting the Sauce Reduce: If you add the sauce and don’t let it simmer, you’ll end up with a watery glaze. Allow it to bubble and reduce for at least 10 minutes for maximum flavor and thickness.
5. Using Low-Quality Honey: The quality of honey affects the final taste. Opt for pure, raw honey for the best flavor profile. Cheap honey may have artificial additives that dilute the depth of flavor you’re aiming for.
6. Forgetting to Deglaze: After searing, don’t skip the step of adding the sauce to the skillet to deglaze. This lifts the flavorful bits stuck to the pan, enhancing your sauce. It’s these little morsels of flavor that make each bite delightful.
7. Rushing the Resting Period: Cutting into the chicken immediately after cooking will result in dry meat. Allow it to rest for at least 5 minutes to keep it juicy. Patience pays off here!
Creative Variations
1. Seasonal Variation: Honey Garlic Chicken with Seasonal Vegetables – Add a cup of diced seasonal vegetables such as zucchini, bell peppers, or asparagus to the skillet during the last 10 minutes of baking. The veggies will soak up the delicious sauce while adding freshness and color to your dish.
2. Dietary-Friendly Version: Vegan Honey Garlic Tofu – Substitute chicken thighs with firm tofu. Press and cube the tofu, then pan-fry until golden. Follow the same sauce instructions, using maple syrup instead of honey for a vegan twist, and toss the tofu in the sauce until well-coated.
3. Gourmet Elevated Version: Honey Garlic Chicken with Truffle Oil – After baking, drizzle a small amount of truffle oil over the chicken before serving. This luxurious addition elevates the dish with an earthy, aromatic depth, making it feel like a gourmet restaurant meal.
4. Quick 15-Minute Version: One Pan Honey Garlic Chicken Stir-Fry – Use bite-sized chicken breast pieces instead of thighs for quicker cooking. Sauté the chicken in the skillet until browned, then add the sauce and a quick mix of pre-chopped veggies. Cook for 5-7 minutes until everything is coated and heated through.
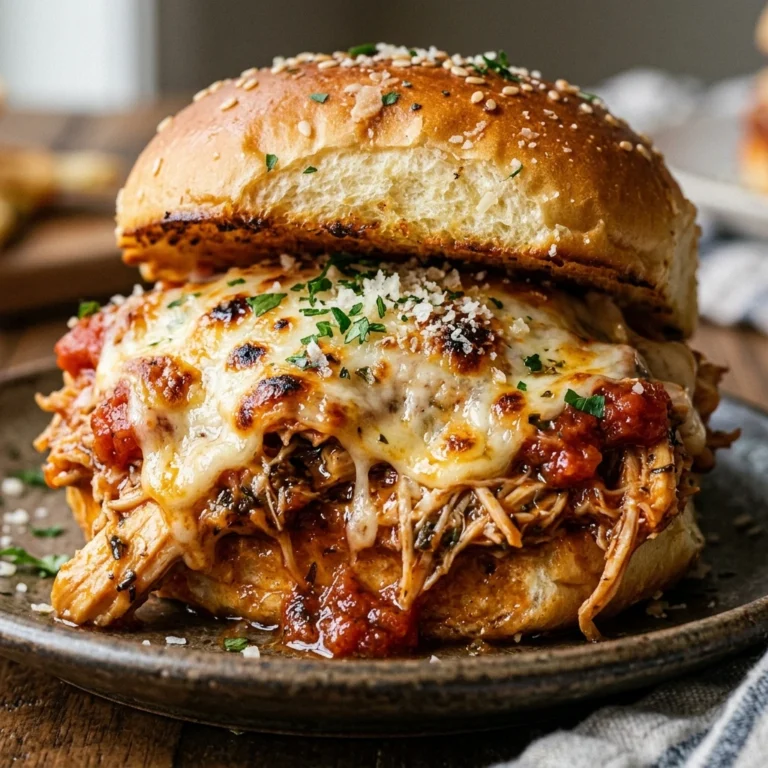
5. Kid-Friendly Version: Honey Garlic Chicken Sliders – Shred the cooked chicken and toss it with extra sauce. Serve on mini slider buns with a slice of cheese and a dollop of mayo. Kids will love the sweet flavor and easy-to-eat format!
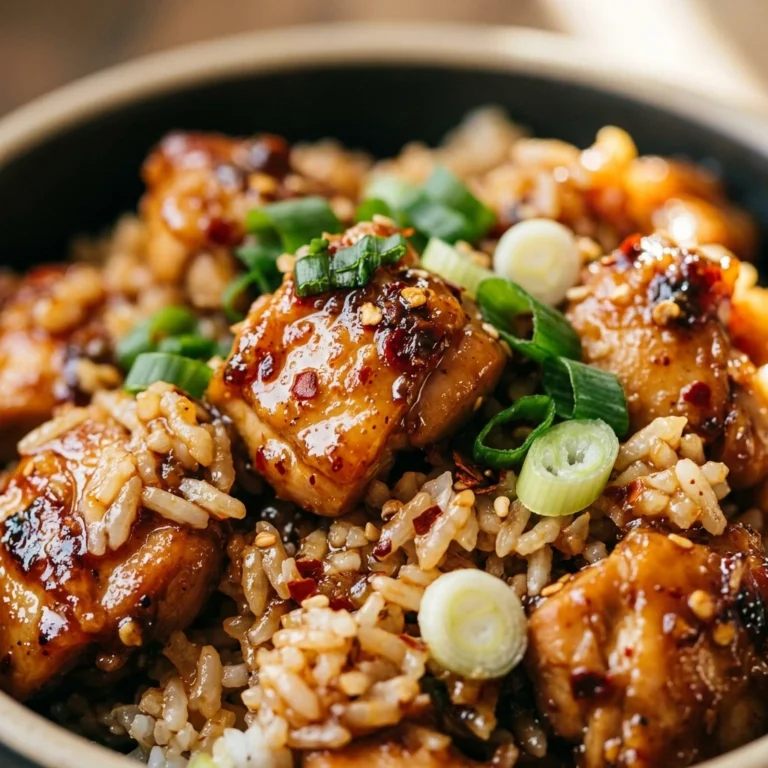
6. International Twist: Honey Garlic Chicken with Rice and Kimchi – Serve the finished chicken over a bed of steamed rice topped with spicy kimchi. The sweet and spicy combination offers a delightful contrast that adds a multicultural flair to your meal.
Serving Ideas
To elevate your One Pan Honey Garlic Chicken, consider these beautiful plating ideas that will make your dish a feast for the eyes as well as the palate:
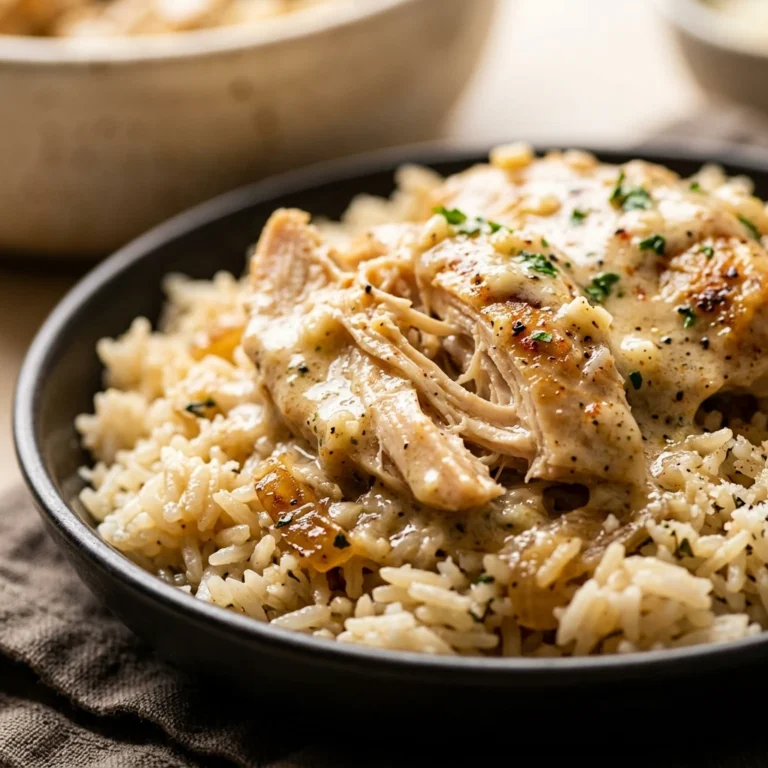
1. Layered Presentation: Start by placing a generous portion of fluffy jasmine rice or quinoa on one side of the plate. Arrange the succulent chicken pieces on top, allowing the honey garlic glaze to cascade down. Sprinkle with chopped green onions and a few sesame seeds for a lovely crunch.
2. Colorful Veggie Medley: Roast some vibrant vegetables like bell peppers, broccoli, and carrots alongside your chicken. Serve them in a small mound on the other side of the plate, contrasting the golden brown chicken with a burst of color. Garnish with a sprinkle of fresh cilantro or parsley for an aromatic touch.
3. Family Style Serving: For a cozy family dinner, serve the chicken in the center of a large platter surrounded by colorful sides like roasted sweet potatoes and a fresh garden salad. This communal approach invites everyone to dig in and creates a warm atmosphere.
4. Bowl Style: For a casual yet chic option, create a bowl by layering the chicken, rice, and vegetables in a deep bowl. Drizzle the extra honey garlic sauce over everything, and top with sliced avocado for creaminess. Add a lime wedge for a zesty pop.
5. Garnish with Citrus: Finish your plate with thinly sliced lime or lemon wedges, which add a beautiful pop of color and a hint of acidity that balances the sweetness of the sauce.
When plating, always aim for balance and contrast in colors and textures, ensuring each component shines on its own while complementing the others. Aim for about 4-6 ounces of chicken per serving, with equal parts of rice and veggies, to create a wholesome and satisfying meal.
What to Serve With
Complement your One Pan Honey Garlic Chicken with these perfectly paired dishes:
1. Coconut Jasmine Rice: The creamy coconut flavor of this rice will enhance the sweet notes of the honey garlic sauce, providing a rich and aromatic base that ties everything together beautifully.
2. Garlic Green Beans: Sautéed green beans with a hint of garlic offer a crisp texture and fresh flavor that contrasts the tender chicken. Their bright green color adds vibrancy to your plate, creating visual appeal.
3. Mango Avocado Salad: This refreshing salad, with its sweet mango and creamy avocado, balances the savory richness of the chicken. The zesty lime dressing brightens the flavors and adds a light, refreshing touch.
4. Sparkling Water with Lime: Opt for a sparkling water garnished with fresh lime slices. The effervescence cleanses your palate between bites, enhancing the overall dining experience.
5. Chocolate Lava Cake: End your meal on a sweet note with a rich chocolate lava cake. The deep, decadent chocolate offers a delightful contrast to the savory chicken, creating a harmonious balance of flavors.
6. Teriyaki Glazed Brussels Sprouts: These Brussels sprouts, with their crispy edges and sweet glaze, echo the honey garlic theme while providing a satisfying crunch and earthy flavor.
Each pairing not only complements the chicken’s flavor profile but also provides a delightful mix of textures and colors, making your meal visually stunning and incredibly satisfying.
Storage Guide
To keep your leftover One Pan Honey Garlic Chicken fresh and delicious, follow these storage tips:
– Container Type: Use an airtight glass container to preserve the flavors and moisture of the chicken. Glass containers are not only durable but also non-reactive, ensuring that the taste remains intact.
– Temperature: Store your chicken in the refrigerator at a temperature of 40°F (4°C) or lower. This helps prevent bacterial growth and keeps your food safe.
– Shelf Life: Properly stored, your chicken will keep for about 3 to 4 days. Always check for freshness before consuming.
– Signs of Spoilage: Look out for off smells, a change in color, or a slimy texture. If any of these signs are present, it’s best to discard the chicken.
– Refreshing Leftovers: To restore freshness, gently heat the chicken in a pan over low heat, adding a splash of chicken broth or water to prevent it from drying out. Cover the pan to maintain moisture and heat until warmed through.
By following these guidelines, you’ll ensure that your leftovers are just as enjoyable the next day!
Freezing Tips
Your One Pan Honey Garlic Chicken actually freezes quite well, making it a great option for meal prep. Here’s how to freeze it properly:
– Portioning: Divide the chicken into individual servings to make thawing and reheating easier later on.
– Wrapping Method: Wrap each portion tightly in plastic wrap, then place it in a freezer-safe zip-top bag or an airtight container. This double-layer protection helps prevent freezer burn.
– Labeling: Don’t forget to label each bag with the date and contents. This will help you keep track of what’s in your freezer.
– Freezer Life: Properly stored, your chicken can last in the freezer for up to 3 months. While it remains safe to eat beyond that, the quality may decline.
– Quality After Thawing: You may notice a slight change in texture after thawing, but the flavors should still be delightful.
– Thawing Method: The best way to thaw your chicken is in the refrigerator overnight. If you’re short on time, you can also use the microwave’s defrost function, but be careful not to start cooking it.
Utilizing these freezing tips will help you enjoy your honey garlic chicken even longer!
Reheating Guide
When it comes to reheating your One Pan Honey Garlic Chicken, you want to ensure it retains its delightful flavor and texture. Here are three methods to do just that:
– Microwave: Place your chicken in a microwave-safe dish, adding a splash of water or broth to maintain moisture. Cover it with a microwave-safe lid or wrap, and heat on medium power for 2-3 minutes, checking halfway through. This prevents it from drying out.
– Oven: Preheat your oven to 350°F (175°C). Place the chicken in an oven-safe dish, cover it with foil to retain moisture, and heat for about 20-25 minutes or until warmed through. This method helps to keep the chicken juicy.
– Stovetop: In a skillet over medium-low heat, add a tablespoon of chicken broth or water and your chicken. Cover the skillet and heat for about 5-7 minutes, stirring occasionally, to ensure even warming and to restore moisture.
By following these reheating methods, you’ll bring back the original taste and texture of your dish, making it just as enjoyable as the first time!
Nutrition Overview
Enjoying your One Pan Honey Garlic Chicken not only satisfies your taste buds but also nourishes your body. Here’s a quick nutritional breakdown per serving:
– Calories: Approximately 350
– Protein: 30g
– Carbohydrates: 40g
– Fat: 10g
– Fiber: 2g
– Sugar: 8g
This dish is a great source of lean protein from the chicken, which is essential for muscle repair and growth. The honey adds a touch of natural sweetness while providing antioxidants that can help combat inflammation. Plus, the garlic contributes to heart health and boosts your immune system.
With this nutritious profile, you can enjoy your meal knowing you’re making a wholesome choice that supports your overall well-being.
Frequently Asked Questions
Q: Can I substitute chicken thighs for chicken breasts?
A: Absolutely! Chicken thighs will provide a richer flavor and remain moist during cooking, making them an excellent substitute. Just ensure to adjust cooking time slightly, as thighs may take a bit longer to cook through.
Q: How can I make this dish gluten-free?
A: To adapt this recipe for gluten-free diets, simply replace soy sauce with a gluten-free alternative, such as tamari. This will maintain the delicious umami flavor without the gluten.
Q: Can I use a different sweetener instead of honey?
A: Yes, you can substitute honey with maple syrup or agave nectar for a vegan-friendly option. Keep in mind, though, that the flavor will slightly change, but it will still be delicious!
Q: How long does it take to cook the chicken?
A: The chicken typically takes about 25-30 minutes to cook through, depending on the thickness of the pieces. Always check for an internal temperature of 165°F (75°C) to ensure it’s safe to eat.
Q: Can I add vegetables to the pan while cooking?
A: Definitely! Adding vegetables like bell peppers, snap peas, or broccoli not only enhances the nutritional value but also adds beautiful colors and textures to your dish. Just be sure to adjust cooking time as necessary.
Q: What type of pan should I use for this recipe?
A: A large cast-iron skillet or a non-stick sauté pan works best. Both types distribute heat evenly and allow for easy cleanup. Just make sure it’s oven-safe if you plan to finish it off in the oven.
Q: How do I tell if my chicken is cooked through?
A: Use a meat thermometer to check the internal temperature, which should reach 165°F (75°C). If you don’t have a thermometer, ensure that the juices run clear when pierced with a fork.
Q: What can I do with leftover sauce?
A: Leftover sauce can be drizzled over steamed veggies or used as a marinade for other proteins. It can add a delightful flavor boost to many dishes, so don’t let it go to waste!
Final Thoughts
As you prepare to make your One Pan Honey Garlic Chicken, remember that the key ingredients and their balance are what will make your dish shine. Don’t be afraid to experiment with garnishes or side dishes that reflect your taste.
I genuinely hope you find joy in cooking this recipe and sharing it with family and friends. There’s something heartwarming about gathering around a table filled with delicious food and laughter. So, roll up your sleeves, put on your apron, and get ready to create a meal that will surely impress.
Make a note to take a picture of your creation and share it with your loved ones!