Follow Me On Pinterest!
No Bake Berry Cheesecake

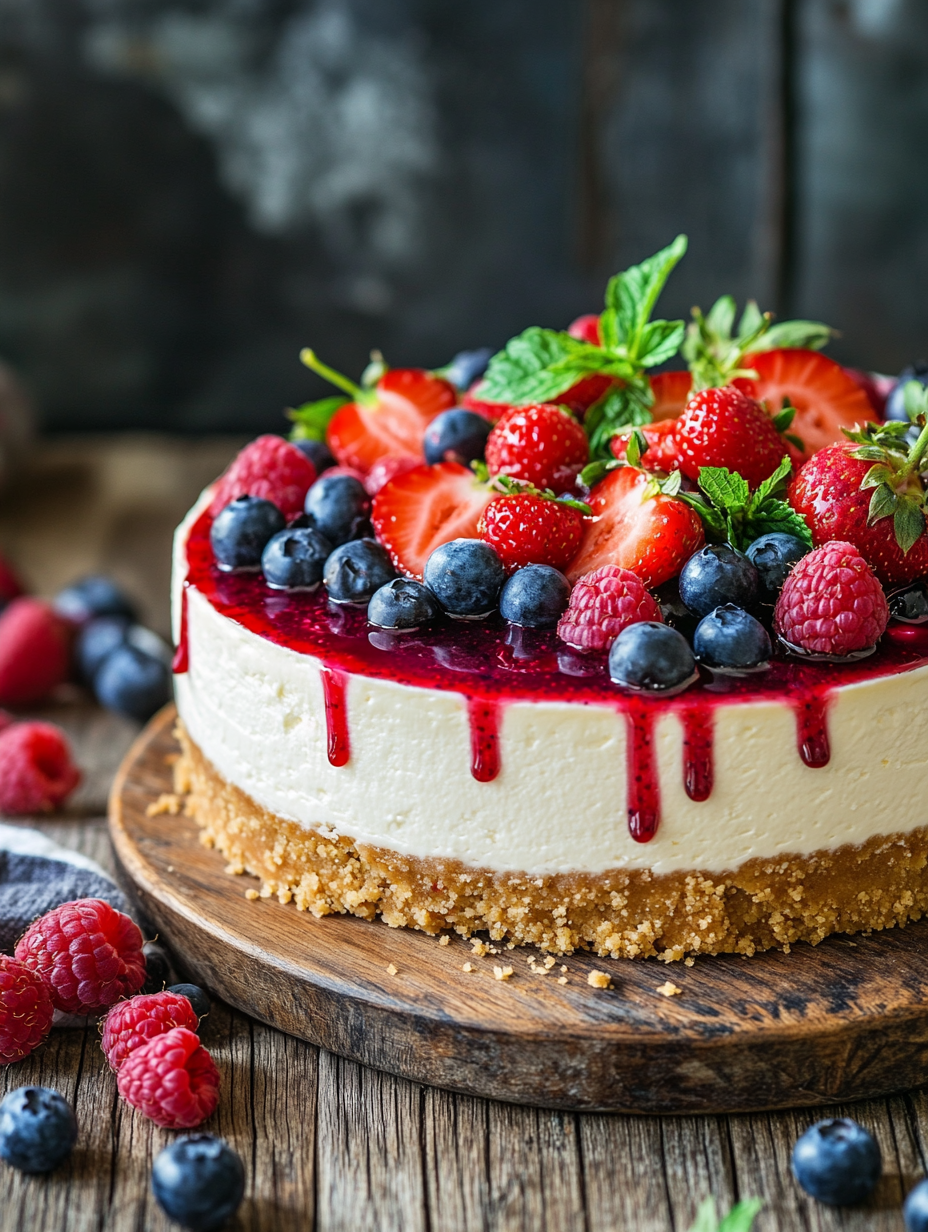
No Bake Berry Cheesecake: A Refreshing Summer Delight
Introduction
There’s something utterly magical about the summer months that makes me crave light, fruity, and refreshing desserts. As a child, one of my most cherished memories was making no bake cheesecake with my grandmother on lazy Saturday afternoons. The sun filtering through the kitchen window, the sweet smell of cream cheese mixing with the vibrant aroma of freshly picked berries—those moments filled my heart with warmth. Each step of the process was a delightful dance of ingredients, from the crunch of the graham cracker crust to the silky cream cheese filling, all topped off with a colorful medley of berries.
One summer, we picked blueberries, strawberries, and raspberries from a nearby farm, filling our baskets with the juiciest fruits we could find. As we prepared this creamy cheesecake, we laughed and shared stories, creating a bond over our mutual love for cooking. The best part? The instant gratification of a dessert that required no baking, allowing us to savor our creation just a few hours later. Each bite was a reminder of those carefree days, a perfect balance of tartness from the berries and the richness of the cheesecake.
Now, as I prepare this No Bake Berry Cheesecake in my own kitchen, I find that same joy bubbling up. It’s a recipe that not only captures the essence of summer but also brings back sweet memories. Whether you’re hosting a garden party or simply want to indulge in a delicious treat at home, this cheesecake is your go-to dessert. Trust me, it’s as easy as pie—well, easier!
Why This Recipe Works
You might wonder why a no bake cheesecake is the ideal choice for summer desserts. The answer lies in its simplicity and the delightful combination of flavors and textures. This recipe strikes a balance between creamy richness and refreshing fruitiness, making it perfect for warm days.
Technique is a key player here. By incorporating whipped cream into the cream cheese mixture, you achieve a light and airy texture that is incredibly satisfying. The heavy whipping cream adds volume and creates that cloud-like experience with each bite. The acid in the lemon juice not only enhances the flavors but also helps to set the filling without the need for any gelatin—keeping the recipe completely achievable for home cooks.
This cheesecake relies on a few key flavors: the buttery, slightly sweet graham cracker crust provides the perfect foundation, while the cream cheese filling offers a tangy softness that complements the tartness of the mixed berries beautifully. The combination of textures—the creamy filling, crunchy crust, and juicy fruits—creates a symphony of sensations that dance on your palate.
Moreover, this recipe is reliable because it doesn’t require precise baking times or temperatures. You simply let it set in the refrigerator, allowing the flavors to meld together while you relax or enjoy a sunny day outdoors. It’s a dessert that guarantees success, even if you’re not a baking aficionado.
What Makes It Special
This No Bake Berry Cheesecake stands out in several ways compared to store-bought or restaurant versions.
– Freshness: Using fresh, seasonal berries elevates this dessert to a whole new level. The brightness and flavor of ripe fruits cannot be matched by their frozen or canned counterparts often found in commercial cheesecakes.
– Customization: You have full control over the ingredients. Want to swap out the cream cheese for a dairy-free version? You can easily use cashew cream or a store-bought alternative. Prefer a different berry? Go ahead and use your favorites—each variation promises a unique twist.
– Texture: The airy, whipped cream cheese filling paired with a crunchy crust is a delightful contrast to the dense, overly sweet cheesecakes you might find in stores. This homemade version brings together the best of both worlds—light yet indulgent.
– Simplicity: This cheesecake requires no baking skills, making it accessible to anyone who wants to whip up a delicious dessert. It’s perfect for beginner cooks or those looking for an effortless treat to impress friends and family.
These qualities not only enhance the taste but also make this cheesecake a memorable experience, whether enjoyed at a gathering or as a simple indulgence at home.
Ingredient Breakdown
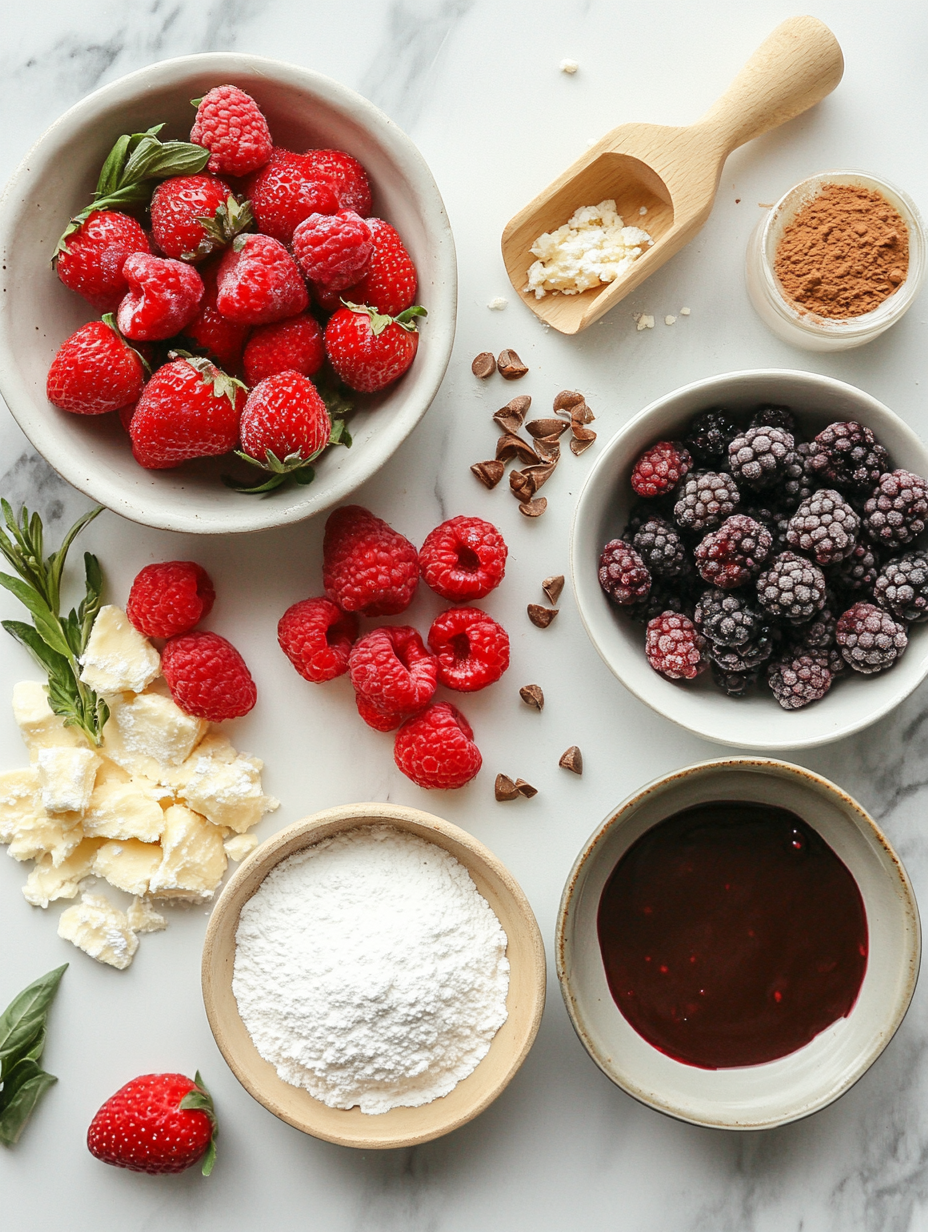
Understanding each ingredient in your No Bake Berry Cheesecake will help you appreciate the magic of this dessert even more. Here’s a closer look at the key players:
– Graham cracker crumbs: These form the base of your cheesecake. Their sweet, buttery flavor provides the perfect foundation for your filling. If you’re looking for a gluten-free option, you can easily substitute with gluten-free graham crackers or crushed almonds for a nutty twist.
– Unsalted butter: This binds the crumbs together for a sturdy crust. The unsalted version allows you to control the saltiness, but feel free to use salted butter if that’s what you have on hand. Just reduce any additional salt in your recipe.
– Cream cheese: The star of your cheesecake! It provides a rich and creamy texture. If you want a lighter version, opt for reduced-fat cream cheese or even a vegan cream cheese alternative made from nuts or tofu.
– Powdered sugar: This sweetens the filling and helps achieve that smooth texture. If you’re looking to cut down on sugar, consider using a sugar substitute like stevia or erythritol, keeping in mind that it may alter the taste slightly.
– Vanilla extract: Adds depth and enhances the overall flavor profile. For a more unique twist, try using almond extract or even a splash of citrus zest for a refreshing note.
– Heavy whipping cream: Essential for achieving that fluffy, light texture in your filling. If you’re dairy-free, you can substitute with coconut cream; just make sure to chill it beforehand for the best results.
– Mixed berries: Fresh berries add a burst of flavor and color to your dessert. You can use any combination of berries you like—strawberries, blueberries, raspberries, or even blackberries. If fresh berries are out of season, thawed frozen berries can work, though you may want to drain off excess liquid.
– Lemon juice: This ingredient brightens up the flavors and helps balance the richness of the cream cheese. It’s also a natural acidity that complements the sweetness of the berries beautifully.
With these ingredients, you’re not just making a dessert; you’re crafting a delicious memory filled with summer flavors!
Equipment Needed
To create your No Bake Berry Cheesecake, you’ll need a few essential tools that make the process smooth and efficient:
– 9-inch springform pan: This is crucial for easy removal of your cheesecake, allowing you to present it beautifully. If you don’t have one, a regular cake pan will work, but you’ll need to chill the cheesecake longer for easier serving.
– Mixing bowls: Having a few different sizes on hand will help you keep your ingredients organized while you work. Opt for glass or stainless steel as they are easy to clean and won’t retain odors.
– Electric mixer: This tool is vital for achieving that signature creamy texture of the cheesecake filling. If you don’t have one, a whisk will work too, but be prepared to put in some elbow grease!
– Spatula: A silicone spatula is perfect for folding the whipped cream into the cream cheese mixture without deflating it. It’s also great for spreading the filling evenly over the crust.
– Measuring cups and spoons: Accuracy is key when baking, and having a reliable set of measuring tools ensures your cheesecake turns out just right every time.
These tools don’t have to be expensive, and many can be found at local stores or second-hand shops. Investing in quality kitchen equipment can elevate your cooking experience and make future recipes even more enjoyable!
Step-by-Step Instructions
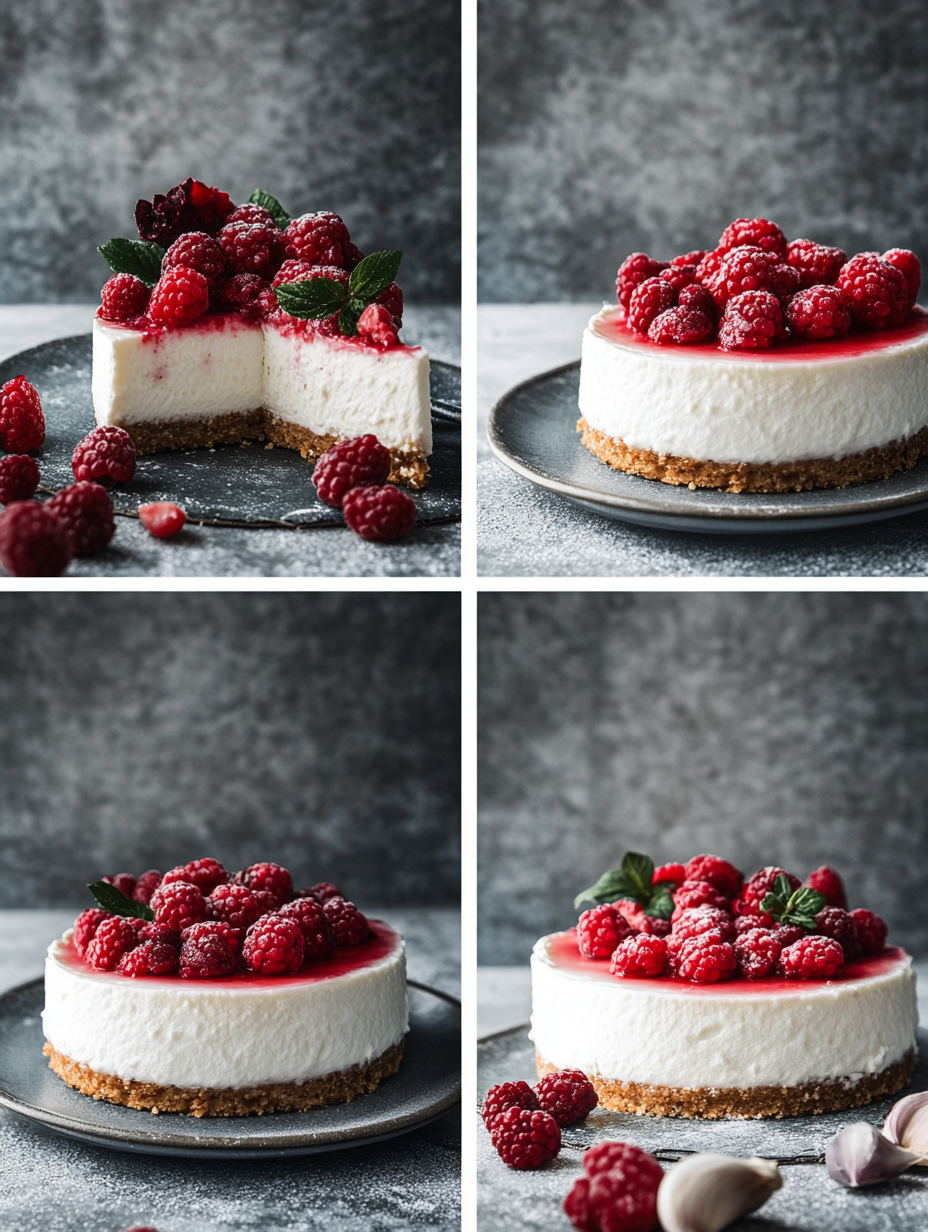
1. Prepare the Graham Cracker Crust
In a medium bowl, combine 1 cup of graham cracker crumbs with 0.5 cup of melted unsalted butter. Using a fork, mix until the crumbs are fully coated with butter; you want a sandy texture that’s slightly moist. What to look for: The mixture should hold together when pressed. What to smell: A rich, buttery aroma should fill the air, hinting at the delicious crust to come.
2. Form the Crust
Press the mixture into the bottom of a 9-inch springform pan using your fingers or the bottom of a measuring cup to create an even layer. Make sure it’s tightly packed to hold its shape. What to look for: A smooth, even surface with no gaps. What to hear: A satisfying crunch as the crumbs press together, creating a solid base for your cheesecake. Refrigerate for 10 minutes to firm up.
3. Make the Cheesecake Filling
In a large mixing bowl, use an electric mixer to beat 16 ounces of softened cream cheese on low speed. Gradually increase to medium speed until it’s completely smooth and creamy, about 2-3 minutes. What to look for: A velvety texture without lumps. What to smell: The sweet and slightly tangy scent of cream cheese, a perfect base for your filling.
4. Add Sweetness and Flavor
Add 0.5 cup of powdered sugar, 1 teaspoon of vanilla extract, and 2 tablespoons of lemon juice to the cream cheese. Mix on medium speed until fully combined, about 1-2 minutes. What to look for: The mixture should appear fluffy and well-mixed. What to smell: The brightness of lemon and the warmth of vanilla coming together beautifully.
5. Incorporate Whipped Cream
In a separate bowl, whip 1 cup of heavy whipping cream until stiff peaks form. This means when you lift the beaters, the cream should hold its shape without collapsing. Gently fold the whipped cream into the cream cheese mixture using a spatula. What to look for: A light and airy texture, ensuring you don’t deflate the whipped cream. What to hear: The soft sound of the spatula folding through the mixture, creating a creamy blend.
6. Pour and Set
Pour the cheesecake filling over the chilled graham cracker crust, smoothing it out with a spatula. Ensure it’s evenly distributed and looks appealing. What to look for: A smooth top, free of air bubbles. What to smell: The sweet aroma of the cheesecake filling as it settles over the crust. Refrigerate for at least 2 hours to set fully.
7. Top with Berries
Once the cheesecake has set, carefully remove it from the springform pan and place it on a serving platter. Top with 1 cup of mixed berries before serving. What to look for: A vibrant, colorful arrangement of berries on top of the creamy cheesecake. What to taste: The combination of creamy cheesecake with the tartness of fresh berries is heavenly!
Chef’s Note: Always use room-temperature cream cheese for easy mixing. It should feel soft and pliable, which helps achieve that smooth consistency.
Pro Tips for the Best Results
1. Room Temperature Ingredients: Always use room temperature cream cheese and heavy cream. This ensures a smoother mixture and helps the filling to blend seamlessly without lumps.
2. Whip the Cream Properly: Achieving stiff peaks in your whipped cream is crucial. If it’s under-whipped, your cheesecake will lack that airy texture. Over-whipped cream can turn grainy, so watch it closely.
3. Chill the Cheesecake: Be patient! Allowing the cheesecake to chill for at least 2 hours (or even overnight) helps it to set properly, making slicing easier and the texture more enjoyable.
4. Use Fresh Berries: When topping your cheesecake, opt for fresh, seasonal berries for the best flavor. If you use frozen berries, make sure to thaw and drain excess moisture to avoid a soggy topping.
5. Experiment with Flavors: Don’t hesitate to add extra flavors to your cheesecake filling. A hint of almond extract or citrus zest can elevate the taste.
6. Garnishing Options: Consider garnishing with mint leaves or a dusting of powdered sugar for a beautiful presentation that adds an extra touch of elegance.
7. Serving Temperature: For the best flavor and texture, serve your cheesecake slightly chilled, but not too cold. Let it sit at room temperature for about 10-15 minutes before serving.
Common Mistakes to Avoid
1. Using Cold Cream Cheese: If your cream cheese is cold, it will not blend smoothly, leading to a lumpy filling. Always let it sit out until it reaches room temperature for the best results.
2. Not Whipping Cream Enough: Under-whipped cream results in a denser cheesecake that lacks that light and airy quality. Ensure you whip until stiff peaks form—this is crucial for texture.
3. Skipping the Refrigeration Step: If you skip or shorten the refrigeration time, your cheesecake will not set properly. This can lead to a runny filling that doesn’t hold its shape when sliced.
4. Overmixing the Cream: Once you fold in the whipped cream, do so gently. Overmixing can deflate the air you’ve just incorporated, making your cheesecake dense.
5. Not Tasting the Filling: Always taste your cheesecake filling before pouring it into the crust. If it needs more sweetness or acidity, adjust it now!
6. Forgetting to Prepare the Pan: Make sure to grease your springform pan or line it with parchment paper for easy removal. A stuck cheesecake can ruin your presentation!
Creative Variations
1. Seasonal: Tailor your cheesecake to the season! Use pumpkin puree and spices in the fall for a pumpkin cheesecake, or add peppermint extract and crushed candy canes for a festive winter dessert.
2. Dietary-Friendly: Create a vegan version by substituting the cream cheese with cashew cream and using coconut cream for the whipped topping. Use a nut-based crust mixed with dates for sweetness.
3. Gourmet Elevated: Elevate your cheesecake with a white chocolate ganache drizzled over the top, or incorporate a layer of caramel sauce between the crust and filling for an indulgent twist.
4. Quick 15-Minute: For a fast version, use store-bought cheesecake filling and simply layer it over the crust. This cuts down on preparation time, making it a perfect last-minute dessert option.
5. Kid-Friendly: Let the kids get involved by allowing them to decorate the cheesecake with their choice of toppings, such as chocolate chips, sprinkles, or fruit purees. This makes the experience fun and interactive!
6. International Twist: Go global by adding matcha powder for an Asian-inspired flavor or swirling in dulce de leche for a Latin twist. Both variations will give your cheesecake a unique flair that’s sure to impress.
7. Savory Option: Transform your cheesecake into a savory delight by using cream cheese mixed with herbs and spices, topped with roasted vegetables for an unexpected appetizer that’s perfect for parties.
These variations will keep your no-bake berry cheesecake exciting and allow you to adapt it to any occasion or dietary preference. Enjoy creating and sharing this delightful dessert!
Serving Ideas
When it comes to serving your No Bake Berry Cheesecake, presentation is key! Here are a few delightful plating ideas to elevate your dessert experience:
1. Layered Parfaits: Consider serving individual portions in clear glasses. Layer the cheesecake with additional mixed berries and a dollop of whipped cream for a stunning visual effect.
2. Berry Drizzle: Create a berry sauce by blending some of the mixed berries with a touch of sugar. Drizzle this vibrant sauce over each slice to add a pop of color and an extra burst of flavor.
3. Mint Garnish: Add fresh mint leaves on top for a refreshing contrast. This pop of green not only enhances the visual appeal but also adds a hint of fresh flavor.
4. Chocolate Shavings: For chocolate lovers, sprinkle some dark chocolate shavings on top of the cheesecake before serving. The rich chocolate will complement the berries beautifully.
5. Mini Cheesecakes: For a fun twist, pour the cheesecake filling into muffin tins lined with cupcake liners. Once set, you’ll have adorable individual cheesecakes that are perfect for parties.
Remember, when serving, aim for a generous slice—this creamy cheesecake is sure to be a crowd-pleaser!
What to Serve With
Pairing your No Bake Berry Cheesecake with complementary flavors can enhance the overall experience. Here are some fantastic options:
1. Sparkling Wine: A crisp sparkling wine, such as Prosecco or Champagne, adds a celebratory touch and balances the creaminess of the cheesecake with its effervescence.
2. Fresh Mint Tea: The refreshing notes of mint tea can cleanse your palate between bites, enhancing the fruity flavors of the cheesecake.
3. Vanilla Ice Cream: A scoop of vanilla ice cream alongside your cheesecake is a classic pairing. The creaminess of the ice cream complements the cheesecake while the vanilla flavor enhances the overall taste.
4. Fruit Salad: A light fruit salad made with seasonal fruits can refresh your palate and contrast the richness of the cheesecake.
5. Coffee or Espresso: The deep, rich flavor of coffee or espresso can provide an excellent contrast to the sweetness of the cheesecake, making for a delightful end to your meal.
6. Whipped Cream: A dollop of freshly whipped cream on the side or on top of the cheesecake adds an airy lightness that perfectly balances the creamy texture.
These pairings not only taste great but also create a delightful visual spread for your dessert table.
Storage Guide
To keep your No Bake Berry Cheesecake fresh and delicious, proper storage is essential. Here’s how to do it effectively:
– Container Type: Store your cheesecake in an airtight container or cover the springform pan tightly with plastic wrap to prevent any air exposure, which can lead to drying out.
– Temperature: Keep your cheesecake refrigerated at a temperature between 34°F to 40°F (1°C to 4°C).
– Storage Duration: When stored properly, your cheesecake will remain fresh for up to 5 days in the refrigerator.
– Signs It’s Gone Bad: If you notice any off smells, discoloration, or an unusual texture (like excessive moisture or a slimy layer), it’s best to discard the cheesecake.
– Refreshing: If your cheesecake has lost some of its shine after a few days in the fridge, you can refresh it by adding a new layer of whipped cream or fresh berries on top just before serving.
By following these guidelines, you can enjoy your delicious cheesecake for several days after making it!
Freezing Tips
If you want to enjoy your No Bake Berry Cheesecake beyond the week, freezing is a great option! Here’s how to do it properly:
– Freezing Well: Yes, this cheesecake freezes well! However, it’s best to freeze it without the berry topping. Berries can become mushy upon thawing.
– Portioning: Consider slicing the cheesecake into individual portions before freezing. This makes it easy to take out a slice whenever you’re craving something sweet.
– Freezing Duration: The cheesecake can be frozen for up to 3 months. Make sure to wrap each slice tightly in plastic wrap, then place them in a resealable freezer bag for extra protection.
– Thawing Method: To thaw, simply transfer the cheesecake to the refrigerator for a few hours or overnight. For a quicker option, you can leave it at room temperature for about 30-60 minutes. Avoid using a microwave to thaw, as it can alter the texture.
This way, you can savor a piece of summer any time of the year!
Reheating Guide
While you won’t typically need to reheat your No Bake Berry Cheesecake, there might be times you want to serve it with a warm element. Here’s how to do it:
– Microwave: If you prefer a slightly softened cheesecake, place a slice on a microwave-safe plate. Heat on low power (30% or defrost setting) for about 10-15 seconds. Keep a close eye on it to ensure it doesn’t warm too much.
– Oven: Preheat your oven to 200°F (93°C). Wrap the cheesecake in aluminum foil and place it on a baking sheet. Heat for about 10-15 minutes. This method is great if you’re warming multiple slices.
– Stovetop: If you have a double boiler, you can place slices in a heatproof dish over simmering water. Cover and warm for about 5-10 minutes, checking frequently.
These methods will help you enjoy a soft, creamy slice without compromising its texture!
Nutrition Overview
A slice of your No Bake Berry Cheesecake is not just a treat for the taste buds but can also fit into a balanced diet. Here’s a quick nutritional breakdown:
– Calories: Each serving typically contains around 350 calories.
– Macros: Expect about 25g of fat, 30g of carbohydrates, and 5g of protein per slice.
– Health Benefits:
– Berries: Rich in antioxidants, fiber, and vitamins, berries can help improve heart health and may reduce inflammation.
– Cream Cheese: While indulgent, cream cheese provides calcium and protein, essential for strong bones and muscle maintenance.
– Lemon Juice: This ingredient not only adds flavor but also provides vitamin C, which is great for immune support.
Enjoying one slice of this cheesecake can provide a delightful balance of indulgence with a few nutritional benefits!
Frequently Asked Questions
Q: Can I use low-fat cream cheese for this recipe?
A: Yes, you can substitute low-fat cream cheese. However, keep in mind that it may alter the texture slightly, making it less creamy. Choose a reputable brand for the best results.
Q: What other fruits can I use besides mixed berries?
A: Feel free to get creative! Fruits like sliced peaches, mangoes, or even cherries can be delightful alternatives. Just ensure they’re fresh and delicious!
Q: How do I prevent the crust from getting soggy?
A: Pre-baking the crust for about 8-10 minutes at 350°F (175°C) can help solidify it, but since this is a no-bake recipe, ensure you refrigerate it long enough before adding the cheesecake filling.
Q: How can I make this cheesecake more flavorful?
A: You can add lemon zest or a splash of liqueur (like raspberry or peach) to the cream cheese mixture for an extra flavor boost. Vanilla bean paste is also a wonderful addition.
Q: Can I make this cheesecake in advance?
A: Absolutely! This cheesecake actually tastes better when made a day ahead, allowing the flavors to meld beautifully. Just keep it stored in the refrigerator until you’re ready to serve.
Q: How do I know when the cheesecake is set?
A: The cheesecake will be firm to the touch and will not jiggle when you gently shake the pan. It’s best to chill it for at least 2 hours but overnight is even better!
Q: Is it possible to make a gluten-free version?
A: Yes! Simply use gluten-free graham crackers or a gluten-free cookie of your choice for the crust. The filling is naturally gluten-free, so you’re good to go!
Q: Can I add a layer of fruit or jam on top?
A: Definitely! You can layer fresh fruit or a fruit jam mixture on top of the cheesecake before serving for added flavor and visual appeal.
Final Thoughts
Creating this No Bake Berry Cheesecake is not only simple but also incredibly rewarding. A couple of key tips to ensure your success: be sure to let the cheesecake set properly in the refrigerator to achieve that perfect texture, and always use fresh ingredients for the best flavor.
I hope you’re as excited as I am to try this delightful dessert. Whether it’s for a summer gathering or just a sweet treat at home, this cheesecake is sure to impress everyone at the table. So gather your ingredients, put on your favorite music, and let’s make some sweet memories with this creamy delight. Enjoy!