Follow Me On Pinterest!
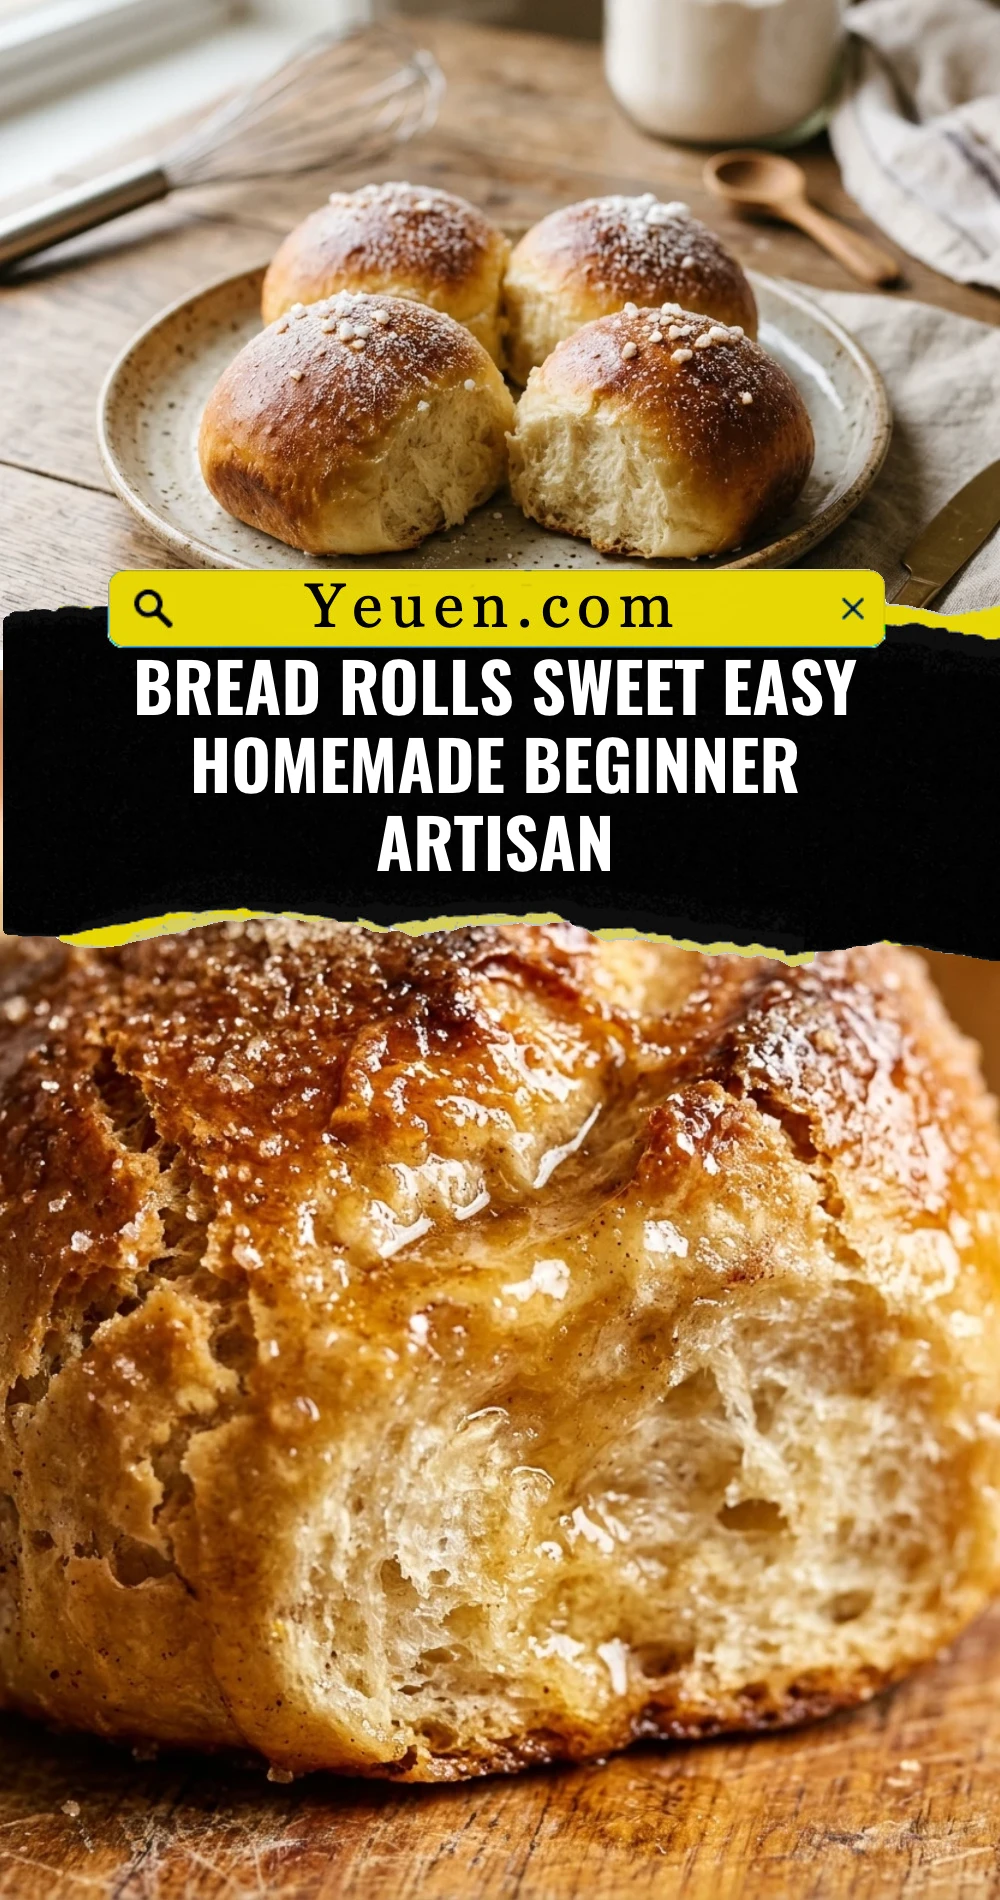
Bread Rolls Sweet Easy Homemade Beginner Artisan
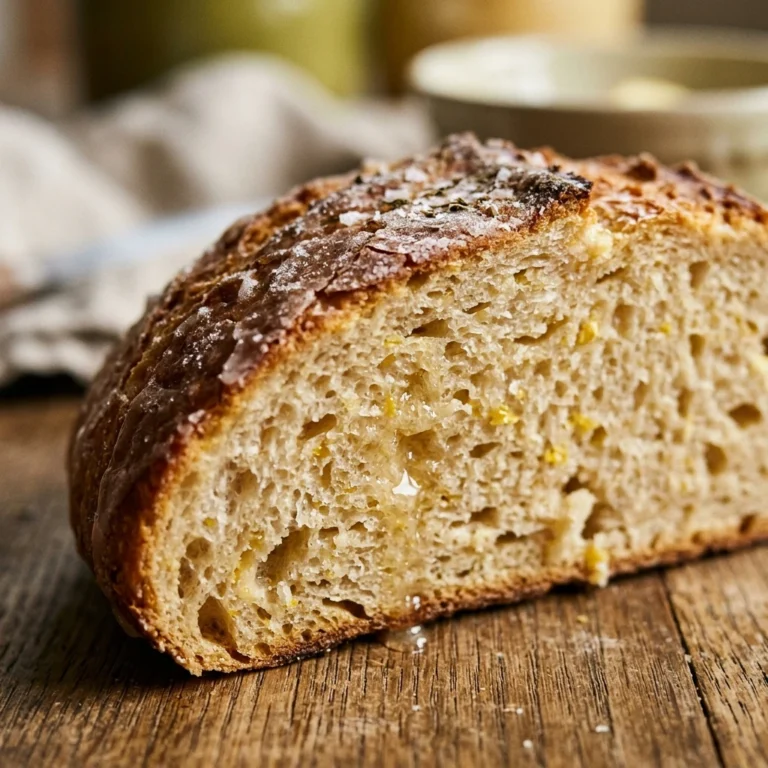
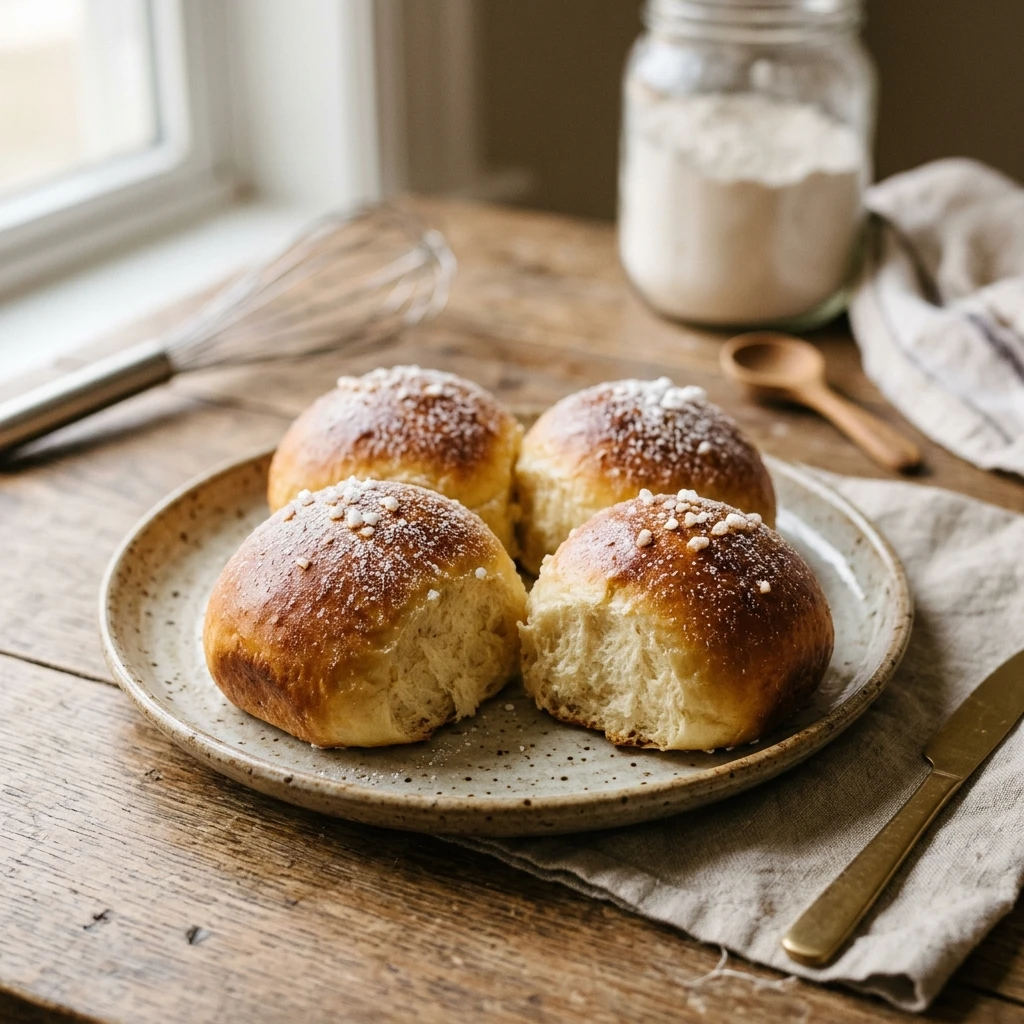
Nothing beats the aroma of warm, sweet yeast rolls wafting through your home. If you have always felt intimidated by artisan baking, this is the perfect recipe to break that barrier. These homemade sweet bread rolls combine a pillowy soft interior with a delicate, golden crust that looks like it came straight from a professional bakery. They require no special equipment—just a bowl, your hands, and a little bit of patience. Whether you are serving them at a holiday dinner or enjoying them with a smear of honey butter for breakfast, these rolls prove that “artisan” doesn’t have to mean “difficult.”
Recipe Information
- Prep Time: 20 minutes (plus 1 hour 45 minutes rising time)
- Cook Time: 20 minutes
- Total Time: 2 hours 25 minutes
- Servings: 12 rolls
- Difficulty: Easy
Nutrition values
- Calories: 195 kcal
- Protein: 5g
- Carbs: 34g
Why Make This Bread Rolls Sweet Easy Homemade Beginner Artisan
You should make these rolls because they offer the ultimate reward for minimal effort. Unlike complex sourdough or heavy rye breads, this recipe uses a simple enrichment of milk and sugar to create a soft, approachable texture. It is a “beginner artisan” recipe because it teaches you the fundamentals of dough handling and fermentation without requiring a stand mixer or expensive proofing baskets. These rolls are far superior to store-bought options, containing no preservatives and only high-quality ingredients you already have in your pantry.
Ingredients
- 3 ½ cups All-purpose flour (plus extra for dusting)
- 1 cup Whole milk, warmed to 110°F
- 1/4 cup Granulated sugar
- 2 ¼ teaspoons Active dry yeast (1 packet)
- 1/4 cup Unsalted butter, melted and slightly cooled
- 1 Large egg, room temperature
- 1 teaspoon Salt
- 2 tablespoons Melted butter (for brushing after baking)
Directions
Step 1: Activate the Yeast
Combine the warm milk and one tablespoon of the sugar in a large mixing bowl. Sprinkle the active dry yeast over the top and stir gently. Let the mixture sit for about 5 to 10 minutes until it becomes foamy and bubbly. This indicates the yeast is alive and ready to work.
Step 2: Mix the Dough
Whisk the remaining sugar, melted butter, and the egg into the yeast mixture. Gradually add 3 cups of the flour and the salt. Stir with a wooden spoon until a shaggy dough forms. If the dough is extremely sticky, add the remaining half cup of flour one tablespoon at a time until the dough pulls away from the sides of the bowl.
Step 3: Knead the Dough
Turn the dough out onto a lightly floured surface. Knead the dough by hand for about 5 to 7 minutes. Use the heel of your hand to push the dough away from you, fold it back, and rotate. The dough is ready when it is smooth, elastic, and springs back when poked with a finger.
Step 4: The First Rise
Lightly grease a large bowl with oil or butter. Place the dough inside, turning it once to coat the surface. Cover the bowl with a clean kitchen towel or plastic wrap. Place it in a warm, draft-free spot and let it rise for about 60 to 90 minutes, or until it has doubled in size.
Step 5: Shape the Rolls
Gently punch down the risen dough to release the air. Turn it out onto a work surface and divide it into 12 equal portions. Roll each portion into a smooth ball by tensioning the surface of the dough against the counter. Place the balls in a greased 9×13 inch baking pan, spaced slightly apart.
Step 6: The Second Rise
Cover the pan with a towel and let the rolls rise again for 30 to 45 minutes. During this time, they will expand and begin touching each other. Preheat your oven to 350°F (175°C) while the rolls finish their final proof.
Step 7: Bake and Finish
Place the rolls in the center of the oven and bake for 18 to 22 minutes. The tops should be a deep golden brown. Remove the pan from the oven and immediately brush the tops with the remaining melted butter for a soft, shiny crust. Let them cool slightly before serving.
Expert Tips for Perfect Bread Rolls Sweet Easy Homemade Beginner Artisan
Always check the temperature of your milk with a thermometer; if it is too hot (above 120°F), it will kill the yeast, but if it is too cold, the dough will take hours to rise. For a truly “artisan” look, try not to over-handle the dough once it has risen. Use a kitchen scale to weigh your dough pieces so that every roll is exactly the same size; this ensures they all bake at the same rate. Finally, if your kitchen is cold, turn on your oven for 1 minute, turn it off, and use it as a warm proofing chamber.
Delicious Variations
You can easily customize these sweet rolls to suit your taste. For a “Honey Glazed” version, swap the granulated sugar for honey and brush the finished rolls with a mixture of honey and butter. If you prefer “Cinnamon Sugar Rolls,” sprinkle a mixture of cinnamon and sugar over the buttered tops immediately after baking. For a savory-sweet twist, add a teaspoon of dried rosemary to the flour and top the rolls with flaky sea salt before they go into the oven.
Frequently Asked Questions
Can I use Instant Yeast instead of Active Dry?
Yes, you can use Instant Yeast. You do not need to wait for it to foam in the milk; simply mix it directly with the dry ingredients and proceed with the recipe. The rise times may be slightly shorter.
Why didn’t my bread rolls rise?
The most common reasons are expired yeast or milk that was too hot. Ensure your yeast is fresh and your liquid is warm but not scalding. A cold room can also significantly slow down the rising process.
Can I make the dough the night before?
Absolutely. After the first rise, shape the rolls and place them in the pan. Cover tightly with plastic wrap and refrigerate overnight. In the morning, let them sit at room temperature for about 60 minutes to take the chill off and finish rising before baking.
How do I keep the rolls soft for several days?
Store the cooled rolls in an airtight bag or container at room temperature. To restore that “just-baked” texture, wrap a roll in a damp paper towel and microwave it for 10 seconds before eating.
Can I freeze these homemade rolls?
Yes, these rolls freeze beautifully. Bake them completely, let them cool, and store them in a freezer-safe bag for up to 3 months. Thaw at room temperature and warm them in a 300°F oven for 5 minutes before serving.
Conclusion
Baking your own sweet artisan bread rolls is a rewarding experience that transforms simple pantry staples into something extraordinary. This recipe is designed to build your confidence and fill your kitchen with the incomparable scent of fresh bread. Once you master this easy method, you will never want to go back to store-bought rolls again. Grab your flour, roll up your sleeves, and enjoy the process of creating something beautiful and delicious from scratch.