Follow Me On Pinterest!
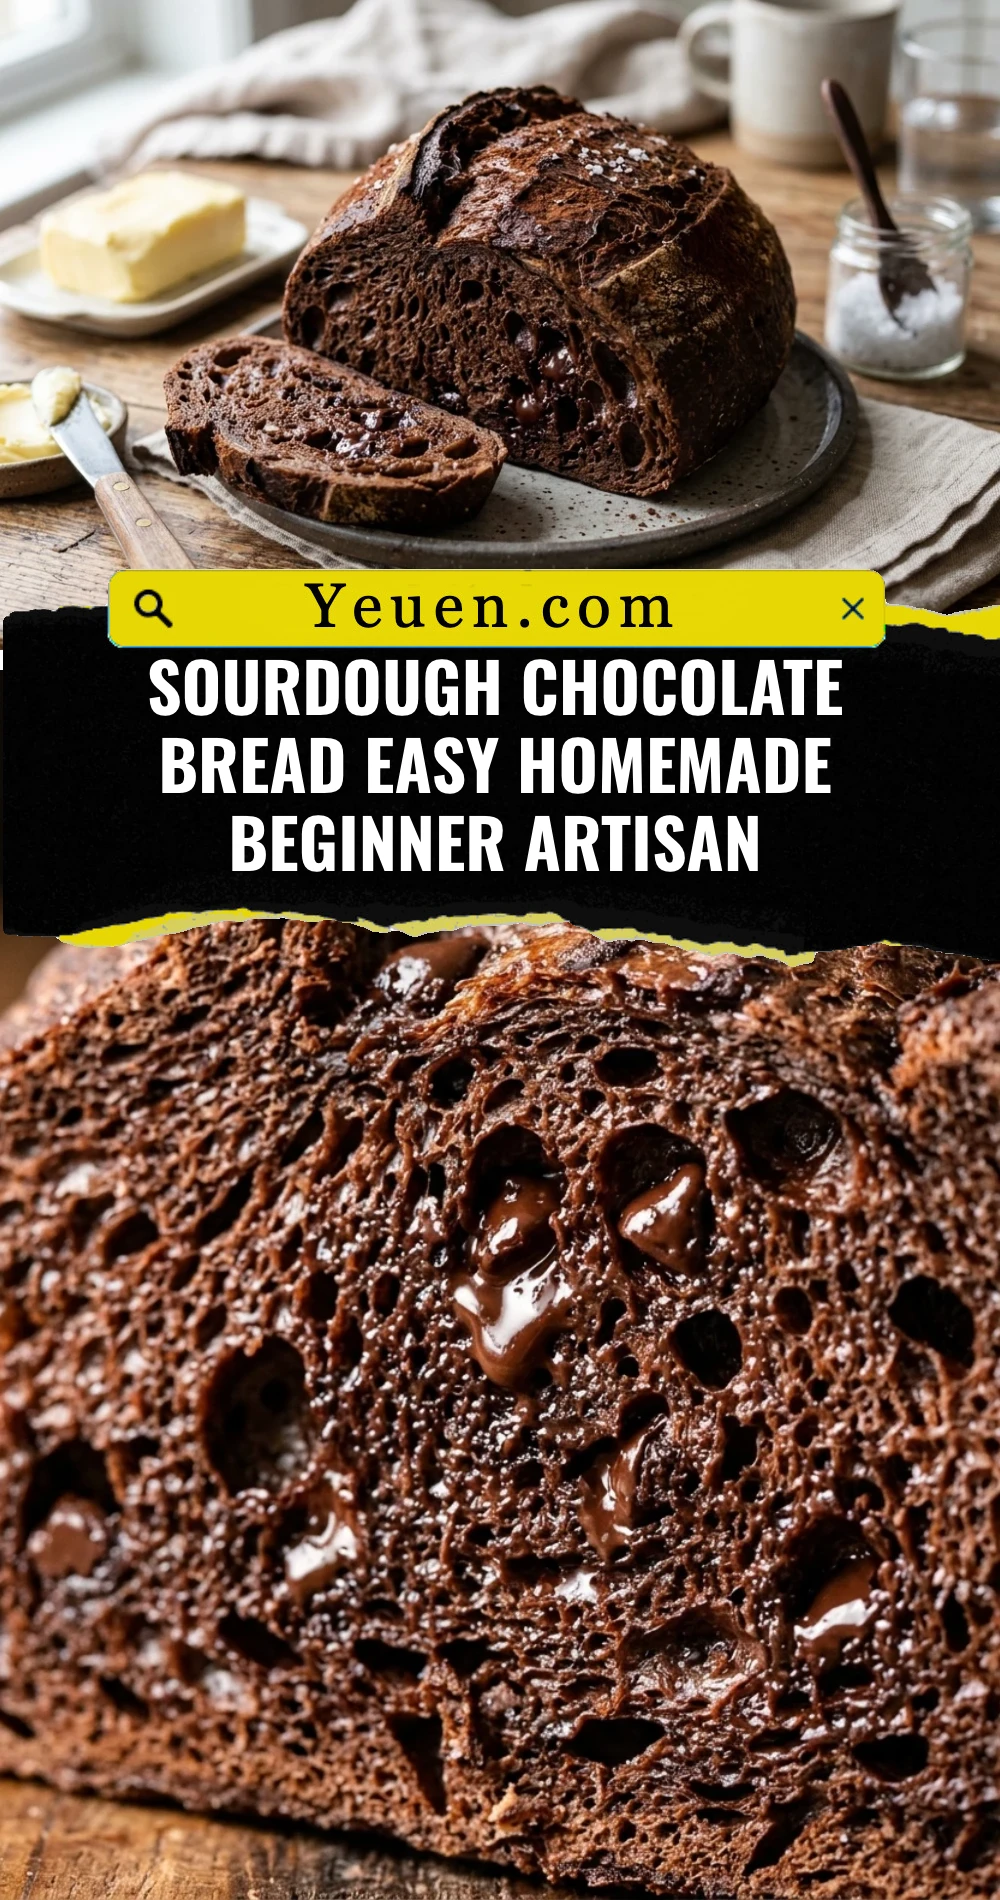
Sourdough Chocolate Bread Easy Homemade Beginner Artisan
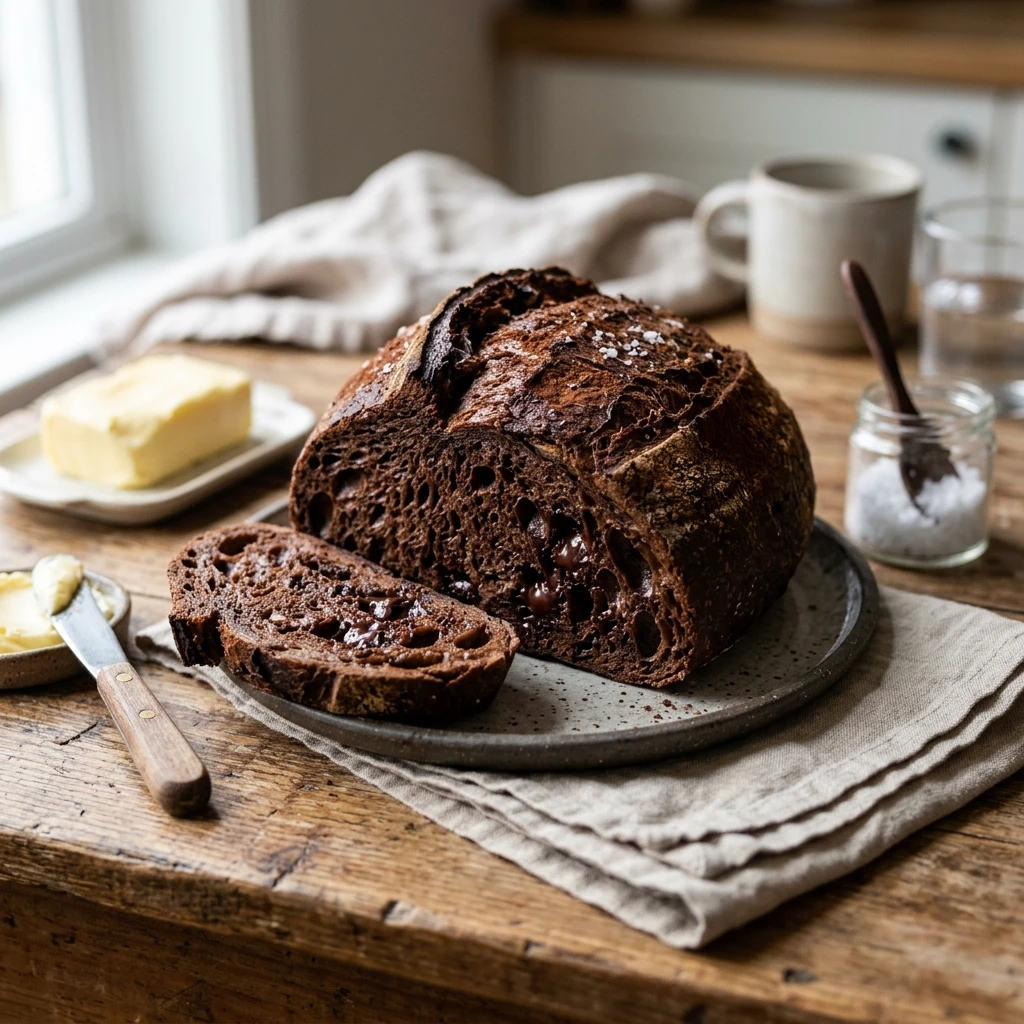
Imagine the aroma of freshly baked artisan bread wafting through your kitchen, but with a decadent twist: rich cocoa and melty chocolate pockets. This Sourdough Chocolate Bread is the ultimate treat for anyone who loves the chewy, tangy crumb of traditional sourdough but craves a bit of sweetness. Whether you are a seasoned baker or just starting your fermentation journey, this recipe is designed to be approachable, forgiving, and incredibly rewarding. It is essentially a gourmet bakery-style loaf that you can whip up in your own kitchen with just a few staple ingredients and a little bit of patience.
Recipe Information
- Prep Time: 30 minutes (plus 12-18 hours fermentation)
- Cook Time: 45 minutes
- Total Time: 19 hours 15 minutes
- Servings: 10 slices
- Difficulty: Easy
Nutrition values
- Calories: 285 kcal
- Protein: 7g
- Carbs: 52g
Why Make This Sourdough Chocolate Bread Easy Homemade Beginner Artisan
This recipe bridges the gap between a dessert and a breakfast staple. Unlike standard white bread, the addition of Dutch-processed cocoa powder adds a deep, earthy complexity that pairs perfectly with the natural acidity of a sourdough starter. It is “beginner artisan” because we use a simplified folding technique that requires no heavy kneading. Plus, the inclusion of chocolate chips ensures every bite has a gooey surprise. It makes for the best French toast you will ever eat, but it is equally divine toasted with a simple smear of salted butter.
Ingredients
- 100g active, bubbly sourdough starter (100% hydration)
- 350g warm water
- 450g high-protein bread flour
- 50g unsweetened cocoa powder (Dutch-processed preferred)
- 60g granulated sugar or honey
- 10g fine sea salt
- 150g semi-sweet or dark chocolate chips
Directions
Step 1: Mix the Dough
In a large glass bowl, whisk together the warm water, active sourdough starter, and sugar until the starter mostly dissolves. Add the bread flour, cocoa powder, and salt. Mix with a sturdy spoon or your hands until a shaggy, dark dough forms and no dry flour remains. Cover the bowl with a damp cloth or plastic wrap and let it rest for 30 minutes to autolyse.
Step 2: Stretch and Fold
Perform four sets of “stretch and folds” every 30 minutes. To do this, grab one side of the dough, pull it upward, and fold it over the center. Rotate the bowl and repeat four times. During the second set of folds, evenly sprinkle the chocolate chips into the dough so they get incorporated. After the final set, the dough should feel smoother and more elastic.
Step 3: Bulk Fermentation
Cover the bowl and let the dough rise at room temperature (around 70°F or 21°C) for 6 to 10 hours. The dough is ready when it has increased in volume by about 50%, looks bubbly on the surface, and jiggles slightly when you shake the bowl. Do not let it double completely, or it may lose its strength for the final bake.
Step 4: Shaping and Cold Proof
Gently tip the dough onto a lightly floured surface. Fold the edges into the center to create a round boule. Flip it over and use your hands to tension the surface by pulling it toward you on the counter. Place the dough upside down into a floured banneton basket or a bowl lined with a floured tea towel. Cover and refrigerate for 8 to 12 hours. This cold proof develops the flavor and makes the dough easier to score.
Step 5: Scoring and Baking
Preheat your oven to 450°F (230°C) with a Dutch oven inside for at least 45 minutes. Carefully flip the cold dough onto a piece of parchment paper. Use a sharp blade or “lamé” to score a deep cross or a single long slash across the top. Carefully lower the parchment into the hot Dutch oven. Cover with the lid and bake for 25 minutes. Remove the lid and bake for another 15 to 20 minutes until the crust is firm and sounds hollow when tapped on the bottom.
Step 6: Cooling
Transfer the loaf to a wire rack. Resist the urge to cut into it immediately! Sourdough continues to cook internally as it cools. Wait at least 2 hours before slicing to ensure the chocolate chips have set and the crumb is perfectly airy.
Expert Tips for Perfect Sourdough Chocolate Bread Easy Homemade Beginner Artisan
Use high-quality cocoa powder for the best flavor profile. If your kitchen is cold, your bulk fermentation might take longer than 10 hours; look for the bubbles rather than watching the clock. When adding chocolate chips, try to keep them tucked inside the dough as much as possible, as chips on the very surface can burn during the high-heat bake. Finally, always use a digital scale for measurements to ensure the hydration levels are perfect for an artisan texture.
Delicious Variations
You can customize this loaf in several ways. For a “Mexican Hot Chocolate” version, add a teaspoon of cinnamon and a pinch of cayenne pepper to the dry ingredients. If you love texture, fold in 50g of toasted walnuts or pecans along with the chocolate chips. For an extra sweet treat, swap the semi-sweet chips for white chocolate chips or dried cherries for a tart, fruity contrast.
Frequently Asked Questions
Can I use sourdough discard instead of active starter?
For this specific recipe, it is best to use an active, bubbly starter to ensure the bread rises properly. Using discard may result in a dense, heavy loaf that lacks the characteristic airy crumb.
What if I don’t have a Dutch oven?
You can bake the bread on a preheated baking stone or a heavy baking sheet. To mimic the steam of a Dutch oven, place a shallow pan of boiling water on the rack beneath the bread during the first 20 minutes of baking.
How do I know when bulk fermentation is finished?
Look for signs of life! You should see small bubbles on the sides of the bowl (if using glass) and a few larger bubbles on the surface. The dough should feel airy and light, not dense and sticky.
Why did my chocolate chips melt into the dough?
Some melting is normal, especially if your water was too hot or your hands were very warm while folding. However, the chips should mostly stay intact. Using high-quality “bake-stable” chips or chunks helps maintain their shape.
How should I store this bread?
Store the bread in a paper bag or wrapped in a clean kitchen towel at room temperature for up to 3 days. For longer storage, slice the bread and freeze it in a sealed bag. Toast the slices directly from the freezer for a quick treat.
Conclusion
Mastering Sourdough Chocolate Bread is a milestone for any home baker. It proves that artisan baking doesn’t have to be intimidating or strictly savory. With its dark, cocoa-infused crust and melty interior, this loaf is guaranteed to impress your friends and family. Put on your apron, feed your starter, and get ready to enjoy a slice of homemade chocolate heaven. Happy baking!