Follow Me On Pinterest!
No Knead Rosemary Bread Easy Homemade Beginner Artisan
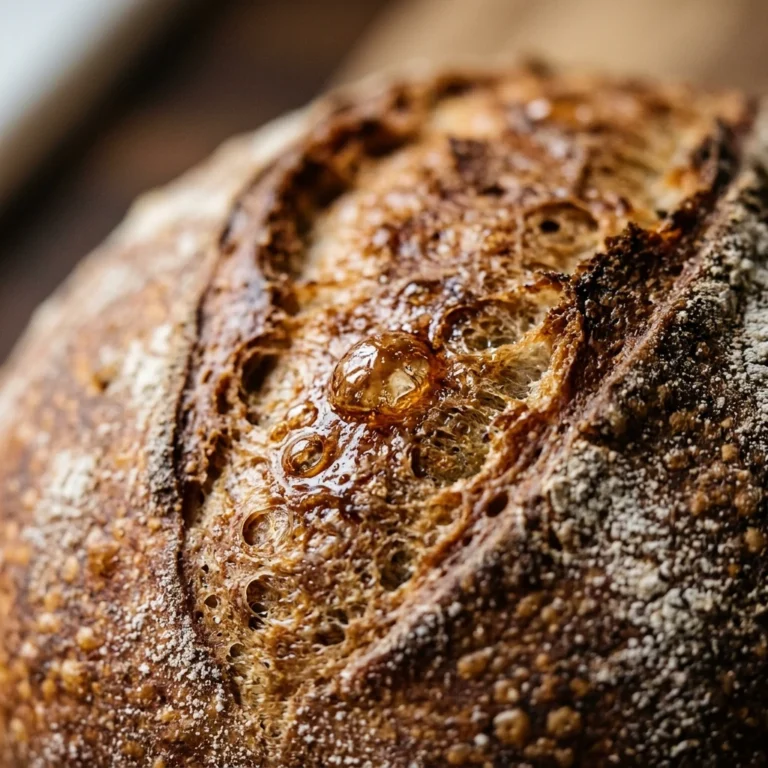
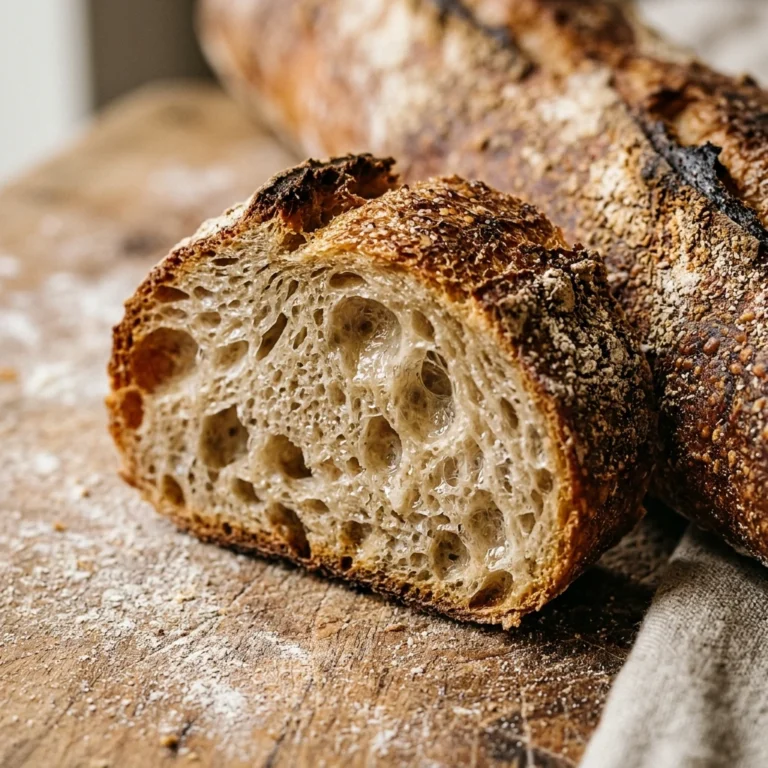
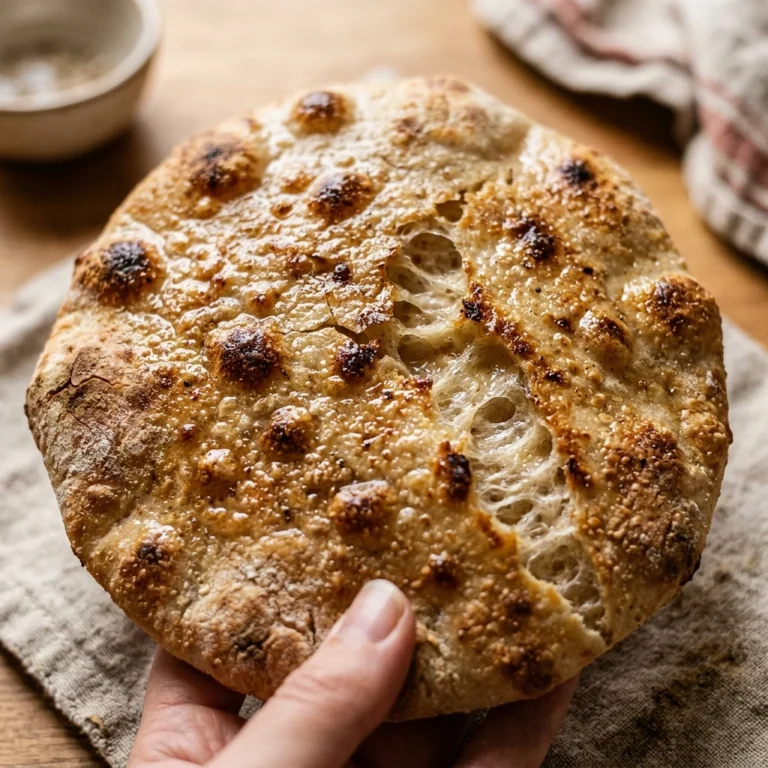
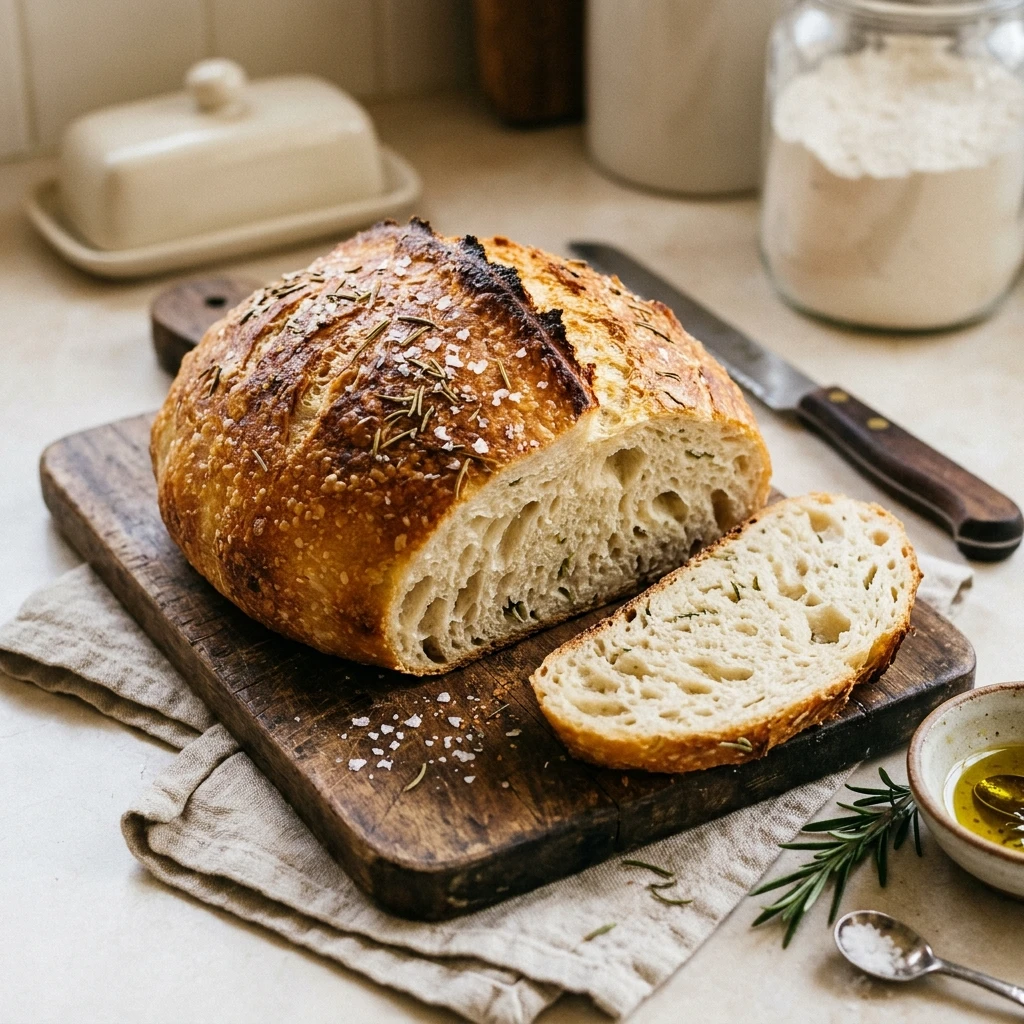
Imagine walking into your kitchen and being greeted by the heavenly scent of fresh rosemary and toasted grain. There is something truly magical about baking your own bread, but many beginners feel intimidated by the complex folding techniques and hours of intensive kneading. That is exactly where this No Knead Rosemary Bread comes in to save the day. This recipe yields a professional, artisan-style loaf with a crackly, golden crust and a soft, airy interior, all without breaking a sweat. It relies on the power of time rather than muscle, making it the perfect entry point for anyone who wants bakery-quality results with minimal effort. Whether you are a seasoned pro or a first-time baker, this loaf will make you feel like a master of the craft.
Recipe Information
- Prep Time: 15 minutes (plus 12-18 hours rising time)
- Cook Time: 45 minutes
- Total Time: 19 hours
- Servings: 8 slices
- Difficulty: Easy
Nutrition values
- Calories: 185 kcal
- Protein: 5g
- Carbs: 38g
Why Make This No Knead Rosemary Bread Easy Homemade Beginner Artisan
This recipe is a game-changer for home cooks. First, the “no-knead” method uses a high-hydration dough that develops gluten naturally over several hours, ensuring a perfect texture every time. Second, adding fresh rosemary elevates the flavor profile, giving the bread an earthy, aromatic quality that pairs perfectly with soups, stews, or just a simple slab of salted butter. Finally, it uses basic pantry staples, meaning you can start a loaf tonight and have fresh bread for lunch tomorrow without a trip to the specialty grocery store. It is foolproof, delicious, and incredibly satisfying to pull out of the oven.
Ingredients
- 3 cups All-purpose flour or Bread flour
- 1 ½ cups Warm water (approx. 100°F)
- 1 ½ teaspoons Salt
- ½ teaspoon Active dry yeast
- 2 tablespoons Fresh rosemary, finely chopped
- 1 tablespoon Olive oil (optional, for coating)
- Extra flour for dusting
Directions
Step 1: Mixing the Dough
In a large mixing bowl, whisk together the flour, salt, active dry yeast, and chopped fresh rosemary. Ensure the rosemary is evenly distributed throughout the dry ingredients. Pour in the warm water and use a sturdy wooden spoon or a spatula to stir until a shaggy, sticky dough forms. You do not need to smooth it out; just make sure there are no dry pockets of flour left at the bottom of the bowl.
Step 2: The Long Rise
Cover the bowl tightly with plastic wrap or a damp kitchen towel. Place the bowl in a warm, draft-free spot in your kitchen. Let the dough rest for at least 12 hours, though 18 hours is ideal for the best flavor and texture. During this time, you will see the dough double in size and develop small bubbles on the surface. This slow fermentation is the secret to the artisan “holey” crumb.
Step 3: Shaping the Loaf
Lightly flour a piece of parchment paper or your clean countertop. Gently scrape the dough out of the bowl. It will be very sticky and loose—this is normal! With floured hands, fold the edges of the dough toward the center a few times to create a rough ball shape. Turn the dough over so the seam side is down. Cover it with a towel and let it rest for another 30 minutes while you preheat the oven.
Step 4: Preheating the Pot
Place a 5-quart (or larger) Dutch oven, including the lid, into your oven. Preheat the oven to 450°F (230°C). Heating the Dutch oven is critical because it mimics a professional steam oven, which is what creates that signature crispy, crackly crust. Let the pot heat for at least 30 minutes to ensure it is scorching hot.
Step 5: The Baking Process
Carefully remove the hot Dutch oven from the oven. Using the parchment paper as a sling, lift the dough and lower it into the pot. Be extremely careful not to touch the sides of the pot. Place the lid back on and bake for 30 minutes. The trapped steam will allow the bread to rise fully. After 30 minutes, remove the lid and bake for an additional 15 minutes to brown the crust to a deep golden color.
Step 6: Cooling and Slicing
Carefully lift the bread out of the Dutch oven and transfer it to a wire cooling rack. Resist the urge to slice it immediately! The bread continues to cook on the inside while it cools. If you cut it too early, the steam escapes and the texture can become gummy. Wait at least 30 to 60 minutes before slicing into your masterpiece.
Expert Tips for Perfect No Knead Rosemary Bread Easy Homemade Beginner Artisan
To get the best results, always use fresh rosemary rather than dried; the oils in the fresh herb provide a much more vibrant aroma. If your kitchen is particularly cold, you can place the dough in an unlit oven with the light turned on to help the rise. Also, make sure your yeast is fresh! If you aren’t sure, mix it with a little warm water and sugar first; if it doesn’t bubble after five minutes, discard it and get a new packet. Finally, don’t be afraid of the sticky dough. High moisture is what creates those beautiful air pockets inside the loaf.
Delicious Variations
- Roasted Garlic Rosemary: Fold in 5-6 cloves of roasted garlic during the mixing stage for a savory punch.
- Lemon Rosemary: Add the zest of one lemon to the dry ingredients for a bright, citrusy twist.
- Parmesan Rosemary: Mix in ½ cup of grated Parmesan cheese to create a cheesy, salty crust.
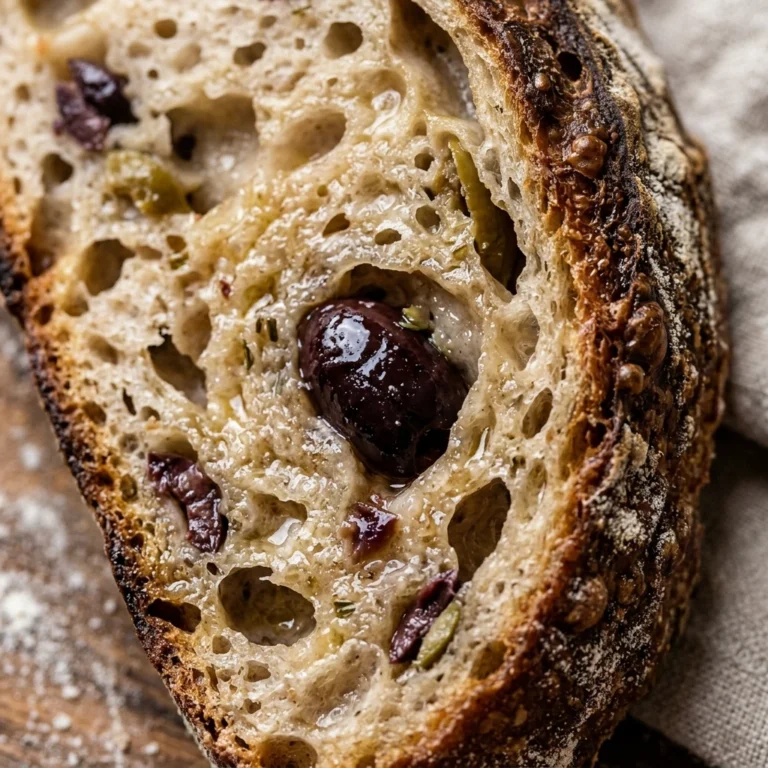
- Olive and Herb: Add ½ cup of chopped Kalamata olives for a Mediterranean-inspired artisan loaf.
Frequently Asked Questions
Can I use whole wheat flour for this recipe?
Yes, you can substitute up to half of the flour with whole wheat flour. Note that the loaf will be denser and may require an extra tablespoon or two of water, as whole wheat flour absorbs more moisture than white flour.
Do I have to use a Dutch oven?
A Dutch oven is highly recommended because it traps steam, but you can use a heavy oven-safe pot with a tight-fitting lid. Alternatively, you can bake it on a baking sheet with a pan of water on the bottom rack of the oven to create steam, though the crust may not be as crispy.
What if I don’t have fresh rosemary?
You can use dried rosemary, but reduce the amount to 2 teaspoons. Dried herbs are more concentrated in flavor but lack the bright floral notes of the fresh version.
How should I store this bread?
Store the bread at room temperature in a paper bag for up to two days to maintain the crust. If you store it in plastic, the crust will soften. For longer storage, slice the bread and freeze it in a sealed freezer bag.
My dough didn’t rise, what happened?
The most common reasons for dough not rising are expired yeast or water that was too hot (which kills the yeast). Ensure your water is “bathwater warm” (around 100°F) and check the expiration date on your yeast package.
Conclusion
Baking artisan bread at home does not have to be a daunting task. With this No Knead Rosemary Bread recipe, you have a foolproof method for creating a stunning, fragrant loaf that looks like it came straight from a boutique bakery. The combination of fresh rosemary and a slow-fermented dough creates a depth of flavor that is simply unmatched by store-bought options. Give yourself the gift of time, let the yeast do the work, and enjoy the incredible satisfaction of tearing into a warm, homemade loaf. Happy baking!