Follow Me On Pinterest!
Mini Cheesecake Bites


Mini Cheesecake Bites: A Decadent Delight in Every Bite
Introduction
There’s something undeniably magical about mini cheesecakes—those little bites of creamy goodness that vanish in a single delicious mouthful. I remember the first time I stumbled upon these delightful treats at a friend’s birthday party. The table was adorned with an array of desserts, but it was the sight of those dainty cheesecake bites, each nestled in perfectly portioned cupcake liners, that beckoned me closer. As I took my first bite, the rich and velvety texture enveloped my senses, while the buttery flavor of the graham cracker crust provided the perfect contrast. It was a moment that captured the essence of celebration, joy, and the simple pleasure of sharing food with loved ones.
From that day forward, I became obsessed with recreating these mini desserts. They are not just a dessert; they are a conversation starter, a sweet surprise that makes any gathering feel special. Whether it’s a summer barbecue, a holiday gathering, or a casual get-together, these cheesecake bites have a way of bringing people together, sparking laughter and creating lasting memories. As I perfected my recipe, I discovered that they are not only incredibly easy to make but also versatile, allowing you to mix in different flavors and toppings to suit any occasion. Each time I serve them, I watch as friends and family savor each bite, and I can’t help but smile, knowing that I’ve contributed to their happiness.
Why This Recipe Works
Creating the perfect mini cheesecake is all about balance and technique. This recipe is designed to deliver a rich and creamy texture that melts in your mouth while maintaining a sturdy base that holds its shape.
1. Cream Cheese: At the heart of every cheesecake is cream cheese. Its high-fat content contributes to that luxurious, smooth texture that we’re all craving. When you beat it with the granulated sugar, you create a fluffy mixture that aerates the batter, allowing it to rise slightly during baking while still keeping that rich mouthfeel.
2. Sour Cream and Lemon Juice: These ingredients bring a delightful tang that cuts through the sweetness, elevating the overall flavor profile. The sour cream adds creaminess, while the lemon juice brightens the flavor and balances the richness of the cream cheese.
3. Eggs: Eggs act as a binding agent, ensuring that the cheesecake holds together without becoming too dense. Beating the eggs until just combined prevents over-mixing, which can lead to cracks in your cheesecake as it bakes.
4. Graham Cracker Crust: The crushed graham cracker mixed with melted butter creates a base that adds a delectable crunch and a hint of sweetness. Pressing them firmly into the muffin tins guarantees a sturdy foundation for the creamy cheesecake layer.
Baking at a lower temperature helps the cheesecakes set slowly, allowing for an even bake that prevents browning and cracking. This method ensures that every bite is as smooth and creamy as possible.
What Makes It Special
These mini cheesecake bites stand out for several reasons, especially compared to their larger counterparts found in bakeries or grocery stores:
– Portion Control: Unlike traditional cheesecakes that can be daunting to cut and serve, these mini bites are perfectly portioned. You can indulge in a few without feeling too guilty, making them an excellent choice for gatherings where variety is key.
– Customizable Flavors: While this recipe features a classic flavor profile, the beauty of these mini cheesecakes lies in their versatility. You can easily swap out the lemon juice for other flavors, such as raspberry puree, chocolate, or even pumpkin spice in the fall, tailoring them to match any season or occasion.
– Ease of Preparation: Unlike traditional cheesecakes that often require a water bath to prevent cracking, these mini versions are simple to make. You don’t need any special equipment, and the baking time is significantly reduced, allowing you to enjoy them in a fraction of the time.
– Presentation: Their charming size and elegant appearance make them ideal for any gathering. Guests are always impressed by the beautiful presentation, and because they’re individually portioned, they’re easy to serve and enjoy without the need for forks or plates.
Ingredient Breakdown
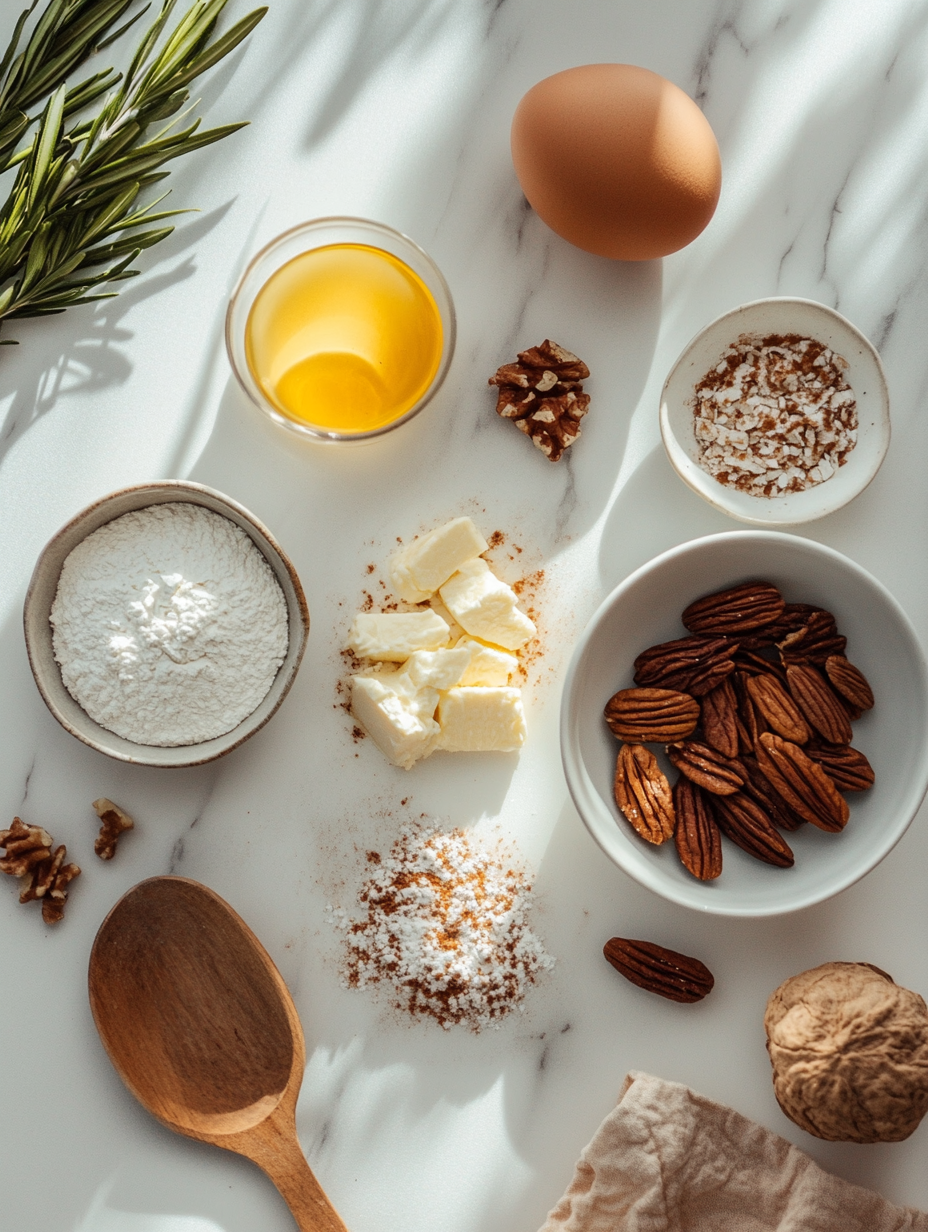
Understanding the role of each ingredient in your mini cheesecake bites can elevate your baking game and help you make adjustments for dietary needs or preferences.
– Graham Cracker Crumbs: The soothing crunch of the graham cracker crust serves as the base for these cheesecakes. You can substitute it with gluten-free graham crackers or even crushed cookies to create a different flavor profile. For a nutty twist, consider using crushed almonds or pecans.
– Unsalted Butter: The melted butter helps bind the graham cracker crumbs together, ensuring a solid, flavorful crust. If you’re looking for a dairy-free option, try using coconut oil or a plant-based butter alternative.
– Cream Cheese: The star of the show! You can use regular or reduced-fat cream cheese, but keep in mind that reduced-fat options may not be as creamy. For a vegan alternative, consider using cashew cream or vegan cream cheese, though the texture may vary slightly.
– Granulated Sugar: This adds sweetness to the cheesecake. For a healthier alternative, you can use coconut sugar or stevia, but be aware that the texture may differ slightly.
– Vanilla Extract: This enhances the overall flavor of the cheesecake. Vanilla bean paste or even fresh vanilla beans can be used for an extra depth of flavor.
– Eggs: They are crucial for setting the cheesecake. For a vegan version, you can substitute with flax eggs (1 tablespoon ground flaxseed mixed with 2.5 tablespoons water per egg) or applesauce, but the texture will differ.
– Sour Cream: Adds creaminess and a slight tang. If you’re looking for a dairy-free option, you can use coconut yogurt or a blended silken tofu.
– Fresh Lemon Juice: The acidity of lemon juice brightens the flavors and balances the sweetness. Lime juice or even orange juice can be used as alternatives, depending on your flavor preferences.
Incorporating these ingredients with an understanding of their roles will ensure your mini cheesecakes are a hit every time!
Step-by-Step Instructions
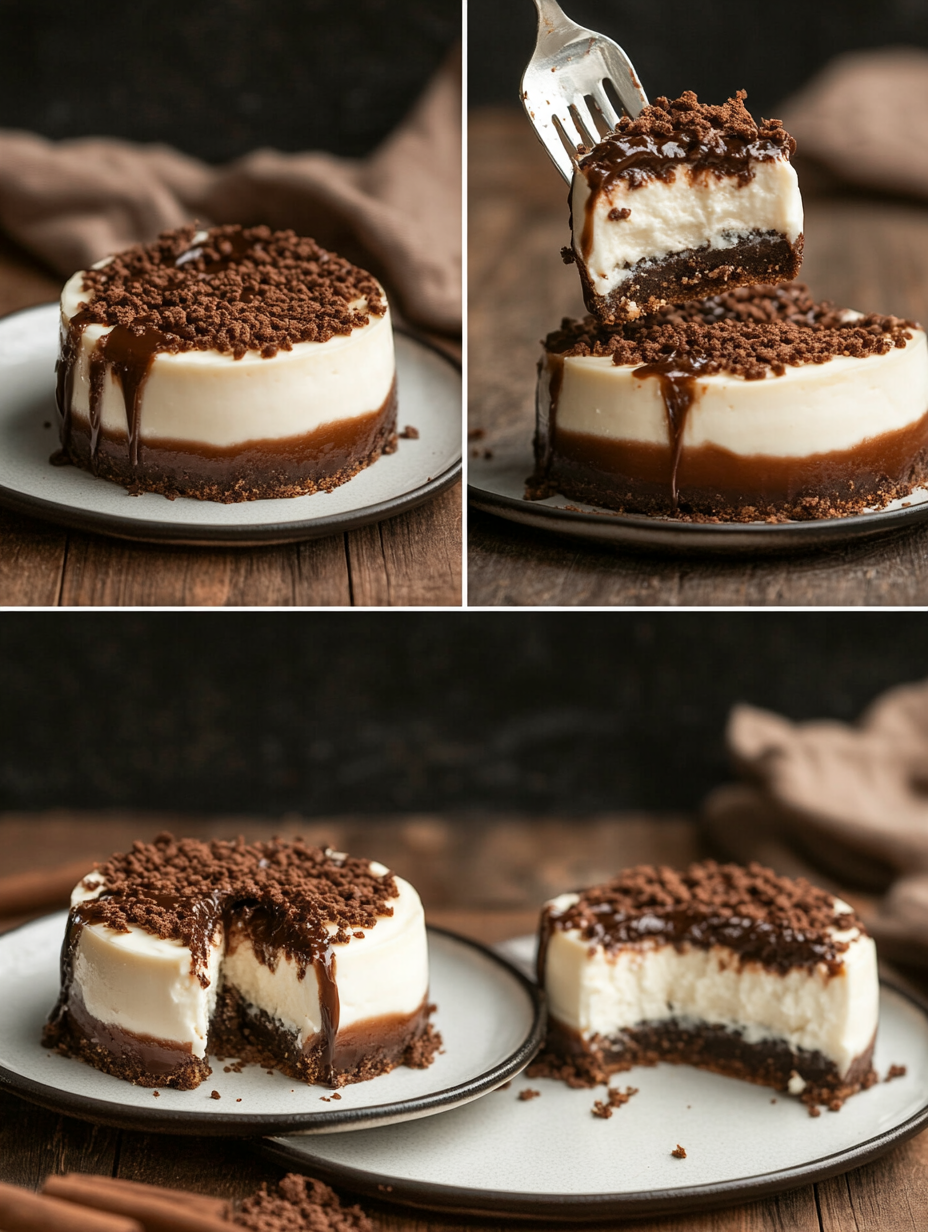
1. Preheat the Oven
Start by preheating your oven to 325°F (160°C). This step is crucial as it ensures that your mini cheesecakes cook evenly. You’ll know it’s ready when you can feel the warmth radiating from the oven. While it heats up, you can focus on preparing your muffin tin and crust.
2. Prep the Muffin Tin
Grab your mini muffin tin and line it with paper liners. This not only makes it easier to remove the mini cheesecakes later but also adds a beautiful presentation. As you place the liners, you’ll hear the slight rustling of the paper—this is a good sign that you’re on the right track!
3. Make the Crust
In a medium bowl, combine 1 cup of graham cracker crumbs with 0.5 cup of melted unsalted butter. Stir until the mixture resembles wet sand. You’ll want to get a nice, even consistency. When you press the mixture together, it should hold its shape. This is key for creating that perfect, buttery crust!
4. Press the Crust
Take about a tablespoon of the crumb mixture and press it firmly into the bottom of each muffin liner. Use the back of a spoon or your fingers to ensure it’s compact. You should hear a satisfying crunch as it comes together. This step ensures that your crust is sturdy enough to support the creamy filling.
5. Prepare the Cheesecake Filling
In a large mixing bowl, beat together two packages of softened cream cheese and 0.5 cup of granulated sugar until it’s smooth and creamy. This should take about 2-3 minutes with an electric mixer. As you mix, inhale that rich, creamy aroma; it’s a sign that you’re creating something delicious.
6. Mix in Additional Ingredients
Add 1 teaspoon of vanilla extract, 2 large eggs, 0.5 cup of sour cream, and 0.25 cup of fresh lemon juice to the cream cheese mixture. Mix on low speed until everything is well incorporated and smooth. You’ll know it’s ready when there are no lumps, and the batter is silky. The tangy scent from the lemon juice will invigorate your senses!
7. Fill the Muffin Tin
Carefully pour the cheesecake batter over the pressed crusts in the muffin tin, filling each liner about three-quarters full. Use a ladle or measuring cup for precision. As you pour, listen for the gentle sound of batter settling in; this indicates you’re filling them just right.
8. Bake and Chill
Place the muffin tin in the preheated oven and bake for about 20 minutes. You’ll know they’re done when the edges are set, and the centers have a slight jiggle. The smell of baked cheesecake will fill your kitchen, mingling with the buttery scent of the crust. After baking, allow them to cool before refrigerating for at least 2 hours. This chilling period is essential for the flavors to meld and the texture to firm up.
Chef’s Note: When cooling, don’t rush the refrigeration process; this is when your cheesecakes develop that perfect creamy texture.
Pro Tips for the Best Results
– Room Temperature Ingredients: Ensure your cream cheese and eggs are at room temperature before mixing. This step helps create a smoother filling without lumps and a creamier texture.
– Avoid Overmixing: When mixing your batter, be careful not to overbeat, especially after adding the eggs. Overmixing can incorporate too much air, resulting in cracks as they bake.
– Water Bath for Even Baking: For a smoother texture, consider using a water bath. Place your muffin tin inside a larger baking dish filled with water while baking. This method helps to regulate the temperature and keep moisture in, which prevents cracking.
– Flavor Enhancements: Experiment by adding flavorings such as almond extract or cocoa powder to the batter for a unique twist. Just a teaspoon can elevate the taste beautifully!
– Topping Ideas: Top your cheesecake bites with fresh fruit, chocolate ganache, or whipped cream right before serving for an extra touch that your guests will adore.
– Freezing: These mini cheesecakes can be frozen for longer storage. Just ensure they are in an airtight container. Thaw them in the refrigerator overnight before serving.
– Make Ahead: These cheesecake bites can be made a day in advance. The flavors develop as they chill, making them even more delicious!
Common Mistakes to Avoid
1. Not Prepping Your Tin Properly: Skipping the paper liners can lead to the cheesecakes sticking to the tin, making removal a hassle and ruining their beautiful shape.
2. Using Cold Ingredients: Cold cream cheese and eggs can create lumps in your batter. Always allow these ingredients to come to room temperature for a smoother, creamier filling.
3. Overbaking: Leaving the cheesecakes in the oven too long can lead to dry, cracked tops. Remember, the centers should remain slightly jiggly when you remove them from the oven.
4. Skipping the Cooling Step: Serving them straight from the oven can cause them to be too soft and not set correctly. Always cool and refrigerate them for the best texture.
5. Ignoring Flavor Add-Ins: Not incorporating flavor enhancers like lemon juice can result in a bland cheesecake. The acidity not only balances the sweetness but enhances the overall flavor.
6. Not Measuring Accurately: Baking is a science! Inaccurate measurements can lead to an unbalanced batter. Always use measuring cups and spoons for precision.
7. Not Allowing to Chill: Serving them too soon can lead to a mushy texture. These cheesecake bites need adequate time to firm up in the refrigerator for the ideal consistency.
Creative Variations
1. Seasonal: Make these mini cheesecakes festive by adding seasonal spices. For fall, integrate pumpkin puree and a teaspoon of pumpkin pie spice into the batter. For spring, consider folding in fresh berries or a strawberry puree into the mixture.
2. Dietary-Friendly: For a gluten-free version, replace the graham cracker crumbs with almond flour or gluten-free cookie crumbs. Use a dairy-free cream cheese alternative and coconut cream for a vegan twist.
3. Gourmet Elevated: Elevate your mini cheesecakes by adding white chocolate or espresso to the batter. Drizzle with caramel sauce or a homemade raspberry coulis for a gourmet touch.
4. Quick 15-Minute: In a pinch for time? Use store-bought mini phyllo shells instead of making a crust. Simply fill them with the cheesecake batter and bake as instructed. They’ll be ready in no time!
5. Kid-Friendly: Make them more appealing to kids by adding fun toppings such as sprinkles, chocolate chips, or colorful candies. You can also flavor the filling with peanut butter or Nutella for a twist that kids will love.
6. International Twist: Draw inspiration from international flavors! Incorporate matcha powder for a Japanese-inspired version, or add mango puree to bring a tropical flavor reminiscent of classic Filipino desserts.
7. Savory Cheesecake Bites: For a unique twist, consider making savory mini cheesecakes. Use cream cheese, herbs, and spices, and fill with roasted garlic, sun-dried tomatoes, or pesto, perfect for serving at a cocktail party.
These variations keep your mini cheesecake bites exciting and versatile, inviting your creativity to shine through in each delectable bite!
Serving Ideas
When it comes to serving your mini cheesecake bites, presentation can elevate them from delicious to divine. Here are some creative plating ideas that will wow your guests:
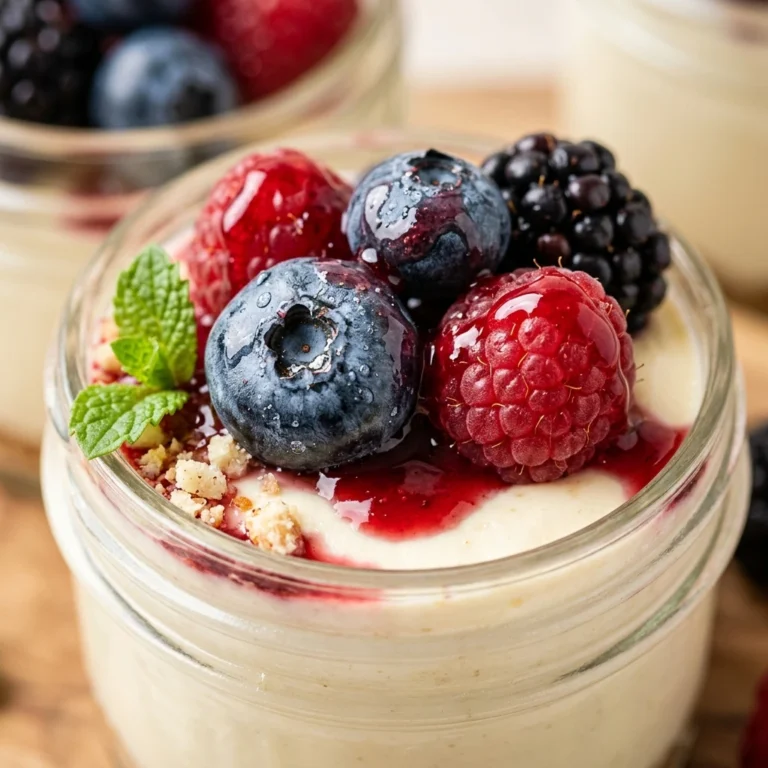
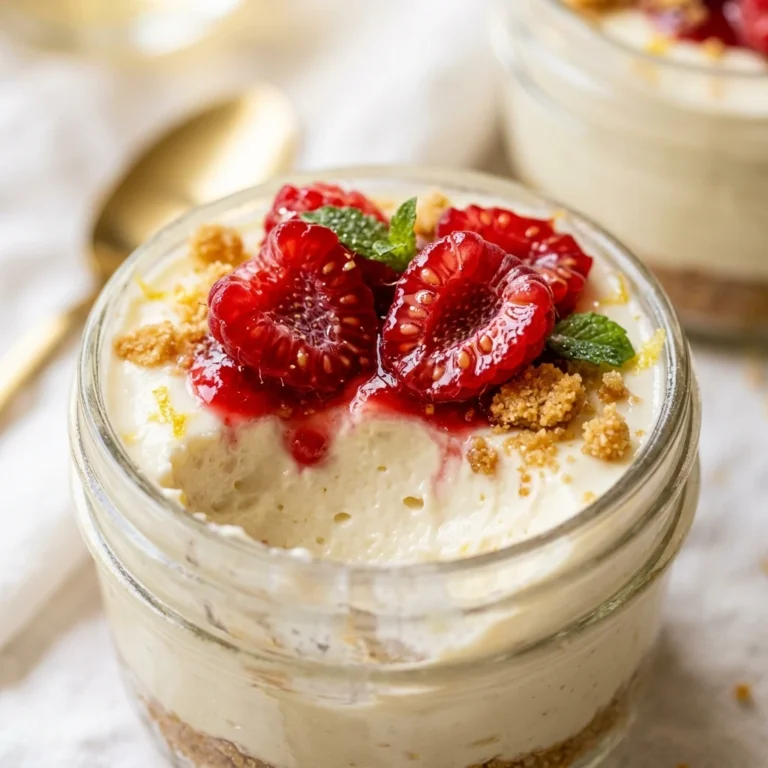
1. Garnished with Fresh Berries: Top each cheesecake bite with a fresh strawberry, raspberry, or blueberry. The vibrant colors will add a beautiful contrast against the creamy cheesecake.
2. Drizzled with Chocolate or Caramel Sauce: A drizzle of warm chocolate or caramel sauce can add an indulgent touch that complements the tanginess of the cheesecake perfectly.
3. Coconut Flakes: For a tropical twist, sprinkle shredded coconut on top. This will not only add flavor but also a delightful texture.
4. Miniature Fruit Tarts: Serve your mini cheesecakes alongside mini tarts filled with seasonal fruits. This creates a beautiful dessert platter that offers variety.
5. Serve with Whipped Cream: Pipe a dollop of fresh whipped cream on top of each mini cheesecake for that classic cheesecake experience. You can even add a sprinkle of graham cracker crumbs for a finishing touch.
For portion sizes, two to three bites per person is perfect for a dessert table. These little treats are rich, so they’re best enjoyed in moderation!
What to Serve With
Pairing your mini cheesecake bites with complementary flavors can enhance the overall dessert experience. Here are some delightful pairings to consider:
1. Coffee: A rich coffee, such as espresso or a creamy latte, balances the sweetness of the cheesecake and adds a nice depth of flavor.
2. Tea: Herbal or green tea can be a refreshing option, cleansing the palate between bites. The lightness of tea contrasts beautifully with the richness of the cheesecake.
3. Sparkling Wine: A bubbly prosecco or champagne adds an elegant touch to your dessert. The effervescence cuts through the creaminess, making each bite feel lighter.
4. Fruit Compote: A berry or citrus compote served on the side can add a tart contrast to the sweet cheesecake, enhancing the overall flavor profile.
5. Chocolate-Covered Strawberries: You can never go wrong with the classic pairing of chocolate and strawberries. These indulgent bites pair nicely with the creamy texture of the cheesecake.
6. Ice Cream or Sorbet: A scoop of vanilla ice cream or a refreshing sorbet can provide a delightful temperature contrast to the cheesecake bites, making for a more dynamic dessert experience.
Storage Guide
To keep your mini cheesecake bites fresh and delicious, proper storage is essential. Here’s how to do it right:
– Container Type: Store your cheesecake bites in an airtight container. This prevents moisture loss and keeps them from absorbing odors from other foods in the fridge.
– Temperature: Keep them refrigerated at a consistent temperature of 40°F (4°C) or lower. This ensures they stay fresh and safe to eat.
– Days it Keeps: Properly stored, your mini cheesecake bites will last for about 5-7 days in the refrigerator.
– Signs Gone Bad: Look for signs like an off smell, discoloration, or mold. If any of these appear, it’s best to discard them.
– How to Refresh: If the bites lose a bit of their creaminess after a few days, try letting them sit at room temperature for about 10-15 minutes before serving. This can help revive their texture.
Freezing Tips
Yes, your mini cheesecake bites can be frozen! Here’s how to do it:
– Freezing Method: Once they are fully cooled, place the bites in a single layer on a parchment-lined baking sheet and freeze them until solid. After that, transfer them to an airtight container or freezer bag, separating layers with parchment paper.
– Portioning: Consider freezing them in portions—this way, you can easily thaw just what you need at a time.
– How Long: They can be kept in the freezer for up to 2-3 months.
– Thawing Method: To thaw, simply transfer the desired number of mini cheesecakes from the freezer to the refrigerator and let them sit overnight. If you’re in a hurry, you can leave them at room temperature for about 30 minutes.
Reheating Guide
If you prefer your mini cheesecake bites warm or at room temperature, reheating them is simple:
– Microwave: Place a few bites on a microwave-safe plate and heat them in 10-15 second intervals until they are just warm but not hot. Be cautious not to overheat, as this can alter their texture.
– Oven: Preheat your oven to 325°F (160°C). Arrange the cheesecake bites on a baking sheet and heat for about 10-15 minutes, just until warmed through.
– Stovetop: If you have a stovetop steamer, you can steam the bites for about 5-7 minutes. This method helps retain moisture and keeps them creamy.
Nutrition Overview
Each mini cheesecake bite is a delightful treat that offers a burst of flavor without sacrificing too much on nutrition. Here’s a quick breakdown:
– Calories: Each bite typically contains about 120-150 calories, depending on the size and exact ingredients used.
– Macros: You can expect around 8g of fat, 10g of carbohydrates, and 2g of protein per bite.
– Health Benefits: Cream cheese and sour cream provide a good source of calcium, which is essential for bone health. Additionally, the inclusion of lemon juice not only adds flavor but also provides vitamin C, which is important for immune function.
Frequently Asked Questions
Q: Can I use flavored cream cheese for these mini cheesecakes?
A: Absolutely! Flavored cream cheese, such as strawberry or blueberry, can add an extra layer of taste to your mini cheesecakes. Just make sure the flavor complements your other ingredients.
Q: How can I make these mini cheesecakes gluten-free?
A: Simply use gluten-free graham cracker crumbs or substitute with almond flour or ground nuts for the crust. This way, everyone can enjoy these delicious treats!
Q: Can I substitute Greek yogurt for sour cream?
A: Yes, Greek yogurt is a great substitute for sour cream and can add a nice tangy flavor while increasing the protein content of your cheesecake.
Q: What if I don’t have a mini muffin tin?
A: You can use a regular muffin tin, but be aware that baking times may vary. Also, consider using silicone molds for easy removal.
Q: Can I add chocolate to the batter?
A: Definitely! You can mix in melted chocolate or cocoa powder to the batter for a delightful chocolate cheesecake version. Just be cautious about altering other ingredients to maintain the right consistency.
Q: How can I make these mini cheesecakes dairy-free?
A: You can use dairy-free cream cheese and coconut cream instead of sour cream. Also, check your butter substitute to ensure it’s dairy-free.
Q: What can I do if the mini cheesecakes crack on top?
A: Cracks can happen; to minimize this, avoid overmixing and ensure your ingredients are at room temperature before mixing. If they do crack, you can always cover them with whipped cream or fruit toppings!
Q: How do I know when the cheesecakes are done baking?
A: The edges should look set while the center remains slightly jiggly. They will firm up as they cool. Keep a close eye on them during the last few minutes of baking.
Final Thoughts
Your mini cheesecake bites are not just a dessert; they are a canvas for creativity and flavor! A couple of key tips to ensure success include using room-temperature ingredients for a smooth batter and not overbaking them to keep their creamy texture intact.
As you prepare to serve them, think about the various garnishes and pairings that can enhance the experience. Embrace your creativity, share these bites with friends and family, and watch their eyes light up with each delicious morsel. Enjoy every moment, and happy baking!