Follow Me On Pinterest!
Baked White Chocolate Cheesecake

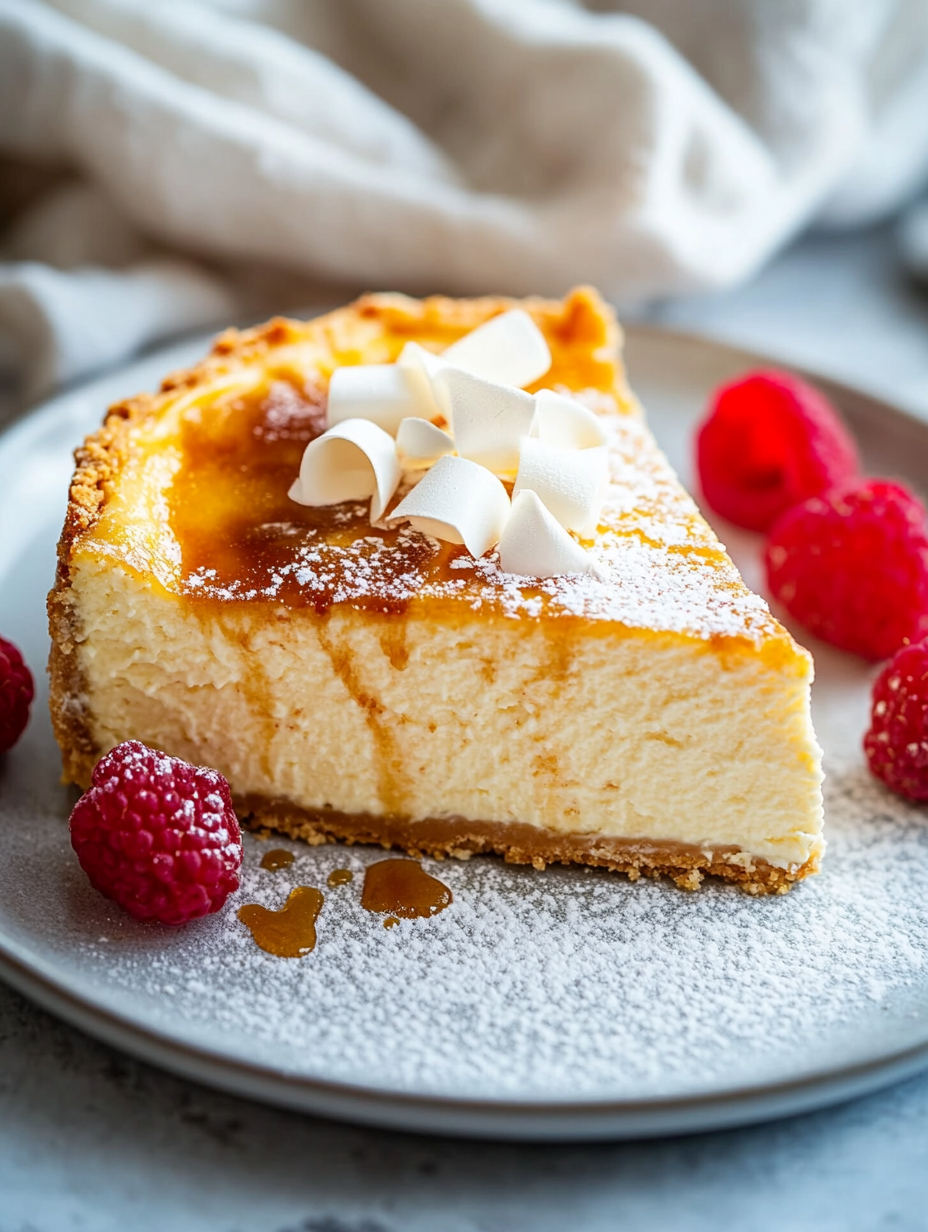
Baked White Chocolate Cheesecake: A Decadent Delight That Melts in Your Mouth
Introduction
There’s something undeniably enchanting about the aroma of a freshly baked cheesecake wafting through the kitchen, inviting everyone to gather around. For me, the Baked White Chocolate Cheesecake is not just a dessert; it’s a heartfelt memory wrapped in layers of creamy indulgence. My journey with this dessert started years ago during a cozy winter gathering at my grandmother’s house. She would whip up this cheesecake for special occasions, and I remember the way my heart raced with anticipation as the rich scent of white chocolate filled the air.
With every slice she served, there was a sense of celebration. The smooth, velvety texture contrasted beautifully with the crunchy graham cracker crust, creating a perfect balance. My family would gather around the table, sharing stories and laughter, each bite of cheesecake punctuating the warmth of the moment. It became a tradition that I carried forward, and now, each time I bake this cheesecake, it feels like I’m inviting those cherished memories back into my home.
The silky white chocolate melds seamlessly into the creamy cheesecake, elevating it from a simple dessert to a luxurious experience. Its flavor is delicate yet profound, a warm hug on a chilly day. This recipe has since become my go-to for celebrations and gatherings, and I can’t wait to share it with you. Prepare to dive into this decadent delight that’s easy to make yet impressively elegant, guaranteed to leave your loved ones asking for seconds.
Why This Recipe Works
When it comes to baking, the science behind the ingredients is what makes a dish successful. The Baked White Chocolate Cheesecake is a beautiful interplay of key components that create a rich, creamy dessert. First and foremost, the cream cheese serves as the base, providing that signature silky texture and tangy flavor that a classic cheesecake should have. The addition of white chocolate adds a unique sweetness and depth, transforming the cheesecake into something truly special.
While many cheesecake recipes rely solely on sugar for sweetness, the white chocolate infuses a luscious creaminess that balances the flavors beautifully. By melting the chocolate before incorporating it into the batter, you ensure a smooth blend that avoids any graininess.
The eggs play a crucial role in binding the ingredients together, lending structure while also helping the cheesecake set properly. The trick here is to add them one at a time, allowing each egg to fully blend before introducing the next, which ensures a consistent and airy batter.
Finally, the sour cream adds a subtle tanginess that brightens the overall flavor, preventing the cheesecake from becoming overly sweet. This perfect harmony of flavors and textures is what makes this cheesecake not only reliable but also unforgettable.
What Makes It Special
What sets this Baked White Chocolate Cheesecake apart from its restaurant and store-bought counterparts? Let’s break down a few unique qualities that make it truly special:
1. Homemade Touch: Each slice is made with love and care, reflecting your personal touch and creativity. Unlike store-bought options, you can control the ingredients and customize it to your liking.
2. Quality Ingredients: This recipe emphasizes high-quality white chocolate and cream cheese, which elevate the flavor profile significantly. Store brands often compromise on quality, resulting in a less satisfying experience.
3. Creamy Texture: The combination of sour cream and white chocolate creates an ultra-creamy texture that melts in your mouth. Many commercial cheesecakes can be dense or overly sweet, but this one strikes the perfect balance.
4. Versatile Serving Options: Whether you choose to serve it plain, topped with fresh berries, or drizzled with chocolate sauce, this cheesecake is incredibly versatile, allowing you to impress your guests with minimal effort.
In a world of desserts, this Baked White Chocolate Cheesecake stands out as a sophisticated choice that is sure to please.
Ingredient Breakdown
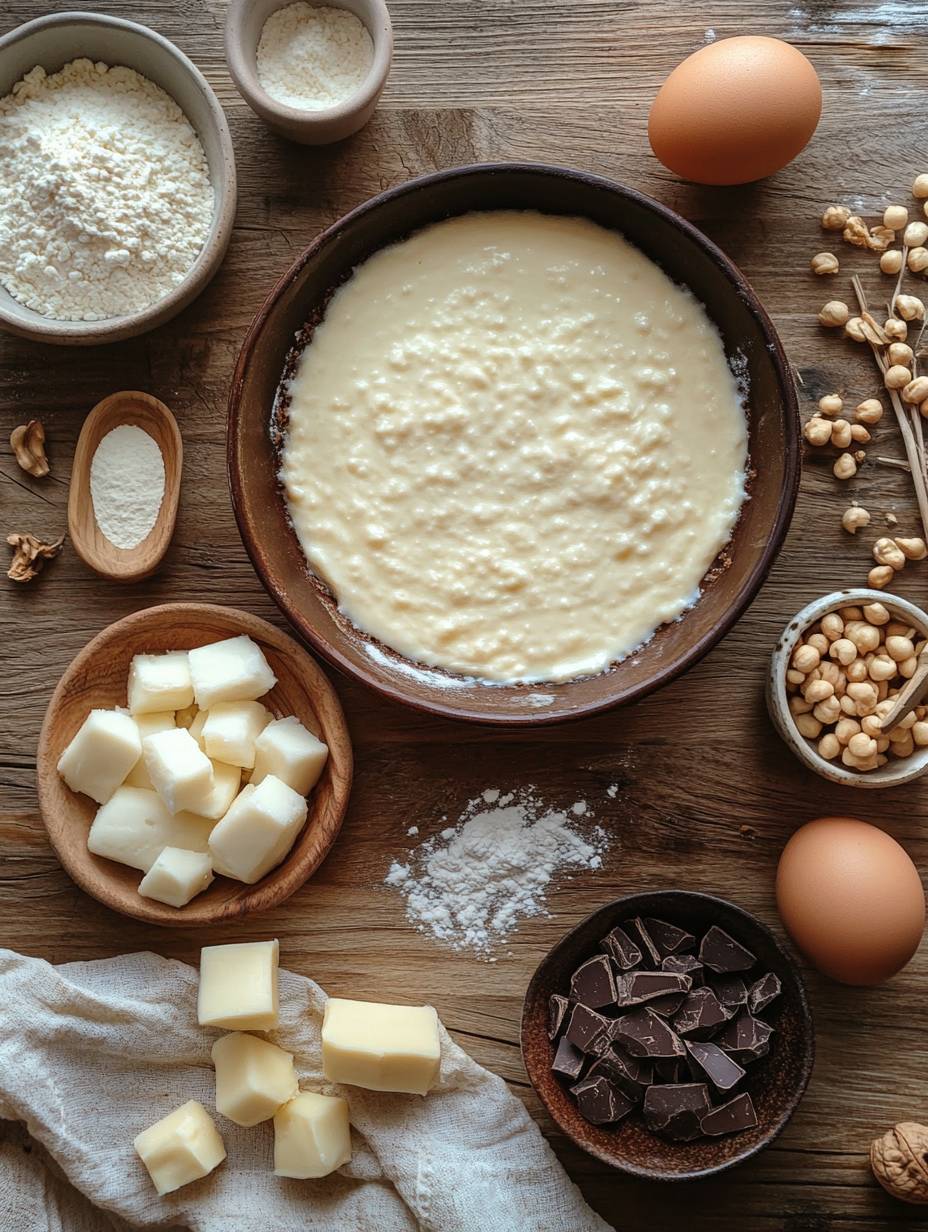
Understanding each ingredient’s role in your Baked White Chocolate Cheesecake is essential for achieving that perfect slice. Here’s a closer look:
– Graham Cracker Crumbs (1 cup): These form the crust, providing a sweet, crunchy base that contrasts beautifully with the creamy filling. If you’re looking for a gluten-free option, consider using almond flour or gluten-free graham crackers.
– Unsalted Butter (0.5 cup): This is used to bind the graham cracker crumbs together, creating a rich, buttery flavor in the crust. If you’re dairy-free, coconut oil can be a suitable substitute.
– Cream Cheese (2 cups): The backbone of any cheesecake, cream cheese gives it that signature creamy texture. Look for full-fat varieties for the best results, or try a vegan cream cheese if you’re aiming for a dairy-free version.
– White Chocolate (1 cup): Opt for high-quality white chocolate, as it significantly affects the flavor and texture of the cheesecake. If you want a dairy-free alternative, certain brands offer vegan white chocolate that can be used.
– Granulated Sugar (0.75 cup): This sweetens the cheesecake and balances the flavors. For a healthier alternative, you can use coconut sugar or a sugar substitute, but do keep in mind that it may alter the texture slightly.
– Eggs (3 large): These are essential for setting the cheesecake. If you need a vegan substitute, consider using flax eggs (1 tablespoon ground flaxseed mixed with 2.5 tablespoons of water per egg) for similar binding properties.
– Vanilla Extract (1 teaspoon): This adds depth and warmth to the flavor profile. Always opt for pure vanilla extract over imitation for the best taste.
– Sour Cream (0.5 cup): This ingredient adds a lovely tanginess and creaminess to the cheesecake. If you prefer a non-dairy alternative, look for coconut-based sour cream or Greek yogurt.
Understanding these ingredients not only helps you appreciate the recipe but also empowers you to make substitutions based on dietary needs or personal preferences. With this knowledge, you can confidently create a cheesecake that’s both delicious and tailored to you and your guests.
Equipment Needed
Creating your Baked White Chocolate Cheesecake is as much about the right tools as it is about the ingredients. Here’s a rundown of the essential equipment you’ll need:
– 9-inch Springform Pan: This is crucial for baking cheesecakes as it allows for easy removal without damaging the delicate sides. If you don’t have a springform pan, consider using a standard round cake pan lined with parchment paper, though it might be a bit trickier to remove.
– Mixing Bowls: A set of mixing bowls in various sizes will help you combine your ingredients efficiently. Choose glass or stainless steel for durability and easy cleaning.
– Electric Mixer: While you can mix by hand, an electric mixer will save time and ensure a smooth batter. A hand mixer works well for smaller batches and is usually more affordable.
– Rubber Spatula: This handy tool is essential for scraping down the sides of your mixing bowl and folding in ingredients gently, ensuring even distribution without overmixing.
– Oven Thermometer: Ovens can often be off by several degrees, so having an oven thermometer ensures that you’re baking at the right temperature, which is key to a perfectly set cheesecake.
– Cooling Rack: Once your cheesecake is done baking, a cooling rack will allow it to cool evenly without trapping moisture underneath, helping prevent a soggy bottom.
Each of these tools contributes to the overall success of your cheesecake, making your baking experience smoother and more enjoyable. If you’re on a budget, many of these items can be found at second-hand stores or online marketplaces, ensuring that you can create this delicious dessert without breaking the bank.
Step-by-Step Instructions
1. Preheat Your Oven
What: Begin by preheating your oven to 325°F (160°C).
How: Turn on your oven and set it to the specified temperature.
Look/Smell/Hear: If you have an oven thermometer, you’ll soon see the needle rise. Listen for the faint sound of the heating elements kicking in. This step is crucial because a properly preheated oven ensures even baking, which is key to a perfect cheesecake.
2. Prepare the Crust
What: Combine the graham cracker crumbs with melted unsalted butter.
How: In a medium-sized bowl, mix 1 cup of graham cracker crumbs with 0.5 cup of melted unsalted butter until the mixture resembles wet sand.
Look/Smell/Hear: The mixture should be crumbly but hold together when squeezed. A sweet, buttery aroma will start to waft up, enticing your senses. Make sure to mix thoroughly so that every crumb is coated.
3. Form the Crust
What: Create a solid crust at the bottom of your springform pan.
How: Press the crumb mixture firmly into the bottom of the greased 9-inch springform pan, using the back of a measuring cup to ensure it’s compact and even.
Look/Smell/Hear: You’ll feel the firmness beneath your fingers as you press down. The crust should be sturdy enough to hold the cheesecake filling without crumbling.
4. Mix the Cream Cheese
What: Beat the cream cheese to a creamy consistency.
How: In a large mixing bowl, beat 2 cups of softened cream cheese with an electric mixer on medium speed until it’s smooth and there are no lumps.
Look/Smell/Hear: The cream cheese should transform into a fluffy, creamy texture. You’ll hear a gentle whir of the mixer, and the aroma will shift to a soft, dairy smell, making it clear that you’re on the right track.
5. Incorporate White Chocolate and Sugar
What: Blend in the melted white chocolate and sugar.
How: Gradually add 1 cup of melted white chocolate and 0.75 cup of granulated sugar to the cream cheese, continuing to mix until fully blended.
Look/Smell/Hear: The batter will become glossy and silky. You’ll notice a sweet, rich scent from the white chocolate as it melds into the cream cheese, creating an irresistible aroma.
6. Add Eggs and Other Ingredients
What: Introduce the eggs and other key ingredients.
How: Add 3 large eggs one at a time, mixing well after each addition. Then stir in 1 teaspoon of vanilla extract and 0.5 cup of sour cream until smooth.
Look/Smell/Hear: The mixture should be velvety and homogeneous. You’ll notice a deeper, dessert-like fragrance with the addition of vanilla, and your bowl will be filled with a luscious batter that’s ready for baking.
7. Bake the Cheesecake
What: Pour and bake your cheesecake batter.
How: Carefully pour the cheesecake batter over the crust in your springform pan, smoothing the top with a spatula. Place it in the preheated oven and bake for about 45 minutes.
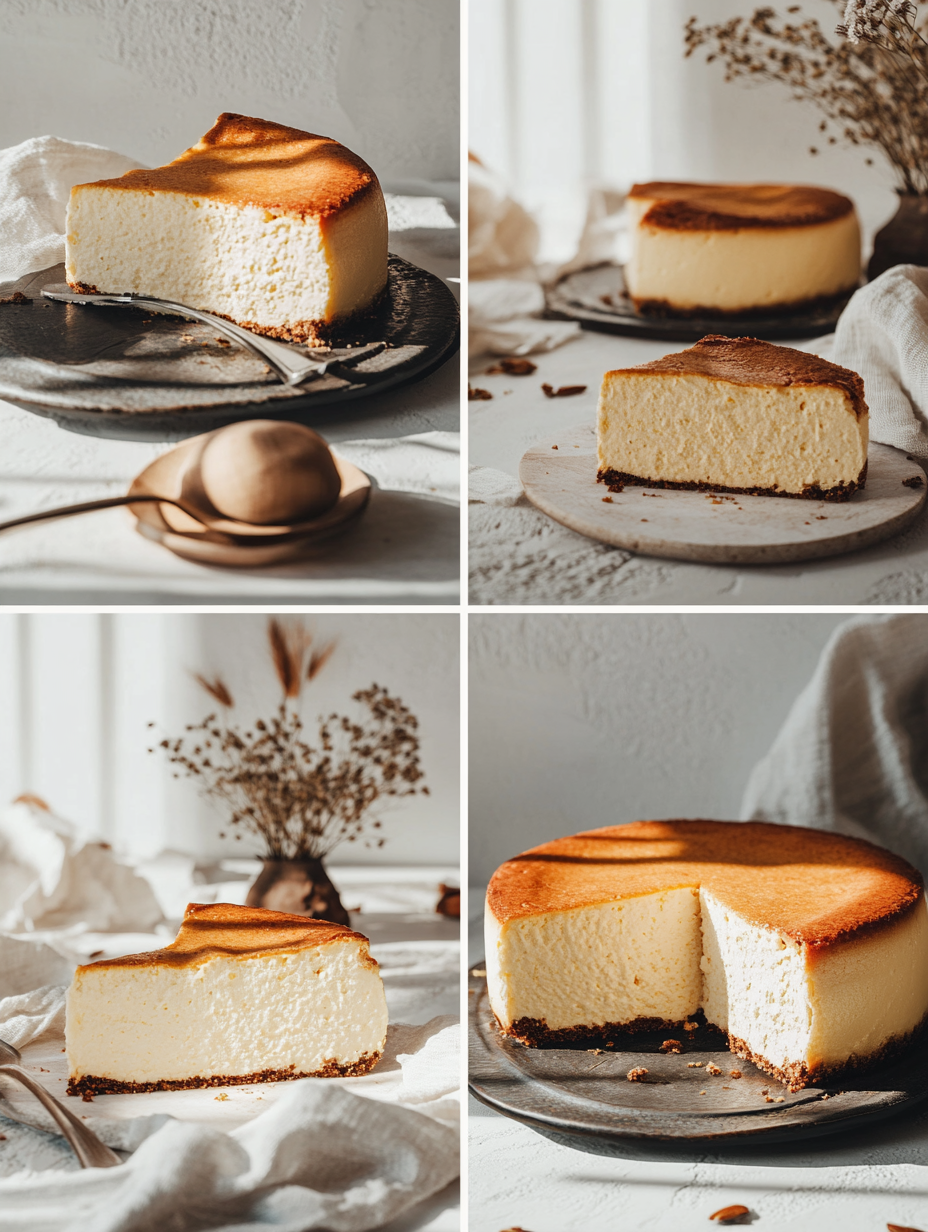
Look/Smell/Hear: As it bakes, your kitchen will fill with a heavenly scent. You’ll know it’s done when the edges are set, and the center is slightly jiggly—this is crucial for a creamy texture.
8. Cool and Chill
What: Allow the cheesecake to cool properly.
How: After baking, let the cheesecake cool at room temperature for about 1 hour, then transfer it to the refrigerator and chill for at least 4 hours before serving.
Look/Smell/Hear: The cheesecake will firm up as it cools, and you’ll notice a subtle sweetness lingering in the air. The longer you chill it, the more the flavors will meld, resulting in an even richer taste.
Chef’s Note: Always ensure your ingredients are at room temperature for better mixing and a smoother texture!
Pro Tips for the Best Results
1. Room Temperature Ingredients: Ensure your cream cheese, eggs, and sour cream are at room temperature before you start mixing. This helps achieve a silky-smooth batter, preventing lumps.
2. White Chocolate Quality: Use high-quality white chocolate for the best flavor. Look for brands with cocoa butter listed as an ingredient, rather than vegetable oils.
3. Do Not Overmix: While mixing, be gentle after adding the eggs. Overmixing can incorporate too much air, leading to cracks as the cheesecake cools.
4. Water Bath Method: For an ultra-creamy texture, consider using a water bath. Wrap the springform pan in aluminum foil and place it in a larger baking dish filled with hot water before baking.
5. Cooling Technique: Allow the cheesecake to cool gradually. Rapid temperature changes can cause it to crack. After removing it from the oven, let it sit in the oven with the door ajar for about 15 minutes before transferring it to a cooling rack.
6. Chilling Time: Resist the urge to cut into your cheesecake right away. Chilling it overnight enhances the flavor and texture significantly.
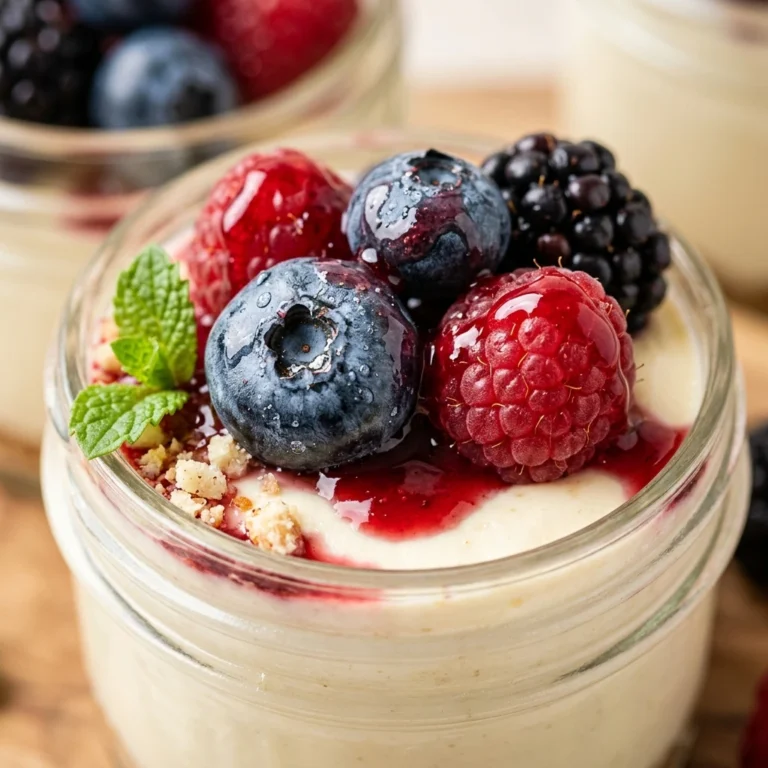
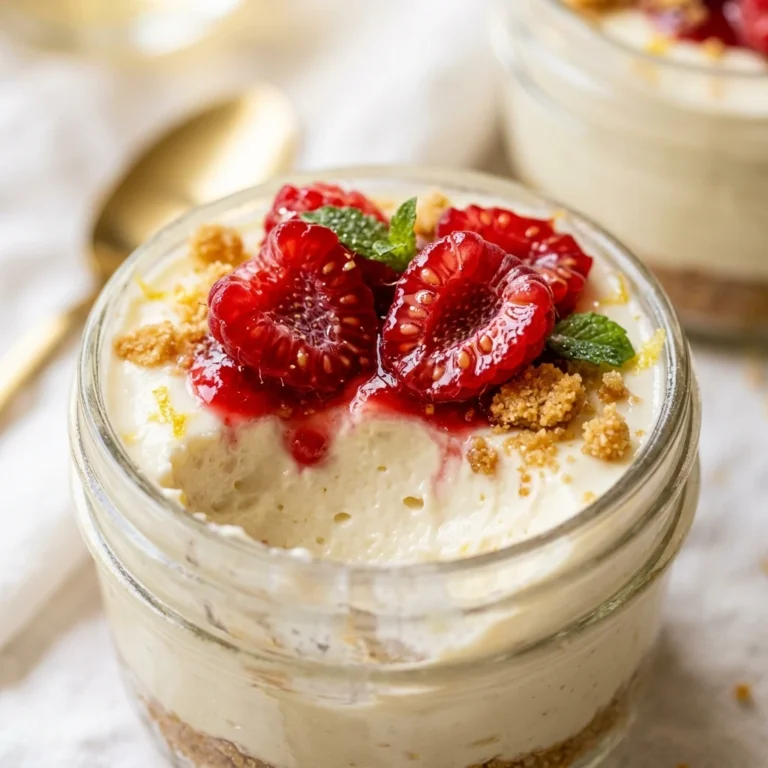
7. Garnishing: For an elegant finish, consider topping your cheesecake with fresh berries, a drizzle of white chocolate, or a light dusting of powdered sugar just before serving.
8. Serve at the Right Temperature: For the best flavor, serve your cheesecake slightly chilled, allowing its creamy texture to shine.
Common Mistakes to Avoid
1. Using Cold Ingredients: If you start with cold cream cheese or eggs, you’ll likely end up with a lumpy batter. Always bring your ingredients to room temperature.
2. Skipping the Crust: Neglecting to make a crust can lead to a soggy cheesecake. The crust not only provides structure but adds flavor and texture to balance the creaminess.
3. Overbaking: Baking too long can result in a dry cheesecake. Look for a slight jiggle in the center when you remove it from the oven; it will continue to set as it cools.
4. Not Using a Springform Pan: Using a regular pan can make it difficult to remove your cheesecake without breaking it. A springform pan allows for easy removal and presentation.
5. Cutting Too Soon: Slicing into the cheesecake before it’s fully chilled can result in a messy presentation. Patience is key for achieving clean slices.
6. Neglecting to Grease the Pan: Failing to grease the pan can lead to sticking, which may ruin the cheesecake’s appearance. Always grease the sides and bottom of your springform pan.
Creative Variations
1. Seasonal White Chocolate Cheesecake: Embrace seasonal flavors by incorporating pumpkin puree for a fall-inspired cheesecake, or fresh strawberries and mint for a refreshing summer treat. The addition of spices like cinnamon or nutmeg can enhance the seasonal flair.
2. Dietary-Friendly Option: To make a gluten-free cheesecake, substitute graham cracker crumbs with gluten-free cookies or oats. For a lower-calorie version, consider using reduced-fat cream cheese and replacing sugar with a natural sweetener like stevia.
3. Gourmet Elevated: Elevate your cheesecake by adding a swirl of raspberry or passionfruit puree into the batter before baking. This not only enhances the flavor but also creates a visually stunning marbled effect.
4. Quick 15-Minute Version: For a no-bake alternative, blend cream cheese, white chocolate, and whipped cream, spoon it into a pre-made graham cracker crust, and chill. This quick version is perfect for impromptu gatherings.
5. Kid-Friendly Cheesecake: Add fun toppings like colorful sprinkles, chocolate chips, or crushed candy bars. Let your kids help with the decorating for a delightful family activity that’s deliciously fun.
6. International Twist: Introduce flavors from around the world by mixing in ingredients like matcha powder for an Asian-inspired twist or espresso for a rich Italian flavor profile. You could also incorporate coconut for a tropical flair.
7. Savory Cheesecake: For those who love exploring savory desserts, try infusing the cheesecake with herbs like rosemary or thyme and serving it with a savory cracker crust. This unexpected twist will surprise and delight your guests.
With these tips, tricks, and variations, you’re ready to create a show-stopping Baked White Chocolate Cheesecake that is sure to impress at any gathering or simply make your day a little sweeter!
Serving Ideas
When it comes to serving your Baked White Chocolate Cheesecake, presentation is key to elevating this delightful dessert. Here are some inspiring plating ideas:
1. Classic Slice: Serve a generous slice on a clean white plate for a timeless look. Add a dollop of whipped cream on top and a few fresh raspberries on the side to enhance both flavor and visual appeal.
2. Layered Dessert: For a fun twist, crumble a piece of cheesecake into a glass and layer it with fresh berries and whipped cream. This not only looks stunning but also gives your guests a delightful textural contrast.
3. Chocolate Drizzle: Enhance the richness by drizzling a warm chocolate sauce over the cheesecake slice. This creates a beautiful contrast and adds an extra layer of indulgence.
4. Nutty Crunch: Top each slice with crushed nuts, such as pistachios or almonds, for an added crunch. It complements the creaminess of the cheesecake and adds a touch of elegance.
5. Mini Cheesecakes: For a more personal serving size, consider making mini cheesecakes in muffin tins. Just adjust the baking time to about 20-25 minutes for these delightful little treats.
What to Serve With
Choosing the right accompaniments can elevate your Baked White Chocolate Cheesecake experience. Here are some pairing suggestions:
– Fresh Berries: Strawberries, blueberries, or raspberries not only add a pop of color but their tartness balances the sweetness of the cheesecake wonderfully.
– Coffee or Espresso: The rich flavors of coffee pair beautifully with the creamy white chocolate, creating a comforting contrast.
– Chocolate Sauce: A drizzle of high-quality chocolate sauce adds a luxurious touch and heightens the dessert’s chocolate flavor.
– Mint Leaves: Fresh mint can be a refreshing palate cleanser and brightens the overall presentation of your cheesecake.
– Ice Cream: Vanilla or raspberry sorbet served alongside can introduce an exciting temperature contrast and enhance the dessert experience.
– Limoncello: This Italian lemon liqueur is a refreshing ending to a rich dessert, helping to cleanse the palate.
Storage Guide
To keep your Baked White Chocolate Cheesecake fresh, proper storage is essential. Here’s how to do it right:
– Container Type: Use an airtight container or cover the cheesecake with plastic wrap to prevent it from absorbing other odors in the refrigerator.
– Temperature: Store the cheesecake in the refrigerator at or below 40°F (4°C). This ensures a safe environment to maintain its creamy texture and flavor.
– Days It Keeps: When stored correctly, your cheesecake should remain delicious for about 5-7 days.
– Signs Gone Bad: Look out for any discoloration, off smells, or changes in texture. If the cheesecake becomes overly dry or develops an unusual film, it’s best to discard it.
– How to Refresh: If your cheesecake loses a bit of its moisture, you can lightly cover it with whipped cream before serving. This not only adds flavor but also restores a little of its original creaminess.
Freezing Tips
If you want to enjoy your Baked White Chocolate Cheesecake at a later date, freezing is an excellent option.
– Does It Freeze Well?: Yes, this cheesecake freezes well, preserving its creamy texture and rich flavor.
– Portioning: Consider slicing the cheesecake into individual portions before freezing. This makes it easy to thaw just what you need.
– How Long: Wrapped tightly in plastic wrap and then in aluminum foil, your cheesecake can be stored in the freezer for up to 3 months.
– Thawing Method: To thaw, transfer the cheesecake to the refrigerator and allow it to defrost overnight. If you’re in a hurry, you can leave it at room temperature for a few hours, but be mindful not to leave it out too long.
Reheating Guide
If you prefer your Baked White Chocolate Cheesecake warm, reheating is straightforward. Here’s how you can do it:
– Microwave: Place a slice on a microwave-safe plate and heat on medium for about 15-20 seconds. Check to ensure it doesn’t get too hot, as you want to maintain its creamy texture.
– Oven: Preheat your oven to 250°F (120°C). Place the cheesecake slice on a baking sheet and heat for about 10-15 minutes. This method warms the cheesecake evenly without drying it out.
– Stovetop: If you have a double boiler, you can use this method to gently warm your cheesecake. Simply place the slice in a heatproof dish over simmering water and cover it until warmed through.
Nutrition Overview
Understanding the nutritional benefits of your Baked White Chocolate Cheesecake can help you enjoy it guilt-free.
– Calories & Macros: Each serving contains approximately 350 calories, with around 22 grams of fat, 30 grams of carbohydrates, and 5 grams of protein.
– Health Benefits:
– Cream Cheese: Provides calcium, which is essential for strong bones.
– White Chocolate: Contains antioxidants that may improve heart health.
– Sour Cream: Offers probiotics that support gut health.
Enjoying this cheesecake in moderation can be a delightful treat while still offering some nutritional perks!
Frequently Asked Questions
Q: Can I use low-fat cream cheese for this recipe?
A: Yes, you can use low-fat cream cheese, but it may result in a slightly different texture. The cheesecake may not be as rich and creamy, but it will still be delicious.
Q: How do I know when my cheesecake is done baking?
A: The cheesecake is done when the edges are set, and the center is slightly jiggly. It will continue to firm up as it cools.
Q: Can I make this cheesecake ahead of time?
A: Absolutely! This cheesecake can be made a day or two in advance. Just ensure it is covered and stored in the refrigerator.
Q: What can I substitute for white chocolate?
A: If you’re looking for an alternative, you could use semi-sweet chocolate; however, this will change the flavor profile and make it less sweet.
Q: Can I add flavors, like lemon or raspberry, to this cheesecake?
A: Yes, you can add flavorings! A teaspoon of lemon zest or a swirl of raspberry puree can elevate the flavor without overpowering the white chocolate.
Q: Is it necessary to use a springform pan?
A: While a springform pan is ideal for easy removal, you can use a regular round cake pan. Just make sure to line the bottom with parchment paper for easier removal.
Q: Can I decorate my cheesecake with fruit?
A: Yes, fresh fruits like berries, sliced peaches, or citrus segments can add a beautiful touch and balance the sweetness of the cheesecake.
Q: What’s the best way to cut a cheesecake?
A: Use a sharp, warm knife for clean cuts. Dip the knife in hot water and wipe it dry between cuts for the best results.
Final Thoughts
Your Baked White Chocolate Cheesecake is not just a dessert; it’s a celebration of flavors and textures that brings joy to any gathering. Remember to allow it plenty of time to chill in the refrigerator; patience is key to achieving that perfect creamy consistency.
A little enthusiasm goes a long way when serving this delightful treat, so don’t hesitate to share it with friends and family. They will appreciate the effort you put into creating such a decadent dessert. Enjoy every bite, and happy baking!