Follow Me On Pinterest!
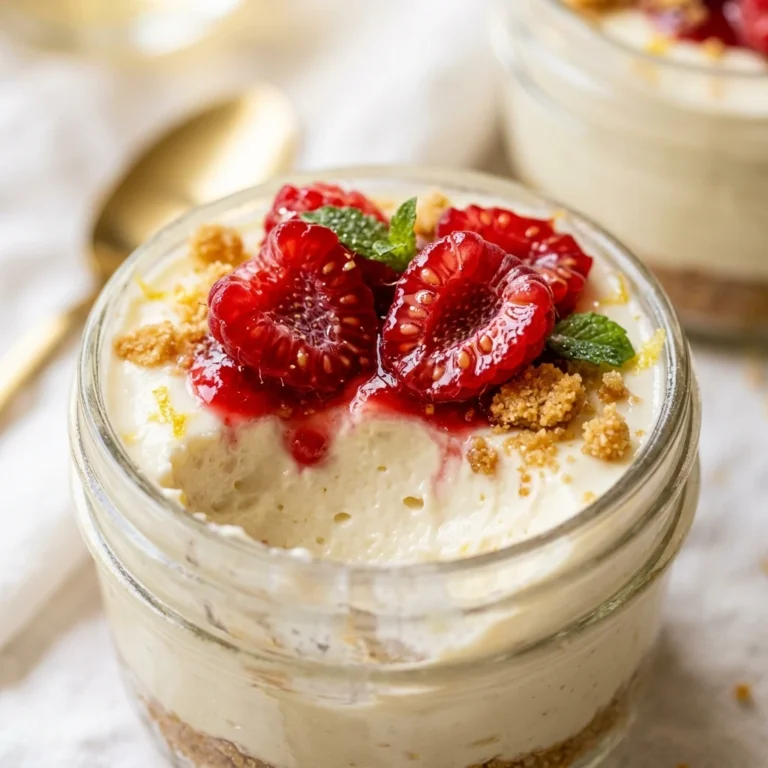
Raspberry Cheesecake Bars

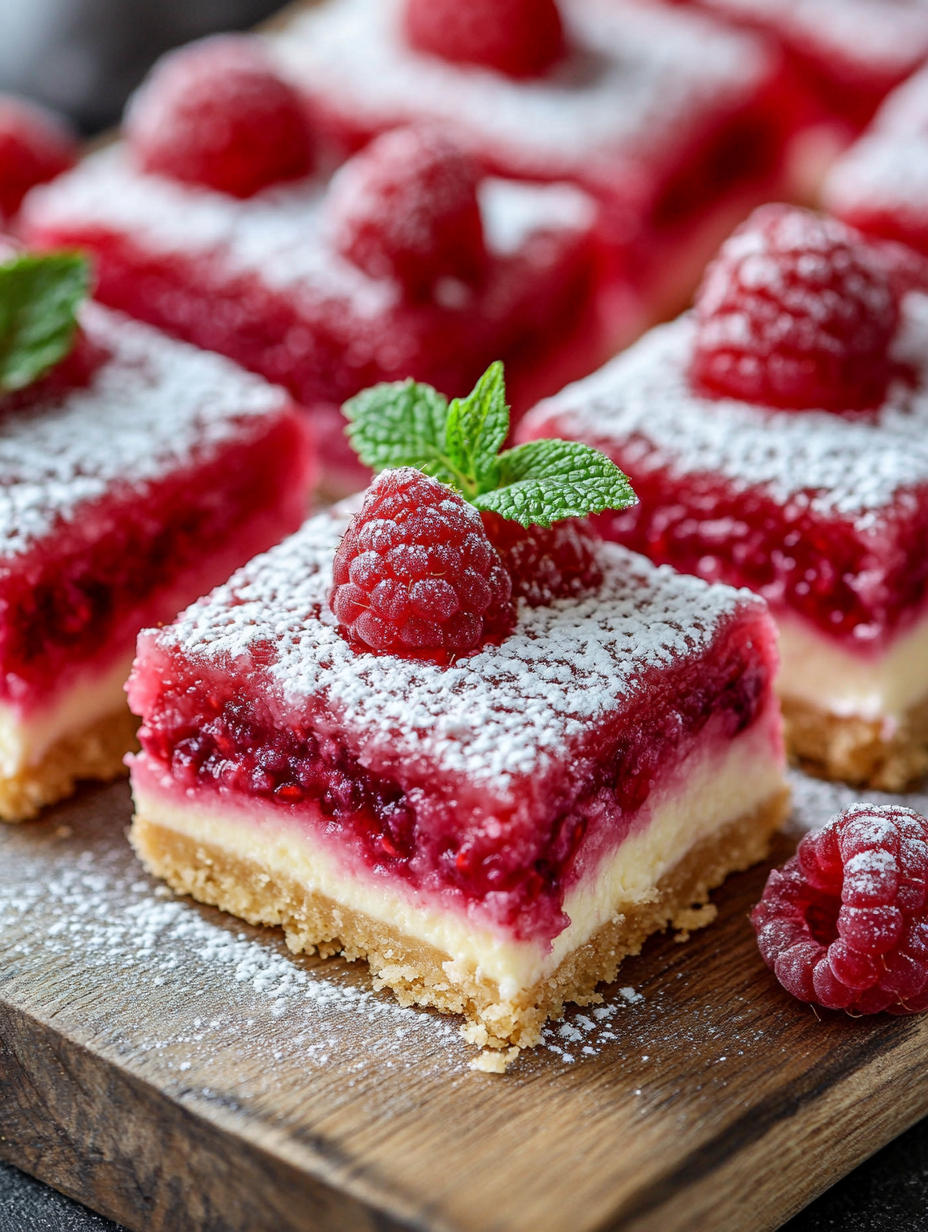
Raspberry Cheesecake Bars: A Sweet Burst of Bliss in Every Bite
Introduction
Picture this: a sunny afternoon, the faint sound of laughter wafting through the air as friends gather around a picnic table adorned with an array of colorful treats. Among the delights, there’s a plate of raspberry cheesecake bars, their luscious pink hue inviting everyone to take a bite. As a child, these bars were the star of any gathering, often made by my grandmother whose love for baking was only surpassed by her love for her family.
I can still remember the first bite—creamy, rich cheesecake perfectly balanced with the tartness of freshly picked raspberries, all resting atop a crunchy graham cracker crust. It was a symphony of flavors and textures that danced on my palate, and I was instantly hooked. Those moments became a cherished memory, a way to connect not only with each other but with the joy of homemade sweets.
Now, as an adult, I’ve recreated this beloved recipe countless times, each batch echoing the laughter and love of those sunny afternoons. These raspberry cheesecake bars have become my go-to dessert for any occasion, whether it’s a family gathering, a picnic with friends, or simply a treat for myself. Each time I make them, I’m reminded of my grandmother’s kitchen, filled with warmth, love, and the scent of something sweet baking in the oven.
As you embark on your own journey to create these delightful bars, let the spirit of those summer days inspire you. The process is simple, the ingredients are easily accessible, and the end result is a dessert that brings joy to any table.
Why This Recipe Works
The beauty of these raspberry cheesecake bars lies in their simplicity, yet the science behind each ingredient creates a delightful harmony of flavors and textures. At the heart of this recipe is cream cheese, which provides that rich, creamy texture synonymous with cheesecake. The cream cheese should be at room temperature before you start, as this ensures that it blends smoothly with the sugar, eliminating any lumps and creating that luxurious mouthfeel we all crave.
The sugar plays a dual role: it sweetens the filling while also helping to stabilize it. Using granulated sugar helps to maintain the right consistency and sweetness throughout the cheesecake. As the filling bakes, the sugar dissolves and integrates with the cream cheese, creating a luscious filling that melts in your mouth.
Eggs are another crucial ingredient in this recipe. They act as the binding agent, providing structure and stability to the cheesecake as it bakes. When you mix the eggs in one at a time, you’re allowing for a smoother texture, which leads to that delightful creaminess we all seek.
Now, let’s talk about raspberries. Their vibrant tartness cuts through the richness of the cream cheese, balancing out the sweetness. It’s important to fold them in gently; you want to maintain their shape and allow those juicy bursts of flavor to shine through in each bite.
Lastly, the graham cracker crust is the perfect foundation for this dessert. It adds a delightful crunch that contrasts beautifully with the creamy filling. By mixing melted butter with the crumbs and sugar, you create a crust that holds together and bakes to a golden perfection in the oven.
Together, these elements create a dessert that is not only delicious but also a testament to the magic of baking. The combination of technique, quality ingredients, and a touch of love make these raspberry cheesecake bars a reliable recipe for any occasion, ensuring that each bite packs a punch of flavor.
What Makes It Special
What sets these raspberry cheesecake bars apart from restaurant or store-bought versions is their homemade charm and the personal touch you can infuse into every layer. Here are a few unique qualities that elevate this dessert:
– Fresh Ingredients: Unlike pre-packaged versions, this recipe calls for fresh raspberries, which bring a level of vibrancy and authenticity that store-bought desserts simply can’t replicate. The fresh berries add a burst of flavor that is both tart and sweet, making every bite an experience.
– Customizable: This recipe is incredibly versatile. While it highlights raspberries, you can easily swap in other fruits like strawberries, blueberries, or even a mix! This adaptability allows you to make these bars your own, catering to seasonal ingredients or personal preferences.
– Texture Contrast: The combination of the creamy filling with the crunchy graham cracker crust creates a delightful contrast that is often lacking in mass-produced desserts. Each bite offers a satisfying crunch followed by a smooth, creamy explosion of flavor.
– Nostalgic Appeal: There’s something inherently special about homemade desserts that evoke memories and emotions. Each time you make these raspberry cheesecake bars, you’re not just preparing a treat; you’re creating an experience that can be shared and cherished with loved ones, just like those sunny afternoons spent with my grandmother.
These elements combined make this dessert a standout choice, one that is bound to impress your friends and family and leave them asking for the recipe.
Ingredient Breakdown
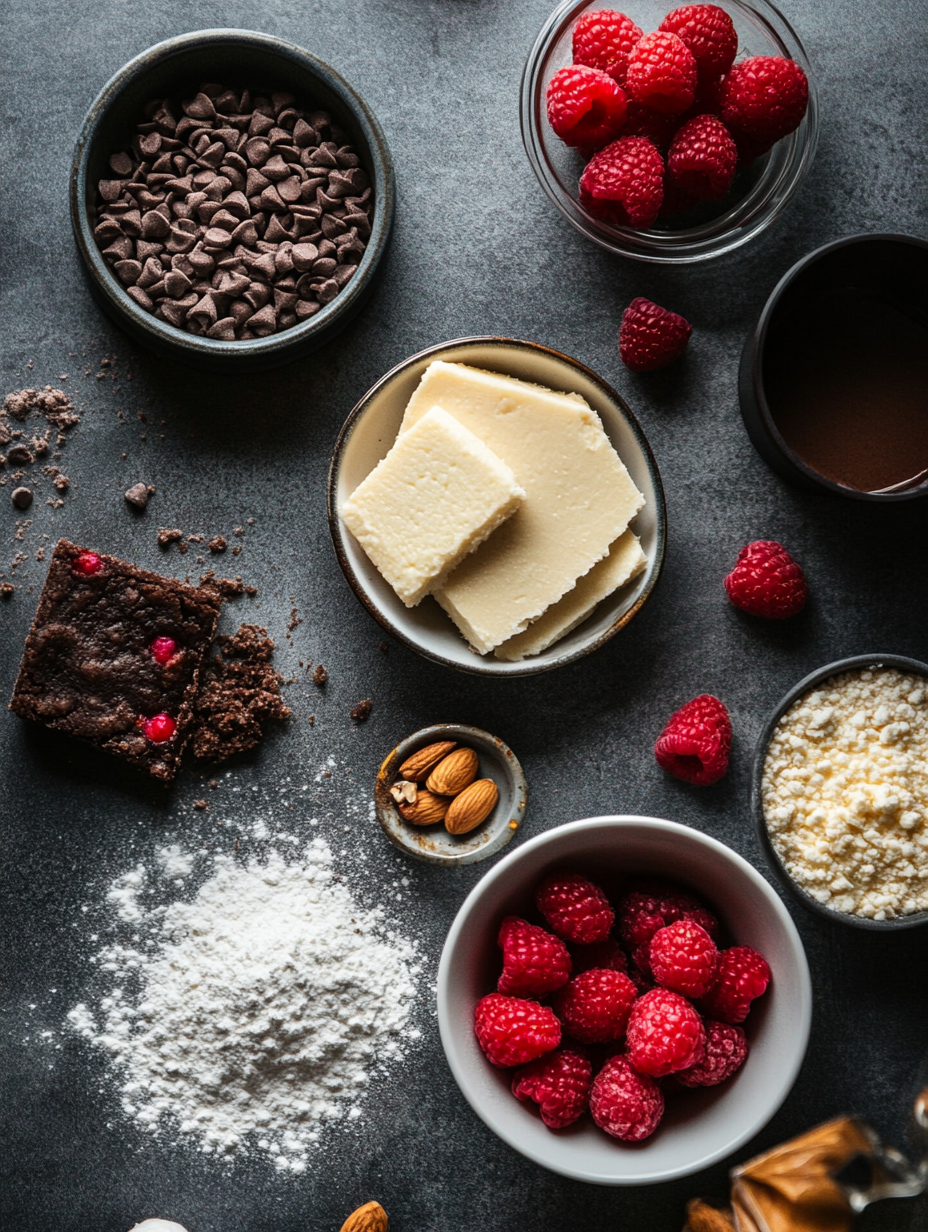
To create the most delightful raspberry cheesecake bars, it’s essential to understand the role of each ingredient. Here’s a breakdown of what you’ll need and how you can customize them to suit your dietary needs:
– Graham Cracker Crumbs (1 cup): This forms the base of your bars. They provide a sweet, slightly buttery flavor that complements the tangy cheesecake filling. If you’re looking for a gluten-free option, consider using gluten-free graham crackers or even crushed nuts for a unique twist.
– Unsalted Butter (0.5 cup): The butter not only adds richness to the crust but also helps bind the crumbs together. You can substitute with coconut oil for a dairy-free alternative, or even use applesauce for a lower-fat option, though the texture may vary slightly.
– Granulated Sugar (0.25 cup for crust, 0.75 cup for filling): Sugar sweetens the crust and filling, balancing the tartness of the raspberries. For a healthier alternative, try using coconut sugar or a sugar substitute like stevia, keeping in mind that it may affect texture and sweetness level.
– Cream Cheese (16 ounces): This is the star of your cheesecake filling. Opt for full-fat cream cheese for the richest flavor and texture, but you can also use reduced-fat cream cheese for a lighter version. Vegan cream cheese is available for a dairy-free substitute, although it may alter the taste slightly.
– Eggs (2 large): The eggs provide structure to your cheesecake. If you’re looking for an egg-free option, substitute each egg with 1/4 cup of unsweetened applesauce or a flaxseed meal mix (1 tablespoon of flaxseed meal mixed with 2.5 tablespoons of water, let sit for 5 minutes) for a similar binding effect.
– Vanilla Extract (1 teaspoon): This adds a warm, aromatic flavor that enhances the overall taste of the cheesecake. For a more intense flavor, consider using vanilla beans or pure vanilla powder.
– Fresh Raspberries (1 cup): They provide the perfect tartness that balances the sweetness of the cheesecake. If fresh raspberries are unavailable, frozen ones can work as well; just make sure to thaw and drain them to avoid excess moisture.
Understanding these ingredients allows you to adjust the recipe to your dietary preferences while maintaining the essence of what makes these raspberry cheesecake bars so special. Each component plays a vital role in the final outcome, ensuring that every bite is as delicious as the last.
Equipment Needed
To whip up these delightful raspberry cheesecake bars, you’ll need a few essential tools that will make the process smoother and more enjoyable:
– 8×8 Inch Baking Dish: A square baking dish is perfect for creating thick, luscious bars. If you don’t have one, you can use a similar-sized dish or even a round pan, but adjust the baking time as needed.
– Parchment Paper: Line your baking dish with parchment paper for easy removal of the bars after baking. This simple addition prevents sticking and makes cleanup a breeze.
– Mixing Bowls: Having a medium bowl for the crust and a large bowl for the cheesecake filling is essential. Opt for glass or stainless steel for a more durable option.
– Electric Mixer: A hand mixer or a stand mixer will make beating the cream cheese and eggs much easier, ensuring a smooth and creamy filling. If you don’t have one, a whisk will work, but it will require more elbow grease!
– Spatula: A silicone spatula is ideal for folding in the raspberries and scraping down the sides of your mixing bowl, allowing you to get every last bit of that delicious filling.
– Cooling Rack: While not necessary, a cooling rack will help your cheesecake bars cool evenly and prevent them from getting soggy.
These tools are widely available and can be found at most kitchen supply stores or online. Investing in quality equipment can make all the difference in your baking experience, ensuring that your raspberry cheesecake bars turn out perfect every time.
Step-by-Step Instructions
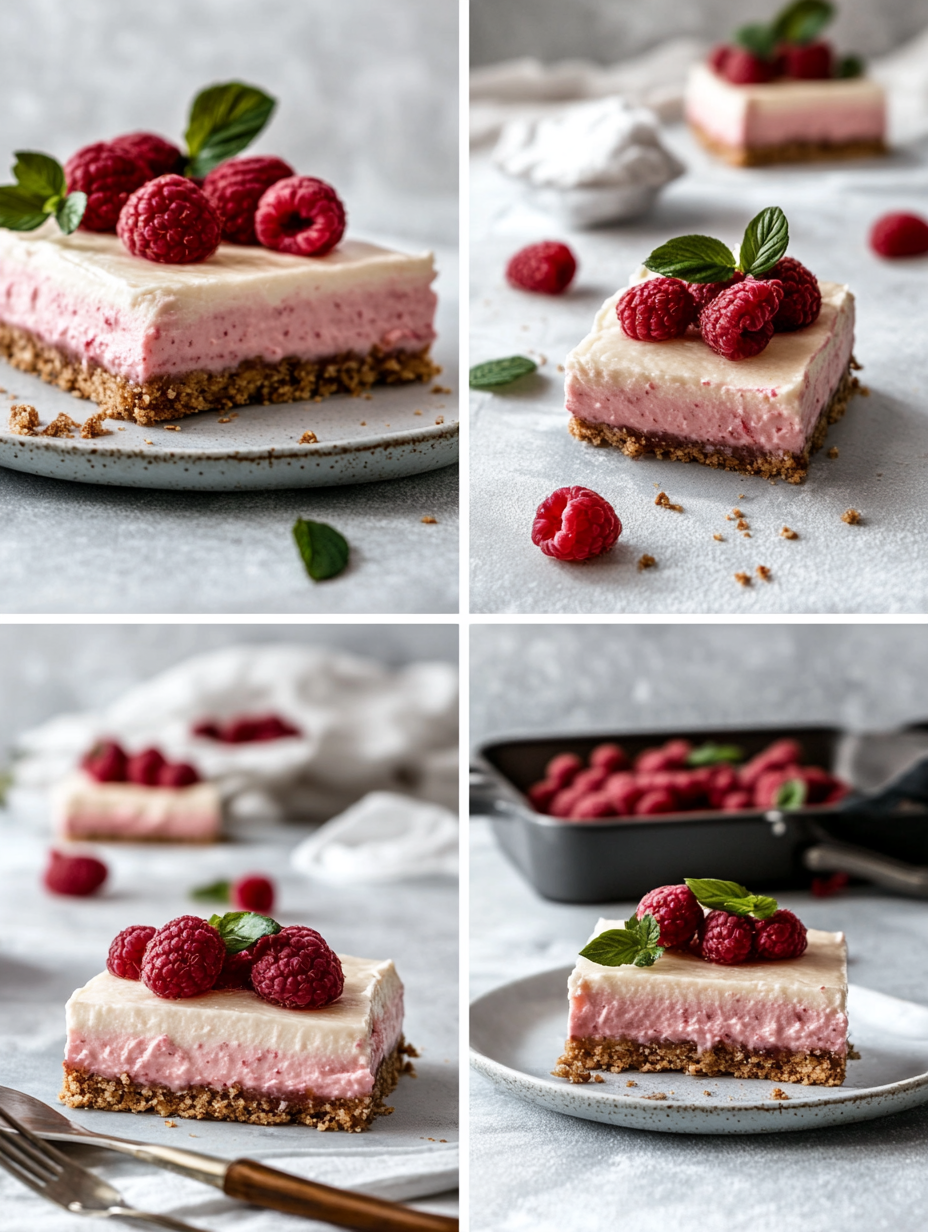
1. Preheat your oven and prepare the pan. Start by preheating your oven to 350°F (175°C). While it heats, take an 8×8 inch baking dish and line it with parchment paper. This will help you easily lift the cheesecake bars out later. You should smell the cozy warmth of the oven as it gets ready, a promise of the deliciousness about to come.
2. Make the graham cracker crust. In a medium bowl, mix together 1 cup of graham cracker crumbs, 0.5 cup of melted unsalted butter, and 0.25 cup of granulated sugar. Stir until the mixture resembles wet sand. Press this mixture firmly into the bottom of the prepared baking dish using your fingers or the back of a measuring cup to create an even layer. You’ll hear a satisfying crunch as the crumbs meld together. The crust should be golden and slightly firm to the touch.
3. Prepare the cheesecake filling. In a large mixing bowl, beat 16 ounces of cream cheese with 0.75 cup of granulated sugar until the mixture is smooth and creamy. You want the cream cheese to be softened to ensure easy mixing. The sound should be a gentle whirring as your mixer whips the ingredients together. The aroma of sweet cream will fill the air, making it hard to resist sneaking a taste.
4. Incorporate the eggs and vanilla. Add 2 large eggs, one at a time, mixing well after each addition. Follow this with 1 teaspoon of vanilla extract. Be sure to scrape down the sides of the bowl to incorporate everything evenly. You’ll notice the mixture becoming lighter and fluffier. The smell of vanilla will brighten the room, enhancing the creaminess of the filling.
5. Fold in the raspberries. Gently add 1 cup of fresh raspberries to the cheesecake mixture. Use a spatula to fold the raspberries in, being careful not to break them apart too much. You want to keep those lovely bursts of color intact! The filling should look swirled, with beautiful pink and white hues, and the raspberries should be dotted throughout.
6. Combine and bake. Pour the cheesecake filling over the graham cracker crust and smooth the top with a spatula. Slide the baking dish into your preheated oven and bake for about 25 minutes. Keep an eye on it; you’re looking for a center that is set but still has a slight jiggle, and edges that are lightly golden. The aroma of baking cheesecake will be utterly enticing, filling your kitchen with sweetness.
7. Cool and serve. Once baked, remove the cheesecake bars from the oven and let them cool completely in the baking dish. This step is crucial, as cooling allows the bars to set properly. You should hear a gentle settling as they cool. Once cooled, lift them out using the parchment paper, and cut into squares. Serve chilled for a refreshing treat!
Chef’s Note: Always ensure your cream cheese is at room temperature for easier blending, and don’t rush the cooling process—the bars will taste much better when they’re set!
Pro Tips for the Best Results
– Use fresh raspberries: While frozen raspberries can work in a pinch, fresh ones offer a brighter flavor and better texture. Make sure to wash and dry them thoroughly before folding them into the mixture.
– Don’t skip the parchment paper: This makes removal easy and keeps your bars intact. If you don’t have parchment paper, you can grease the pan well, but parchment is a foolproof option.
– Room temperature ingredients: For the creamiest texture, ensure that your cream cheese and eggs are at room temperature before you begin. This will help everything blend together smoothly without lumps.
– Check for doneness: The cheesecake should be set at the edges but should still have a slight jiggle in the center. Overbaking can lead to a dry texture, so keep a close watch as the time approaches.
– Chill before serving: For the best flavor and texture, refrigerate the bars for at least 2 hours before serving. This helps them firm up and makes them easier to cut.
– Use a sharp knife for cutting: To achieve clean edges, dip your knife in hot water, dry it off, and then slice through the bars. Repeat this process for each cut for pristine squares.
– Top it off: Consider adding a dusting of powdered sugar or a drizzle of raspberry sauce before serving for an extra touch of elegance.
Common Mistakes to Avoid
1. Not softening the cream cheese: Using cold cream cheese leads to a lumpy filling that won’t blend well. Always allow it to come to room temperature for a smooth consistency.
2. Overmixing the batter: Mixing too vigorously can incorporate excess air, leading to cracks in your cheesecake bars as they bake and cool. Mix just until ingredients are combined for a smooth finish.
3. Underbaking the cheesecake: If the center is too jiggly, the bars may not set properly. Always check for a gently set center; it will firm up as it cools.
4. Skipping the cooling step: Trying to cut the bars before they’ve fully cooled can result in a messy presentation. Allow them to cool completely in the dish to maintain shape.
5. Using stale graham crackers: Fresh graham cracker crumbs create a better texture and flavor. Check for freshness in your ingredients to enhance your crust.
6. Not greasing the pan if skipping parchment: If you don’t use parchment paper, you must grease the pan well to prevent sticking. Otherwise, you risk losing pieces of your crust and filling.
7. Ignoring storage: These bars should be stored in an airtight container in the refrigerator to keep them fresh. Leaving them uncovered can lead to a dry texture.
Creative Variations
1. Seasonal: Swap out fresh raspberries for seasonal fruits like blackberries in summer or pumpkin puree in fall. Simply adjust the sugar levels according to the sweetness of the fruit for a twist on the classic.
2. Dietary-Friendly: For a gluten-free version, use gluten-free graham cracker crumbs or almond flour instead of regular crumbs. You can also substitute the cream cheese with vegan cream cheese for a dairy-free option.
3. Gourmet Elevated: Elevate your bars by adding a swirl of chocolate ganache on top or integrating a layer of white chocolate into the filling. You could even infuse a hint of lemon zest for a zesty kick.
4. Quick 15-Minute: If you’re in a rush, you can create a no-bake version. Use the same crust, but combine cream cheese, sugar, and whipped cream until fluffy. Pour over the crust and chill for a quick, creamy dessert.
5. Kid-Friendly: Involve your kids by letting them help mix the filling and fold in the raspberries. You can even change up the filling to be chocolate chip cheesecake by replacing raspberries with mini chocolate chips for a chocolaty treat.
6. International Twist: Give a nod to Swedish flavors by adding a hint of cardamom to the filling and topping it with cloudberry jam. Alternatively, use matcha powder for a unique green tea flavor, appealing to those who love international tastes.
7. Savory Option: For something completely different, try a savory version by adding herbs like dill or basil into a cream cheese filling and topping it with thinly sliced tomatoes. This could serve as a unique appetizer at your gatherings.
Embrace your creativity with these variations, and you’ll find that your Raspberry Cheesecake Bars can easily cater to any occasion or dietary need!
Serving Ideas
Your Raspberry Cheesecake Bars are not only a delight to the palate, but they also present beautifully. Here are a few plating ideas to elevate your dessert experience:
1. Individual Squares: Cut the bars into small squares and arrange them on a decorative plate. This makes for easy serving and allows guests to enjoy a manageable portion.
2. Garnish with Mint: Add a sprig of fresh mint on top of each square for a pop of color and a hint of freshness. It complements the berry flavors beautifully.
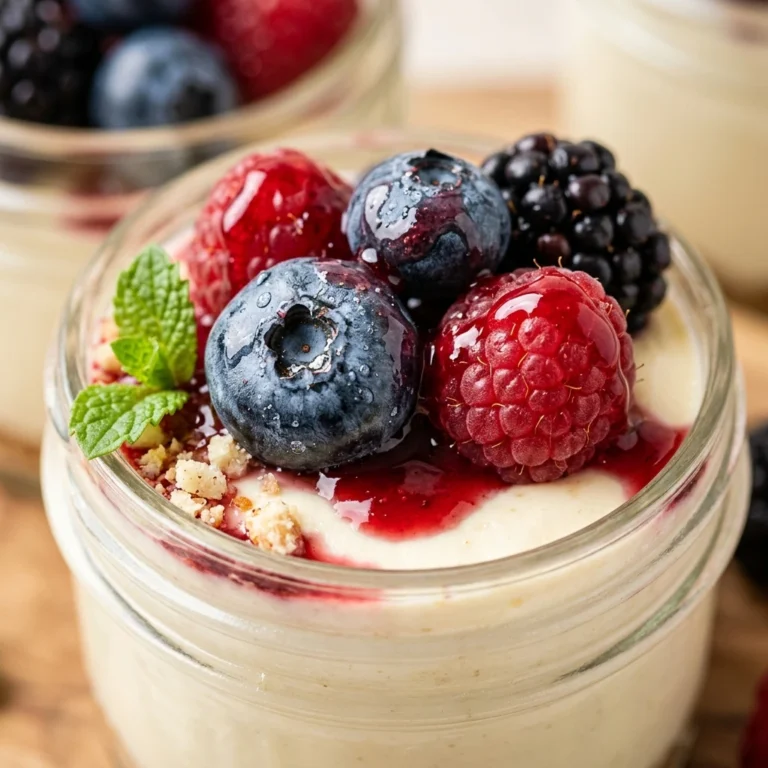
3. Drizzle with Raspberry Sauce: Before serving, drizzle some homemade or store-bought raspberry sauce over the cheesecake bars. This adds an extra layer of flavor and a vibrant visual appeal.
4. Pair with Whipped Cream: Serve each square with a dollop of lightly sweetened whipped cream on the side. This creamy addition enhances the richness of the cheesecake.
5. Plate with Extra Berries: Surround the bars with a handful of fresh raspberries for a burst of color and a fresh taste that ties in perfectly with the cheesecake.
Feel free to get creative with your presentations! The key is to have fun while making your dessert visually appealing.
What to Serve With
Pairing your Raspberry Cheesecake Bars with complementary flavors can enhance the overall dining experience. Here are some great pairing options:
– Coffee: The robust flavor of coffee balances the sweetness of the cheesecake. A rich espresso or a creamy cappuccino makes for a lovely accompaniment.
– Tea: Try serving with a light herbal tea like chamomile or a floral Earl Grey. The subtle notes of the tea will highlight the raspberry flavor without overpowering it.
– Ice Cream: Vanilla or raspberry sorbet can create a delightful contrast with the creamy cheesecake texture. The cold and creamy elements work beautifully together.
– Chocolate Sauce: Drizzling some dark chocolate sauce on top or serving it on the side creates a rich indulgence that complements the tangy raspberries.
– Fresh Fruit Salad: A light fruit salad with seasonal fruits can refresh the palate between bites of the rich cheesecake bars.
– Sparkling Water: For a non-sweet option, sparkling water with a slice of lemon or lime can cleanse your palate and add a refreshing note to the dessert experience.
These pairings create a balanced dessert table, allowing each element to shine while providing a satisfying experience.
Storage Guide
To keep your Raspberry Cheesecake Bars fresh and delicious, follow these storage guidelines:
– Container Type: Store the bars in an airtight container to prevent them from drying out or absorbing any odors from the fridge.
– Temperature: Keep the container in the refrigerator. The cool temperature will help maintain the creamy texture and flavor.
– Days It Keeps: Properly stored, your cheesecake bars will stay fresh for up to 5-7 days.
– Signs Gone Bad: Watch for changes in texture or an off smell, which may indicate spoilage. Mold is a definite sign to discard the bars.
– How to Refresh: If the bars seem a bit firm after refrigeration, allow them to sit at room temperature for a few minutes before serving. This will soften them slightly, making them creamier again.
With these tips, you can enjoy your cheesecake bars throughout the week!
Freezing Tips
Yes, your Raspberry Cheesecake Bars freeze very well! Here are some easy steps to ensure they maintain their deliciousness:
– Portioning: Before freezing, cut your cheesecake bars into individual squares. This makes it easier to thaw only what you need later.
– Wrap Properly: Wrap each square tightly in plastic wrap, then place them in a freezer-safe container or a zip-top freezer bag to prevent freezer burn.
– How Long: They can be frozen for up to 2-3 months without losing quality.
– Thawing Method: To enjoy your frozen cheesecake bars, simply transfer them to the refrigerator for several hours or overnight to thaw. Alternatively, you can let them sit at room temperature for about 30 minutes before serving.
By following these freezing tips, you can savor the delightful flavors of your cheesecake bars even weeks later!
Reheating Guide
Reheating your Raspberry Cheesecake Bars can help restore their creamy texture and make them enjoyable again. Here’s how to do it:
– Microwave: Place a square on a microwave-safe plate and heat on low power for 15-20 seconds. Keep an eye on it to prevent overheating, which can make the cheesecake rubbery.
– Oven: Preheat your oven to 300°F (150°C). Place the cheesecake squares on a baking sheet and warm them for about 10-15 minutes until they are just heated through.
– Stovetop: If you prefer, you can use a double boiler method by placing a heat-safe dish with the cheesecake bars over simmering water. This gentle heat will warm the bars without direct contact.
These reheating methods will help maintain the integrity of your delicious cheesecake bars without compromising their flavor.
Nutrition Overview
Each serving of your delightful Raspberry Cheesecake Bars contains approximately 250 calories. Here’s a quick breakdown of the macros per serving:
– Fat: 18g
– Carbohydrates: 21g
– Protein: 4g
– Sugar: 10g
These bars, while indulgent, offer some nutritional benefits. The cream cheese provides calcium and protein, while the raspberries are rich in antioxidants and vitamin C, promoting overall health. Additionally, the graham cracker crust provides a source of carbohydrates that can give you energy. Enjoying these bars in moderation can be a delightful part of a balanced diet!
Frequently Asked Questions
Q: Can I use frozen raspberries instead of fresh?
A: Yes, you can use frozen raspberries! Just be sure to thaw and drain excess moisture before folding them into the batter to avoid a watery cheesecake.
Q: How can I make this recipe gluten-free?
A: Substitute regular graham cracker crumbs with gluten-free graham crackers or almond flour. Ensure that all other ingredients are certified gluten-free.
Q: Can I make these bars ahead of time?
A: Absolutely! These cheesecake bars can be made a day in advance. Just be sure to store them in the refrigerator until you’re ready to serve.
Q: What can I use instead of cream cheese?
A: If you’re looking for a lighter alternative, consider using Greek yogurt or a vegan cream cheese substitute. Keep in mind that the texture and flavor may slightly differ.
Q: How do I prevent cracks on the cheesecake surface?
A: To prevent cracking, avoid over-mixing the batter and ensure that you bake at a low temperature. Letting the cheesecake cool gradually in the oven can also help.
Q: Can I add other fruits to the recipe?
A: Yes! Feel free to experiment with other berries like blueberries or strawberries, or even tropical fruits like mango for a unique twist.
Q: How do I know when the cheesecake bars are done baking?
A: The cheesecake bars are done when the edges are lightly golden, and the center is set but has a slight jiggle. They will firm up as they cool.
Q: Is there a way to make this recipe healthier?
A: You can reduce sugar by using a sugar substitute or cutting down on the amount used. Additionally, consider using lower-fat cream cheese for a lighter version.
Final Thoughts
Making Raspberry Cheesecake Bars is not just about the delicious end result, but also the joy of creating something special. The combination of creamy cheesecake and tart raspberries is a match made in heaven! Remember, the key to perfecting this recipe lies in gentle mixing and proper storage.
As you prepare to share these delightful bars with friends and family, take a moment to appreciate your efforts in the kitchen. Your loved ones will surely appreciate this sweet treat! So dive in, enjoy the process, and don’t forget to snap a picture of your beautiful creations before they disappear! Happy baking!