Follow Me On Pinterest!
Thanksgiving Pie No Rolling Needed Easy
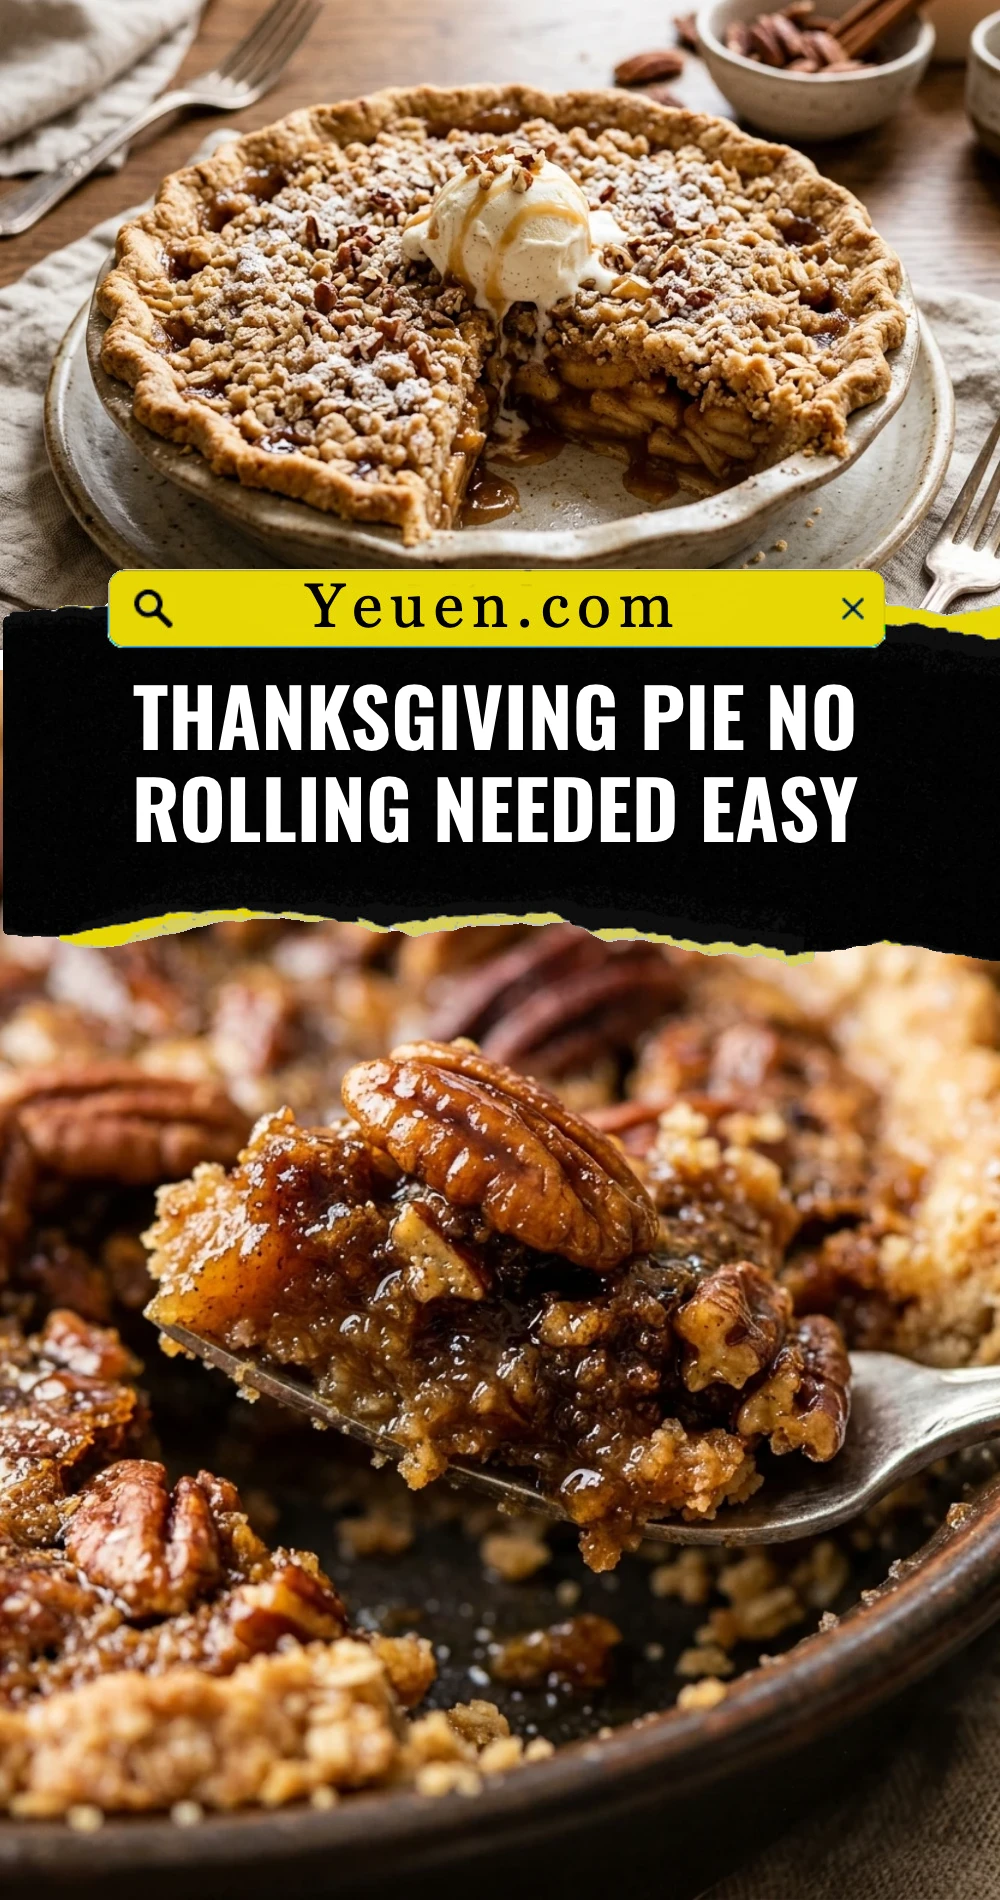
Let’s face it: Thanksgiving is stressful enough without wrestling a rolling pin and a finicky, crumbly pie crust. If you have ever felt the “pie crust panic” while trying to get dinner on the table, this recipe is your holiday hero. We are skipping the flour-dusted countertops and the chilling hours. This Thanksgiving Pie No Rolling Needed Easy uses a simple press-in method that results in a buttery, shortbread-like crust every single time. It is foolproof, fast, and honestly, even more delicious than the traditional version. You get all the flavor of a classic holiday dessert with half the effort and none of the mess.
Recipe Information
- Prep Time: 20 minutes
- Cook Time: 50 minutes
- Total Time: 1 hour 10 minutes
- Servings: 8 servings
- Difficulty: Easy
Nutrition values
- Calories: 345 kcal
- Protein: 6g
- Carbs: 42g
Why Make This Thanksgiving Pie No Rolling Needed Easy
Traditional pastry crusts require precise temperatures and specific techniques to avoid becoming tough. This “no rolling” version eliminates those hurdles entirely. By using melted butter and pressing the dough directly into the pan, you ensure a tender, flaky base without the risk of overworking the gluten. It is perfect for beginner bakers or anyone looking to reclaim an hour of their holiday schedule. Plus, the crust tastes remarkably like a rich shortbread cookie, which pairs beautifully with classic pumpkin or fruit fillings.
Ingredients
For the Easy Press-In Crust:
- 1 ½ cups all-purpose flour
- 2 tablespoons granulated sugar
- ½ teaspoon salt
- ½ cup unsalted butter, melted and slightly cooled
- 2 tablespoons cold water (only if needed)
For the Classic Pumpkin Filling:
- 1 can (15 oz) pumpkin puree (not pie filling)
- 3 large eggs
- ¾ cup granulated sugar
- 1 ½ teaspoons ground cinnamon
- ½ teaspoon ground ginger
- ¼ teaspoon ground cloves
- 12 oz evaporated milk
Directions
Step 1: Preparation
Preheat your oven to 375°F (190°C). Grab a standard 9-inch pie plate. You do not need to grease the pan, as the high butter content in the crust prevents sticking. Set aside your ingredients and ensure your melted butter has cooled slightly so it doesn’t scramble the eggs later in the process.
Step 2: Create the Press-In Crust
In a medium mixing bowl, whisk together the flour, sugar, and salt. Pour in the melted butter. Use a fork to stir the mixture until it forms moist crumbs. If the mixture feels too dry to hold together, add the water one tablespoon at a time. Dump the crumbs into your pie plate. Use your fingers or the bottom of a measuring cup to press the dough firmly and evenly across the bottom and up the sides of the pan. Prick the bottom a few times with a fork.
Step 3: Whisk the Filling
In a large bowl, whisk the eggs lightly. Stir in the pumpkin puree, sugar, cinnamon, ginger, and cloves until the color is uniform. Gradually pour in the evaporated milk, whisking constantly until the mixture is smooth and liquid. Be careful not to over-whisk, as you don’t want to incorporate too much air, which can cause the pie to crack.
Step 4: Bake the Pie
Carefully pour the pumpkin mixture into the prepared crust. Place the pie on the middle rack of the oven. Bake for 45 to 55 minutes. You will know it is done when the edges are set and slightly puffed, but the center still has a slight jiggle when moved. If the crust edges brown too quickly, cover them with a pie shield or aluminum foil halfway through.
Step 5: Cooling and Serving
Remove the pie from the oven and place it on a wire rack. Let it cool completely at room temperature for at least 2 hours. This step is crucial for the filling to set properly. Serve with a generous dollop of whipped cream or a scoop of vanilla ice cream.
Expert Tips for Perfect Thanksgiving Pie No Rolling Needed Easy
- Use Melted Butter: Unlike traditional crusts that need cold butter, this recipe relies on melted butter for that easy-to-press texture.
- Even Thickness: Use the flat bottom of a glass or measuring cup to press the dough. This ensures the base is even and cooks at the same rate.
- Don’t Over-Bake: The “jiggle” in the center is vital. The pie continues to set as it cools. If you wait until the center is firm, the pie will likely crack.
- Spice Freshness: Check the dates on your cinnamon and ginger. Fresh spices make a massive difference in the depth of flavor.
Delicious Variations
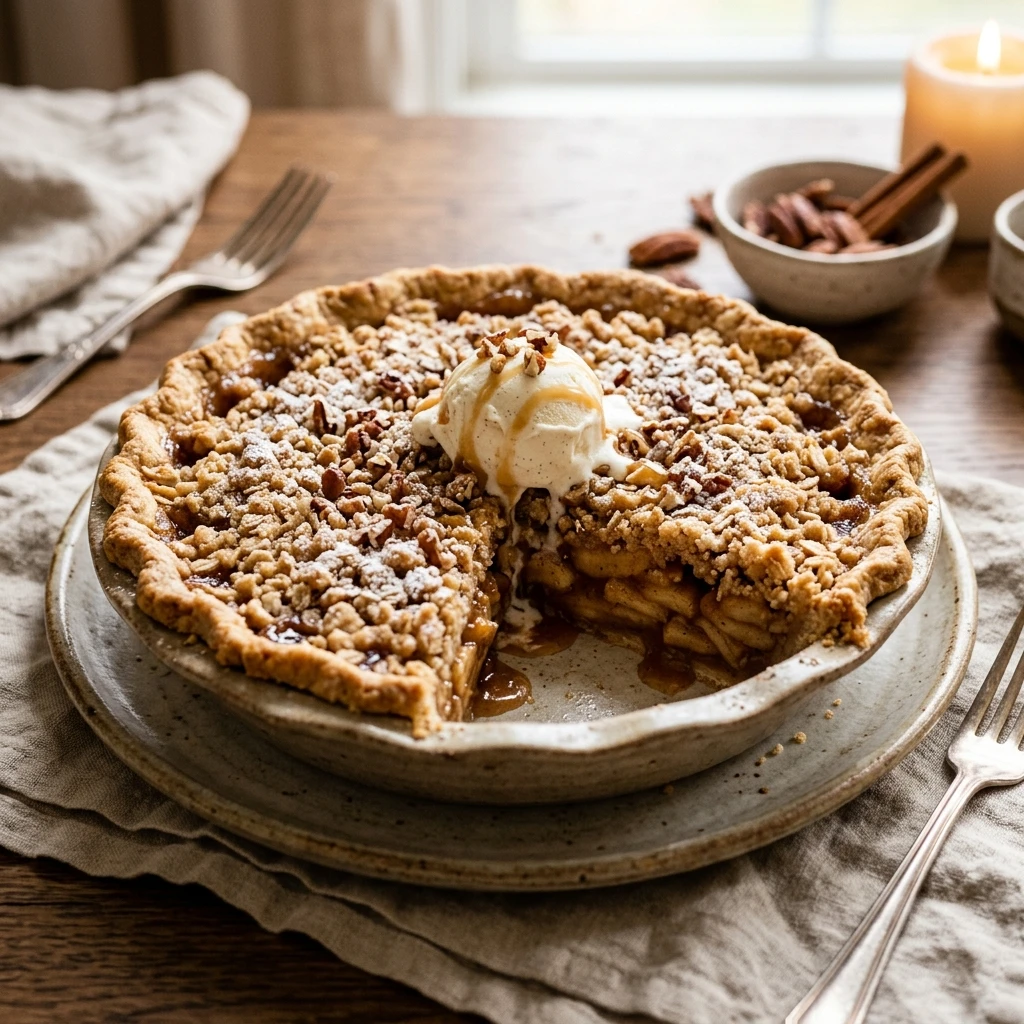
- Apple Filling: Use this same crust for a Dutch Apple pie. Just fill with sliced apples, cinnamon, and sugar, then top with a buttery crumble.
- Chocolate Chip Crust: Add a handful of mini chocolate chips to the crust dough before pressing it into the pan for a modern twist.
- Pecan Topping: Ten minutes before the pie finishes baking, sprinkle a mix of chopped pecans and brown sugar over the top for added crunch.
- Graham Style: Replace half the flour with graham cracker crumbs for a nuttier, more toasted flavor profile.
Frequently Asked Questions
Do I need to pre-bake (blind bake) this crust?
No, you do not need to pre-bake this specific crust for a pumpkin pie. Because it is a “press-in” style with a higher fat content, it holds its shape well and cooks through perfectly along with the filling.
Can I make this pie a day in advance?
Absolutely! In fact, pumpkin pie often tastes better the next day after the flavors have had time to meld. Keep it refrigerated after it has completely cooled.
Can I use gluten-free flour?
Yes, a 1:1 gluten-free all-purpose flour blend works very well with this press-in method because you don’t need the elasticity of gluten to roll it out.
Why did my pie crust crumble?
If the crust is too crumbly after baking, it likely didn’t have enough moisture or wasn’t pressed firmly enough into the pan. Ensure the butter is thoroughly mixed with the flour before pressing.
Can I use this crust for savory pies?
Yes! Simply omit the sugar from the crust ingredients. It works beautifully for quiches or savory pot pies that require a sturdy, buttery base.
Conclusion
Making a delicious Thanksgiving dessert shouldn’t feel like a chore. This Thanksgiving Pie No Rolling Needed Easy proves that you can achieve bakery-quality results with a fraction of the traditional effort. By choosing a press-in crust, you save time, reduce mess, and guarantee a delicious result that will have your guests asking for seconds. Give yourself a break this holiday season and try this simple, stress-free method. Your family—and your sanity—will thank you!