Follow Me On Pinterest!
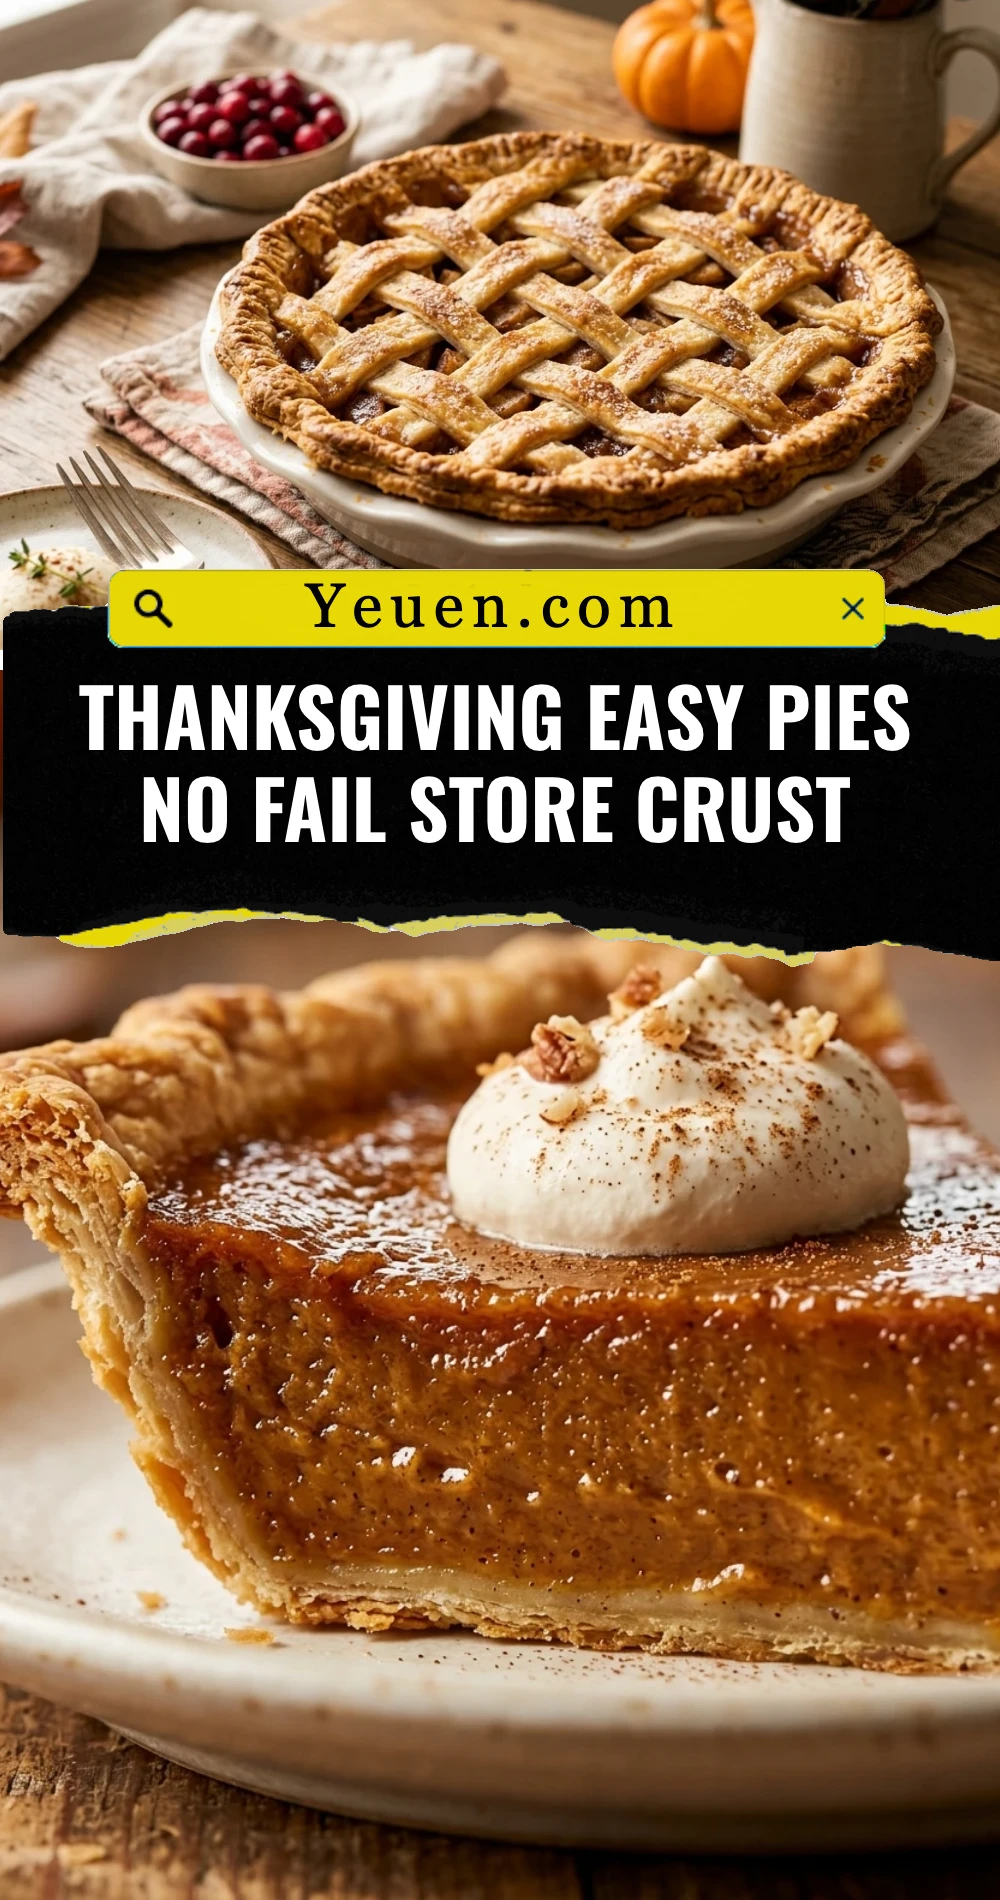
Thanksgiving Easy Pies No Fail Store Crust
Thanksgiving dinner usually brings enough stress without worrying about the perfect pastry dough. While we all love the idea of a from-scratch crust, the reality of a busy holiday kitchen often calls for a smarter solution. Using a store-bought crust doesn’t mean you’re cheating; it means you’re being efficient. With a few simple tricks, you can transform a refrigerated pie shell into a flaky, golden masterpiece that tastes like it came from a professional bakery. This guide shows you how to master the “no-fail” approach to Thanksgiving pies, ensuring your dessert table is both beautiful and delicious without the flour-covered meltdown.
Recipe Information
- Prep Time: 15 minutes
- Cook Time: 45 minutes
- Total Time: 60 minutes
- Servings: 8 servings per pie
- Difficulty: Easy
Nutrition values
- Calories: 310 kcal
- Protein: 4g
- Carbs: 42g
Why Make This Thanksgiving Easy Pies No Fail Store Crust
This recipe is a game-changer for holiday hosting. First, it guarantees consistency. Store-bought crusts are engineered to be sturdy and reliable, meaning you won’t deal with a crumbling mess. Second, it saves you at least an hour of chilling and rolling time, which is precious on Thanksgiving morning. Finally, because the crust is pre-made, you can focus all your energy on creating the most flavorful, high-quality fillings possible. It is the ultimate hack for a stress-free dessert course that still receives rave reviews from your guests.
Ingredients
- 1 package refrigerated pie crusts (2-count)
- 1 large egg (for egg wash)
- 1 tablespoon heavy cream or water
- 1 tablespoon coarse sanding sugar (optional)
- Your choice of filling (Pumpkin, Apple, or Pecan)
- All-purpose flour (for dusting the surface)
- Unsalted butter (for greasing the pie dish)
Directions
Step 1: Temper and Prep
Remove the pie crust from the refrigerator about 15 to 20 minutes before you plan to use it. This is the most important step. If the dough is too cold, it will crack when you try to unroll it. If it gets too warm, it becomes sticky and difficult to handle. Lightly grease your glass or ceramic pie dish with a thin layer of butter to ensure the slices slide out easily later.
Step 2: Roll and Fit
Lightly dust your clean countertop with a tiny bit of flour. Gently unroll the dough. Use a rolling pin to lightly flatten any creases or to stretch it just an extra half-inch if your pie dish is deep-dish style. Carefully lift the dough and center it over your pie plate. Press it gently into the bottom and up the sides, making sure not to stretch the dough, as stretching causes it to shrink during baking.
Step 3: Crimp the Edges
Fold any overhanging dough under itself to create a thick border that rests on the rim of the dish. Use your thumb and index finger on one hand and the index finger of your other hand to “pinch” or flute the edges. This creates that classic homemade look. For a simpler finish, use the tines of a fork to press the dough firmly against the rim of the plate.
Step 4: Fill and Wash
Pour your prepared Thanksgiving filling into the crust. In a small bowl, whisk the egg and heavy cream together to create an egg wash. Use a pastry brush to lightly coat the exposed edges of the crust. This is the secret to getting that deep, golden-brown color. Sprinkle the edges with sanding sugar for an extra crunch and a professional sparkle.
Step 5: Bake and Cool
Place the pie on the center rack of the oven. If you are worried about the edges browning too quickly, loosely cover them with a pie shield or strips of aluminum foil after the first 20 minutes. Bake until the filling is set and the crust is a beautiful mahogany brown. Allow the pie to cool on a wire rack for at least 2 to 3 hours. This cooling period is vital for the crust to crisp up and the filling to stabilize.
Expert Tips for Perfect Thanksgiving Easy Pies No Fail Store Crust
To avoid a “soggy bottom,” try pre-heating a baking sheet in the oven and placing your pie dish directly onto the hot sheet. This blast of heat helps the bottom crust cook faster. Always check the expiration date on your store-bought dough to ensure maximum freshness. If you find the dough is sticking to your fingers, lightly flour your hands. Finally, always use an egg wash; it transforms a dull, pale store crust into a vibrant, appetizing highlight of the meal.
Delicious Variations
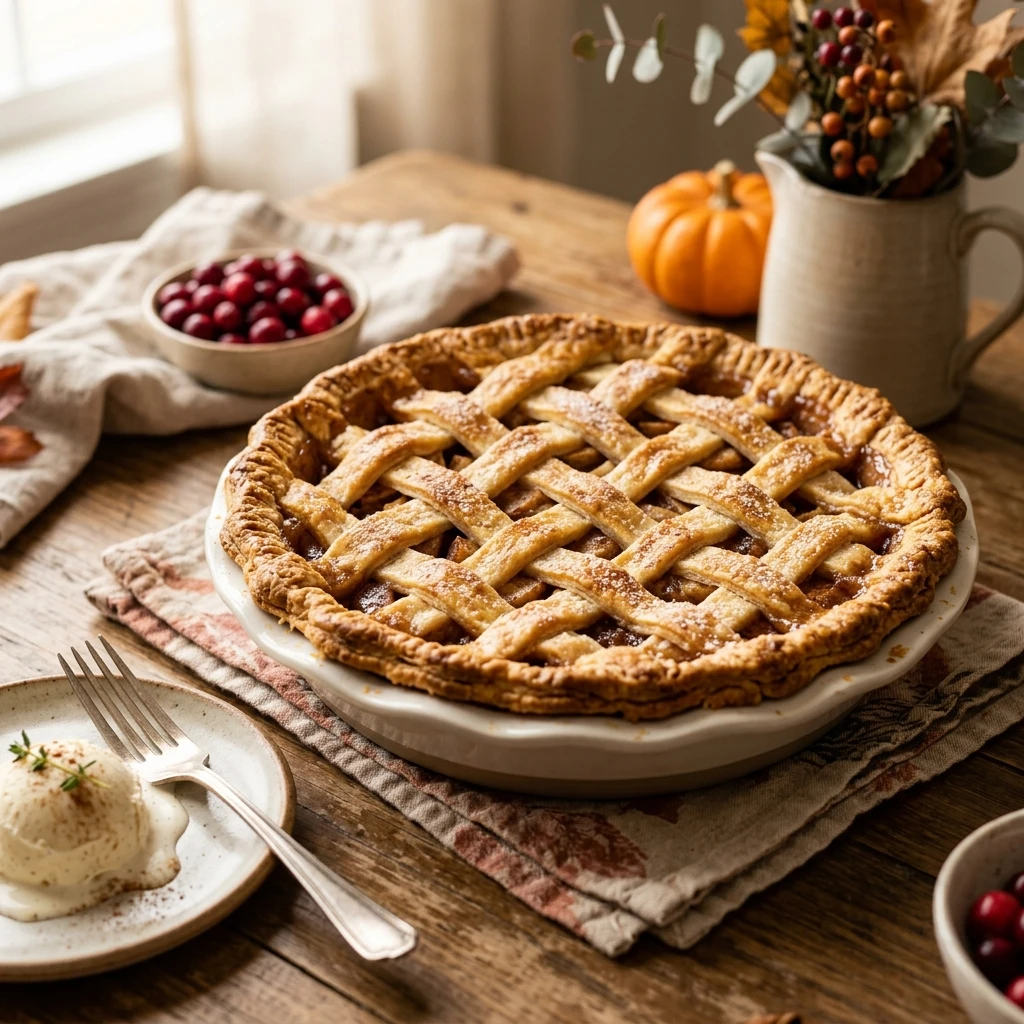
You can easily customize this “no-fail” base. For a decorative touch, use a second crust to cut out leaf or pumpkin shapes with cookie cutters and place them on top of the filling. For a savory twist, use this same crust method for a Thanksgiving leftover pot pie. You can also mix a teaspoon of cinnamon or ginger into the flour when rolling out the dough to infuse the crust with extra holiday spice. If you prefer a shortbread texture, brush the crust with melted butter instead of an egg wash.
Frequently Asked Questions
Can I use frozen pie crust instead of refrigerated?
Yes, but you must thaw it completely in the refrigerator overnight. Frozen crusts are more prone to cracking, so handle them very gently once thawed.
How do I prevent the crust from shrinking down the sides?
Avoid stretching the dough when placing it in the pan. Press it firmly but gently. Let the dough “slump” into the corners rather than pulling it to fit.
Do I need to “blind bake” the crust first?
For most pumpkin and pecan pies, you do not need to blind bake. However, if you are making a custard pie or a fruit pie with very wet filling, pre-baking the crust for 8-10 minutes can help prevent sogginess.
Why did my crust crack when I unrolled it?
The dough was likely too cold. If it cracks, simply wet your finger with a little water and press the edges of the crack back together. The dough is very forgiving!
Can I make the crust look “homemade”?
Absolutely. The fluting of the edges is the biggest giveaway. Spend an extra minute creating a beautiful crimp, and no one will ever guess it came from a box.
Conclusion
Using a store-bought crust is the smartest way to simplify your Thanksgiving prep without sacrificing quality. By following these easy steps—tempering the dough, using an egg wash, and crimping the edges—you can produce a professional-looking pie that tastes fantastic. Focus your holiday energy on your family and friends, and let this “no-fail” method take the stress out of your dessert. Happy baking and Happy Thanksgiving!