Follow Me On Pinterest!
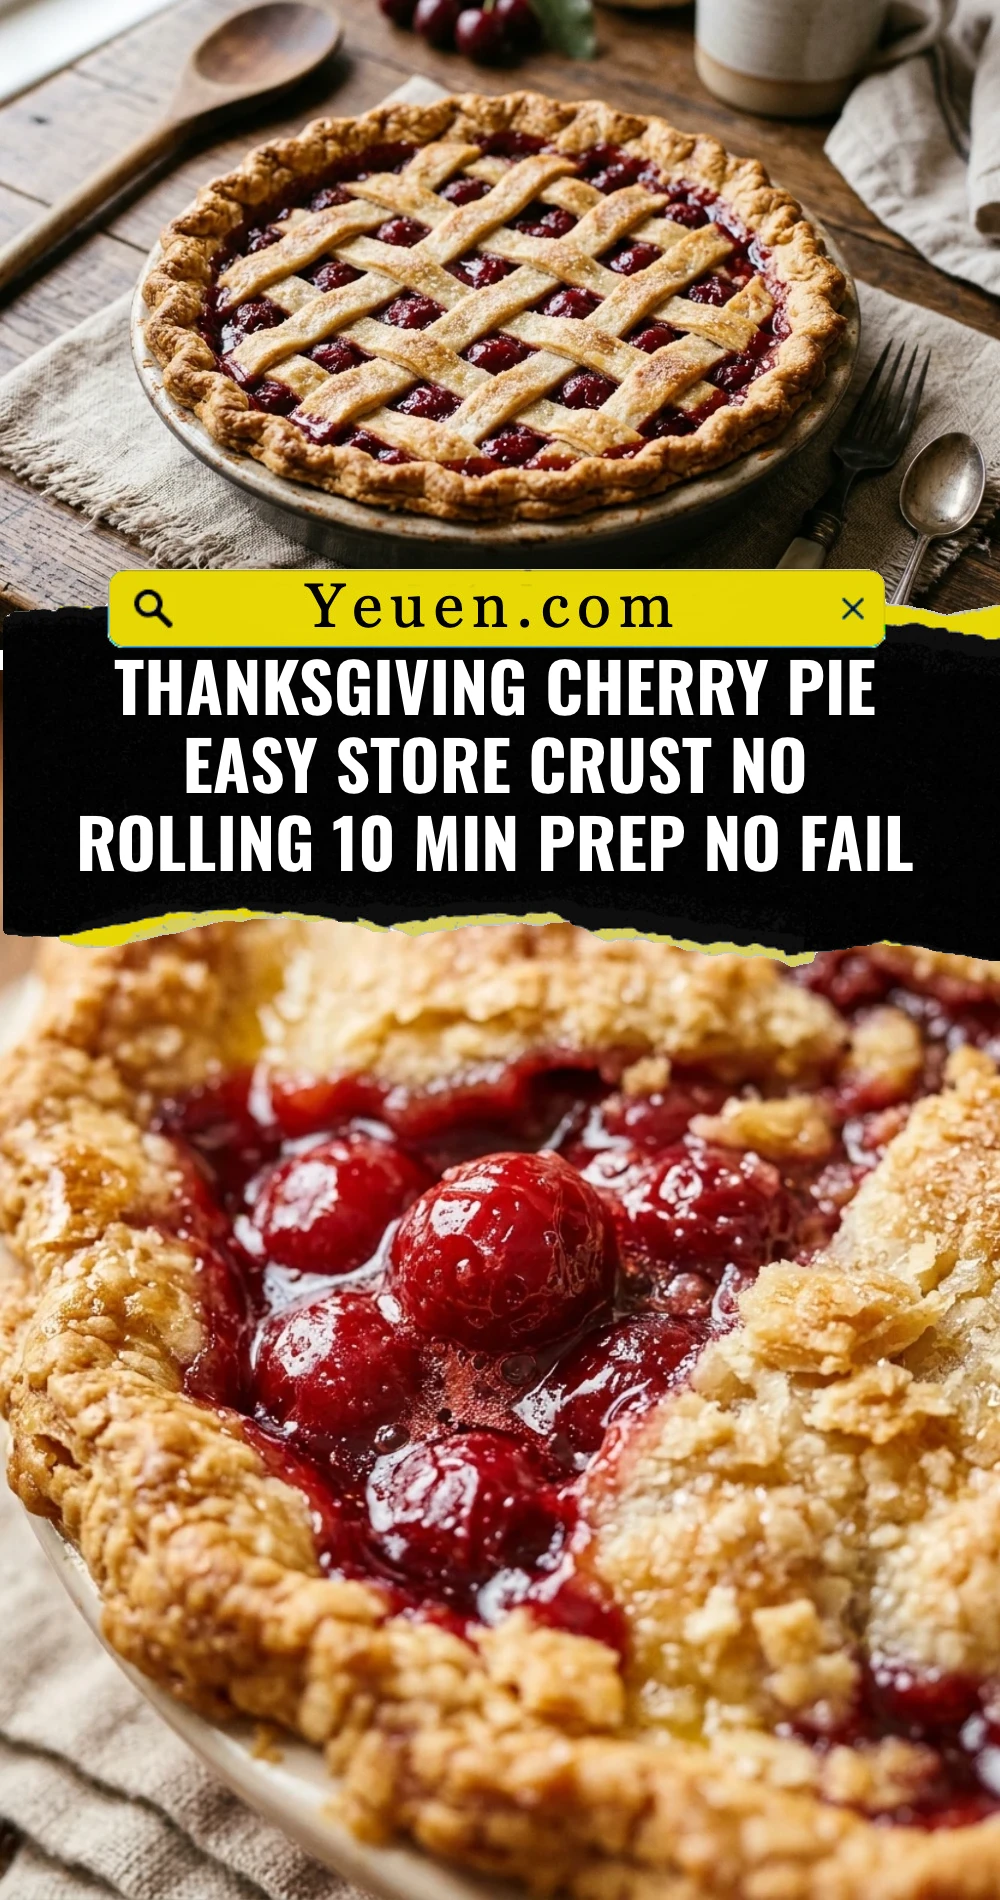
Thanksgiving Cherry Pie Easy Store Crust No Rolling 10 Min Prep No Fail
Thanksgiving is the busiest time of the year in any kitchen, and dessert shouldn’t add to your stress. This Thanksgiving Cherry Pie is the ultimate holiday hack for busy hosts. By using high-quality store-bought refrigerated crusts and a few simple flavor enhancers, you can have a stunning, professional-looking pie ready for the oven in just 10 minutes. There is absolutely no rolling pin required, no flour mess on your counters, and no chance of a “Pinterest fail.” It is sweet, tart, and perfectly flaky every single time.
Recipe Information
- Prep Time: 10 minutes
- Cook Time: 50 minutes
- Total Time: 1 hour
- Servings: 8 servings
- Difficulty: Easy
Nutrition values
- Calories: 315 kcal
- Protein: 3g
- Carbs: 48g
Why Make This Thanksgiving Cherry Pie Easy Store Crust No Rolling 10 Min Prep No Fail
You should make this pie because it tastes like home without the hours of labor. Most people struggle with pie crusts being too dry or too sticky, but using a refrigerated store-bought crust eliminates that variable entirely. It is a “no-fail” recipe because the filling is already perfectly thickened, so you never have to worry about a runny center. Plus, with only 10 minutes of active prep, you can focus on the turkey and stuffing while the oven does the heavy lifting for dessert.
Ingredients
- 1 box (14.1 oz) refrigerated pie crusts (contains 2 crusts)
- 2 cans (21 oz each) premium cherry pie filling
- 1/2 teaspoon almond extract (optional, for a gourmet flavor)
- 1 tablespoon lemon juice
- 1 egg (for egg wash)
- 1 tablespoon water
- 1 tablespoon coarse sparkling sugar or granulated sugar
Directions
Step 1: Preparation
Preheat your oven to 400°F (200°C). Take the refrigerated pie crusts out of the box and let them sit at room temperature for about 15 minutes so they become pliable. Place a 9-inch glass or ceramic pie plate on a baking sheet to catch any drips during the baking process.
Step 2: Assemble the Filling
In a medium mixing bowl, empty both cans of cherry pie filling. Stir in the almond extract and lemon juice. The almond extract highlights the cherry flavor, while the lemon juice adds a necessary brightness that cuts through the sweetness of the canned filling. Gently unroll one of the pie crusts and press it firmly into the bottom and up the sides of your pie plate.
Step 3: Top and Bake
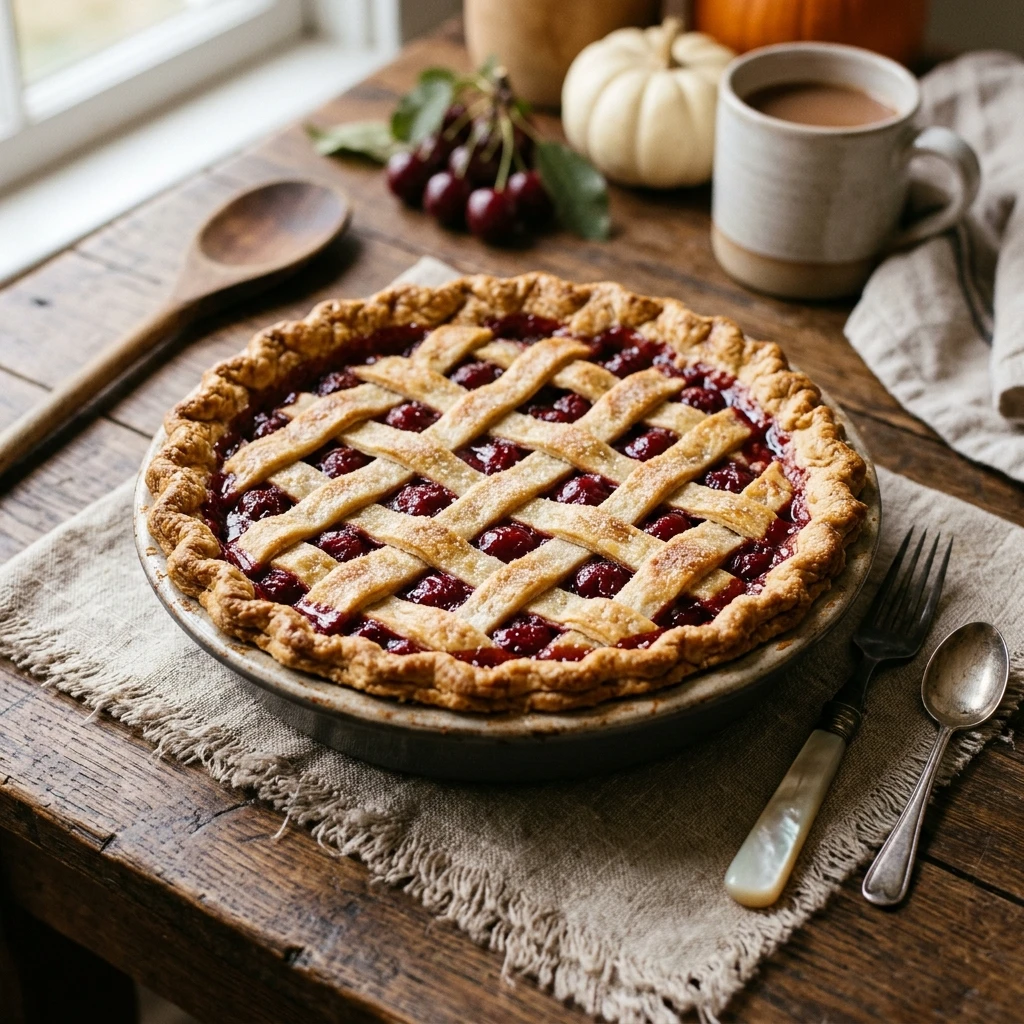
Pour the cherry mixture into the crust. Unroll the second pie crust and place it directly over the top of the filling. Pinch the edges of the top and bottom crusts together to seal them, then crimp with your fingers or a fork. Cut four small slits in the center of the top crust to let steam escape. Whisk the egg and water together in a small bowl and brush the mixture over the top crust. Sprinkle generously with sugar. Bake for 45 to 50 minutes, or until the crust is golden brown and the filling is bubbling through the slits. Let the pie cool completely for at least 2 hours before slicing to ensure the filling sets.
Expert Tips for Perfect Thanksgiving Cherry Pie Easy Store Crust No Rolling 10 Min Prep No Fail
To ensure your pie looks as good as it tastes, always use an egg wash. It provides that deep, golden-brown shine that makes people think you bought it at a bakery. If the edges of your crust start to brown too quickly, wrap them loosely with aluminum foil or use a pie shield for the last 20 minutes of baking. Most importantly, do not skip the cooling time. A hot cherry pie will be runny; a cooled cherry pie will have that perfect, sliceable texture.
Delicious Variations
If you want to change things up, try a Cherry Berry Pie by using one can of cherry filling and one can of blueberry filling. For a Chocolate Cherry Pie, sprinkle half a cup of semi-sweet chocolate chips over the filling before putting on the top crust. If you are feeling creative but still want to avoid rolling, use a small cookie cutter to cut stars or leaves out of the top crust instead of a solid sheet for a festive Thanksgiving look.
Frequently Asked Questions
Can I use frozen pie crusts instead of refrigerated?
Yes, but make sure they are completely thawed before you try to unroll them, or they will crack. Refrigerated crusts generally have a better texture for this specific “no rolling” method.
Do I need to pre-bake the bottom crust?
No, there is no need to blind-bake for this recipe. The high initial heat of 400°F helps set the bottom crust so it stays crisp even with the moist filling.
Can I make this pie a day in advance?
Absolutely! This pie actually benefits from sitting. You can make it 24 hours ahead of Thanksgiving and keep it at room temperature, or in the fridge if you prefer a cold slice.
How do I prevent the bottom from getting soggy?
Baking the pie on the lowest rack of the oven for the first 20 minutes can help the bottom crust crisp up before the filling makes it too soft.
What is the best way to reheat a slice?
Place a slice in the oven at 350°F for about 5-10 minutes. Avoid the microwave if you want to keep the crust flaky and crisp.
Conclusion
This Thanksgiving Cherry Pie is proof that you don’t need to spend hours in the kitchen to produce a spectacular dessert. By using a few clever shortcuts and high-quality ingredients, you can serve a pie that is flaky, flavorful, and festive. It is the perfect stress-free conclusion to your holiday meal that will have everyone asking for seconds.