Follow Me On Pinterest!
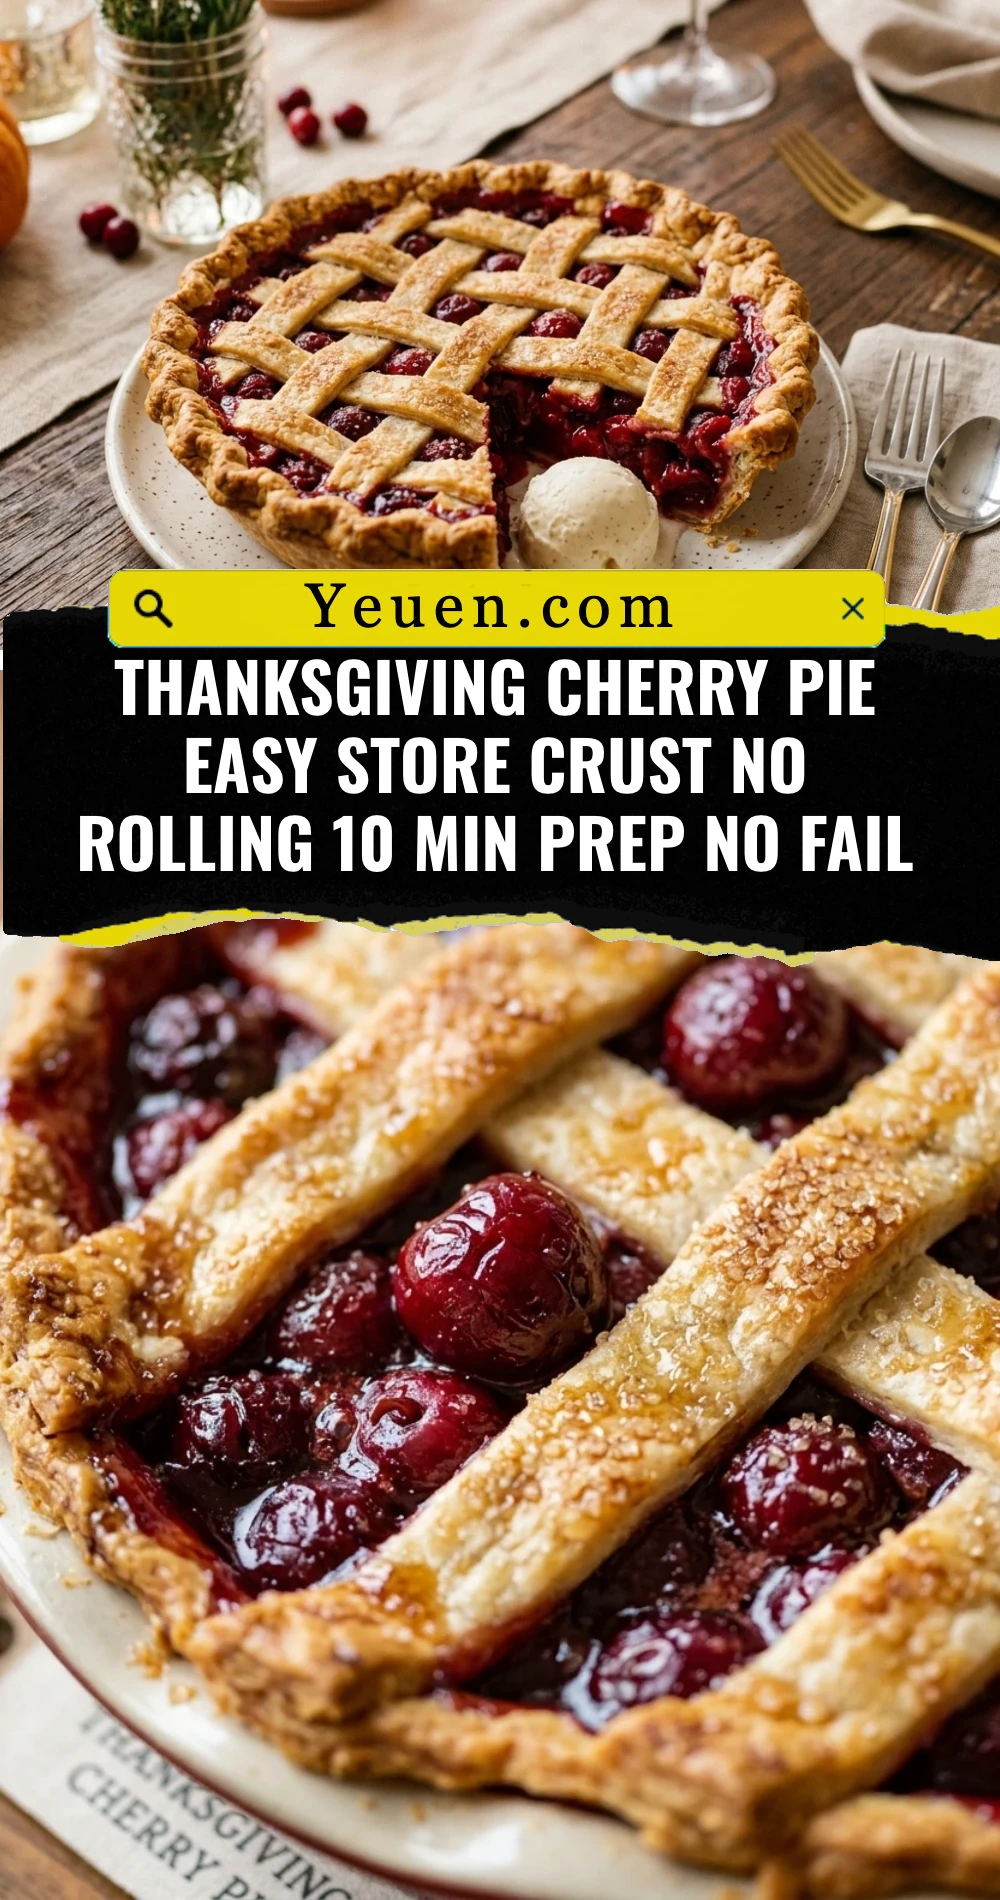
Thanksgiving Cherry Pie Easy Store Crust No Rolling 10 Min Prep No Fail
Thanksgiving is often a whirlwind of turkey basters and mountain-high piles of mashed potatoes, leaving little room for complicated baking. If you want a dessert that looks like it took hours but actually comes together in minutes, this Thanksgiving Cherry Pie is your secret weapon. By using a store-bought crust and a few clever shortcuts, you can skip the floury mess of rolling pins and go straight to the delicious results. This pie is vibrant, sweet, and perfectly tart, making it the ideal centerpiece for your holiday dessert table without the usual holiday stress.
Recipe Information
- Prep Time: 10 minutes
- Cook Time: 50 minutes
- Total Time: 60 minutes
- Servings: 8 servings
- Difficulty: Easy
Nutrition values
- Calories: 315 kcal per slice
- Protein: 3g
- Carbs: 46g
Why Make This Thanksgiving Cherry Pie Easy Store Crust No Rolling 10 Min Prep No Fail
This recipe is designed for the busy holiday cook who refuses to compromise on flavor. Thanksgiving is stressful enough without worrying about whether your pie crust will shrink or turn out tough. Since we use a high-quality store-bought refrigerated crust, you eliminate the hardest part of baking. The “no rolling” method means you simply unroll the dough or use a pre-formed shell, saving your counters from a flour explosion. With only 10 minutes of active prep, you can slide this into the oven while you finish the main course. It is truly a “no-fail” recipe because the ingredients are reliable and the process is foolproof.
Ingredients
- 1 package (14.1 oz) refrigerated pie crusts (contains two crusts)
- 2 cans (21 oz each) premium cherry pie filling
- 1/2 teaspoon almond extract (optional, for depth)
- 1 egg (for egg wash)
- 1 tablespoon water
- 1 tablespoon coarse sparkling sugar or granulated sugar
- Vanilla ice cream or whipped cream for serving
Directions
Step 1: Preparation
Preheat your oven to 400°F (200°C). Take the refrigerated pie crusts out of the fridge and let them sit at room temperature for about 15 minutes so they don’t crack when you unroll them. Place one crust into a 9-inch pie plate, gently pressing it against the bottom and sides without stretching the dough. In a medium bowl, stir the cherry pie filling with the almond extract to give it that “homemade” flavor boost.
Step 2: Cooking
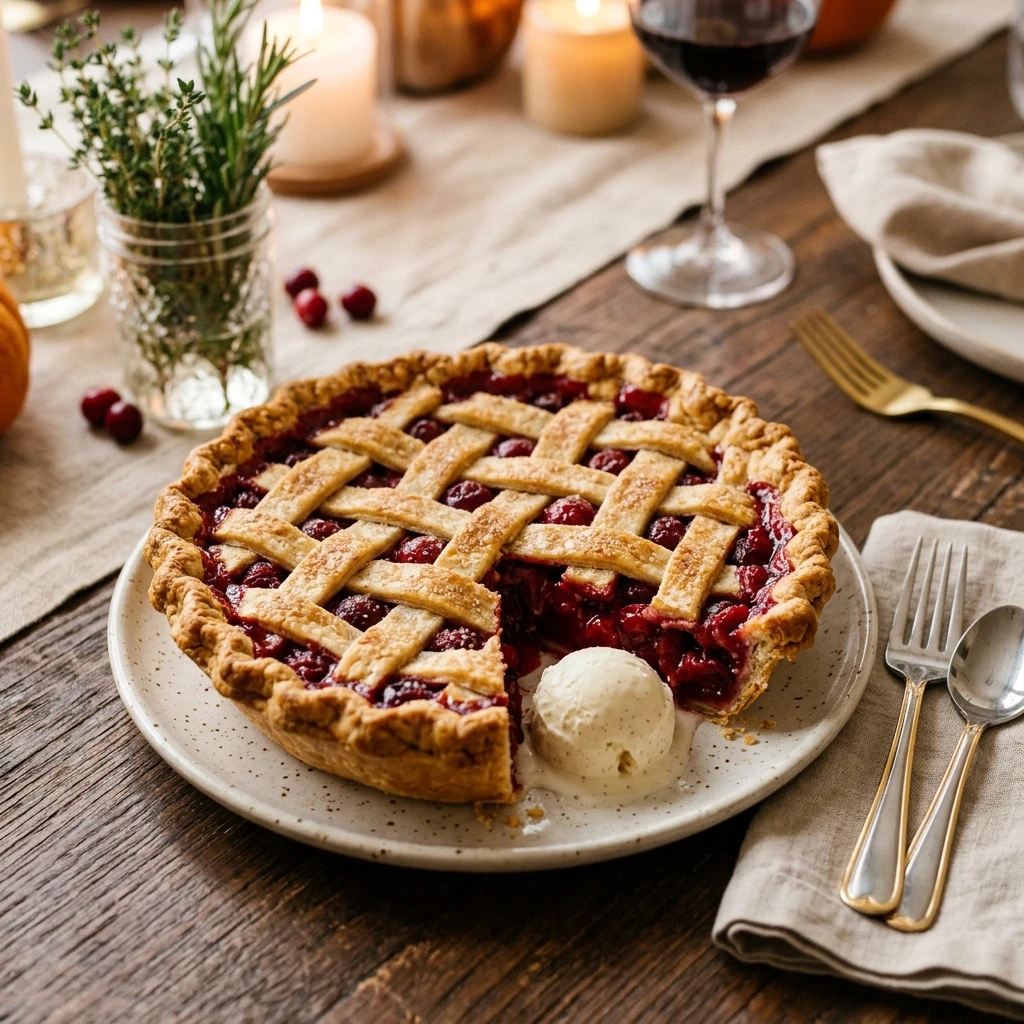
Pour the cherry mixture into the prepared bottom crust. Unroll the second crust and place it over the top of the filling. You can keep it whole and cut a few slits in the center for steam to escape, or use a pizza cutter to create quick strips for a simple lattice. Pinch the edges of the top and bottom crusts together to seal the pie. Whisk the egg and water together in a small bowl and brush it over the top crust. Sprinkle the sugar generously over the egg wash. Bake for 45 to 50 minutes, or until the crust is a deep golden brown and the filling is bubbling through the vents.
Step 3: Plating
Remove the pie from the oven and place it on a wire cooling rack. This is the hardest part: let the pie cool for at least 2 to 3 hours. This allows the filling to set so it doesn’t run everywhere when you slice it. Serve each slice with a large scoop of vanilla bean ice cream or a dollop of fresh whipped cream.
Expert Tips for Perfect Thanksgiving Cherry Pie Easy Store Crust No Rolling 10 Min Prep No Fail
To prevent the edges of your crust from over-browning while the center bakes, wrap the outer rim with a strip of aluminum foil or use a silicone pie shield during the first 25 minutes of baking. Another pro tip is to use “premium” cherry filling; these usually contain more fruit and less cornstarch syrup, leading to a better texture. If you want a truly rustic look, don’t worry about perfect crimping. A simple fork-press around the edges looks classic and takes seconds.
Delicious Variations
- Cherry-Berry Mix: Swap one can of cherry filling for a can of blueberry or raspberry filling for a mixed berry twist.
- Crumble Top: Instead of using the second pie crust on top, mix 1/2 cup flour, 1/2 cup brown sugar, and 4 tablespoons of cold butter to create a streusel topping.
- Chocolate Chip Cherry: Stir 1/4 cup of dark chocolate chips into the cherry filling before baking for a decadent flavor profile.
- Spiced Cherry: Add 1/4 teaspoon of ground cinnamon and a pinch of nutmeg to the filling for a warm, autumnal aroma.
Frequently Asked Questions
Can I use frozen pie crusts instead of refrigerated ones?
Yes, you can use frozen deep-dish pie shells. Just make sure to thaw them according to the package directions before adding the filling so the bottom doesn’t stay soggy.
How do I prevent a “soggy bottom” crust?
Baking the pie on the lowest rack of the oven helps the bottom crust cook thoroughly. You can also place a preheated baking sheet under the pie plate to provide immediate heat to the base.
Can I make this pie a day in advance?
Absolutely! This pie actually slices better after it has sat for several hours or overnight. Store it at room temperature covered loosely with foil or plastic wrap.
Do I have to use an egg wash?
While not strictly necessary for the structure, the egg wash is what gives the pie that beautiful, professional golden-brown shine. If you have an egg allergy, you can brush the top with milk or heavy cream instead.
How should I store leftovers?
Leftover cherry pie can be kept at room temperature for up to two days. For longer storage, keep it in the refrigerator for up to four days. Reheat individual slices in the microwave for 15-20 seconds to bring back that fresh-baked warmth.
Conclusion
Creating a stunning holiday dessert doesn’t have to be a chore. This Thanksgiving Cherry Pie proves that with the right shortcuts, you can produce a “no-fail” masterpiece that tastes just as good as a labor-intensive traditional recipe. By focusing on simple assembly and high-quality ingredients, you save time for what really matters: enjoying the holiday with your friends and family. Put this recipe on your Thanksgiving menu this year and watch it disappear in minutes!