Follow Me On Pinterest!
Sourdough Starter Focaccia From Scratch Easy
There is something magical about the way sourdough starter transforms simple flour and water into a pillowy, golden-crusted masterpiece. This sourdough starter focaccia is the ultimate entry point for anyone intimidated by bread baking. It skips the stressful shaping of a traditional loaf and embraces a “shag-to-pan” method that rewards you with deep dimples and an incredible crumb. Whether you use an active starter for a massive rise or sourdough discard for a tangier profile, this recipe delivers that signature olive oil crunch and airy interior every single time. Get ready to fill your kitchen with the scent of an Italian bakery with very little active effort.
Recipe Information
- Prep Time: 20 minutes (plus 12 hours rising time)
- Cook Time: 25 minutes
- Total Time: 12 hours 45 minutes
- Servings: 8 servings
- Difficulty: Easy
Nutrition values
- Calories: 210 kcal
- Protein: 6g
- Carbs: 38g
Why Make This Sourdough Starter Focaccia From Scratch Easy
This recipe is a game-changer for busy home cooks and sourdough enthusiasts alike. First, it is incredibly forgiving; because the dough is baked in a pan, you don’t need to worry about dough strength or perfect tension. Second, it uses a high-hydration ratio that guarantees those coveted large air bubbles. It is also the perfect way to use your sourdough discard if you aren’t ready to bake a full boule. Finally, the versatility of focaccia means you can top it with anything from fresh herbs to seasonal vegetables, making it a perfect side dish for pasta nights or the base for the best sandwich you’ve ever eaten.
Ingredients
- 1/2 cup (100g) active sourdough starter (fed and bubbly)
- 1 1/2 cups (350g) warm water
- 4 cups (500g) bread flour (all-purpose also works)
- 2 teaspoons (10g) fine sea salt
- 1/4 cup extra-virgin olive oil (divided)
- 2 tablespoons fresh rosemary, chopped
- Flaky sea salt for finishing
Directions
Step 1: Mixing the Dough
In a large mixing bowl, whisk together the warm water and the sourdough starter until the starter is mostly dissolved and the water looks milky. Add the bread flour and sea salt. Use a sturdy spatula or your hands to mix until a shaggy dough forms and no dry flour remains. Cover the bowl with a damp cloth or plastic wrap and let it rest for 30 minutes to allow the flour to hydrate.
Step 2: Stretch and Folds
After the rest, perform one set of “stretch and folds.” Reach under one side of the dough, pull it up, and fold it over the center. Rotate the bowl and repeat this 4 times. This builds structure without heavy kneading. Cover the bowl again and let the dough rise at room temperature for 8 to 12 hours (overnight is best) until it has doubled in size and looks bubbly.
Step 3: Transfer to Pan
Pour 2 tablespoons of olive oil into a 9×13 inch metal baking pan or a large cast-iron skillet. Gently tip the fermented dough into the pan. Do not force it to the corners yet. Flip the dough once so it is coated in oil. Let it rest, uncovered, for 1 to 2 hours. During this time, the dough will naturally spread out to fill the pan and become very jiggly.
Step 4: Dimpling and Topping
Preheat your oven to 425°F (220°C). Drizzle the remaining olive oil over the top of the dough. Grease your fingers and press them straight down into the dough to create deep dimples all over the surface. You should see large bubbles popping up. Sprinkle the chopped rosemary and a generous amount of flaky sea salt over the top.
Step 5: Baking
Place the pan in the center of the oven and bake for 20 to 25 minutes. The focaccia is done when the top is golden brown and the edges are crisp and pulling away from the sides of the pan. Remove from the oven and let it cool in the pan for 5 minutes before transferring to a wire rack. This prevents the bottom from getting soggy.
Expert Tips for Perfect Sourdough Starter Focaccia From Scratch Easy
For the best results, use a high-quality extra-virgin olive oil, as the flavor of the oil is prominent in the finished bread. If your kitchen is cold, your overnight rise might take longer; look for the dough to be wobbly like jelly. If you want a more “fried” bottom crust, use a metal pan or cast iron rather than glass. To ensure the dough doesn’t stick, make sure you are generous with the oil in the bottom of the pan before adding the dough. Lastly, always let the dough rest before dimpling; if it springs back, it needs more time to relax.
Delicious Variations
- Garlic and Parmesan: Add minced garlic and grated parmesan cheese during the dimpling stage for a savory, cheesy crust.
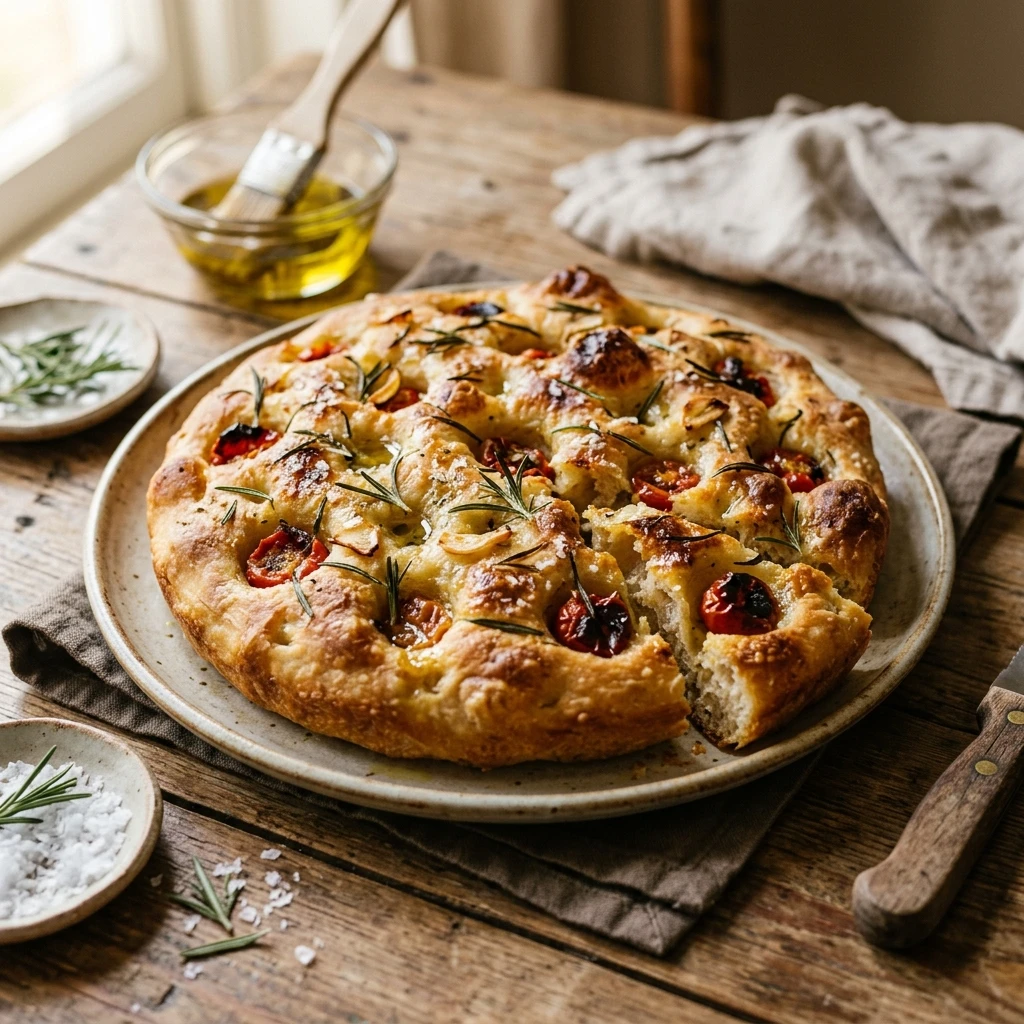
- Cherry Tomato and Basil: Press halved cherry tomatoes into the dimples before baking and garnish with fresh basil leaves after taking it out of the oven.
- Caramelized Onion: Sauté onions until dark and sweet, then spread them over the dough before the final bake.
- Everything Bagel: Swap the rosemary and sea salt for everything bagel seasoning for a salty, crunchy twist.
Frequently Asked Questions
Can I use sourdough discard instead of active starter?
Yes! You can use discard, but the rise time will be significantly longer since the yeast is less active. You may want to add a pinch of commercial yeast if your discard is very old.
How do I store leftover focaccia?
Store it in an airtight container at room temperature for up to 2 days. To revive the crunch, toast it in a 350°F oven for a few minutes.
Why didn’t my dough get big bubbles?
This usually happens if the dough didn’t proof long enough or if the starter wasn’t strong enough. Ensure your dough is truly doubled and wobbly before dimpling.
Can I cold-proof this in the fridge?
Absolutely. After putting the dough in the oiled pan, you can cover it and leave it in the fridge for up to 48 hours. This develops a deeper sourdough tang. Just let it come to room temperature for 2 hours before baking.
What is the best flour for focaccia?
Bread flour is ideal because its higher protein content creates a chewy, strong structure that holds up to the high hydration and olive oil.
Conclusion
Making sourdough starter focaccia from scratch is one of the most rewarding kitchen projects you can undertake. It requires very little active work but yields a professional-quality bread that will impress anyone at your table. Between the golden, crispy exterior and the soft, airy middle, it is nearly impossible to eat just one piece. Follow these easy steps, trust the fermentation process, and enjoy the delicious fruits of your labor!