Follow Me On Pinterest!
Sourdough Focaccia For Beginners Step By Step
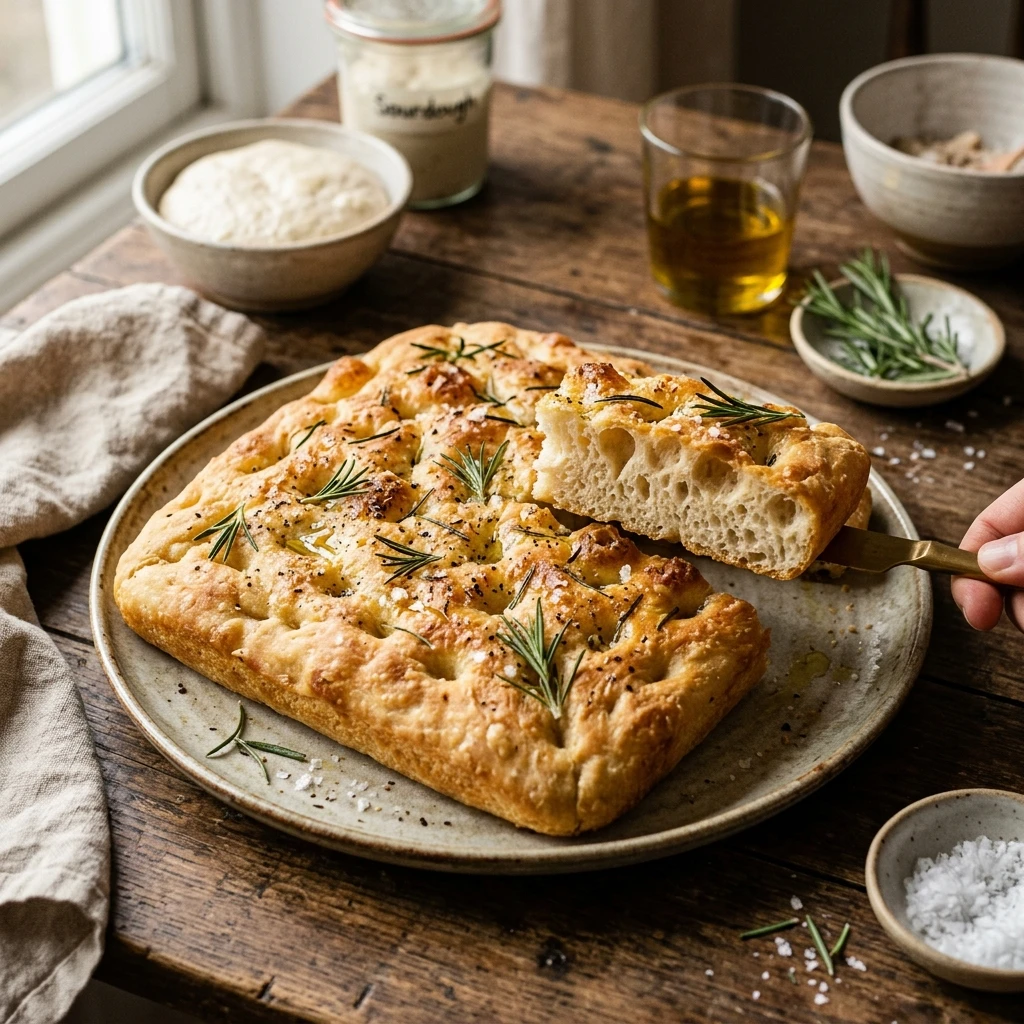
There is nothing quite like the smell of fresh bread baking in your oven, especially when it involves the tangy complexity of sourdough. If you have been intimidated by sourdough bread in the past, this sourdough focaccia is the perfect place to start. It requires zero kneading, relies on a simple stretch-and-fold technique, and results in a golden, olive-oil-soaked crust with a pillowy, airy interior. Whether you are a seasoned baker or just getting your hands floury for the first time, this step-by-step guide ensures a foolproof bake every single time.
Recipe Information
- Prep Time: 30 minutes (active time)
- Cook Time: 25 minutes
- Total Time: 18 hours 55 minutes (includes overnight fermentation)
- Servings: 12 slices
- Difficulty: Easy
Nutrition values
- Calories: 210 kcal
- Protein: 5g
- Carbs: 38g
Why Make This Sourdough Focaccia For Beginners Step By Step
This recipe is the ultimate confidence booster for new bakers. Unlike traditional sourdough loaves that require precise shaping and scoring, focaccia is incredibly forgiving. You bake it in a pan, so you don’t have to worry about the dough holding its shape. The high hydration levels create those iconic large air bubbles, and the overnight cold ferment does all the hard work of developing flavor while you sleep. Plus, it is a fantastic way to use your active sourdough starter in a way that feels more like a treat than a chore.
Ingredients
- 100g active sourdough starter (bubbly and fed)
- 375g warm water
- 20g honey or maple syrup
- 500g bread flour (all-purpose also works, but bread flour provides better chew)
- 10g fine sea salt
- 50g extra virgin olive oil (split for the bowl, pan, and topping)
- Flaky sea salt for finishing
- Fresh rosemary sprigs (optional)
Directions
Step 1: Mixing the Dough
In a large mixing bowl, whisk together the active sourdough starter, warm water, and honey until the starter mostly dissolves. Add the bread flour and sea salt. Use a sturdy spatula or your hands to mix until a shaggy dough forms and no dry flour remains. Cover the bowl with a damp cloth or plastic wrap and let it rest for 30 minutes to allow the flour to hydrate.
Step 2: Stretch and Folds
Wet your hand slightly to prevent sticking. Reach under one side of the dough, pull it upward, and fold it over the center. Rotate the bowl and repeat this 4 times until you have gone all the way around. This builds strength in the dough without kneading. Cover and rest for 30 minutes. Repeat this stretch-and-fold process two more times (for a total of three sets), spaced 30 minutes apart.
Step 3: Bulk Fermentation and Cold Proof
After your last set of folds, cover the bowl tightly. Let the dough sit at room temperature for 2 to 4 hours until it has grown by about 50% and looks jiggly. Once it reaches this point, place the covered bowl in the refrigerator for 12 to 15 hours. This cold ferment is crucial for that signature sourdough tang and makes the dough easier to handle.
Step 4: Pan Proofing
Generously coat a 9×13 inch metal baking pan with 2 tablespoons of olive oil. Gently transfer the cold dough into the pan. Do not force it to the corners yet. Flip the dough once so it is coated in oil. Cover the pan and let it rise in a warm spot for 2 to 4 hours. During this time, the dough will naturally spread to fill the pan and become very bubbly and light.
Step 5: Dimpling and Topping
Preheat your oven to 425°F (220°C). Drizzle another tablespoon of olive oil over the top of the dough. Grease your fingers and press them straight down into the dough to create deep dimples all over the surface. If the dough is proofed correctly, the bubbles will stay intact. Sprinkle generously with flaky sea salt and fresh rosemary.
Step 6: Baking
Place the pan on the middle rack of the oven. Bake for 20 to 25 minutes, or until the top is deep golden brown and the bottom is crisp. If you want an extra crispy bottom, you can carefully slide the focaccia out of the pan and onto the oven rack for the last 2 minutes of baking. Remove from the oven and let it cool in the pan for 5 minutes before transferring to a wire rack.
Expert Tips for Perfect Sourdough Focaccia For Beginners Step By Step
- Use a Metal Pan: For the crispiest bottom crust, use a light-colored metal baking pan. Glass or ceramic pans don’t conduct heat as efficiently.
- Don’t Skimp on Oil: Focaccia is essentially fried in the pan. The olive oil is what creates that incredible “crunch” and prevents sticking.
- Wait for Bubbles: If your dough doesn’t look like a bubbly marshmallow before you dimple it, let it proof longer. Patience is key to an airy crumb.
- Wet Your Hands: Whenever you handle the dough before it is baked, keep your hands wet or oiled to prevent the high-hydration dough from sticking to your skin.
Delicious Variations
- Garlic and Herb: Press sliced garlic cloves and dried oregano into the dimples before baking.
- Cherry Tomato and Basil: Halve cherry tomatoes and press them into the dough, then top with fresh basil after baking.
- Caramelized Onion: Sauté onions until dark and jammy, then spread them over the dough before the final dimpling.
- Everything Bagel: Sprinkle everything bagel seasoning over the top for a savory, salty crunch.
Frequently Asked Questions
Can I use sourdough discard instead of an active starter?
While active starter gives the best rise, you can use discard if it is relatively fresh and you add a pinch of commercial yeast (about 1/2 teaspoon) to help it along. If using only discard without yeast, the rise time will be significantly longer.
What if my dough is too sticky to handle?
This dough is meant to be very wet (high hydration). Do not add more flour! Instead, keep your hands wet with water during the stretching phase and oiled during the dimpling phase. The stickiness is what creates the large air pockets.
Can I skip the overnight fridge rest?
You can, but the flavor will be less developed. If you want to bake it the same day, let the dough rise at room temperature until doubled (about 4-6 hours), then proceed to the pan proofing step. However, the cold proof makes the dough much easier to dimple.
How do I prevent the focaccia from sticking to the pan?
Ensure you use a generous amount of olive oil. If you are worried about your pan, you can line the bottom with a piece of parchment paper, then oil the top of the parchment. This creates a double layer of protection.
How should I store leftovers?
Focaccia is best on the day it’s made. However, you can store leftovers in an airtight container at room temperature for 2 days. To reheat, pop slices into a toaster oven or a 350°F oven for a few minutes to regain the crispiness.
Conclusion
Sourdough focaccia is a rewarding journey that turns simple ingredients into a masterpiece of texture and taste. By following this beginner-friendly guide, you have mastered the art of the long ferment and the perfect dimple. This bread is perfect for sandwiches, dipping into balsamic vinegar, or simply snacking on while it is still warm from the oven. Keep practicing, experiment with your favorite toppings, and enjoy the delicious rewards of your sourdough journey!