Follow Me On Pinterest!
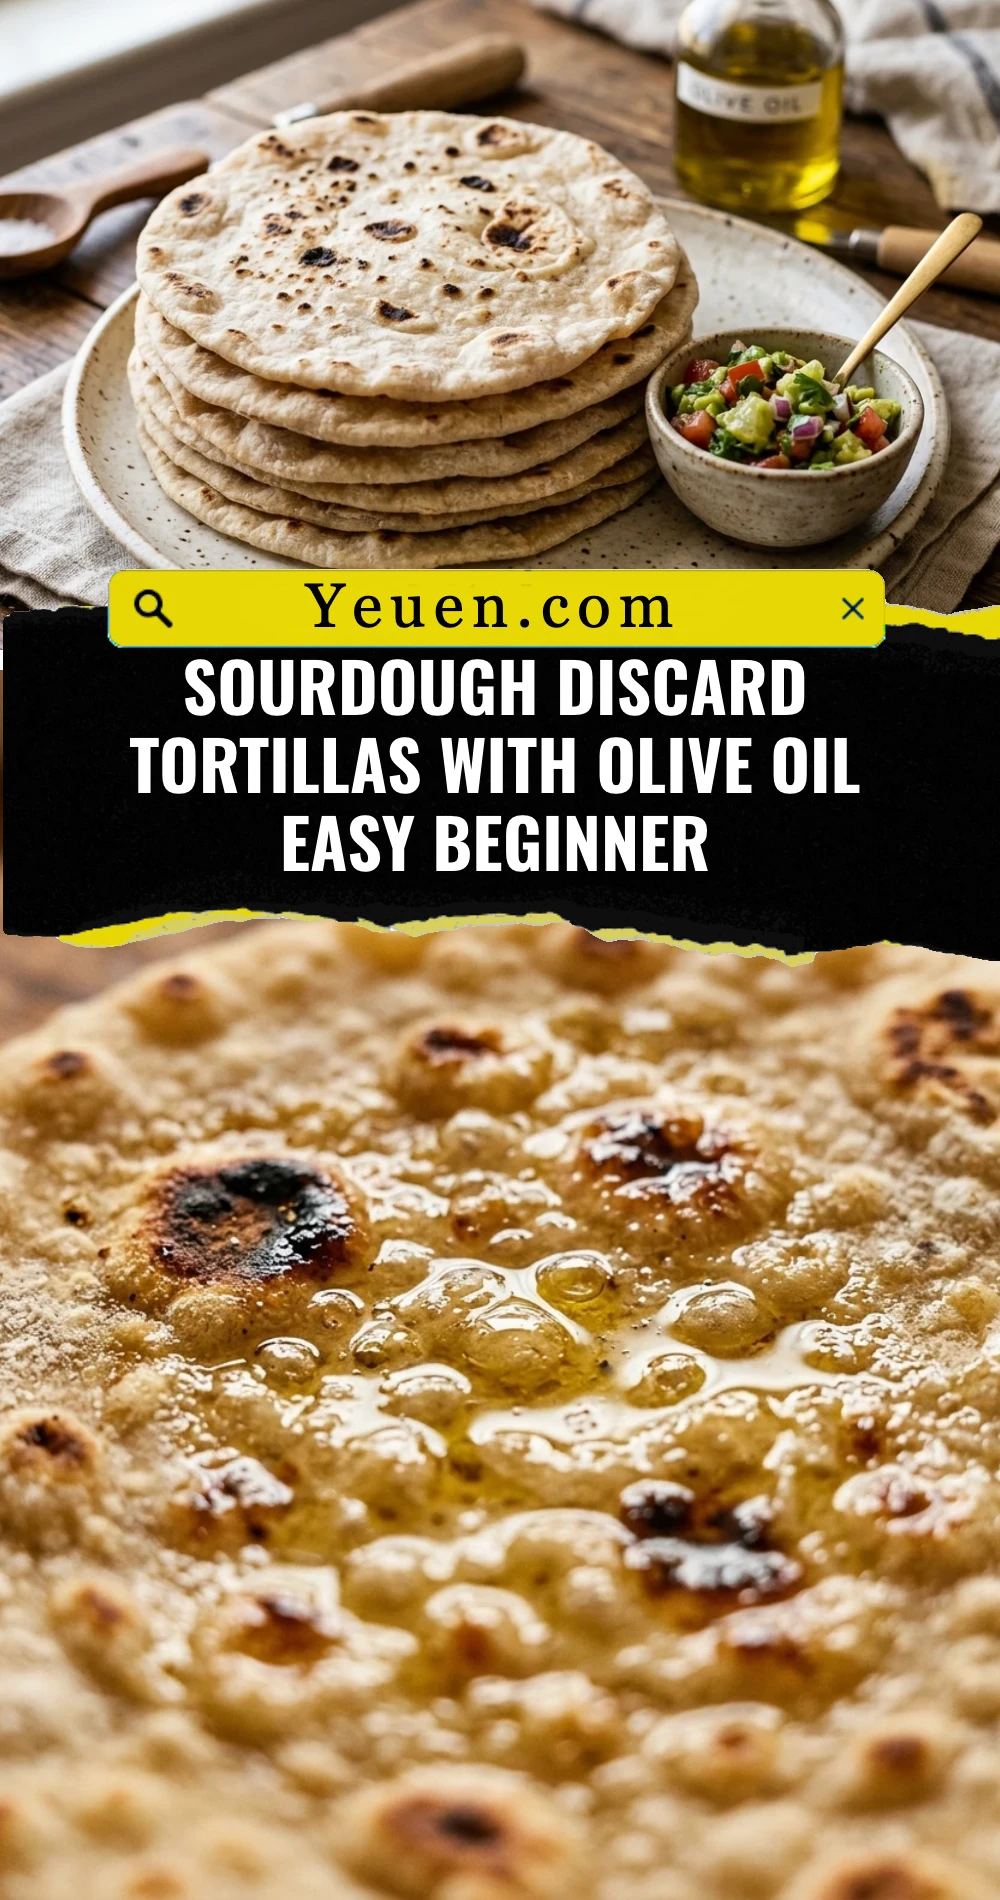
Sourdough Discard Tortillas With Olive Oil Easy Beginner
Stop throwing away your sourdough discard and start making something incredible. These sourdough discard tortillas with olive oil are a total game-changer for any home baker. They are soft, pliable, and have a slight tang that store-bought tortillas just can’t match. Using olive oil instead of traditional lard or shortening makes them heart-healthy and gives them a wonderful, subtle flavor. Whether you are a total beginner or a seasoned pro, you will love how quickly these come together with just a few pantry staples. Get ready to elevate your taco nights forever.
Recipe Information
- Prep Time: 15 minutes
- Cook Time: 15 minutes
- Total Time: 30 minutes
- Servings: 8 tortillas
- Difficulty: Easy
Nutrition values
- Calories: 145 kcal
- Protein: 3g
- Carbs: 22g
Why Make This Sourdough Discard Tortillas With Olive Oil Easy Beginner
Reducing food waste is the biggest reason to try this recipe. Sourdough discard is full of flavor and shouldn’t end up in the trash. These tortillas are also incredibly flexible; they don’t crack when you fold them, making them perfect for burritos or wraps. By using olive oil, you avoid processed fats while keeping the dough easy to handle. Plus, the fermentation from the discard makes these slightly easier on the stomach than standard flour tortillas. It is a fast, satisfying project that yields professional results with very little effort.
Ingredients
- 1 cup (240g) Sourdough discard (unfed, room temperature)
- 1 3/4 cups (210g) All-purpose flour
- 1/4 cup Olive oil
- 1/2 teaspoon Fine sea salt
- 2-4 tablespoons Warm water (as needed)
Directions
Step 1: Mixing the Dough
In a large mixing bowl, combine your sourdough discard, olive oil, and sea salt. Stir them together until well blended. Gradually add the all-purpose flour. Use a sturdy spoon or your hands to mix until a shaggy dough forms. If the dough feels too dry or won’t come together, add warm water one tablespoon at a time. You want a soft, cohesive ball that isn’t excessively sticky.
Step 2: Kneading and Resting
Turn the dough out onto a lightly floured surface. Knead the dough for about 3 to 5 minutes until it becomes smooth and elastic. This develops the gluten which prevents the tortillas from tearing. Cover the dough with a clean kitchen towel and let it rest for at least 30 minutes. This rest period is crucial because it relaxes the gluten, making the dough much easier to roll out thinly.
Step 3: Portions and Rolling
Divide the rested dough into 8 equal-sized pieces. Roll each piece into a smooth ball. On a lightly floured surface, use a rolling pin to flatten each ball into a very thin circle, roughly 8 inches in diameter. Try to get them as thin as possible without them becoming transparent. Keep the unrolled dough balls covered so they don’t dry out while you work.
Step 4: Searing the Tortillas
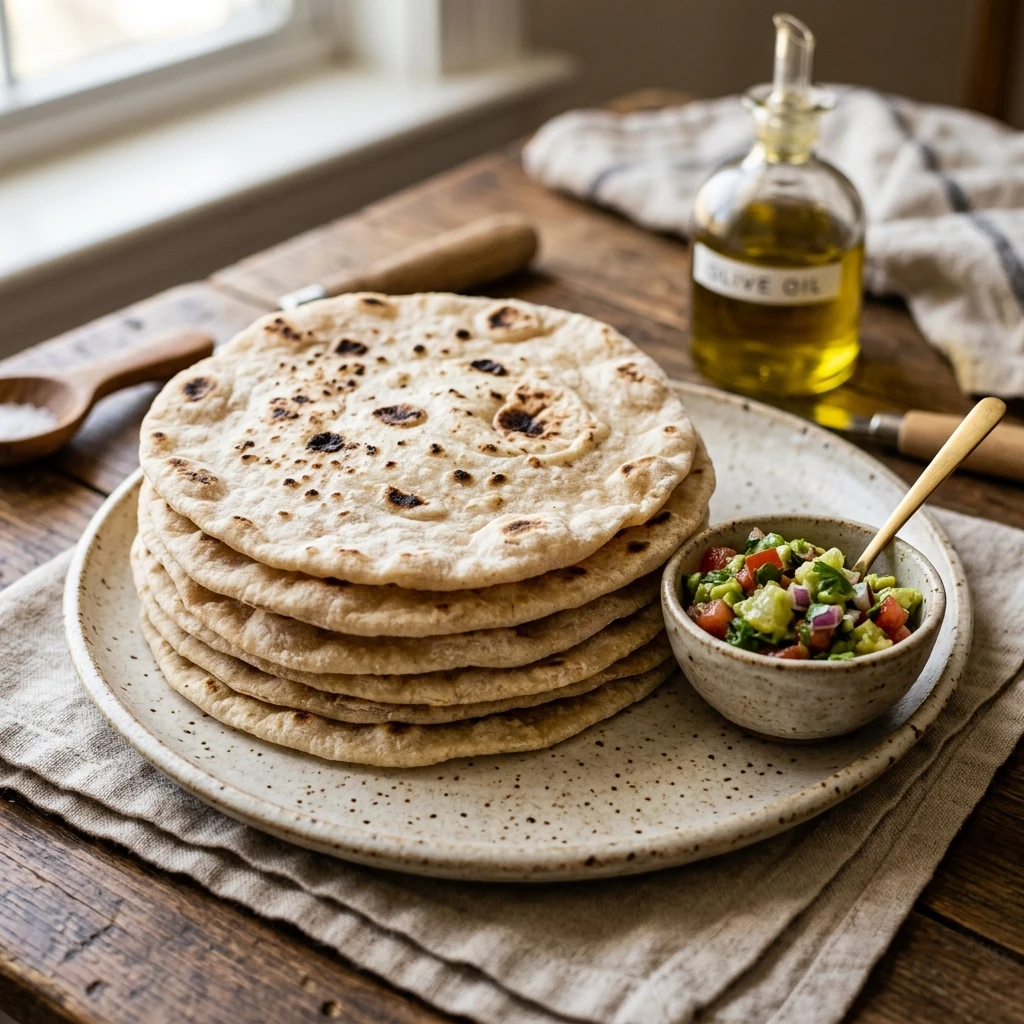
Preheat a heavy-bottomed skillet or cast-iron pan over medium-high heat. Do not add oil to the pan. Place one tortilla into the hot skillet. Cook for about 45 to 60 seconds until you see bubbles forming on the surface and golden brown spots on the bottom. Flip the tortilla and cook the other side for another 30 to 45 seconds. Immediately move the cooked tortilla to a plate and cover it with a clean towel to keep it soft with the steam.
Expert Tips for Perfect Sourdough Discard Tortillas With Olive Oil Easy Beginner
The secret to soft tortillas is the rest time. Never skip the 30-minute rest after kneading, or the dough will snap back like a rubber band when you try to roll it. Use a cast-iron skillet if you have one; it holds heat evenly and creates those beautiful charred spots. If your tortillas are coming out crispy like crackers, you are likely cooking them too long or at too low of a temperature. High heat and quick cooking are the keys to a soft, pliable texture. Always keep the finished tortillas wrapped in a towel while you cook the rest to lock in moisture.
Delicious Variations
You can easily customize this base recipe to fit your meal. Add a teaspoon of garlic powder and dried oregano to the flour for an Italian-inspired wrap. For a spicy kick, mix in half a teaspoon of smoked paprika or chili powder. If you prefer a nuttier flavor, swap out half of the all-purpose flour for whole wheat flour, though you may need an extra splash of water. You can even make sweet dessert tortillas by adding a pinch of cinnamon to the dough and brushing the finished product with honey.
Frequently Asked Questions
How long does the sourdough discard need to be?
You can use discard that is anywhere from a day old to a week old. The older the discard, the more “tangy” and sour the tortillas will taste. If your discard has a layer of liquid (hooch) on top, just stir it back in before measuring.
Can I freeze these tortillas?
Yes, these freeze beautifully. Let them cool completely, then stack them with pieces of parchment paper in between each tortilla to prevent sticking. Place the stack in a freezer-safe bag and store for up to 3 months.
Why is my dough so sticky?
Sourdough discard hydration can vary. If your dough is too sticky to handle, add more flour one tablespoon at a time until it is manageable. Humidity in your kitchen can also play a role, so don’t be afraid to adjust the flour levels.
Do I need to use a sourdough starter that is active?
No, this recipe is specifically designed for discard, which is the unfed portion of your starter. Since we aren’t looking for a massive rise like a loaf of bread, the discard provides flavor and acidity rather than leavening power.
What is the best way to reheat them?
For the best results, reheat them for a few seconds in a dry skillet over medium heat. You can also wrap a stack in damp paper towels and microwave them for 20-30 seconds to make them extra soft again.
Conclusion
Making your own sourdough discard tortillas with olive oil is a rewarding experience that saves money and reduces waste. These tortillas are healthier, tastier, and more satisfying than anything you can buy at the grocery store. Once you master the simple rolling and searing technique, you will never want to go back to pre-packaged versions. Enjoy the process, experiment with the flavors, and enjoy the best tacos of your life!