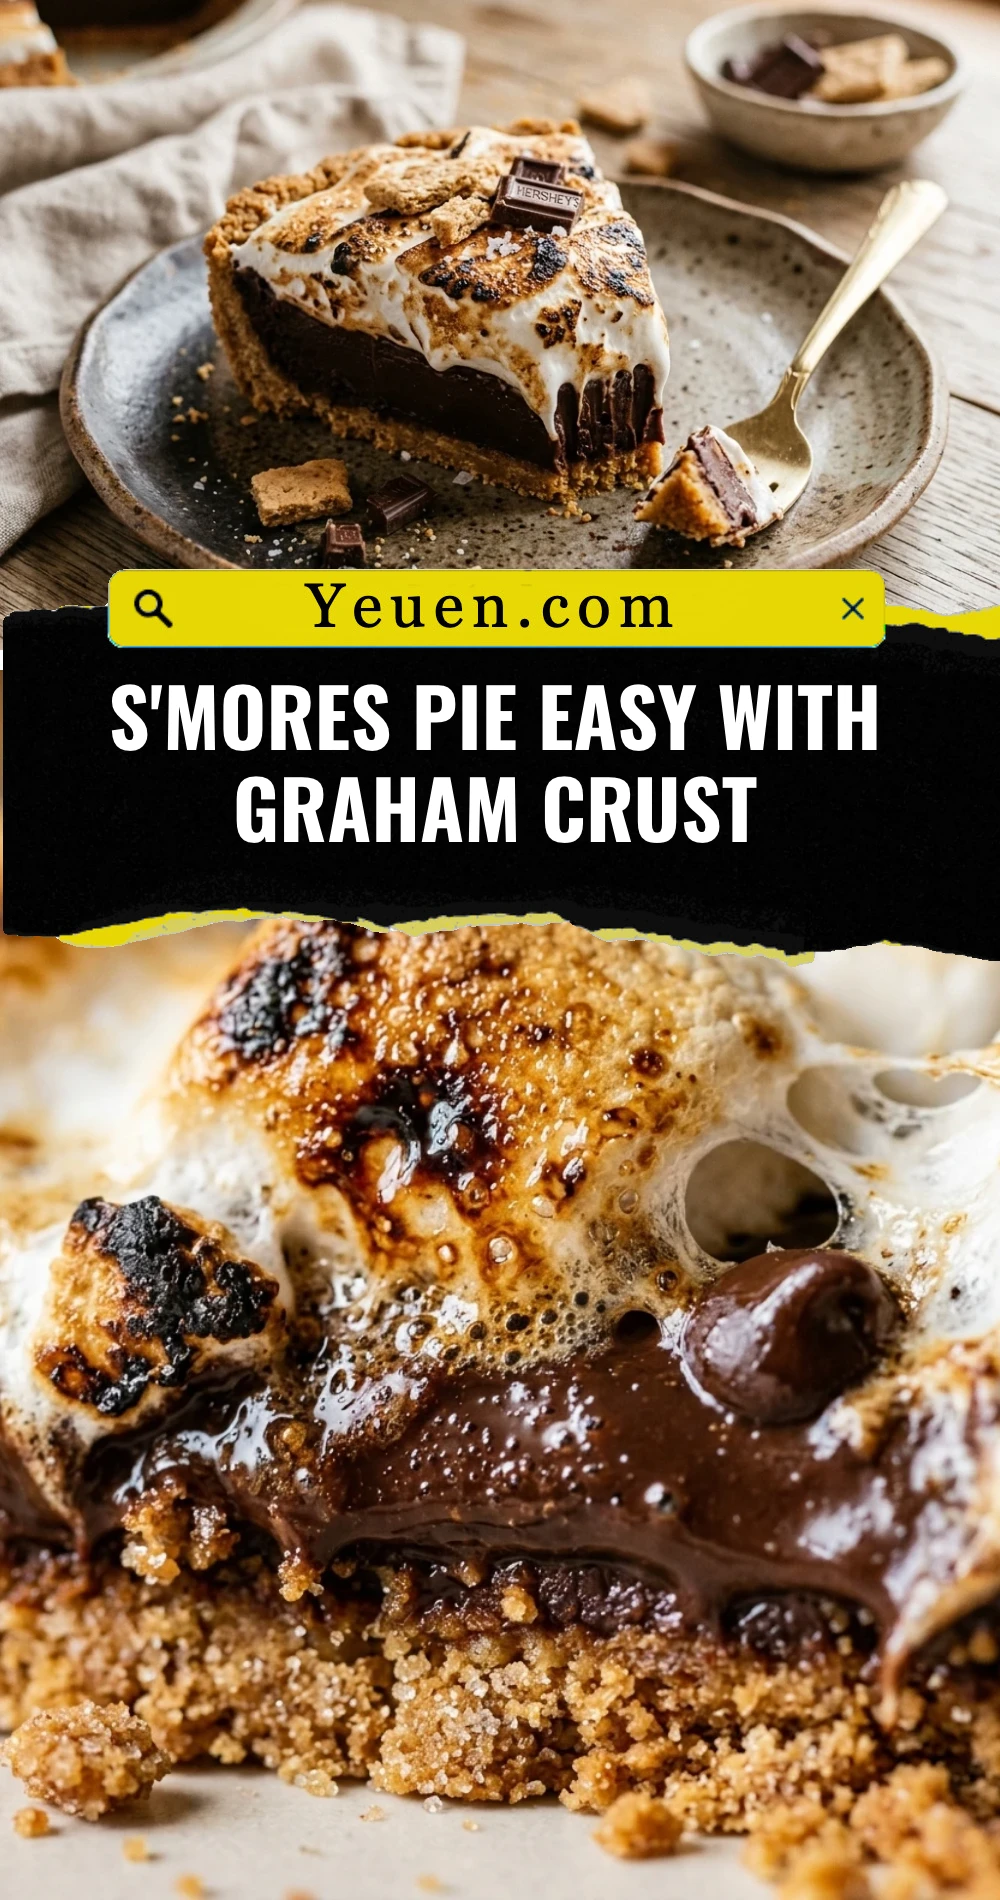
Follow Me On Pinterest!
S’mores Pie Easy With Graham Crust
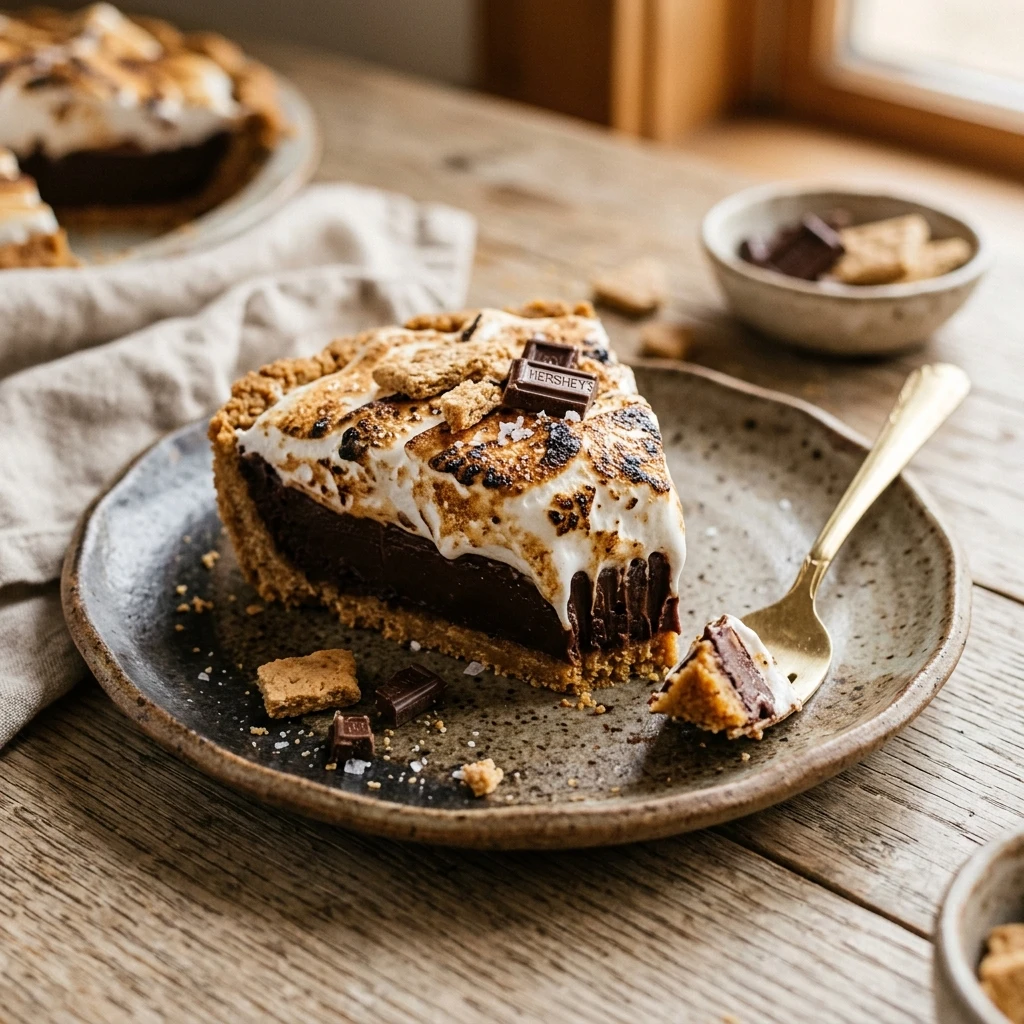
Imagine the cozy nostalgia of a crackling campfire, the smell of woodsmoke, and that perfectly toasted marshmallow melting into a square of chocolate. Now, imagine bringing all that magic into your kitchen without the sticky fingers or the need for an outdoor fire pit. This Easy S’mores Pie with a Graham Crust is a total game-changer for dessert lovers. It combines a buttery, crunchy crust with a rich, silky chocolate ganache and a mountain of toasted marshmallows. Whether you are hosting a summer barbecue or craving a winter comfort treat, this pie delivers the ultimate campfire experience in every single slice. It is fast, foolproof, and guaranteed to disappear from the table in minutes.
Recipe Information
- Prep Time: 15 minutes
- Cook Time: 25 minutes
- Total Time: 40 minutes
- Servings: 8 servings
- Difficulty: Easy
Nutrition values
- Calories: 420 kcal
- Protein: 4g
- Carbs: 58g
Why Make This S’mores Pie Easy With Graham Crust
This recipe is the perfect solution for when you need a high-impact dessert with minimal effort. Unlike traditional pies that require chilling for hours or complicated crust techniques, this s’mores pie uses a simple press-in graham cracker crust that anyone can master. The filling is a luxurious chocolate ganache that tastes far more sophisticated than the simple ingredients suggest. It is the ultimate crowd-pleaser for kids and adults alike, making it a reliable “go-to” for potlucks, birthdays, or just a Tuesday night craving. Plus, you get that irresistible toasted marshmallow topping right from your oven broiler or a kitchen torch.
Ingredients
- 1 1/2 cups Graham cracker crumbs
- 1/3 cup Granulated sugar
- 6 tablespoons Unsalted butter, melted
- 1 1/2 cups Semi-sweet chocolate chips
- 1 cup Heavy cream
- 1/2 teaspoon Vanilla extract
- 1 pinch Salt
- 3 cups Miniature marshmallows
Directions
Step 1: Prepare the Graham Cracker Crust
Preheat your oven to 350°F (175°C). In a medium bowl, mix the graham cracker crumbs, granulated sugar, and melted butter until the mixture looks like wet sand. Press the mixture firmly into the bottom and up the sides of a 9-inch pie plate. Use the bottom of a measuring cup to ensure the crust is even and packed tight. Bake the crust for 8 to 10 minutes until it is lightly golden and fragrant. Set it aside to cool completely while you prepare the filling.
Step 2: Create the Chocolate Ganache Filling
Place the chocolate chips in a heat-proof glass bowl. In a small saucepan, heat the heavy cream over medium heat until it just begins to simmer—do not let it reach a rolling boil. Pour the hot cream over the chocolate chips and let it sit undisturbed for 5 minutes. Add the vanilla extract and a pinch of salt, then whisk gently starting from the center until the mixture is glossy and smooth. Pour the chocolate filling into the cooled graham cracker crust and spread it evenly.
Step 3: Top and Toast the Marshmallows
If you want a firm pie, refrigerate the chocolate-filled crust for at least 30 minutes before adding the marshmallows. Once ready, pile the miniature marshmallows over the chocolate layer, covering it completely. Turn your oven to the broiler setting. Place the pie under the broiler for 1 to 2 minutes. Watch it very closely, as marshmallows can go from golden brown to burnt in seconds! Alternatively, use a kitchen torch to brown the tops for a more controlled finish. Serve immediately while the marshmallows are gooey, or let it sit for a cleaner slice.
Expert Tips for Perfect S’mores Pie Easy With Graham Crust
For the best results, use high-quality chocolate chips or even chopped chocolate bars; since there are so few ingredients, the quality of the chocolate really stands out. If you find your graham cracker crust is crumbling, make sure you press it down very firmly before baking; the tighter the pack, the better the slice. If you prefer a very clean slice, refrigerate the pie for at least 2 hours after adding the chocolate but before adding the marshmallows. To get that iconic “campfire” look, use a mix of mini and large marshmallows for varied texture and browning patterns.
Delicious Variations
You can easily customize this pie to suit your taste. For a “Peanut Butter S’mores” version, swirl two tablespoons of peanut butter into the warm chocolate ganache before it sets. If you love a salty-sweet combo, use crushed pretzels instead of half of the graham cracker crumbs for the crust. For a deeper flavor, swap the semi-sweet chocolate for dark chocolate (60% cacao or higher). You can also add a layer of sliced bananas or strawberries at the bottom of the crust before pouring in the chocolate for a fruity twist.
Frequently Asked Questions
Can I make this pie ahead of time?
Yes! You can prepare the crust and the chocolate filling up to 24 hours in advance and keep it in the refrigerator. Just wait to add and toast the marshmallows until right before you are ready to serve to keep them fluffy and gooey.
Can I use a store-bought crust?
Absolutely. If you are short on time, a pre-made graham cracker crust works perfectly. Just skip Step 1 and proceed straight to making the filling.
How do I store leftovers?
Store any leftover pie in an airtight container at room temperature for up to 2 days or in the refrigerator for up to 4 days. Note that the marshmallows may get a bit sticky or lose their crunch over time.
Can I freeze this s’mores pie?
You can freeze the pie after the chocolate filling has set but before adding the marshmallows. Wrap it tightly in plastic wrap and foil for up to 3 months. Thaw in the fridge, then add the marshmallows and toast them fresh.
What if I don’t have a broiler?
If you don’t have a broiler or a kitchen torch, you can place the marshmallow-topped pie back into a hot oven (400°F) for about 5 minutes, but the marshmallows won’t get that specific charred “toasted” look as effectively as a direct flame.
Conclusion
This Easy S’mores Pie with a Graham Crust is the ultimate shortcut to dessert bliss. It captures all the flavors we love about the outdoors in a sophisticated, sliceable format that looks beautiful on any table. By following these simple steps, you can create a decadent treat that tastes like it took hours but only requires a handful of ingredients and minimal effort. Whip this up for your next gathering, and watch it become an instant favorite. Happy baking!