Follow Me On Pinterest!
Simple Pie Crust Hack With Fork No Roller
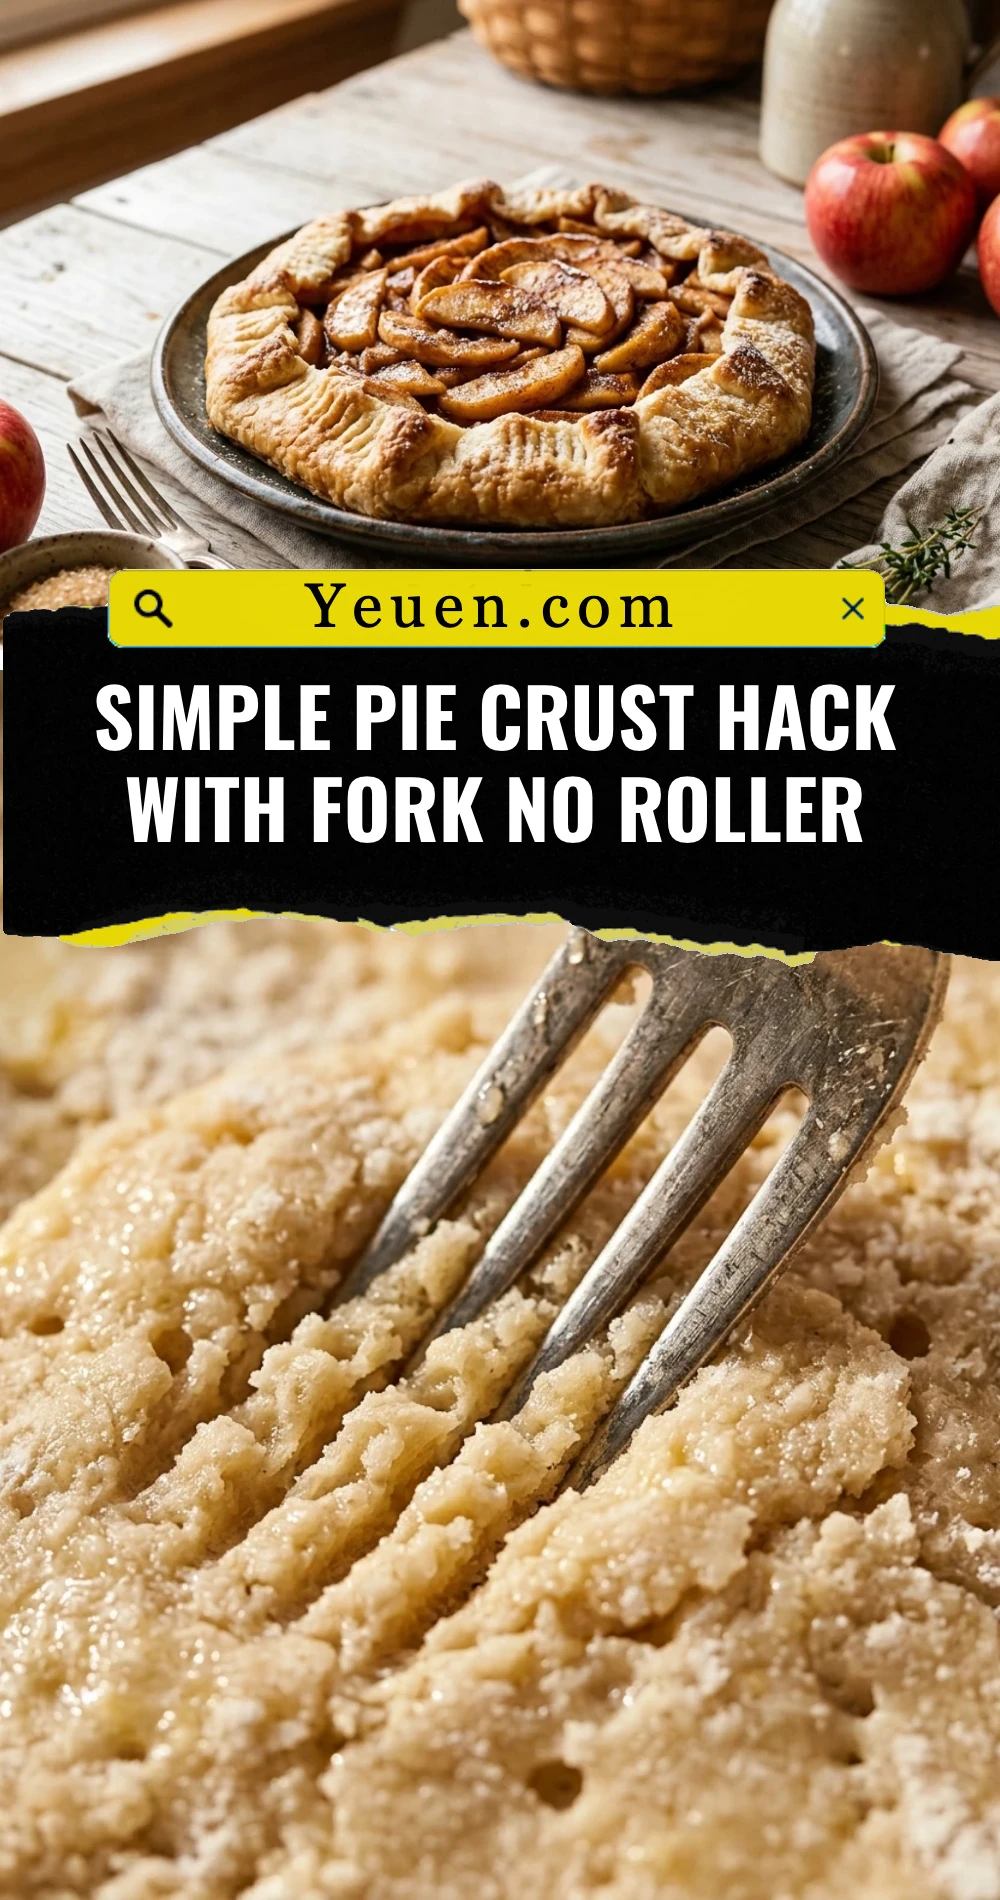
Tired of wrestling with a heavy rolling pin and floury countertops every time you crave a homemade pie? Making a flaky pie crust shouldn’t feel like a workout or a messy science experiment. Whether you are in a vacation rental without a full kitchen or just want to skip the tedious cleanup, this “no-roller” fork hack is an absolute game-changer. You can press the dough directly into your pie pan using just a simple dinner fork, creating a rustic, delicious base for any sweet or savory filling. It is fast, foolproof, and yields a perfectly crumbly texture every single time without the stress of tearing or sticking.
Recipe Information
- Prep Time: 10 minutes
- Cook Time: 15 minutes
- Total Time: 25 minutes
- Servings: 8 servings
- Difficulty: Easy
Nutrition values
- Calories: 155 kcal
- Protein: 2g
- Carbs: 17g
Why Make This Simple Pie Crust Hack With Fork No Roller
This method removes the most intimidating part of pie making: the rolling process. You do not need a rolling pin, a pastry mat, or even a clean counter space because everything happens right in the pie dish. This hack is perfect for beginners who struggle with dough elasticity or for seasoned bakers looking for a shortcut. The result is a shortbread-like texture that melts in your mouth and holds up beautifully under heavy fillings. Plus, cleaning up a single bowl and a fork is much easier than scrubbing dried dough off a rolling pin.
Ingredients
- 1.5 cups All-purpose flour
- 1.5 teaspoons Granulated sugar (omit for savory pies)
- 0.5 teaspoon Fine salt
- 0.5 cup Neutral vegetable oil (or melted unsalted butter)
- 2 tablespoons Cold milk or water
Directions
Step 1: Mixing the Dry Ingredients
Place the all-purpose flour, sugar, and salt directly into a 9-inch pie plate. Use your fork to whisk these dry ingredients together until they are evenly combined. Make sure there are no large clumps of flour sitting at the bottom of the dish.
Step 2: Integrating the Liquids
Pour the vegetable oil (or melted butter) and the milk directly over the flour mixture in the pie plate. Use the fork to stir the mixture gently. Continue stirring until the flour is completely moistened and the dough begins to pull together into a crumbly, soft ball. Do not overwork the dough; stop as soon as the white streaks of flour disappear.
Step 3: Pressing the Dough
Use your fingers to spread the dough across the bottom of the pie plate. Once the bottom is covered, use the back of the fork to press the dough evenly against the sides of the dish. Work from the center outward and upward. Use the tines of the fork to create a decorative crimped edge around the top rim of the plate. Ensure the thickness is consistent throughout the base and sides.
Step 4: Pricking and Baking
Take your fork and “dock” the dough by pricking small holes across the bottom and sides. This prevents the crust from bubbling up while baking. If your recipe calls for a pre-baked crust, place it in an oven preheated to 375°F (190°C) for 12 to 15 minutes or until it turns a light golden brown. If you are adding a filling that needs to bake, follow your specific recipe’s baking instructions.
Expert Tips for Perfect Simple Pie Crust Hack With Fork No Roller
To get the best results, avoid over-mixing the dough once you add the liquid. Over-mixing develops gluten, which can make the crust tough instead of tender. If the dough feels too crumbly to stay on the sides of the pan, add one extra teaspoon of milk to help it bind. For a truly professional look, use a glass pie plate so you can monitor the bottom of the crust to ensure it is perfectly browned and cooked through.
Delicious Variations
You can easily customize this crust to fit your meal. Add a half-teaspoon of cinnamon and a dash of nutmeg for a warm, spiced crust perfect for apple or pumpkin pies. For a savory quiche or pot pie, add a tablespoon of dried herbs like rosemary or thyme and a pinch of cracked black pepper. If you want a richer, more decadent base, swap the vegetable oil for melted browned butter to give the crust a deep, nutty flavor profile.
Frequently Asked Questions
Can I use this for a double-crust pie?
This specific fork-press technique is designed for single-crust pies like cream pies, quiches, or open-faced fruit tarts. Since the dough is pressed rather than rolled, it is difficult to drape over the top of a filling. For a top crust, you may want to try a crumble topping instead.
Does the oil make the crust greasy?
Not at all! Using oil results in a very tender, “short” crust similar to a tart base. It is less flaky than a traditional butter-cut crust but much easier to work with and provides a consistent crumb.
How do I prevent the crust from shrinking down the sides?
Ensure you press the dough firmly against the sides of the dish. Pricking the bottom with a fork (docking) is also essential, as it allows steam to escape, which keeps the dough from shifting during the baking process.
Can I make this crust ahead of time?
Yes, you can press the dough into the pan and keep it covered in the refrigerator for up to 24 hours before baking. This actually helps the gluten relax, resulting in an even more tender crust.
Is it possible to make this gluten-free?
You can substitute the all-purpose flour with a high-quality 1-to-1 gluten-free flour blend. Since this dough is pressed and not rolled, it is actually more forgiving for gluten-free baking than traditional recipes.
Conclusion
Baking a delicious pie should be a joy, not a chore. This simple pie crust hack with a fork and no roller proves that you can achieve a professional-tasting, buttery base with minimal effort and zero specialized tools. It is the perfect solution for busy weeknights or holiday baking marathons. Give this method a try the next time you make a quiche or a chocolate silk pie, and you might never go back to the rolling pin again!