Follow Me On Pinterest!
Simple Crust Hack Store Bought Looks Bakery
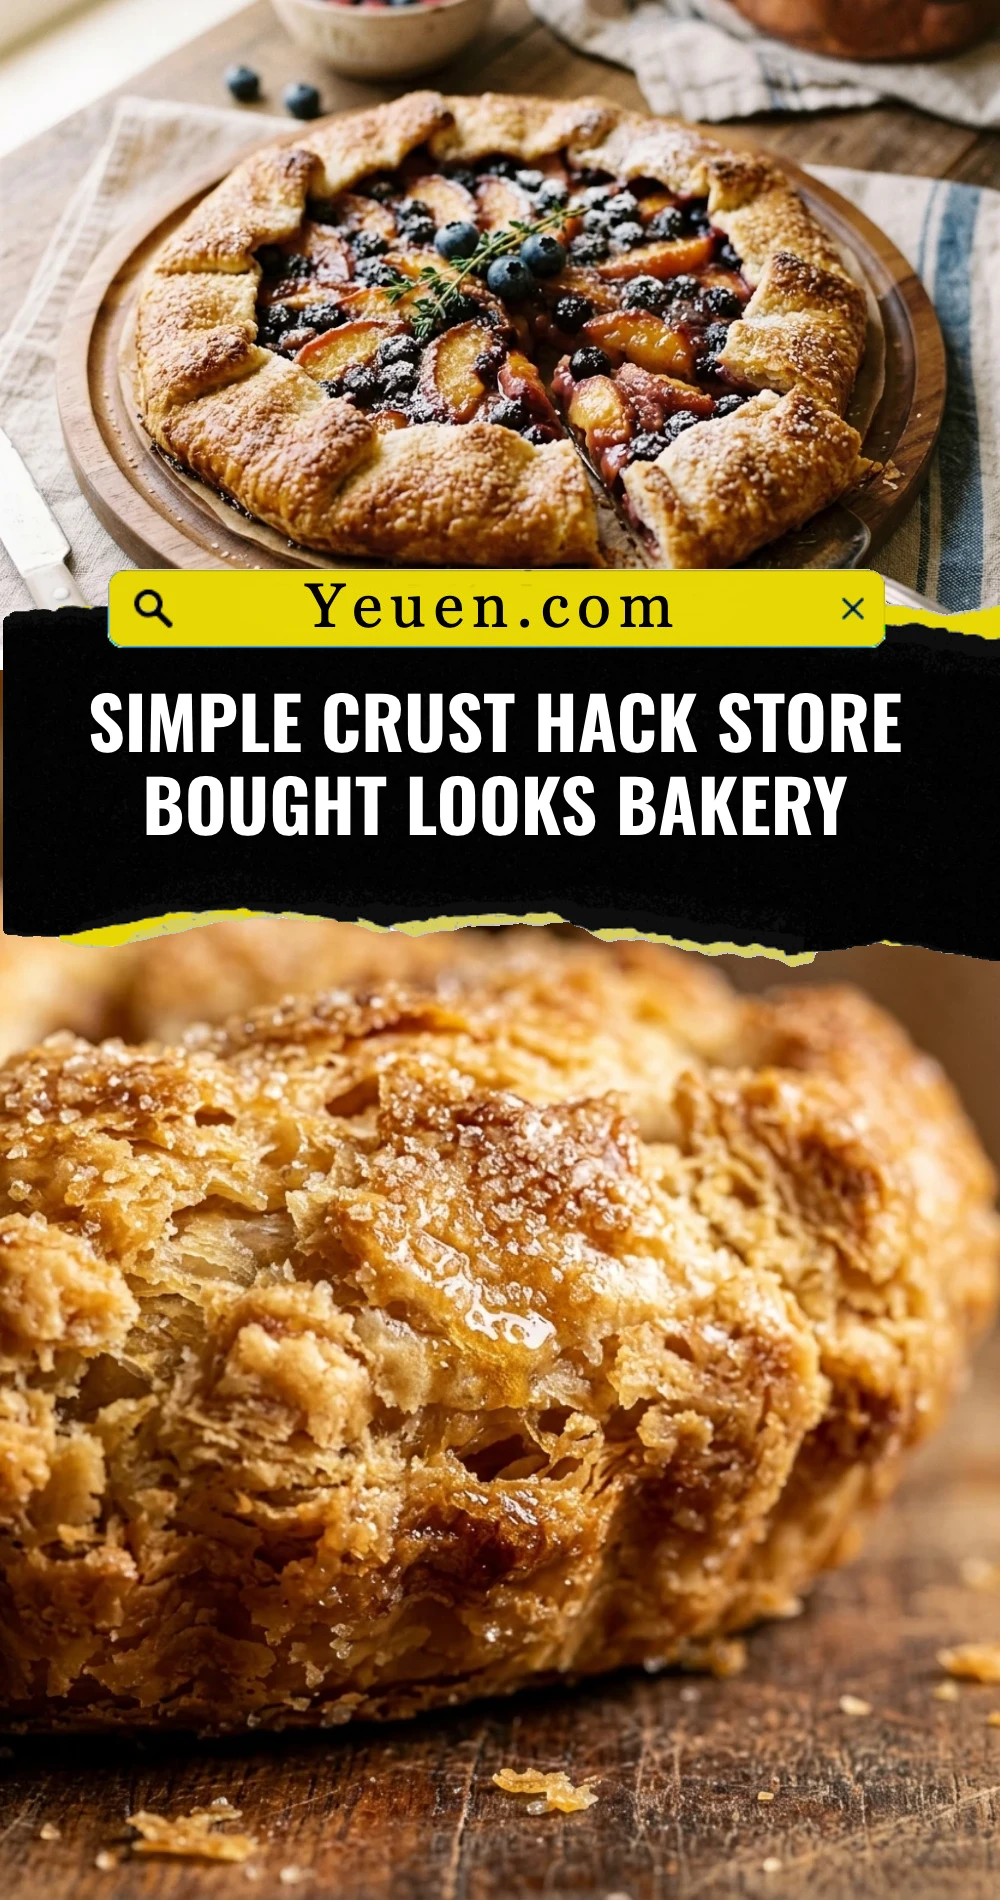
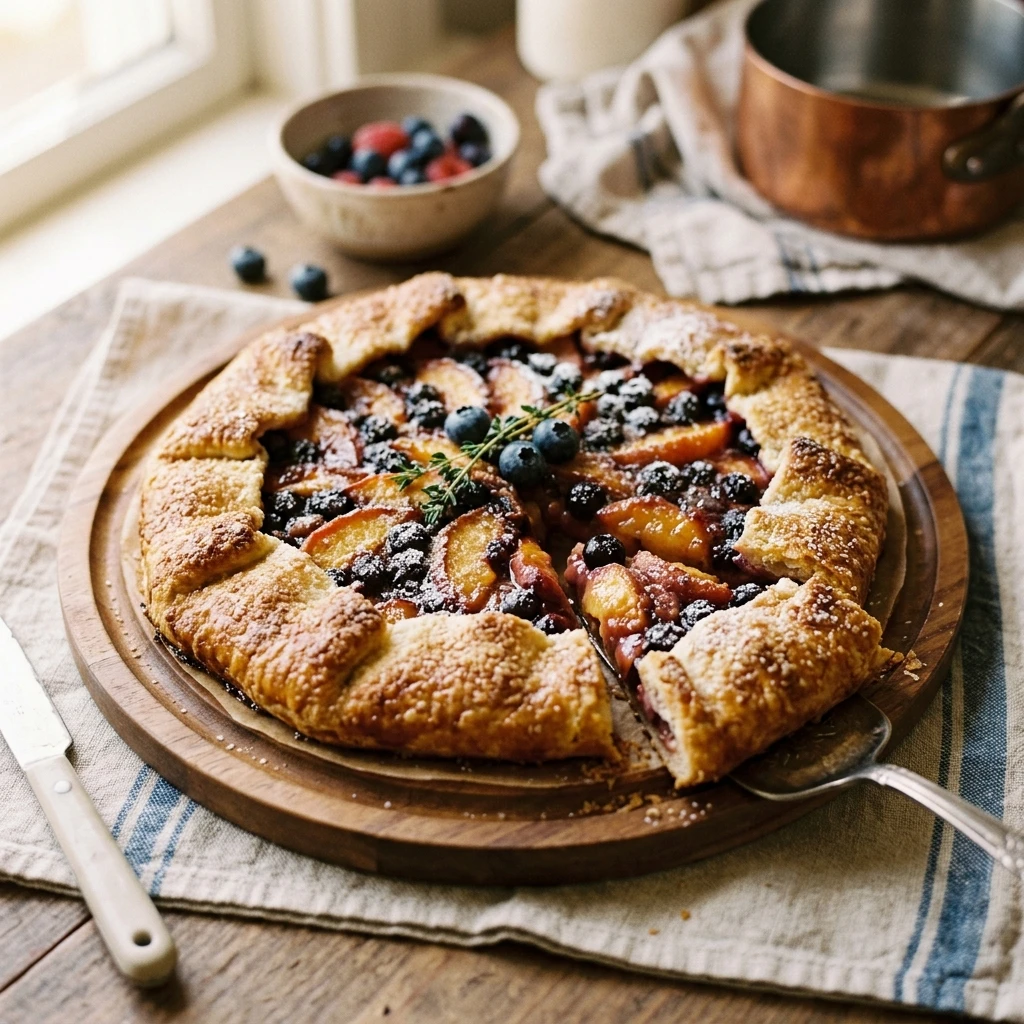
We have all been there: you want that artisanal, “just stepped out of a French patisserie” look, but you only have ten minutes and a box of refrigerated pie crust. You do not have to settle for a flat, boring edge that screams “pre-packaged.” With a few simple pantry staples and a clever folding technique, you can transform a basic store-bought dough into a masterpiece that will have your guests asking which boutique bakery you visited. This hack is the ultimate secret weapon for holiday pies, savory quiches, or rustic galettes. It creates a thick, flaky, golden-brown border that provides the perfect crunch in every bite.
Recipe Information
- Prep Time: 10 minutes
- Cook Time: 15 minutes (crust only)
- Total Time: 25 minutes
- Servings: 8 servings
- Difficulty: Easy
Nutrition values
(Estimated per serving for the crust hack components only)
- Calories: 135 kcal
- Protein: 2g
- Carbs: 16g
Why Make This Simple Crust Hack Store Bought Looks Bakery
This method bridges the gap between convenience and gourmet quality. Most store-bought crusts are too thin at the edges, leading to burnt or brittle rims. By using this hack, you create a reinforced “crimp zone” that holds its shape during baking. It adds incredible visual texture and a professional “bakery-style” height to your desserts. Best of all, it takes less than five minutes of extra effort but yields a result that looks like you spent hours in the kitchen. If you want the taste of homemade with the speed of a shortcut, this is your go-to technique.
Ingredients
- 1 box (14.1 oz) Refrigerated Pie Crusts (contains 2 rounds)
- 1 Large Egg (for the egg wash)
- 1 tablespoon Heavy Cream or Whole Milk
- 1 tablespoon Coarse Sanding Sugar (for sweet pies) or Sea Salt (for savory pies)
- All-purpose flour (for dusting the work surface)
Directions
Step 1: Temper and Roll the Dough
Remove the refrigerated pie crust from the box and let it sit at room temperature for about 15 minutes. This prevents the dough from cracking when you unroll it. Lightly dust your work surface with flour. Unroll the dough completely and use a rolling pin to gently flatten any creases, extending the diameter by about half an inch to give you extra room for the fold.
Step 2: Create the Reinforced Rim
Place the dough into your pie dish. Instead of trimming the excess dough that hangs over the edge, fold it under itself all the way around the perimeter. This creates a thick, double-layered “wall” of dough resting right on the rim of the plate. Press down firmly so the two layers bond together. This extra thickness is the secret to getting those deep, dramatic bakery crimps.
Step 3: Perform the Finger Crimp
Use the “V” shape formed by your index finger and middle finger on one hand, and place them against the outside of the crust. Use the index finger of your other hand to push the dough from the inside into that “V.” Continue this motion around the entire circle. Space your crimps about one inch apart for a classic, professional look. Ensure the dough is pressed firmly against the edge of the dish to prevent shrinking.
Step 4: Apply the Bakery Glaze
Whisk the egg and heavy cream together in a small bowl until completely smooth. Use a pastry brush to apply a thin, even layer of this wash over the entire fluted edge. This is what creates that high-gloss, deep mahogany color seen in professional bakeries. Sprinkle the coarse sugar or sea salt immediately onto the wet egg wash so it adheres. Bake according to your specific recipe instructions until the edges are deeply golden brown.
Expert Tips for Perfect Simple Crust Hack Store Bought Looks Bakery
- Keep it Cold: If the dough becomes too soft or sticky while you are crimping, pop the whole pan in the freezer for 5 minutes before continuing. Cold fat equals flaky layers.
- Use a Glass Dish: Using a glass pie plate allows you to see if the bottom is browning evenly, which helps you time the crust removal perfectly.
- Shield the Edges: Because this hack creates a thicker edge, the rim might brown faster than the center. If it looks dark before the filling is done, cover the edges with a strip of aluminum foil.
- The Heavy Cream Secret: Adding heavy cream to your egg wash provides a much richer color and a more tender “crunch” than using water or a plain egg.
Delicious Variations
- The Braided Border: Cut the second crust into thin strips and braid them, then “glue” them to the rim of the first crust using a bit of egg wash.
- Herbed Savory Crust: For quiches, mix dried thyme and cracked black pepper into the egg wash before brushing.
- Cinnamon Sugar Sparkle: Mix cinnamon with your sanding sugar for a warm, spicy finish on apple or pumpkin pies.
- The Fork Press: If you prefer a modern look, skip the finger crimp and use the tines of a fork to press deep, horizontal lines into the reinforced rim.
Frequently Asked Questions
Can I use this hack on frozen pie crusts?
Yes, but you must let the frozen crust thaw completely in the refrigerator first. You cannot fold or crimp a frozen crust as it will shatter. Once it is pliable, follow the same folding and egg wash steps.
What is the best egg wash for a shiny finish?
The gold standard for a bakery finish is one egg yolk mixed with a splash of heavy cream. The fat in the yolk and cream creates a beautiful lacquer-like shine that water-based washes cannot replicate.
Why does my crust shrink down into the pan?
Crust shrinkage usually happens because the dough was stretched too thin or it wasn’t cold enough when it hit the oven. To prevent this, make sure you don’t pull the dough; instead, let it “slump” into the corners, and chill the crust in the fridge for 20 minutes before baking.
Can I use this hack for a bottom-crust only recipe?
Absolutely. This hack is actually most effective for “open-face” pies like pumpkin, pecan, or chocolate silk where the edge is the star of the show.
What if I don’t have heavy cream for the wash?
You can substitute whole milk or even melted butter. While the shine won’t be as intense as the heavy cream version, it will still help the crust brown beautifully and hold onto the sugar or salt toppings.
Conclusion
Transforming a store-bought crust from basic to “bakery-level” does not require professional training; it just requires a little bit of technique. By reinforcing the edges and using a high-quality egg wash, you create a visual and textural experience that elevates the entire dish. Next time you are in a rush, use this simple crust hack to save time without sacrificing the “wow” factor. Happy baking!