Follow Me On Pinterest!
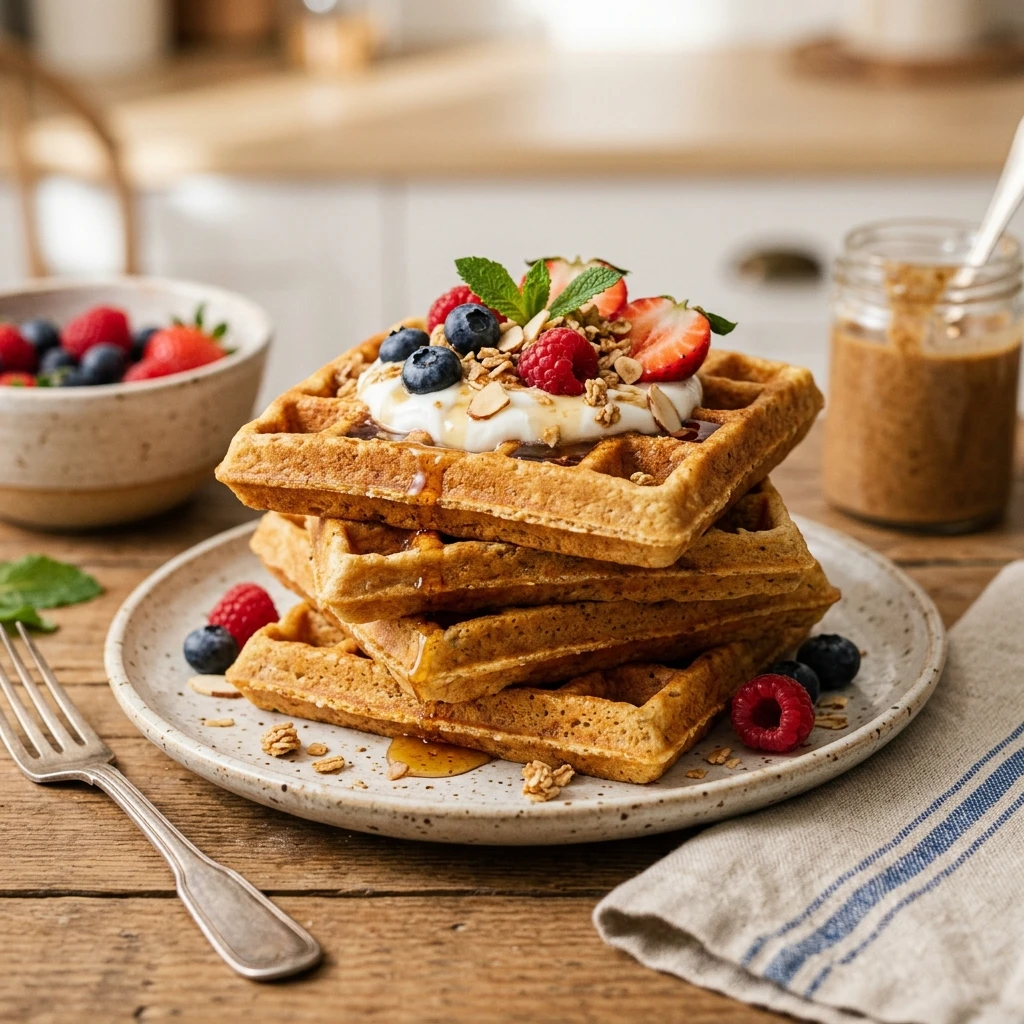
Protein Waffles Crispy Meal Prep Freezer Friendly
Stop settling for soggy, rubbery protein waffles that leave you reaching for a snack an hour later. We have all been there: trying to hit our macros while sacrificing the joyful crunch of a classic breakfast. These crispy protein waffles are the ultimate game-changer for your morning routine. Not only do they boast an impressive protein count to keep you full, but they also maintain that signature golden-brown exterior even after a trip to the freezer. Whether you are a busy professional or a fitness enthusiast, having a stack of these ready to toast will transform your chaotic mornings into a gourmet experience.
Recipe Information
- Prep Time: 10 minutes
- Cook Time: 15 minutes
- Total Time: 25 minutes
- Servings: 4 servings (approx. 8 waffles)
- Difficulty: Easy
Nutrition values
- Calories: 285 kcal
- Protein: 26g
- Carbs: 22g
Why Make This Protein Waffles Crispy Meal Prep Freezer Friendly
Most protein waffles turn out soft or dense, but this recipe uses a specific ratio of ingredients to ensure a satisfying crunch. Making a big batch on Sunday means you have a high-protein breakfast ready in under three minutes during the week. These waffles are significantly cheaper than store-bought frozen options and contain no mystery preservatives. Plus, the neutral base makes them perfect for both sweet and savory toppings, allowing you to switch up your flavors every single day without extra cooking.
Ingredients
- 1.5 cups Oat flour (blended rolled oats work perfectly)
- 2 scoops Vanilla protein powder (Whey/Casein blend works best for texture)
- 1 tablespoon Baking powder
- 1 teaspoon Cinnamon
- 1/4 teaspoon Salt
- 1 cup Liquid egg whites
- 1/2 cup Non-fat plain Greek yogurt
- 1/2 cup Unsweetened almond milk (add more if batter is too thick)
- 1 teaspoon Vanilla extract
- Cooking spray (avocado or coconut oil)
Directions
Step 1: Prepare the Batter
Whisk the oat flour, protein powder, baking powder, cinnamon, and salt in a large mixing bowl until well combined. In a separate medium bowl, mix the egg whites, Greek yogurt, almond milk, and vanilla extract until smooth. Pour the wet ingredients into the dry ingredients and stir gently with a spatula. Do not overmix; a few small lumps are perfectly fine and help keep the waffles airy.
Step 2: Preheat and Grease the Iron
Turn on your waffle iron to its highest setting. High heat is the secret to getting that crispy exterior without overcooking the inside. Once the iron is hot, spray both the top and bottom plates generously with non-stick cooking spray. Even if your iron is non-stick, the oil helps create that fried, crunchy texture on the ridges.
Step 3: Cook to Golden Perfection
Pour about 1/3 to 1/2 cup of batter onto the center of the waffle iron, depending on the size of your machine. Close the lid and wait for the steam to stop escaping before opening. This usually takes about 4 to 5 minutes. The waffle should be deep golden brown and firm to the touch. Remove carefully with a silicone spatula or fork.
Step 4: Cool and Prep for Freezing
Place the cooked waffles on a wire cooling rack immediately. Do not stack them while they are hot, as the steam will make them soft. Once they reach room temperature, place them in a single layer on a baking sheet and freeze for one hour. After they are firm, transfer them to a freezer-safe bag with parchment paper between each waffle to prevent sticking.
Expert Tips for Perfect Protein Waffles Crispy Meal Prep Freezer Friendly
The biggest mistake people make is using 100% whey protein, which can result in a rubbery texture. A blend of whey and casein creates a much softer crumb while maintaining a crisp shell. Also, ensure your baking powder is fresh; this provides the lift needed to prevent the waffles from becoming dense bricks. If your batter thickens too much while sitting, whisk in a tablespoon of almond milk to loosen it back up before pouring the next batch.
Delicious Variations
- Chocolate Chip: Fold in 2 tablespoons of mini dark chocolate chips after mixing the batter.
- Blueberry Lemon: Add a handful of fresh blueberries and 1 teaspoon of lemon zest to the mixture.
- Savory Style: Omit the cinnamon and vanilla; add dried chives and a pinch of garlic powder. Top with a fried egg.
- Birthday Cake: Use vanilla protein and add 1 tablespoon of rainbow sprinkles for a fun morning treat.
Frequently Asked Questions
How do I reheat these so they stay crispy?
The best way to reheat frozen protein waffles is in a standard toaster or a toaster oven. Avoid the microwave, as it will make them chewy and soft. Toast them on a medium-high setting until they are heated through and the exterior regains its crunch.
Can I use a different type of flour?
Yes, you can substitute oat flour with all-purpose flour or a 1:1 gluten-free baking blend. Coconut flour is not recommended as a direct substitute because it absorbs significantly more liquid and will ruin the texture.
Does the type of protein powder matter?
Absolutely. For the best “crispy on the outside, fluffy on the inside” result, use a protein powder blend. If you only have whey, the waffles will be thinner and slightly more fragile. Vegan proteins work too but may require a bit more almond milk.
How long do these last in the freezer?
When stored in an airtight freezer bag with the air squeezed out, these waffles will stay fresh for up to 3 months. Make sure they are completely cool before bagging to prevent ice crystals from forming.
Can I make these without egg whites?
You can substitute the 1 cup of egg whites with 2 whole eggs and an extra 1/2 cup of milk, but the protein content will be lower and the waffles may be slightly less crisp.
Conclusion
Mastering the art of the crispy protein waffle is the best gift you can give your future self. By following this recipe, you are ensuring that your meal prep is something you actually look forward to eating rather than a chore. These waffles provide the perfect balance of nutrition and satisfaction, proving that healthy eating doesn’t have to be boring or bland. Whip up a double batch this weekend, toss them in the freezer, and enjoy the ease of a gourmet, high-protein breakfast every single day of the week.