Follow Me On Pinterest!
No Rolling Needed Pumpkin Pie Hack
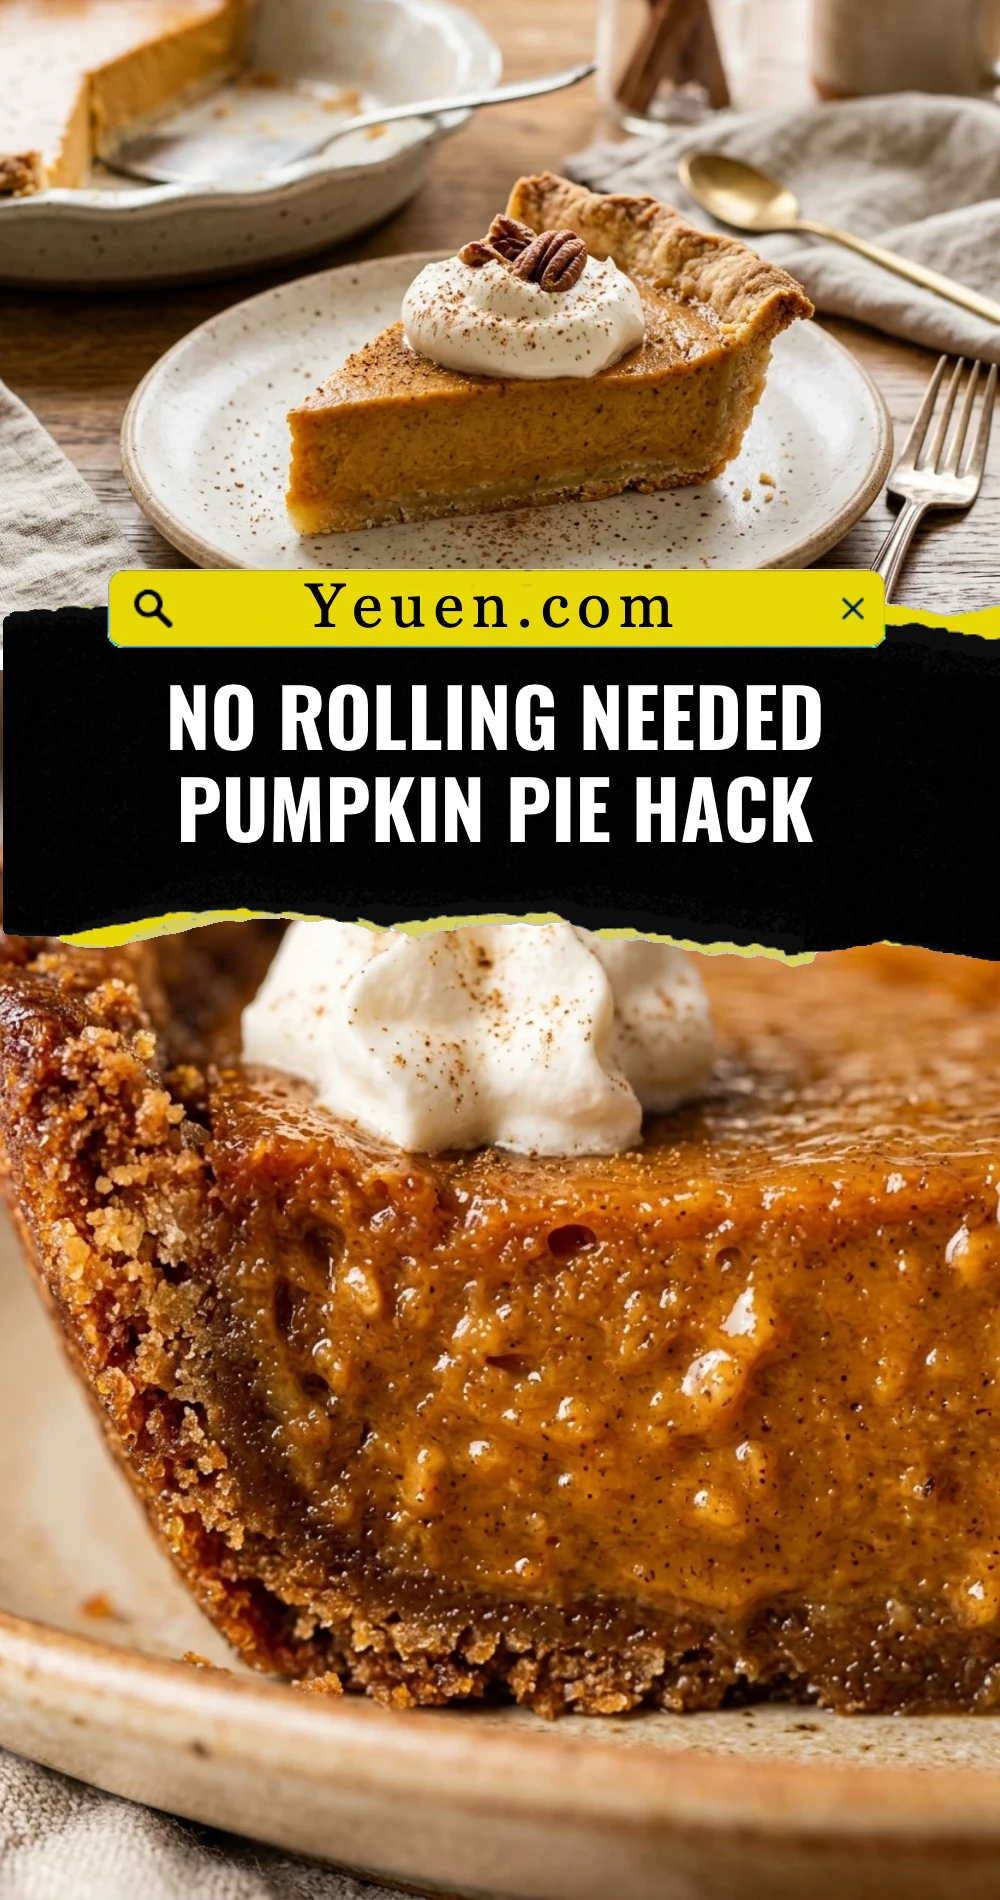
Forget the flour-dusted countertops, the sticky rolling pins, and the frustration of a tearing pie crust. We have all been there, trying to patch up a hole in a delicate dough while the oven preheats and the holiday stress rises. This “No Rolling Needed” Pumpkin Pie Hack changes everything. By utilizing a simple press-in method, you get a buttery, flaky foundation for your creamy pumpkin filling without the workout or the mess. It is the ultimate shortcut for busy bakers who refuse to compromise on that classic, homemade taste. Whether you are a novice in the kitchen or a seasoned pro looking for a time-saving trick, this recipe ensures your holiday dessert table features a picture-perfect pie every single time.
Recipe Information
- Prep Time: 15 minutes
- Cook Time: 50 minutes
- Total Time: 1 hour 5 minutes
- Servings: 8
- Difficulty: Easy
Nutrition values
- Calories: 310 kcal
- Protein: 6g
- Carbs: 39g
Why Make This No Rolling Needed Pumpkin Pie Hack
Traditional pie crusts require chilling, rolling, and precise handling to avoid toughness. This hack eliminates those technical hurdles entirely. You simply mix the crust ingredients in a bowl and press them directly into the pan. This method creates a sturdy yet tender crust that stands up beautifully to the heavy pumpkin custard. It is faster, cleaner, and virtually fail-proof. Plus, the melted butter technique used here results in a rich, shortbread-like texture that pairs perfectly with the warm spices of the pumpkin filling. You save time on cleanup and gain more time to enjoy your guests.
Ingredients
For the Press-In Crust:
- 1 1/2 cups all-purpose flour
- 1/2 cup unsalted butter, melted and slightly cooled
- 2 tablespoons granulated sugar
- 1/2 teaspoon salt
- 1 tablespoon cold water (if needed)
For the Filling:
- 1 can (15 oz) pumpkin puree (not pie mix)
- 1 can (12 oz) evaporated milk
- 2 large eggs
- 3/4 cup packed light brown sugar
- 1 1/2 teaspoons pumpkin pie spice
- 1/2 teaspoon salt
Directions
Step 1: Prepare the Press-In Crust
Preheat your oven to 350°F (175°C). In a medium mixing bowl, whisk together the flour, sugar, and salt. Pour the melted butter over the dry ingredients. Use a fork to stir the mixture until it forms moist crumbs. If the dough feels too dry to hold together, add a tablespoon of cold water. Transfer the crumbs into a 9-inch pie plate. Use your fingers or the bottom of a flat measuring cup to press the mixture firmly and evenly across the bottom and up the sides of the plate. Prick the bottom lightly with a fork.
Step 2: Mix the Pumpkin Filling
In a large mixing bowl, beat the two eggs lightly. Add the pumpkin puree, brown sugar, pumpkin pie spice, and salt. Whisk until the mixture is smooth and the sugar has dissolved. Gradually stir in the evaporated milk until the filling is fully combined and uniform in color. Avoid over-whisking to prevent too many air bubbles from forming in the custard.
Step 3: Assemble and Bake
Place the prepared pie plate on a baking sheet to catch any potential spills. Carefully pour the pumpkin mixture into the unbaked press-in crust. Transfer the baking sheet to the center rack of the oven. Bake for 45 to 55 minutes. The pie is done when the edges are set and slightly puffed, but the center still has a slight, jello-like jiggle when moved. Do not overbake, or the top may crack.
Step 4: Cooling and Serving
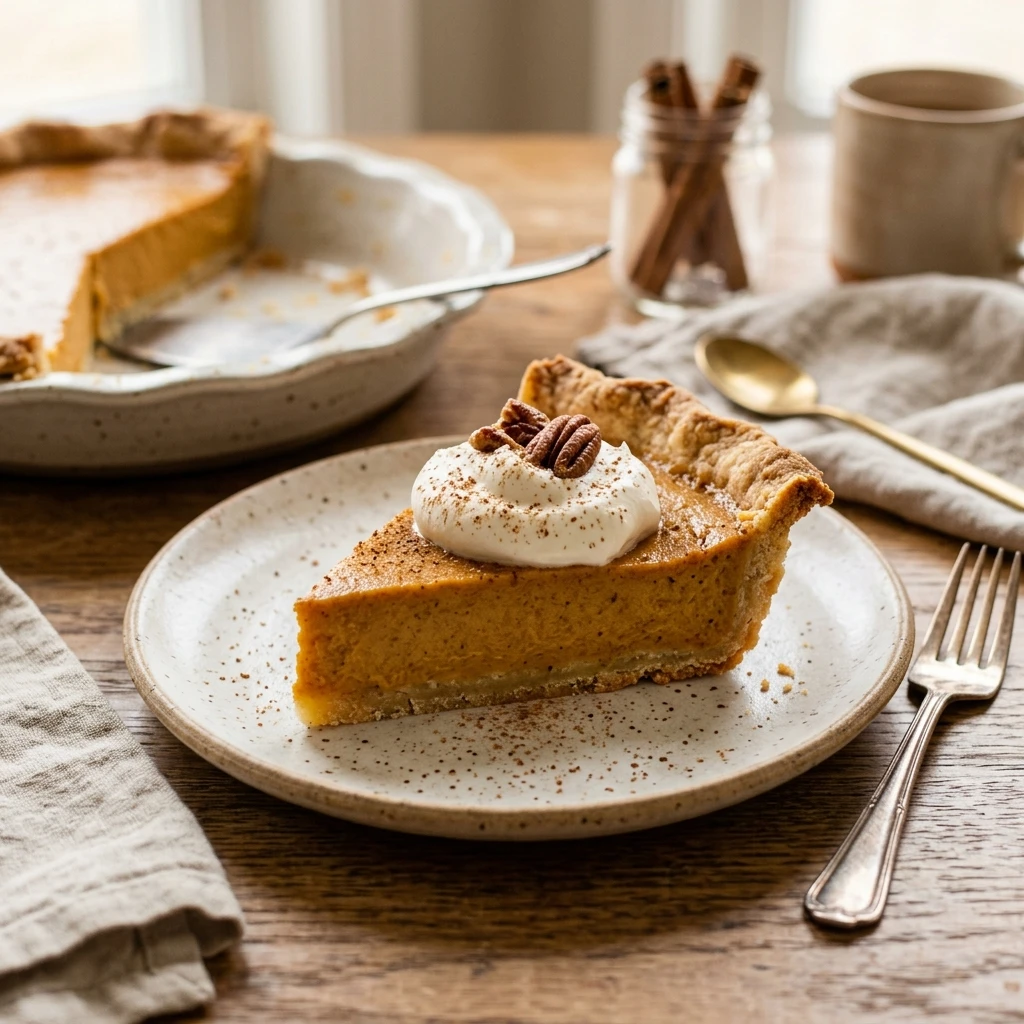
Remove the pie from the oven and place it on a wire rack. Allow the pie to cool completely at room temperature for at least 2 hours. This step is crucial because the custard continues to set as it cools. For the cleanest slices, refrigerate the pie for another 2 hours before serving. Top with a dollop of whipped cream and a sprinkle of cinnamon before slicing.
Expert Tips for Perfect No Rolling Needed Pumpkin Pie Hack
- Use a Flat-Bottomed Tool: Use a flat-bottomed measuring cup or a small glass to press the crust. This ensures an even thickness throughout the base and prevents thick corners.
- Watch the Temperature: Ensure your melted butter is not boiling hot when you add it to the flour, as this can change the texture of the crust.
- Prevent Cracking: If you see the edges of the filling rising significantly, check for doneness immediately. Overbaking is the primary cause of cracks in pumpkin pie.
- Room Temperature Ingredients: Use room temperature eggs and pumpkin puree to ensure the filling emulsifies perfectly and bakes evenly.
- The Jiggle Test: The “jiggle” should look like firm gelatin, not liquid. If it sloshes, it needs more time.
Delicious Variations
- Gingersnap Twist: Add 1/2 teaspoon of ground ginger and a tablespoon of molasses to the crust mixture for a spicy, autumnal kick.
- Chocolate Chip Crust: Stir 1/4 cup of mini chocolate chips into the crust crumbs before pressing them into the pan for a hidden chocolate layer.
- Maple Pumpkin: Replace the brown sugar in the filling with 1/2 cup of pure maple syrup and reduce the evaporated milk by 2 tablespoons.
- Nutty Base: Mix in 1/4 cup of finely ground pecans or walnuts into the crust for added crunch and a rich, toasted flavor.
Frequently Asked Questions
Can I use fresh pumpkin instead of canned?
Yes, you can use fresh pumpkin puree. Ensure it is well-drained and blended until very smooth to match the consistency of canned puree. You may need to add an extra 1/2 teaspoon of spice as fresh pumpkin is often milder.
Why is my crust crumbly?
A crumbly crust usually means there was not enough moisture to bind the flour. Ensure you measure your butter accurately, and do not hesitate to add a teaspoon of water if the dough does not hold together when pinched.
Can I make this pie ahead of time?
Absolutely. This pie is actually better when made a day in advance. It allows the flavors to meld and the texture to fully set in the refrigerator.
How should I store leftovers?
Store any leftover pumpkin pie in the refrigerator, loosely covered with plastic wrap or foil. It will stay fresh for up to 3-4 days.
Do I need to pre-bake (blind bake) the crust?
No, one of the best parts of this hack is that the crust and filling bake together perfectly. The crust stays crisp without the need for a separate pre-bake step.
Conclusion
This No Rolling Needed Pumpkin Pie Hack is a game-changer for holiday baking. It removes the most intimidating part of pie-making while delivering a delicious, professional-quality result. By simplifying the process, you can focus on what really matters: sharing a beautiful meal with your loved ones. Give this method a try, and you may never go back to the rolling pin again!