Follow Me On Pinterest!
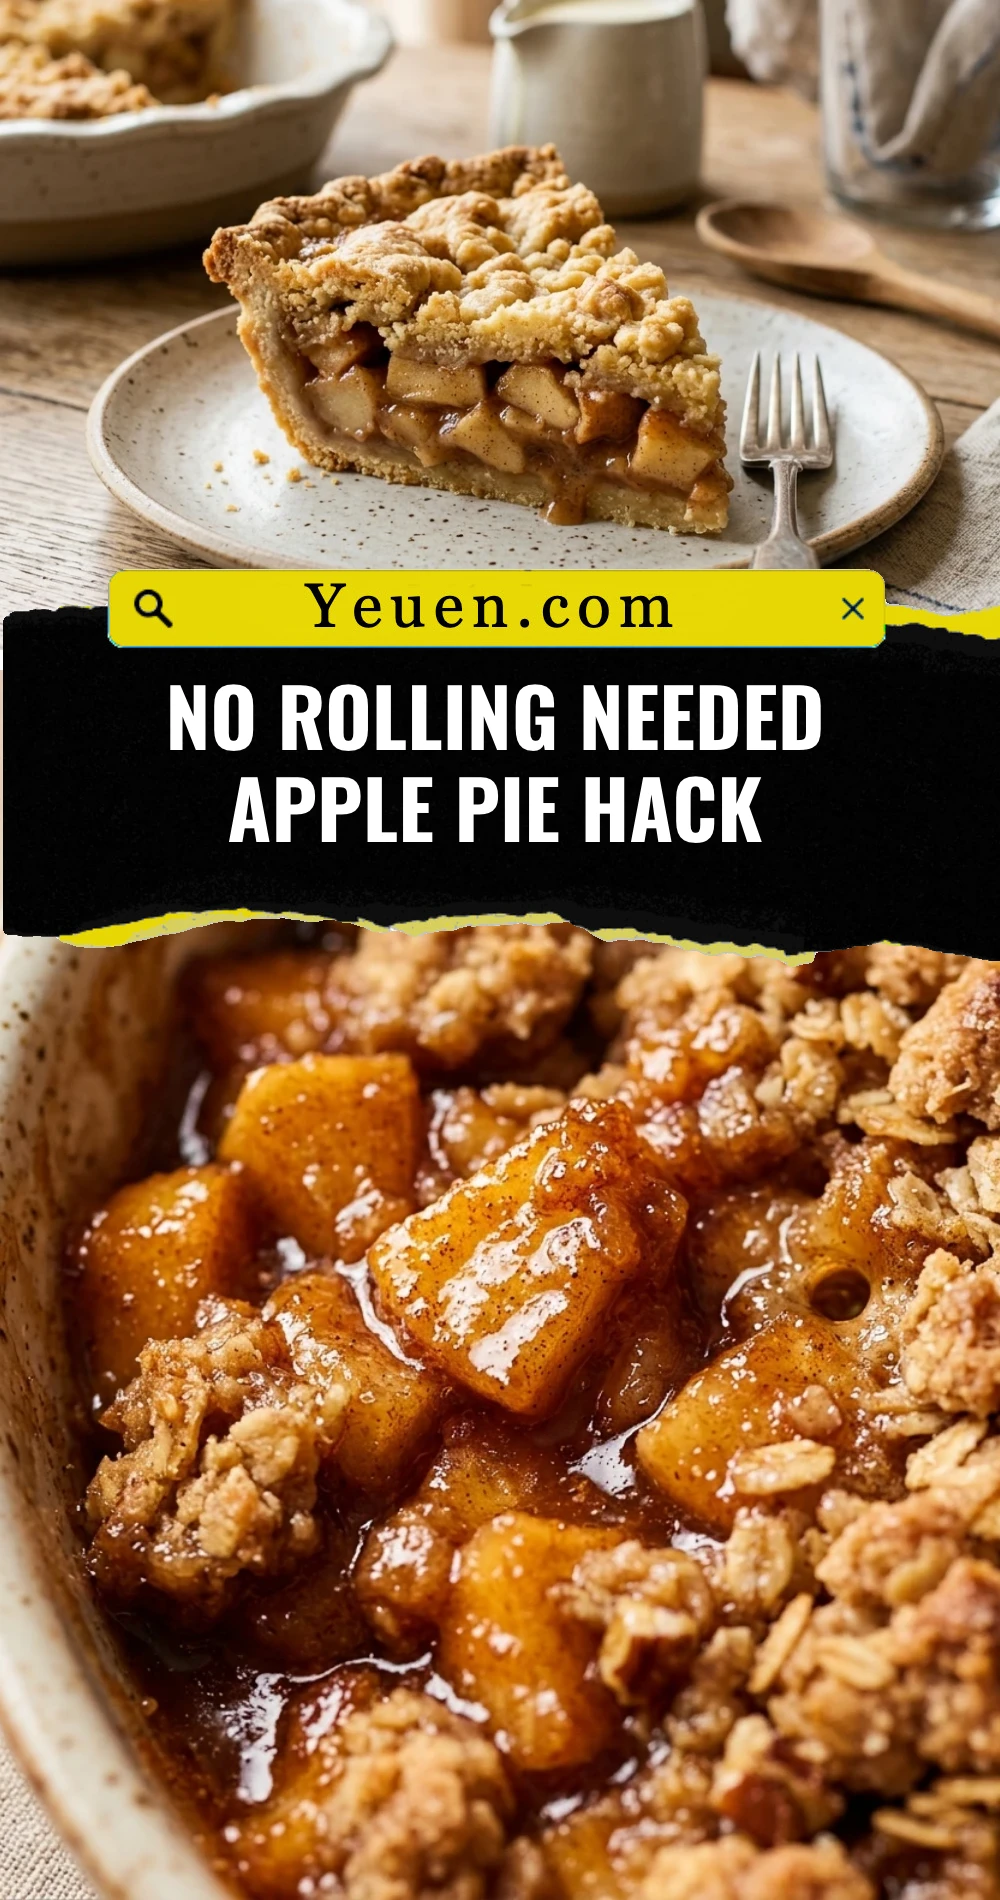
No Rolling Needed Apple Pie Hack
If you love the aroma of warm cinnamon and tart apples wafting through your kitchen but dread the thought of wrestling with a rolling pin, this recipe is your new best friend. Traditional pie crusts require chilling, flour-dusted counters, and a lot of patience to get that perfect circle. This No Rolling Needed Apple Pie Hack bypasses all the stress. We use a “press-in” method for the base and a simple crumble or “shingled” approach for the top, giving you all the buttery, flaky satisfaction of a classic apple pie without any of the manual labor. It is the ultimate shortcut for holiday hosting or a cozy Sunday night dessert.
Recipe Information
- Prep Time: 20 minutes
- Cook Time: 50 minutes
- Total Time: 70 minutes
- Servings: 8 servings
- Difficulty: Easy
Nutrition values
- Calories: 345 kcal
- Protein: 4g
- Carbs: 48g
Why Make This No Rolling Needed Apple Pie Hack
This recipe changes the game for home bakers who feel intimidated by pastry dough. You don’t need to worry about the dough cracking, sticking to the counter, or shrinking in the oven. Because we use melted butter or a simple stir-and-press technique, the crust remains tender and shortbread-like. It is incredibly forgiving and much faster than the traditional method. Plus, the rustic look of a press-in crust adds a charming, homemade feel to your dessert table that everyone will love.
Ingredients
For the Press-In Crust:
- 2 cups all-purpose flour
- 1/2 cup granulated sugar
- 1/2 teaspoon salt
- 3/4 cup unsalted butter, melted and slightly cooled
- 1 tablespoon cold water (if needed)
For the Apple Filling:
- 6 large Granny Smith apples, peeled, cored, and thinly sliced
- 1/2 cup brown sugar, packed
- 1 tablespoon ground cinnamon
- 1 tablespoon lemon juice
- 2 tablespoons cornstarch
- 1 teaspoon vanilla extract
Directions
Step 1: Prepare the Apple Filling
Start by preheating your oven to 375°F (190°C). In a large mixing bowl, combine your sliced apples, brown sugar, cinnamon, lemon juice, cornstarch, and vanilla extract. Toss everything together until the apples are evenly coated in the spiced sugar mixture. Set the bowl aside for about 10 minutes; this allows the apples to release their juices and the cornstarch to begin thickening the sauce.
Step 2: Create the Press-In Crust
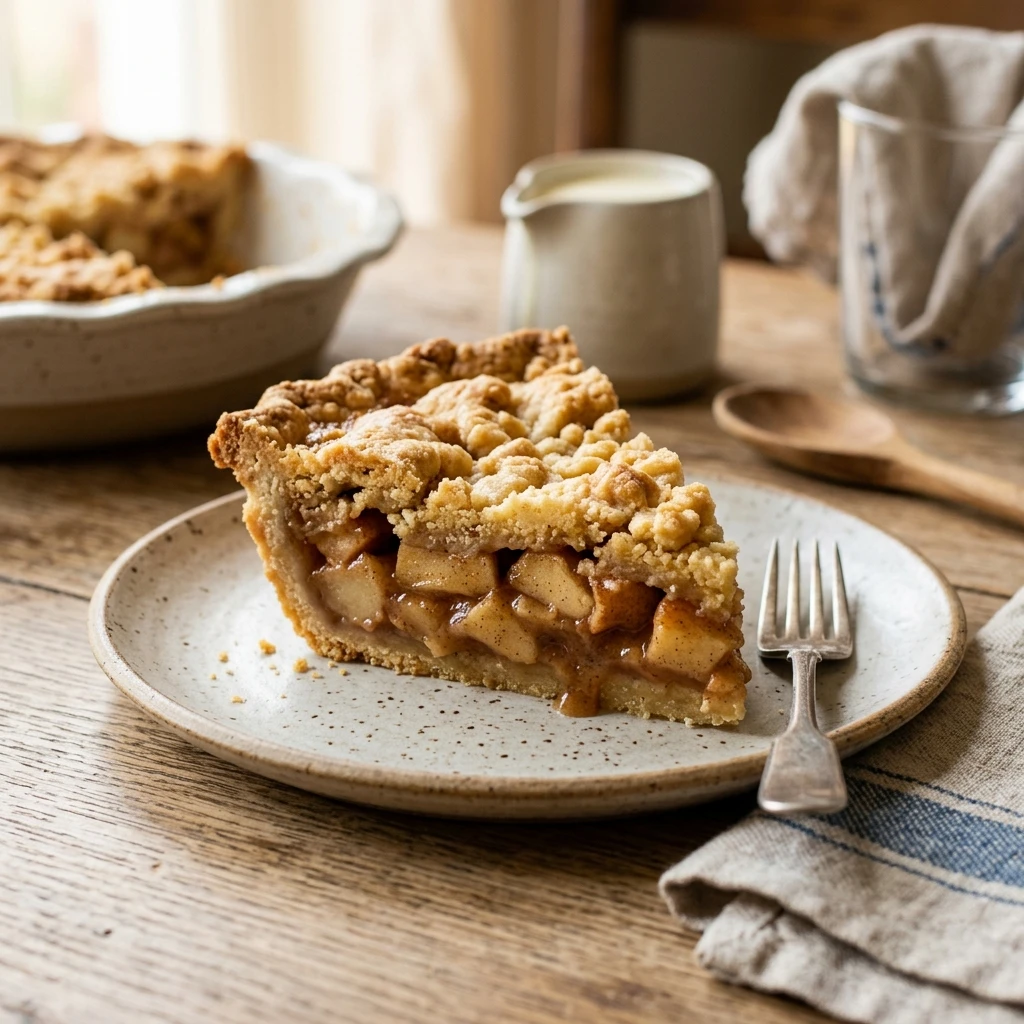
In a medium bowl, whisk together the flour, granulated sugar, and salt. Pour in the melted butter. Use a fork or a spatula to stir the mixture until it forms moist crumbs. If the mixture feels too dry to hold together when pinched, add the tablespoon of cold water. Take about two-thirds of this mixture and press it firmly into the bottom and up the sides of a 9-inch pie dish or tart pan. Ensure the layer is even and well-compacted.
Step 3: Assemble and Bake
Pour the prepared apple filling into the crust, smoothing them out so they sit flat. Take the remaining one-third of the crust mixture and crumble it over the top of the apples. You can also pat small discs of dough between your palms and lay them over the top for a “shingled” look. Place the pie on a baking sheet to catch any drips and bake for 45 to 50 minutes. The crust should be golden brown and the apple filling should be bubbling.
Step 4: Cool and Serve
Remove the pie from the oven and place it on a wire rack. It is crucial to let the pie cool for at least 30 to 60 minutes before slicing. This resting period allows the filling to set so it doesn’t run everywhere when you cut into it. Serve warm with a scoop of vanilla bean ice cream or a dollop of whipped cream.
Expert Tips for Perfect No Rolling Needed Apple Pie Hack
- Choose the Right Apples: Use firm, tart apples like Granny Smith or Honeycrisp. They hold their shape and provide a nice contrast to the sweet crust.
- Don’t Overmix: When adding the butter to the flour, stir just until a dough forms. Overmixing can lead to a tough crust rather than a tender, shortbread-like one.
- Press Firmly: Make sure you press the dough firmly into the corners of the pie dish to prevent the crust from crumbling when you slice it.
- Use a Baking Sheet: Always place your pie plate on a parchment-lined baking sheet. Apple juices often bubble over and can cause a smoky mess in the bottom of your oven.
Delicious Variations
- Caramel Drizzle: Drizzle 1/4 cup of salted caramel sauce over the apples before adding the top crumble for a decadent twist.
- Nutty Crunch: Add 1/2 cup of chopped pecans or walnuts to the topping mixture for extra texture and flavor.
- Berry Mix: Replace two of the apples with a cup of fresh blackberries or cranberries for a pop of color and tartness.
- Cheddar Crust: Mix 1/2 cup of finely shredded sharp cheddar cheese into the crust dough for a savory-sweet flavor profile.
Frequently Asked Questions
Can I use store-bought refrigerated dough for this hack?
While you can use store-bought dough, the “hack” here specifically refers to the homemade press-in crust which eliminates the need for rolling. Store-bought dough usually requires rolling or unrolling, which can still lead to tearing. This press-in method is actually faster and tastes much better than most boxed versions.
What if my crust is too crumbly to press into the pan?
If the dough doesn’t hold together when you press it against the side of the bowl, add cold water one teaspoon at a time. The moisture content of flour varies, so sometimes a tiny bit of extra liquid is necessary to bind the butter and flour.
Can I make this apple pie gluten-free?
Yes! You can substitute the all-purpose flour with a 1:1 gluten-free flour blend. Since this is a press-in crust and doesn’t rely on gluten development for structure, it actually works exceptionally well with gluten-free flour substitutes.
How should I store leftovers?
You can keep the pie at room temperature, covered with foil or plastic wrap, for up to two days. For longer storage, keep it in the refrigerator for up to five days. Reheat slices in the oven at 350°F for 10 minutes to crisp up the crust again.
Do I need to pre-bake the bottom crust?
In this specific recipe, pre-baking is not necessary because the crust is thin and the baking time is long enough to cook it through. However, if you prefer an extra-crispy bottom, you can “blind bake” the bottom crust for 10 minutes before adding the filling.
Conclusion
This No Rolling Needed Apple Pie Hack is the perfect solution for anyone who wants a homemade dessert without the stress of traditional pastry. By using a simple press-in method, you save time and eliminate the mess of floured surfaces. The result is a buttery, crisp crust packed with tender, cinnamon-spiced apples. Whether you are a beginner baker or a seasoned pro looking for a shortcut, this recipe delivers maximum flavor with minimal effort. Give it a try for your next gathering and watch it disappear!