Follow Me On Pinterest!
No Bake Strawberry Cheesecake Easy No Bake Dessert Zero Heat
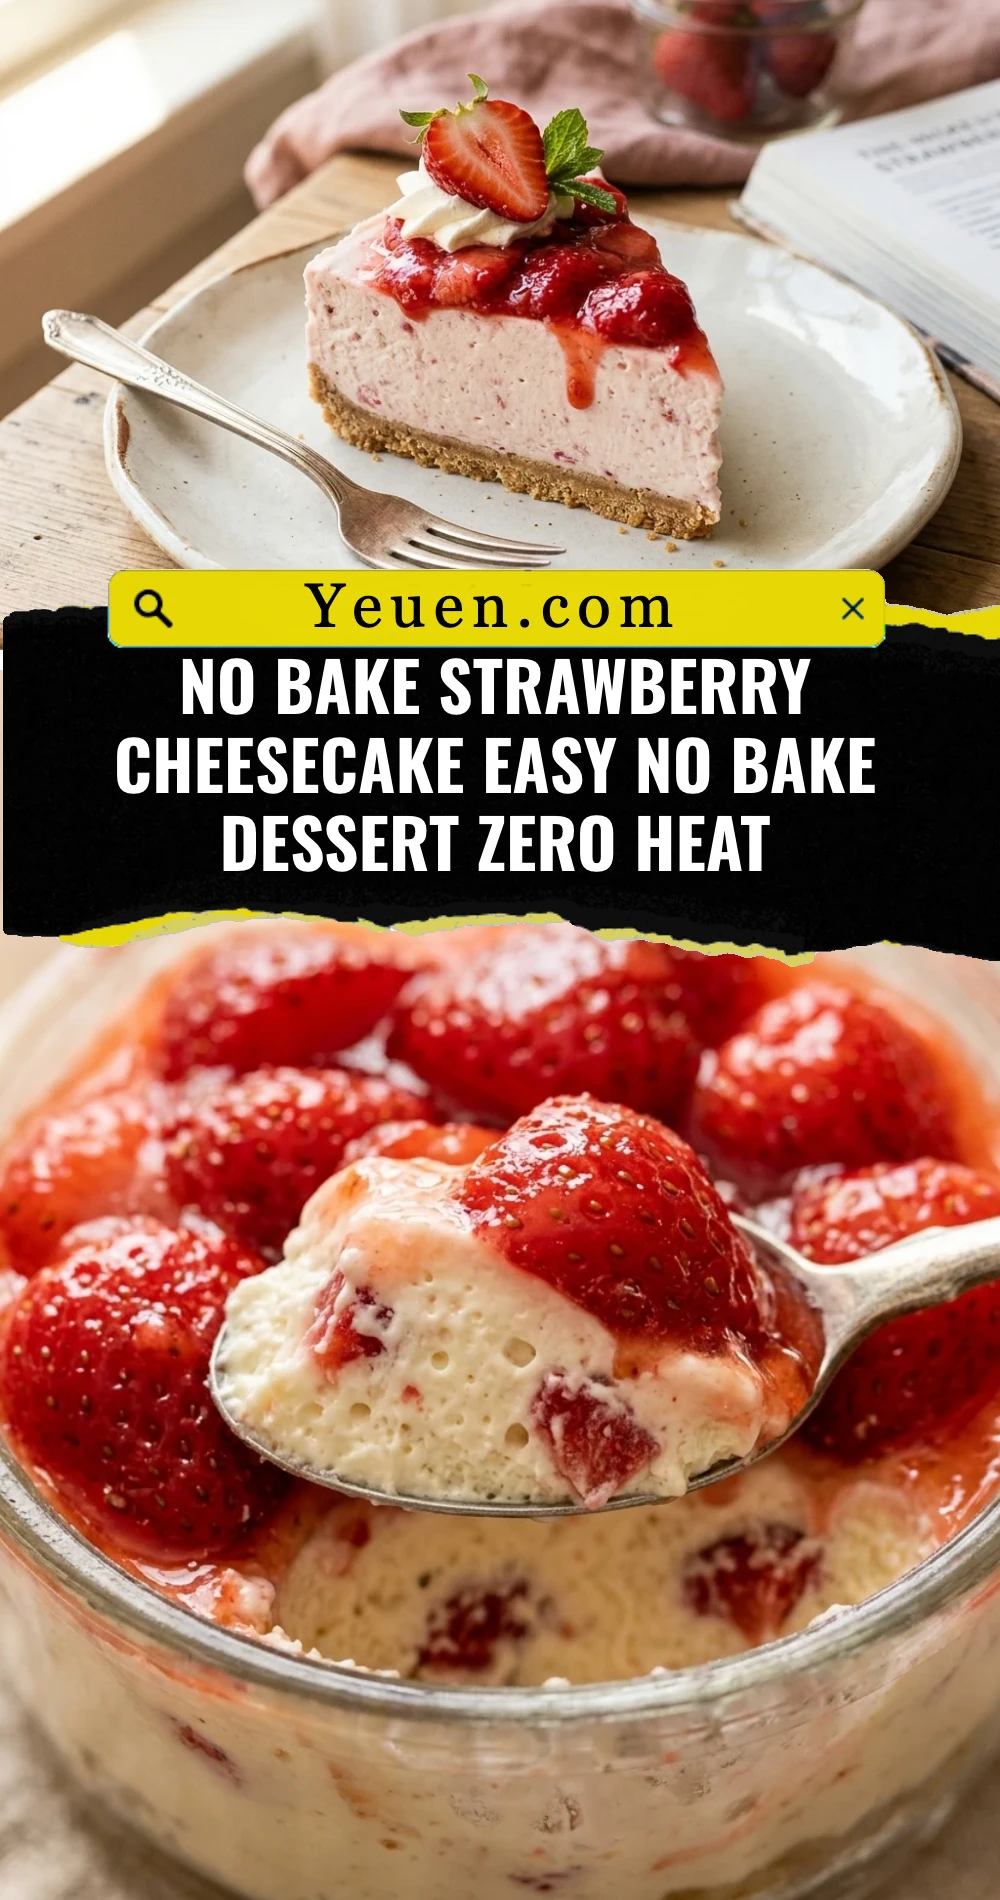
When the temperature rises and the craving for something sweet hits, the last thing anyone wants to do is turn on a hot oven. This No Bake Strawberry Cheesecake is the ultimate solution for a refreshing, indulgent treat that requires zero heat. It features a buttery graham cracker crust, a velvety smooth cream cheese filling, and a vibrant fresh strawberry topping that screams summer. Whether you are hosting a backyard barbecue or just want a simple weekend project, this dessert delivers maximum flavor with minimal effort.
Recipe Information
- Prep Time: 25 minutes
- Cook Time: 0 minutes
- Total Time: 6 hours 25 minutes (includes chilling)
- Servings: 10 servings
- Difficulty: Easy
Nutrition values
- Calories: 385 kcal
- Protein: 5g
- Carbs: 38g
Why Make This No Bake Strawberry Cheesecake Easy No Bake Dessert Zero Heat
This recipe is a game-changer for busy home cooks and dessert lovers alike. First, it eliminates the stress of cracks or overbaking that often come with traditional baked cheesecakes. By using whipped cream to provide structure, you get a light, mousse-like texture that is incredibly refreshing. It is also the perfect “make-ahead” dessert, allowing you to prepare it a day in advance so you can focus on your guests. Most importantly, it highlights the natural sweetness of fresh strawberries without any artificial flavors.
Ingredients
- 2 cups graham cracker crumbs
- 1/2 cup unsalted butter, melted
- 1/4 cup granulated sugar (for crust)
- 16 oz cream cheese, softened to room temperature
- 1 cup powdered sugar
- 1 teaspoon vanilla extract
- 1 tablespoon lemon juice
- 1 1/2 cups heavy whipping cream, cold
- 1 lb fresh strawberries, hulled and sliced
- 2 tablespoons strawberry jam (optional, for glaze)
Directions
Step 1: Prepare the Graham Cracker Crust
Combine the graham cracker crumbs, melted butter, and granulated sugar in a medium bowl. Stir until the mixture looks like wet sand. Press the mixture firmly into the bottom and up the sides of a 9-inch springform pan. Use the bottom of a measuring cup to ensure the crust is even and packed tight. Place the pan in the freezer for 10 minutes to set while you prepare the filling.
Step 2: Whip the Cream
In a cold mixing bowl, beat the heavy whipping cream on medium-high speed until stiff peaks form. Be careful not to overbeat it into butter. Set the whipped cream aside in the refrigerator to keep it cold and stable.
Step 3: Mix the Cream Cheese Filling
In a large bowl, beat the softened cream cheese until it is completely smooth and lump-free. Add the powdered sugar, vanilla extract, and lemon juice. Continue beating until the mixture is light and fluffy. Use a rubber spatula to gently fold the chilled whipped cream into the cream cheese mixture until no white streaks remain.
Step 4: Assemble and Chill
Pour the cheesecake filling into the prepared crust and smooth the top with a spatula. Cover the pan with plastic wrap and refrigerate for at least 6 hours, though overnight is best. This chilling time is essential for the cheesecake to set properly so it can be sliced cleanly.

Step 5: Add the Strawberry Topping
Just before serving, arrange the sliced strawberries over the top of the cheesecake. If you want a glossy finish, warm the strawberry jam in the microwave for 15 seconds and brush it over the fresh berries. Release the sides of the springform pan, slice, and serve immediately.
Expert Tips for Perfect No Bake Strawberry Cheesecake Easy No Bake Dessert Zero Heat
To ensure your cheesecake turns out perfectly every time, always start with room-temperature cream cheese. If the cheese is cold, it will create small lumps that are impossible to beat out later. Conversely, make sure your heavy cream is ice-cold before whipping so it achieves the best volume. For the cleanest slices, dip a sharp knife in hot water and wipe it dry between every single cut. Finally, do not rush the chilling process; the filling needs time to firm up without the help of eggs or heat.
Delicious Variations
You can easily customize this dessert to suit your taste. Try a chocolate version by using Oreo cookie crumbs for the crust instead of graham crackers. If you want a citrus twist, add two teaspoons of lemon zest to the cream cheese filling. You can also swap the strawberries for a mix of blueberries, raspberries, and blackberries for a “triple berry” delight. For a more portable option, press the crust into the bottom of small mason jars and layer the filling and fruit for individual cheesecake parfaits.
Frequently Asked Questions
- Can I use frozen strawberries? While fresh strawberries are best for the topping, you can use frozen berries to make a cooked strawberry sauce. Avoid putting thawed frozen berries directly on top as they will release too much moisture and make the cheesecake soggy.
- How long does this cheesecake stay fresh? This dessert will stay fresh in the refrigerator for up to 3 to 4 days. Keep it covered to prevent it from absorbing other odors in the fridge.
- Can I freeze a no-bake cheesecake? Yes! You can freeze the cheesecake (without the fruit topping) for up to 3 months. Thaw it in the refrigerator overnight before adding the fresh strawberries and serving.
- Why is my cheesecake filling too soft? This usually happens if the heavy cream wasn’t whipped to stiff peaks or if the cream cheese wasn’t beaten enough. Ensure you chill it for the full 6 hours to give it time to stabilize.
- Do I have to use a springform pan? A springform pan is best for easy removal, but you can also use a standard 9-inch pie dish or a square baking pan if you don’t mind serving scoops rather than perfect slices.
Conclusion
This No Bake Strawberry Cheesecake is the quintessential “zero heat” dessert that proves you don’t need an oven to create a show-stopping treat. Its balance of crunchy crust, creamy filling, and tart fruit makes it a crowd-favorite for any occasion. By following these simple steps and allowing the refrigerator to do the hard work, you will have a professional-quality dessert ready to impress. Give this recipe a try today and enjoy a stress-free baking experience!