Follow Me On Pinterest!
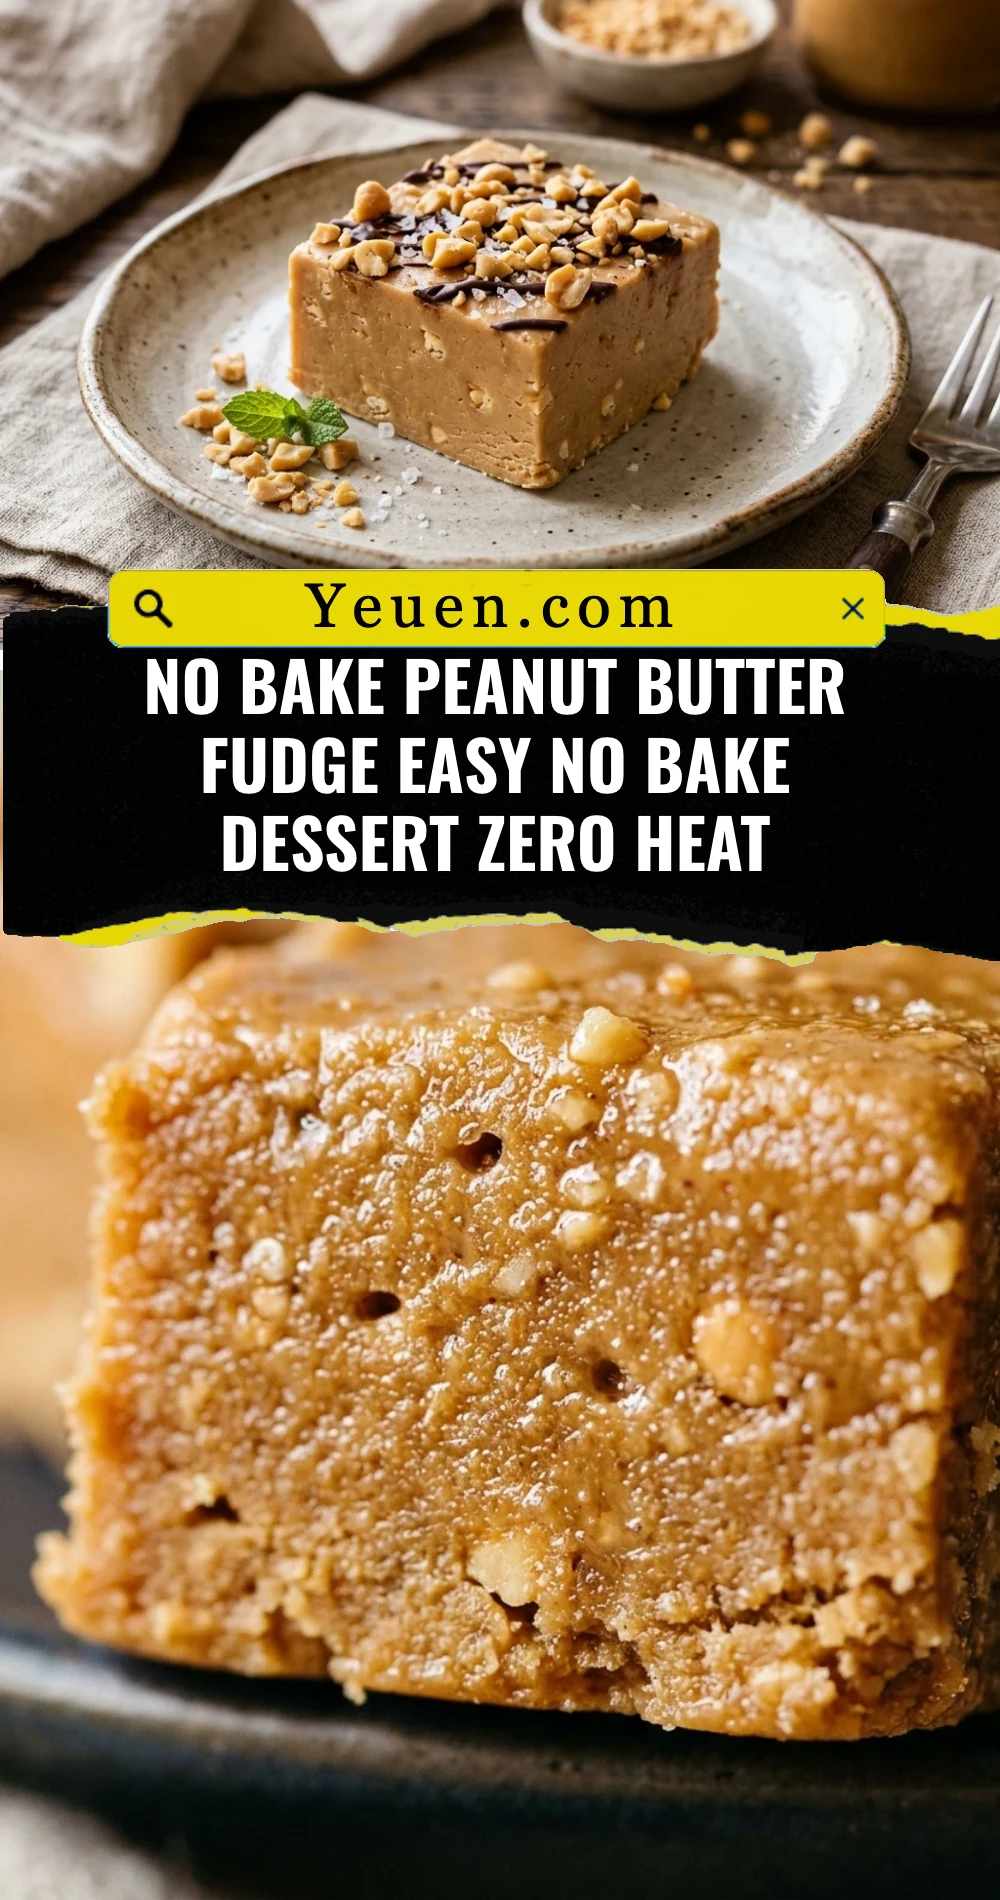
No Bake Peanut Butter Fudge Easy No Bake Dessert Zero Heat
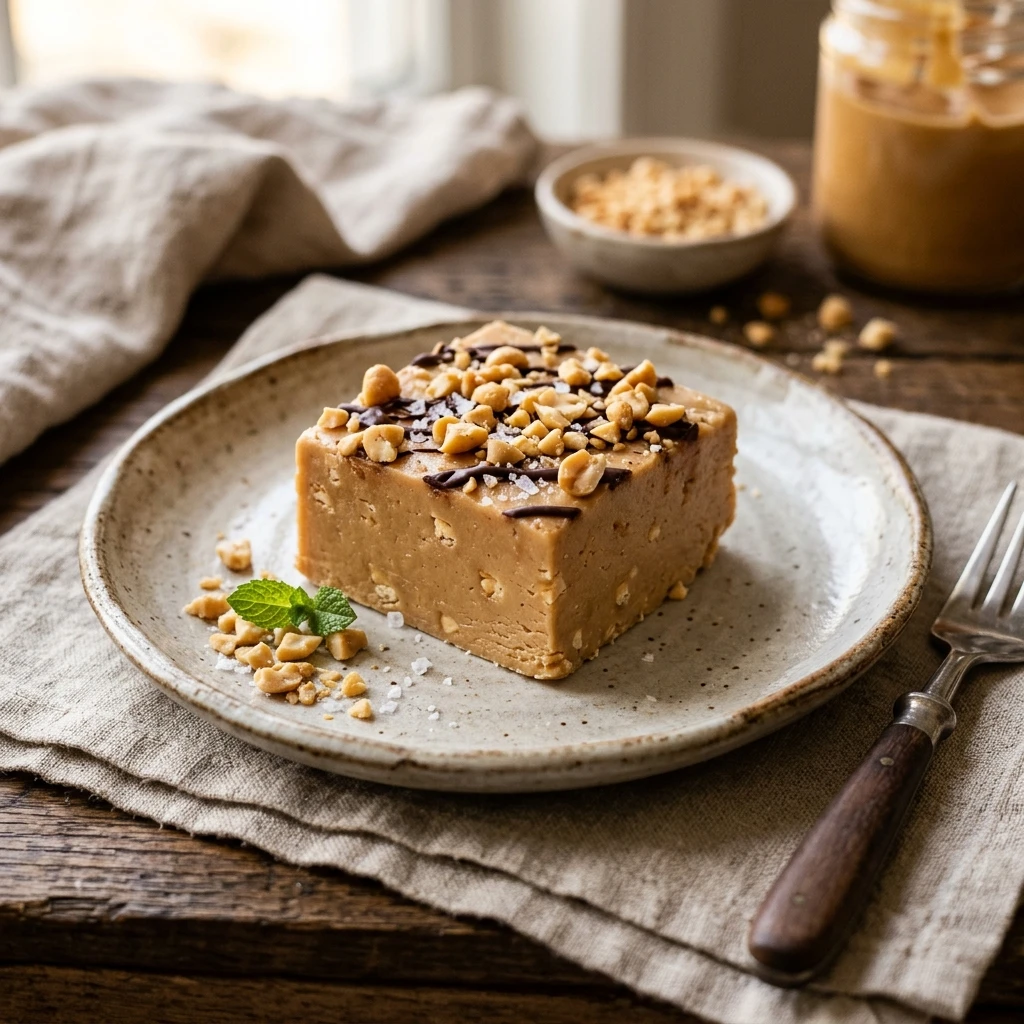
Imagine a dessert so rich, creamy, and decadent that it melts on your tongue, yet requires absolutely zero time over a hot stove. This No Bake Peanut Butter Fudge is the ultimate solution for your sweet tooth cravings when you want maximum flavor with minimum effort. Whether you are hosting a last-minute get-together or just need a quick treat for the family, this recipe delivers a velvety texture that rivals any traditional fudge. Forget about candy thermometers and worrying over soft-ball stages; this foolproof method guarantees success every single time you make it.
Recipe Information
- Prep Time: 10 minutes
- Cook Time: 0 minutes
- Total Time: 10 minutes
- Servings: 24 squares
- Difficulty: Easy
Nutrition values
- Calories: 175 kcal
- Protein: 3g
- Carbs: 19g
Why Make This No Bake Peanut Butter Fudge Easy No Bake Dessert Zero Heat
This recipe is a game-changer for busy bakers and dessert lovers alike. First, the “zero heat” aspect means you don’t have to worry about burning chocolate or standing over a boiling pot of sugar. It is incredibly safe for kids to help with because there are no hot surfaces involved. Second, it uses basic pantry staples that you likely already have in your kitchen. Finally, the texture is consistently perfect—sturdy enough to hold its shape at room temperature but soft enough to be incredibly indulgent. It is the perfect make-ahead treat for holidays, potlucks, or summer days when it is too hot to turn on the oven.
Ingredients
- 1 cup (2 sticks) unsalted butter, softened to room temperature
- 1 cup creamy peanut butter (standard commercial brand works best)
- 1 teaspoon pure vanilla extract
- 1/4 teaspoon salt
- 4 cups powdered sugar (confectioners’ sugar), sifted
Directions
Step 1: Preparation
Line an 8×8-inch baking pan with parchment paper, leaving a slight overhang on the sides. This “sling” makes it incredibly easy to lift the fudge out once it has set. If you don’t have parchment paper, you can lightly grease the pan with butter, but parchment is highly recommended for the cleanest cuts.
Step 2: Creaming the Base
In a large mixing bowl, combine the softened butter and the creamy peanut butter. Use a handheld electric mixer or a stand mixer to beat the two together until the mixture is completely smooth and light in color. This should take about 2 minutes. Stir in the vanilla extract and salt until fully incorporated.
Step 3: Integrating the Sugar
Switch your mixer to the lowest speed. Gradually add the powdered sugar one cup at a time. Mixing slowly prevents a sugar cloud from covering your kitchen. Continue mixing until the sugar is fully absorbed and the mixture becomes thick and slightly stiff. It should look matte and feel like heavy dough.
Step 4: Pressing and Chilling
Transfer the fudge mixture into your prepared baking pan. Use a spatula or the bottom of a clean measuring cup to press the fudge firmly into an even layer, reaching all the corners. Cover the pan with plastic wrap and refrigerate for at least 2 hours, or until the fudge is firm to the touch. Once set, lift the fudge out using the parchment paper edges and cut into 24 even squares.
Expert Tips for Perfect No Bake Peanut Butter Fudge Easy No Bake Dessert Zero Heat
To achieve the best results, avoid using “natural” peanut butter where the oil separates. The consistency of natural peanut butter is often too thin, which may prevent the fudge from setting properly. Always sift your powdered sugar before adding it to the mix to ensure there are no lumps, resulting in a silky-smooth mouthfeel. If you find the mixture too stiff to stir by hand, don’t be afraid to use your mixer on a medium setting. For the cleanest squares, wipe your knife with a warm, damp cloth between every cut.
Delicious Variations
- Chocolate Swirl: Melt a half cup of semi-sweet chocolate chips and drizzle them over the top before chilling, then swirl with a toothpick.
- Crunchy Texture: Use extra crunchy peanut butter instead of creamy, or fold in a half cup of chopped roasted peanuts.
- Sea Salt Topping: Sprinkle a pinch of flaky sea salt over the fudge immediately after pressing it into the pan to balance the sweetness.
- Loaded Fudge: Press mini chocolate chips or crushed pretzels into the top of the fudge before it goes into the refrigerator.
Frequently Asked Questions
Can I freeze this peanut butter fudge?
Yes! This fudge freezes beautifully. Wrap the cut squares individually in plastic wrap and place them in a freezer-safe bag for up to 3 months. Thaw in the fridge before serving.
Does this fudge need to stay refrigerated?
While it can sit out at room temperature for a few hours during a party, it stays firmest and freshest when stored in the refrigerator in an airtight container.
Can I use margarine instead of butter?
For the best flavor and structural integrity, real butter is highly recommended. Margarine has a higher water content which can affect the texture and make the fudge greasy.
My fudge is too soft, what happened?
Usually, this happens if the butter wasn’t fully incorporated or if not enough powdered sugar was used. You can try adding another half cup of sugar, or simply keep it in the freezer for a firmer bite.
How long does this fudge stay fresh?
When stored in an airtight container in the refrigerator, this No Bake Peanut Butter Fudge will stay delicious for up to two weeks.
Conclusion
This No Bake Peanut Butter Fudge Easy No Bake Dessert Zero Heat is proof that you don’t need fancy equipment or hours of time to create a gourmet-quality treat. With just five simple ingredients and a few minutes of mixing, you produce a rich, melt-in-your-mouth snack that everyone will love. It is the perfect recipe to keep in your back pocket for holidays or whenever those peanut butter cravings strike. Give it a try today and enjoy the simplest, tastiest fudge you have ever made!