Follow Me On Pinterest!
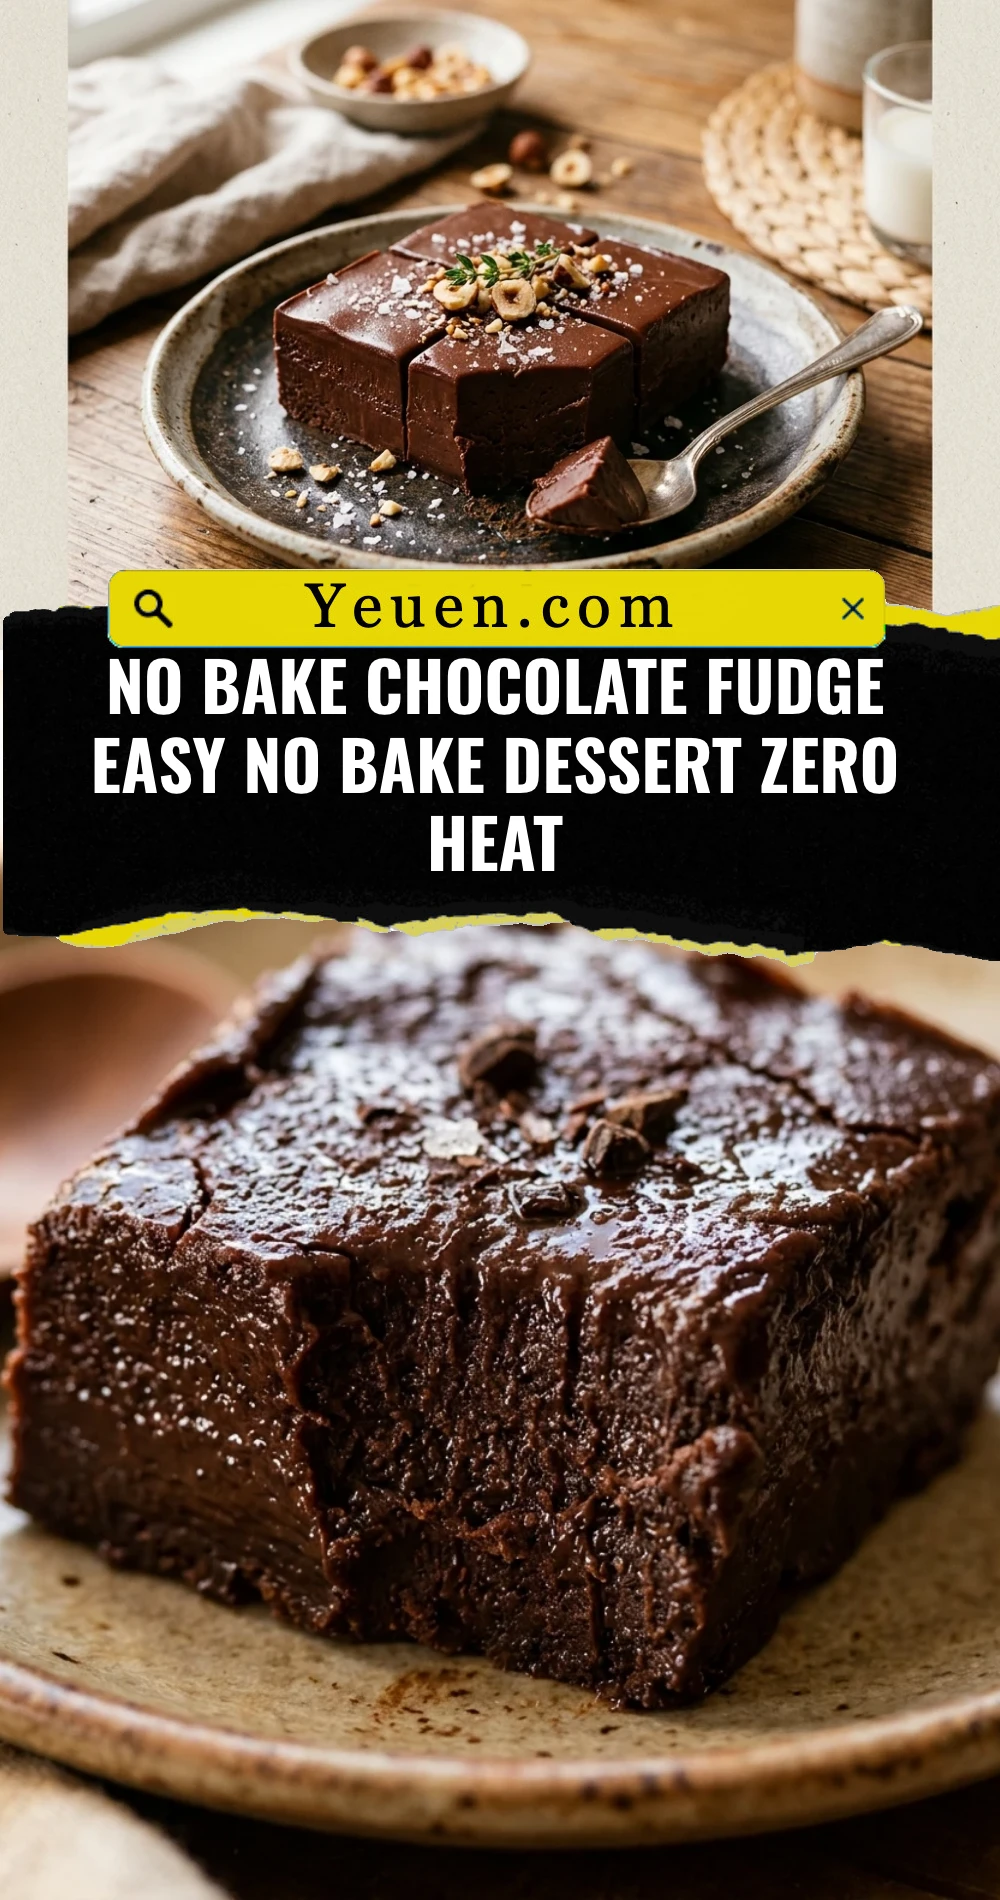
No Bake Chocolate Fudge Easy No Bake Dessert Zero Heat
Imagine satisfying your deepest chocolate cravings without ever touching a stovetop or microwave. This No Bake Chocolate Fudge is the ultimate life hack for dessert lovers who want maximum flavor with zero effort. Whether you are avoiding a hot kitchen in the summer or need a last-minute treat for a potluck, this recipe delivers a rich, velvety texture that melts in your mouth. You simply mix, press, and chill. It is foolproof, decadent, and requires absolutely no heat, making it a safe and fun activity to do with kids or a quick win for your busiest days.
Recipe Information
- Prep Time: 10 minutes
- Cook Time: 0 minutes
- Total Time: 10 minutes
- Servings: 16 squares
- Difficulty: Easy
Nutrition values
- Calories: 185 kcal
- Protein: 2g
- Carbs: 22g
Why Make This No Bake Chocolate Fudge Easy No Bake Dessert Zero Heat
This recipe is a game-changer because it eliminates the most stressful part of fudge making: temperature control. You do not need a candy thermometer or a microwave to melt chocolate chips. By using high-quality cocoa powder and softened fats, you achieve a professional-grade consistency without the risk of burning the chocolate. It is an ideal “zero heat” dessert that relies on simple pantry staples. If you want a treat that is portable, giftable, and incredibly rich, this is the recipe for you.
Ingredients
- 3 cups Powdered sugar, sifted
- 1/2 cup Unsweetened cocoa powder (Dutch-processed for best flavor)
- 1/2 cup Unsalted butter, very soft (but not melted)
- 1/4 cup Whole milk or heavy cream (room temperature)
- 1 teaspoon Pure vanilla extract
- 1/4 teaspoon Fine sea salt
- 1/2 cup Chopped walnuts or pecans (optional)
Directions
Step 1: Sift and Combine Dry Ingredients
Place a large mixing bowl on your counter. Use a fine-mesh sieve to sift the powdered sugar and the cocoa powder into the bowl. Sifting is essential for zero-heat fudge to ensure you do not have any stubborn white lumps in your final product. Whisk in the sea salt until the mixture is a uniform light brown color.
Step 2: Incorporate the Wet Ingredients
Add the very soft butter, vanilla extract, and milk to the dry mixture. Use a sturdy spatula or a hand mixer on low speed to blend everything together. Continue mixing until the sugar and cocoa are fully hydrated. The mixture will look crumbly at first but will eventually turn into a thick, glossy, and smooth paste. If you are using nuts, fold them in now.
Step 3: Press into the Pan
Line an 8×8-inch baking pan with parchment paper, leaving a bit of overhang on the sides to use as handles later. Transfer the fudge mixture into the pan. Use the back of a spoon or a piece of wax paper to press the fudge down firmly into an even layer. Smooth the top until it is flat and level.
Step 4: Chill and Slice
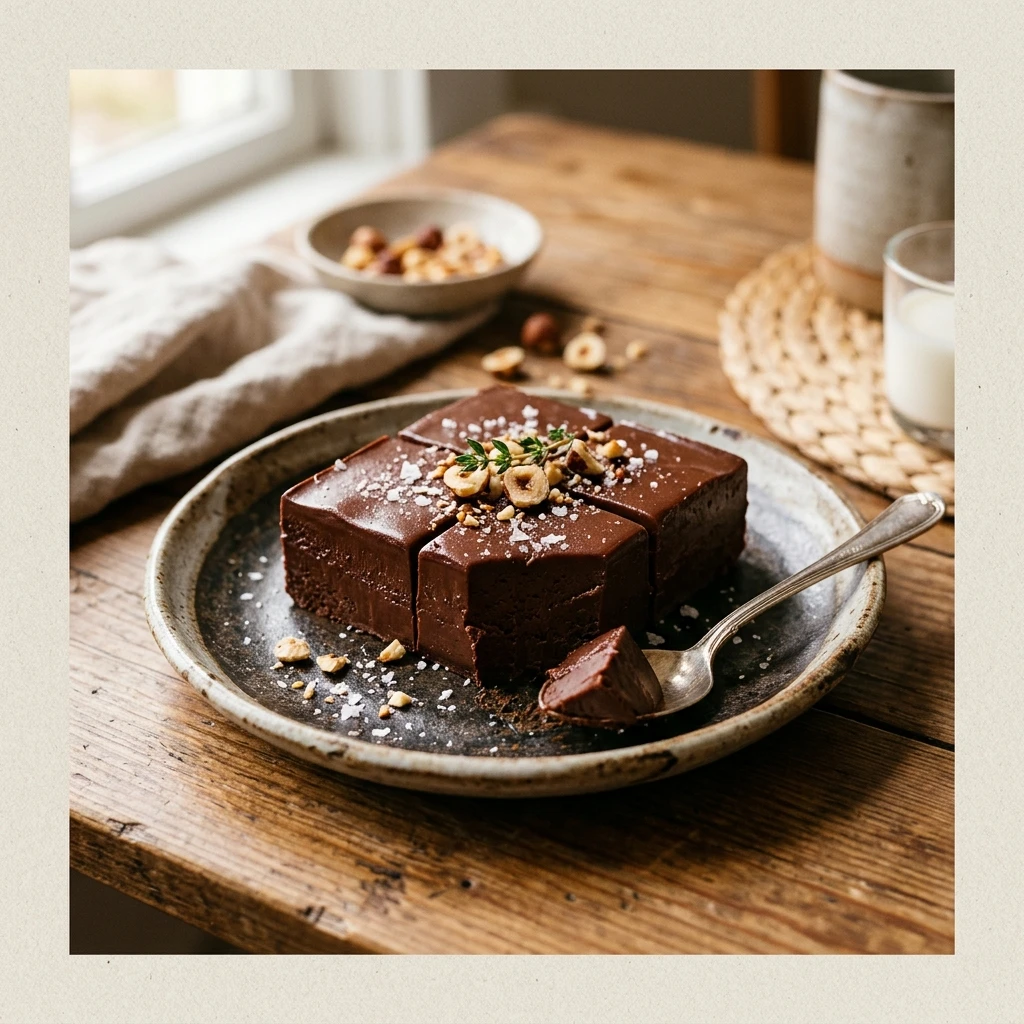
Place the pan in the refrigerator for at least 2 hours, or in the freezer for 30 minutes if you are in a rush. Once the fudge feels firm to the touch, lift it out of the pan using the parchment paper handles. Place it on a cutting board and use a sharp knife to slice it into 16 even squares. Serve immediately or keep chilled.
Expert Tips for Perfect No Bake Chocolate Fudge Easy No Bake Dessert Zero Heat
To get the best results, always use room temperature ingredients. Cold butter will not integrate smoothly with the sugar, leading to a grainy texture. If you want a deeper chocolate profile, use a dark cocoa powder. For the cleanest cuts, dip your knife in hot water and wipe it dry between every single slice. This prevents the fudge from sticking to the blade and keeps the edges sharp and professional.
Delicious Variations
- Peanut Butter Swirl: Drop small spoonfuls of creamy peanut butter onto the fudge before chilling and swirl them in with a toothpick.
- Peppermint Crunch: Add a 1/2 teaspoon of peppermint extract and top the fudge with crushed candy canes.
- Mocha Fudge: Dissolve a teaspoon of espresso powder into the milk before mixing it into the sugar.
- Salted Caramel: Drizzle store-bought caramel sauce over the top and add a pinch of coarse flaky salt.
Frequently Asked Questions
Can I make this recipe vegan?
Yes, you can easily adapt this for a vegan diet. Substitute the butter with a vegan butter stick (softened) or solid coconut oil, and use almond or oat milk instead of dairy milk.
Why is my fudge grainy?
Graininess usually happens if the powdered sugar wasn’t sifted or if the butter was too cold. Ensure your ingredients are at room temperature and sifted thoroughly to achieve that velvety mouthfeel.
How should I store this fudge?
Store the fudge in an airtight container in the refrigerator for up to two weeks. Because this recipe uses softened butter and no cooked sugars, it stays best when kept cool.
Can I freeze this fudge for later?
Absolutely! This fudge freezes beautifully. Wrap individual squares in plastic wrap and store them in a freezer bag for up to three months. Thaw in the fridge before eating.
What if the mixture is too dry?
If your fudge mixture feels too crumbly to press into the pan, add more milk one teaspoon at a time. Be careful not to add too much, or the fudge will become too soft to hold its shape at room temperature.
Conclusion
This No Bake Chocolate Fudge proves that you don’t need a stove to create a world-class dessert. It is rich, satisfying, and incredibly simple to whip up whenever a chocolate craving hits. By following this zero-heat method, you save time and cleanup while still serving a treat that everyone will love. Give this easy recipe a try today and enjoy the simplest homemade fudge you have ever tasted!