Follow Me On Pinterest!
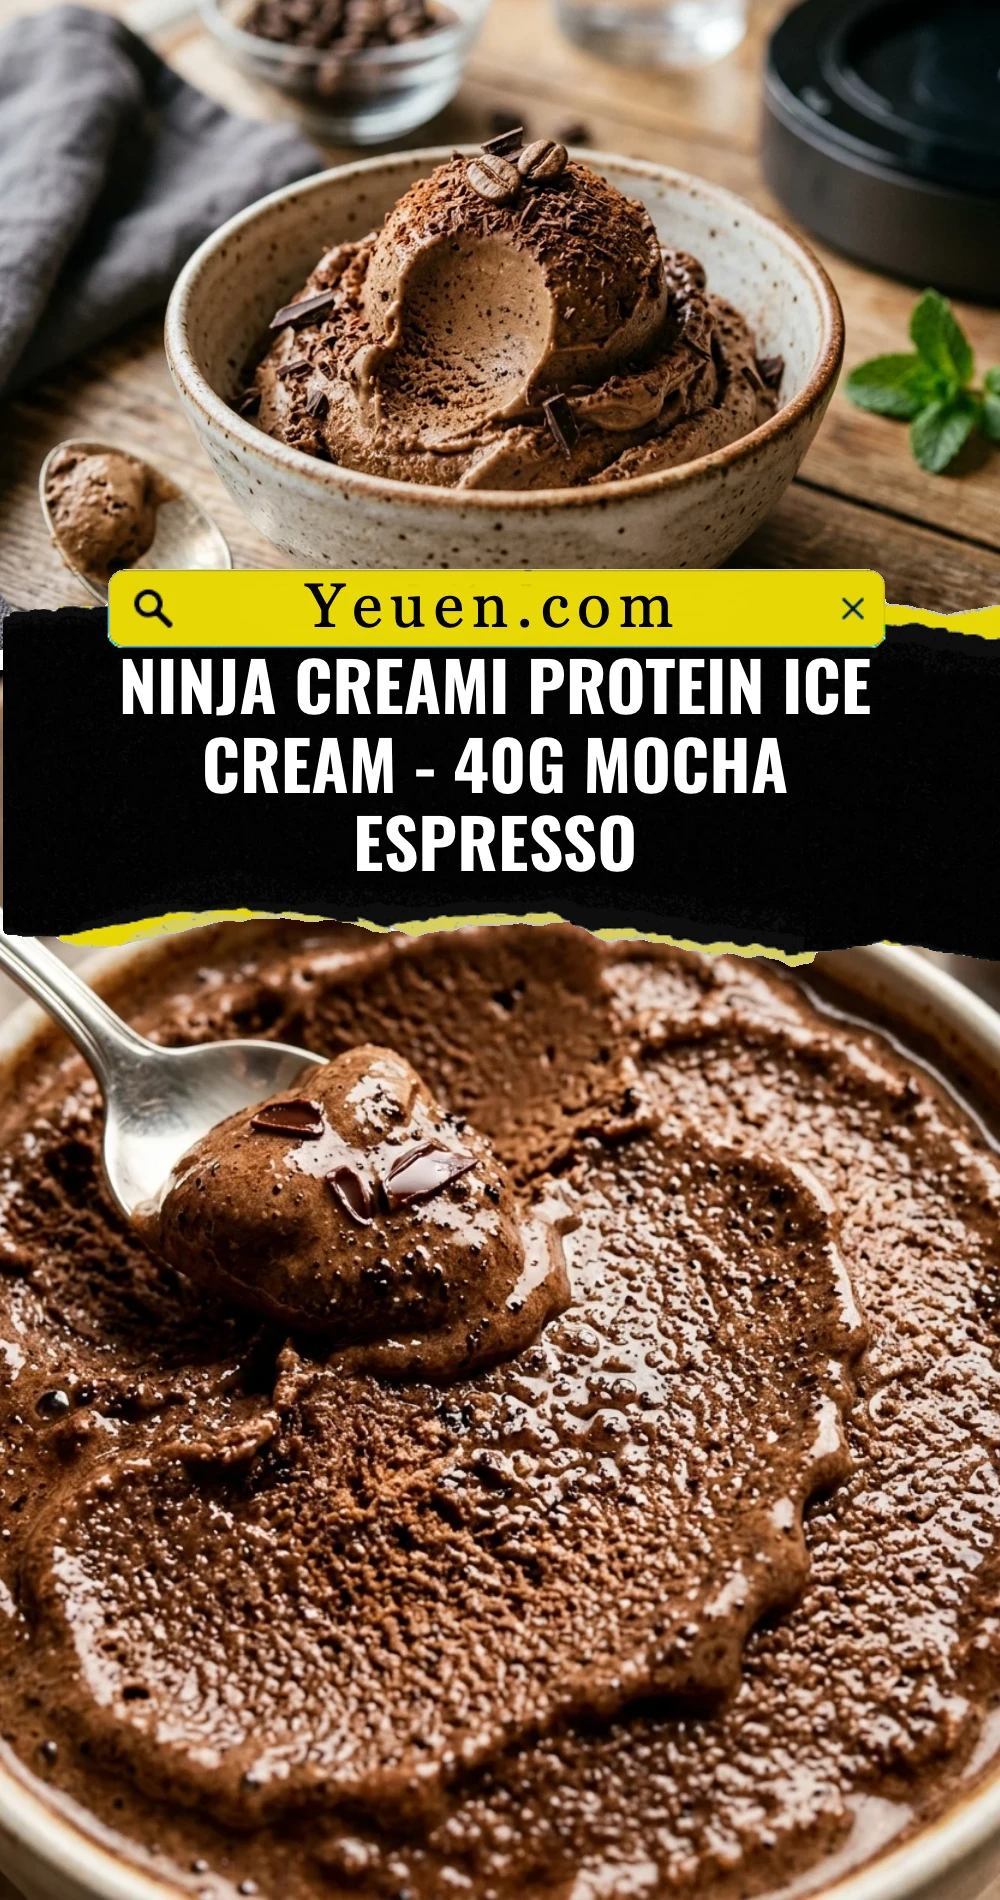
Ninja Creami Protein Ice Cream – 40g Mocha Espresso
If you are tired of drinking the same old chalky protein shakes, it is time to transform your fitness routine into a gourmet experience. This Ninja Creami Protein Ice Cream – 40g Mocha Espresso recipe combines the bold, roasted notes of a morning latte with the indulgent texture of premium gelato. It packs a massive 40 grams of protein into a single pint, making it the ultimate post-workout treat or a guilt-free late-night snack. You no longer have to choose between hitting your macros and satisfying your sweet tooth. Grab your Creami pint and let’s get blending!
Recipe Information
- Prep Time: 5 minutes
- Cook Time: 0 minutes (24 hours freezing time)
- Total Time: 24 hours 5 minutes
- Servings: 1
- Difficulty: Easy
Nutrition values
- Calories: 310 kcal
- Protein: 40g
- Carbs: 14g
Why Make This Ninja Creami Protein Ice Cream – 40g Mocha Espresso
Making this recipe is a game-changer for anyone tracking their intake. Most store-bought “healthy” ice creams are expensive and often contain fillers that leave a strange aftertaste. With the Ninja Creami, you control every ingredient. This mocha espresso version provides a natural caffeine kick and uses high-quality protein to keep you full. The texture is incredibly creamy, mimicking traditional high-fat ice cream without the excess calories. It is the perfect way to stay on track while feeling like you are cheating on your diet.
Ingredients
- 11.5 oz Chocolate Protein Shake (Ready-to-drink, like Fairlife Core Power or Premier Protein)
- 2 teaspoons Instant Espresso Powder
- 1 tablespoon Sugar-Free Chocolate Pudding Mix (dry powder)
- 1 teaspoon Vanilla Extract
- Optional: 1 tablespoon stevia or erythritol (if you prefer it sweeter)
- Optional: 1 tablespoon mini dark chocolate chips (for the mix-in)
Directions
Step 1: Mixing the Base
Pour your chocolate protein shake into a clean Ninja Creami pint container. Add the instant espresso powder, sugar-free chocolate pudding mix, and vanilla extract. Use a handheld milk frother or a small whisk to blend the ingredients directly in the pint until the powder is fully dissolved and the mixture is smooth.
Step 2: Freezing the Pint
Place the lid on the pint and set it on a level surface in your freezer. Freeze for a full 24 hours. Ensure your freezer is set to a cold temperature (around -20°C or 0°F) to ensure the base sets properly for the Creami blades.
Step 3: The First Spin
Remove the pint from the freezer and take off the lid. If there is a small “hump” of frozen liquid in the center, scrape it flat with a spoon. Place the pint into the outer bowl, lock the lid, and place it into the Ninja Creami machine. Select the “Lite Ice Cream” function and let the machine work its magic.
Step 4: The Re-Spin for Creaminess
Check the consistency after the first spin. If the ice cream looks crumbly or powdery, add one tablespoon of water or almond milk to the center. Put the lid back on and select the “Re-Spin” button. This second cycle creates that signature soft-serve, velvety texture.
Step 5: Adding Mix-ins (Optional)
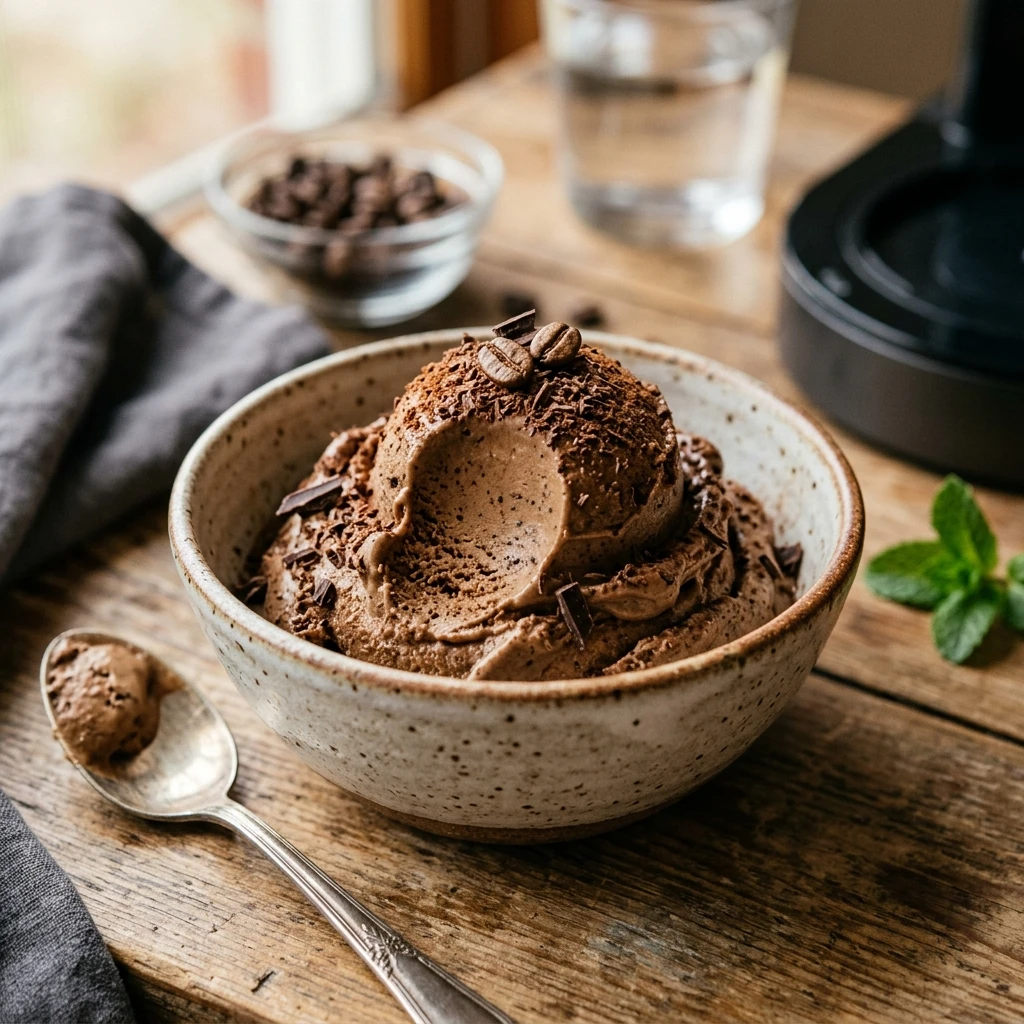
If you want some crunch, use a spoon to create a hole down the center of the ice cream. Drop in your mini chocolate chips or crushed espresso beans. Place the pint back in the machine and select the “Mix-In” setting. Scoop and enjoy immediately!
Expert Tips for Perfect Ninja Creami Protein Ice Cream – 40g Mocha Espresso
For the best results, always use a high-quality protein shake as your base; Fairlife is widely considered the gold standard for Creami recipes because of its milk-like consistency. Do not skip the sugar-free pudding mix! It acts as a stabilizer and prevents the ice cream from becoming icy. If your ice cream is too cold when you spin it, it will come out crumbly. Letting the pint sit on the counter for 5-10 minutes before spinning can help achieve a smoother result on the first try.
Delicious Variations
- White Mocha: Use a vanilla protein shake base and add white chocolate sugar-free syrup along with the espresso powder.
- Peanut Butter Mocha: Stir in a tablespoon of PB2 (powdered peanut butter) during the initial mixing phase.
- Caramel Macchiato: Drizzle sugar-free caramel sauce over the top after the final spin.
- Mocha Nut: Add crushed almonds or walnuts during the “Mix-In” cycle for added healthy fats and texture.
Frequently Asked Questions
Can I use brewed coffee instead of espresso powder?
Yes, you can substitute about 1/4 cup of the protein shake for 1/4 cup of very strong cold brew or chilled espresso. However, be careful not to add too much liquid, as it can make the texture icier rather than creamy.
What if I don’t have sugar-free pudding mix?
You can substitute the pudding mix with 1/4 teaspoon of Xanthan Gum. This will still provide the necessary stabilization to keep the ice cream smooth, though you may lose a tiny bit of the chocolate depth provided by the pudding mix.
Why is my ice cream crumbly after the first spin?
This is very common with high-protein, low-fat recipes. It usually means the base is too cold. Simply add a splash of liquid (milk or water) and run the “Re-Spin” cycle. It should come out perfect after that.
Can I store leftovers in the freezer?
Yes, but the ice cream will harden significantly. When you want to eat it again, you will need to level the top and run it through the “Lite Ice Cream” or “Re-Spin” cycle again to restore the creamy texture.
Is this recipe keto-friendly?
Yes! By using a low-carb protein shake and sugar-free pudding mix, this recipe is very keto-friendly. Always check the labels on your specific protein shake brand to ensure the carb count fits your macros.
Conclusion
This Ninja Creami Protein Ice Cream – 40g Mocha Espresso is the ultimate hack for anyone looking to increase their protein intake without sacrificing flavor. It is fast to prep, easy to customize, and tastes like a high-end dessert from a coffee shop. Once you try this mocha version, you will never go back to plain protein shakes again. Give it a spin and enjoy the creamy, caffeinated goodness!