
Follow Me On Pinterest!
New York Classic Cheesecake Creamy Easy No Fail
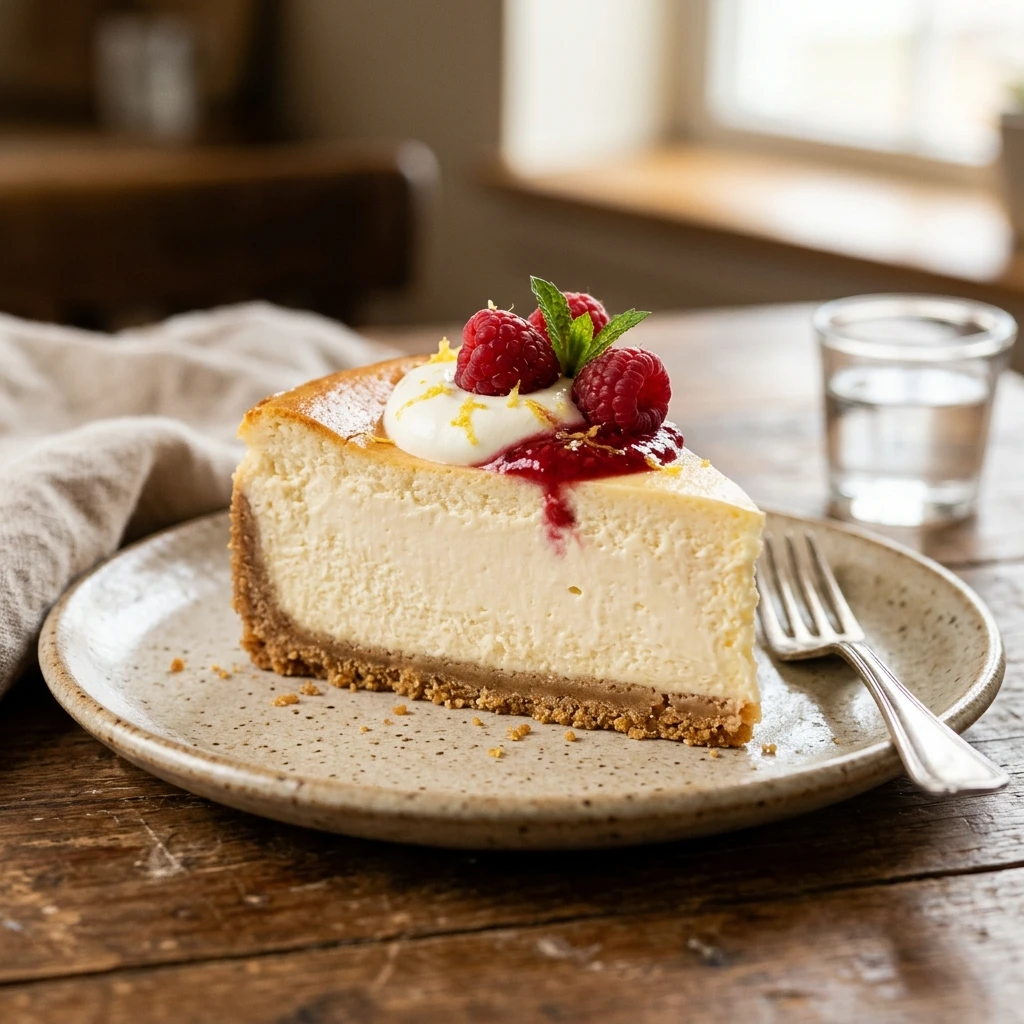
There is something truly magical about a slice of authentic New York Classic Cheesecake. It is thick, velvety, and features that signature dense texture that melts in your mouth. Many people feel intimidated by cheesecake, fearing cracks or a sunken center. However, this recipe is designed to be completely “no-fail.” You do not need professional pastry skills to achieve a professional result. With a buttery graham cracker crust and a rich, creamy filling, this dessert will quickly become your go-to for every holiday, party, or late-night craving. It delivers that iconic tall, golden-brown edge and smooth, white center every single time.
Recipe Information
- Prep Time: 20 minutes
- Cook Time: 1 hour 15 minutes
- Total Time: 1 hour 35 minutes
- Servings: 12 servings
- Difficulty: Easy
Nutrition values
- Calories: 480 kcal
- Protein: 8g
- Carbs: 34g
Why Make This New York Classic Cheesecake Creamy Easy No Fail
This recipe stands out because it balances richness with simplicity. Unlike lighter Italian-style cheesecakes that use ricotta, this New York version relies on heavy amounts of cream cheese and sour cream for maximum indulgence. It is “no-fail” because we use specific temperature controls and simple mixing techniques to prevent the common pitfalls of home baking. You get a restaurant-quality dessert with minimal effort and common grocery store ingredients. It is the perfect canvas for any topping, yet it tastes incredible entirely on its own.
Ingredients
- 1 ½ cups Graham Cracker crumbs
- 6 tablespoons Unsalted Butter, melted
- 1 ¼ cups Granulated Sugar, divided
- 32 ounces (4 blocks) Full-fat Cream Cheese, softened to room temperature
- 1 cup Full-fat Sour Cream, room temperature
- 1 tablespoon Pure Vanilla Extract
- 3 Large Eggs, room temperature
- 2 tablespoons All-purpose Flour
- 1 teaspoon Lemon Zest (optional, for brightness)
Directions
Step 1: Preparation
Preheat your oven to 325°F (160°C). Prepare a 9-inch springform pan by greasing the sides with butter or non-stick spray. In a small bowl, combine the graham cracker crumbs, melted butter, and ¼ cup of sugar. Stir until the mixture looks like wet sand. Press the mixture firmly into the bottom of the springform pan and about an inch up the sides. Bake the crust for 10 minutes, then remove it from the oven and set it aside to cool while you prepare the filling.
Step 2: Cooking
In a large mixing bowl, beat the softened cream cheese and the remaining 1 cup of sugar together until perfectly smooth and creamy. Use a hand mixer or stand mixer on medium speed. Add the sour cream, vanilla extract, and flour, then mix until just combined. Lower the mixer speed and add the eggs one at a time. Mix each egg just until the yellow disappears—do not overbeat at this stage. Pour the filling over the pre-baked crust. Place the pan in the oven and bake for 65 to 75 minutes. The edges should be set and slightly puffed, but the center should still have a slight jiggle when you gently shake the pan.
Step 3: Plating
Turn off the oven and crack the door open slightly. Let the cheesecake cool inside the oven for one hour; this prevents cracking. Remove the pan and let it cool completely on a wire rack at room temperature. Once cool, run a thin knife around the edge to loosen the cake from the pan. Cover and refrigerate for at least 6 hours, or preferably overnight. When ready to serve, release the springform ring, slice with a warm knife, and top with fresh berries or whipped cream.
Expert Tips for Perfect New York Classic Cheesecake Creamy Easy No Fail
The most important rule for a creamy cheesecake is using room temperature ingredients. Cold cream cheese will create lumps that are impossible to smooth out later. Additionally, avoid over-mixing the batter once you add the eggs. Over-mixing incorporates too much air, which causes the cheesecake to rise rapidly and then collapse and crack. Finally, do not skip the gradual cooling process in the oven. Rapid temperature changes are the primary cause of surface cracks.
Delicious Variations
While the classic version is stunning, you can easily customize this recipe. For a Chocolate Chip Cheesecake, fold in half a cup of mini chocolate chips into the batter before baking. If you prefer a citrus twist, add two tablespoons of fresh lemon juice and extra zest to the filling. For a Fruit Swirl, drop small spoonfuls of raspberry or strawberry jam onto the top of the unbaked filling and use a toothpick to create decorative swirls. You can even swap the graham cracker crust for crushed chocolate sandwich cookies for a richer base.
Frequently Asked Questions
How do I know when the cheesecake is finished baking?
The “jiggle test” is the best method. The outer 2-3 inches should be firm and set, while the very center should still wobble slightly like Jell-O. It will continue to firm up as it cools.
Do I really need a water bath?
This specific recipe is sturdy enough to work without a traditional water bath if you use the “oven cooling” method. However, if you want the absolute smoothest top possible, wrapping the pan in foil and placing it in a shallow pan of water will provide extra insurance against cracks.
Can I use low-fat cream cheese?
For a true New York style texture, we highly recommend full-fat cream cheese. Low-fat or “Neufchâtel” cheese contains more water and less fat, which can result in a grainier, less stable cheesecake.
How long does this cheesecake stay fresh?
You can store this cheesecake in an airtight container in the refrigerator for up to 5 days. It actually tastes better on the second or third day as the flavors have more time to meld.
Can I freeze this cheesecake?
Yes! This cheesecake freezes beautifully. Wrap the fully cooled and chilled cake (or individual slices) tightly in plastic wrap and then foil. It will stay fresh in the freezer for up to 3 months. Thaw it in the refrigerator overnight before serving.
Conclusion
Mastering the New York Classic Cheesecake is a rewarding experience that every home baker should enjoy. By following these simple steps and respecting the cooling process, you will produce a dessert that rivals any high-end bakery. Whether you serve it plain or loaded with toppings, this creamy, easy, and no-fail recipe is guaranteed to impress your friends and family. Put on your apron and get ready to enjoy the best cheesecake of your life!









