Follow Me On Pinterest!
Mini Pies With Store Bought Dough
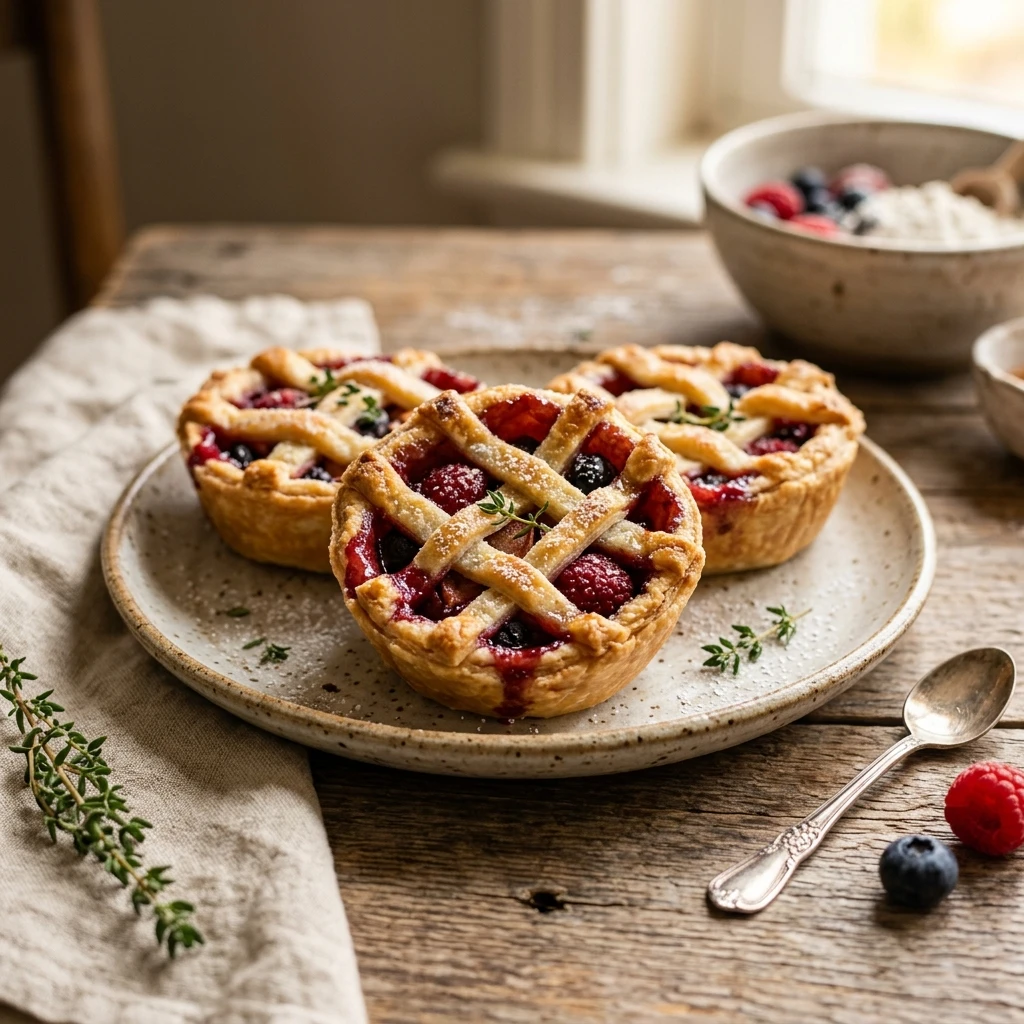
There is something inherently magical about a miniature dessert. These mini pies with store-bought dough are the ultimate “cheat code” for anyone who wants bakery-quality results without spending hours in the kitchen. By using pre-made crust, you skip the stress of chilling and rolling homemade pastry, leaving you more time to focus on the fun part—filling them with your favorite sweet or savory ingredients. Whether you are hosting a brunch, planning a school bake sale, or just craving a bite-sized treat, these little pies deliver a flaky, buttery crunch in every single mouthful.
Recipe Information
- Prep Time: 20 minutes
- Cook Time: 25 minutes
- Total Time: 45 minutes
- Servings: 12 mini pies
- Difficulty: Easy
Nutrition values
- Calories: 210 kcal
- Protein: 2g
- Carbs: 28g
Why Make This Mini Pies With Store Bought Dough
This recipe is a game-changer for busy bakers. Using store-bought dough ensures a consistent, flaky texture every time. These mini pies offer perfect portion control, making them ideal for parties where guests want to sample different flavors. They are also incredibly versatile; you can use the same base method for apple, cherry, blueberry, or even savory pot-pie fillings. Plus, they look far more impressive than the effort required to make them!
Ingredients
- 2 sheets refrigerated store-bought pie crust
- 1.5 cups fruit pie filling (apple, cherry, or blueberry)
- 1 large egg (for egg wash)
- 1 tablespoon water
- 2 tablespoons coarse sparkling sugar (optional)
- All-purpose flour (for dusting the surface)
Directions
Step 1: Prep the Oven and Crust
Preheat your oven to 375°F (190°C). Line a large baking sheet with parchment paper or lightly grease a standard muffin tin. Remove the store-bought pie crusts from the refrigerator and let them sit at room temperature for about 10 minutes. This prevents the dough from cracking when you unroll it. Lightly dust your work surface with flour and unroll the dough sheets.
Step 2: Cut the Dough Shapes
Use a 3-inch round biscuit cutter or a wide-mouth glass to cut circles out of the dough. You should get about 6 to 7 circles per sheet. Re-roll the scraps once to get the remaining circles until you have 24 total (12 for the bottoms and 12 for the tops). If you are using a muffin tin, press 12 circles gently into the bottom and sides of the cups.
Step 3: Fill and Seal the Pies
Place a heaping tablespoon of your chosen pie filling into the center of the 12 base circles. Do not overfill, or the edges will not seal properly. Whisk the egg and water together to create an egg wash. Lightly brush the edges of the bottom crusts with the egg wash. Place the remaining 12 dough circles on top. Use a fork to crimp the edges together firmly, sealing the filling inside.
Step 4: Vent and Bake
Cut a small “X” or a few slits in the top of each mini pie to allow steam to escape. Brush the tops with the remaining egg wash and sprinkle with coarse sugar if desired. Bake for 22 to 25 minutes, or until the crust is a deep golden brown and the filling is bubbling slightly through the vents. Remove from the oven and let them cool on a wire rack for at least 10 minutes before serving.
Expert Tips for Perfect Mini Pies With Store Bought Dough
Keep your dough cold! If the dough becomes too soft and sticky while you are working, pop it back in the fridge for 5 minutes. To avoid a “soggy bottom,” make sure your fruit filling isn’t too watery; if using fresh fruit, toss it with a little cornstarch first. Always use an egg wash to get that professional, shiny golden-brown finish. Finally, don’t skip the vents on top, or your mini pies might explode in the oven!
Delicious Variations
Transform these treats by changing the filling or the shape. Try a Nutella and Banana filling for a decadent dessert, or use leftover cranberry sauce after the holidays. For a savory twist, fill the dough with shredded chicken and gravy or spinach and feta. You can also create “Hand Pies” by folding the circles in half into semi-circles (turnovers) instead of using two full circles for a top and bottom.
Frequently Asked Questions
Can I freeze these mini pies?
Yes! You can freeze them before or after baking. If freezing unbaked, assemble them and freeze on a tray before transferring to a bag. Bake from frozen, adding about 5-8 minutes to the cooking time.
What is the best way to store leftovers?
Store your mini pies in an airtight container at room temperature for up to 2 days, or in the refrigerator for up to 5 days. Reheat them in the oven for a few minutes to restore the crispiness.
Can I use puff pastry instead of pie dough?
Absolutely. Puff pastry will result in a much light, airier, and more buttery crust. Keep in mind that puff pastry expands significantly, so you may need to crimp the edges even more tightly.
Why did my mini pies leak?
Leaking usually happens because of overfilling or an improper seal. Make sure to leave a clean border around the filling and press down firmly with your fork when crimping the edges.
Can I make these in an air fryer?
Yes! Air fry the mini pies at 350°F for 10-12 minutes. Check them halfway through to ensure they are browning evenly, as air fryers vary in intensity.
Conclusion
Mini pies with store-bought dough are the perfect solution for effortless entertaining. They prove that you don’t need to be a master pastry chef to create something beautiful and delicious. With a golden, flaky crust and your favorite sweet filling, these bite-sized beauties are sure to disappear fast. Give this simple recipe a try today and enjoy the convenience of a gourmet dessert in under an hour!